

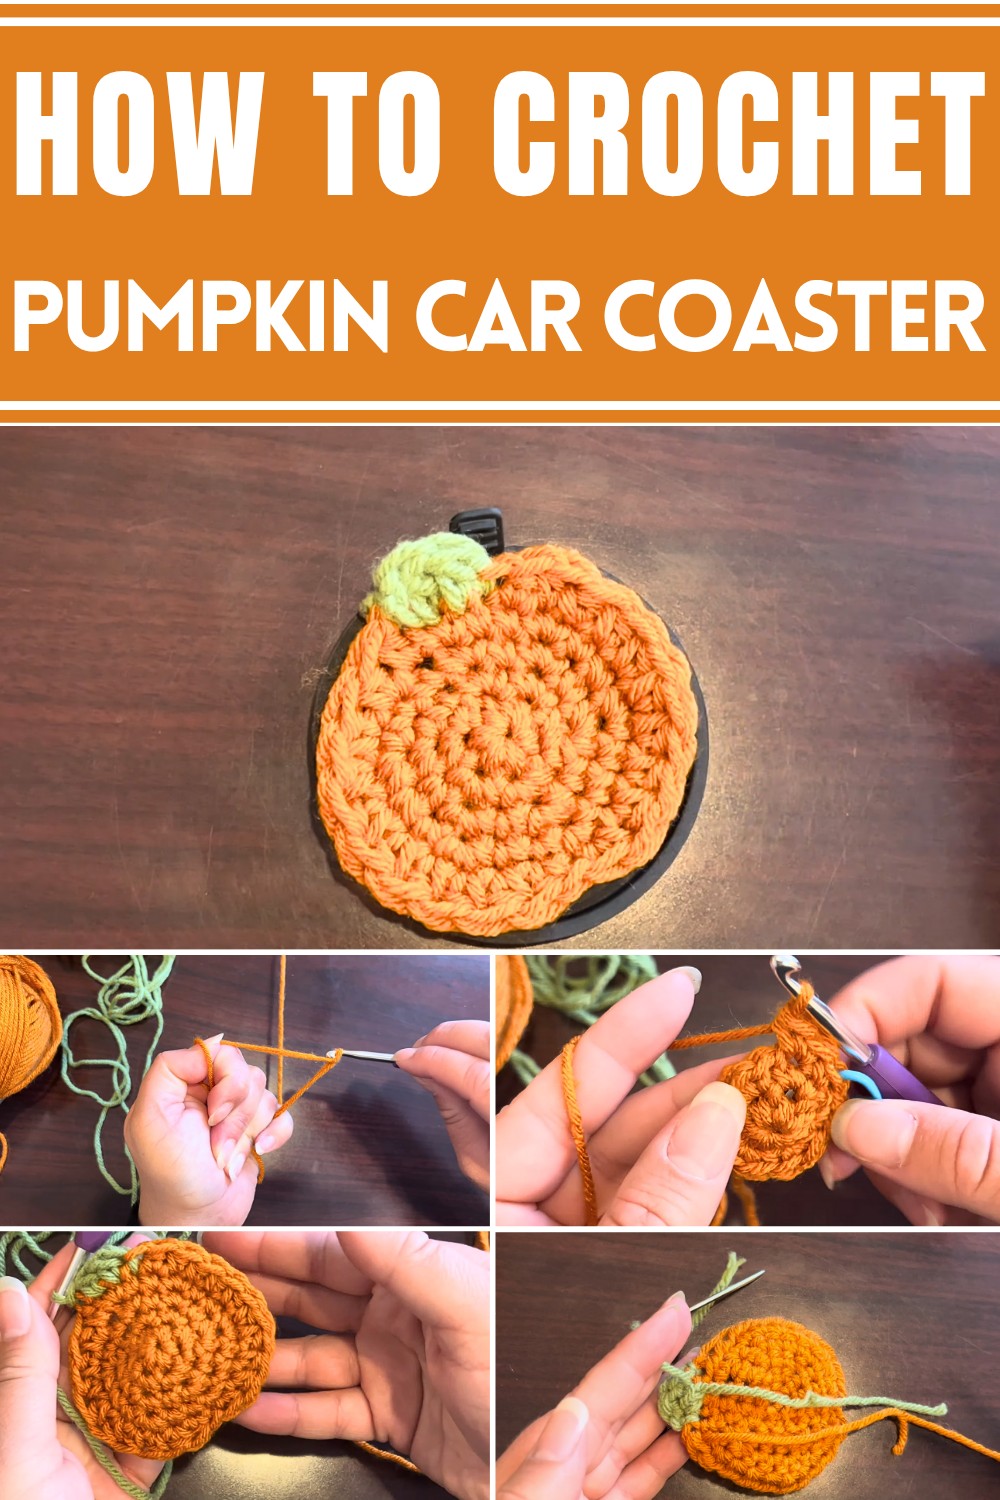
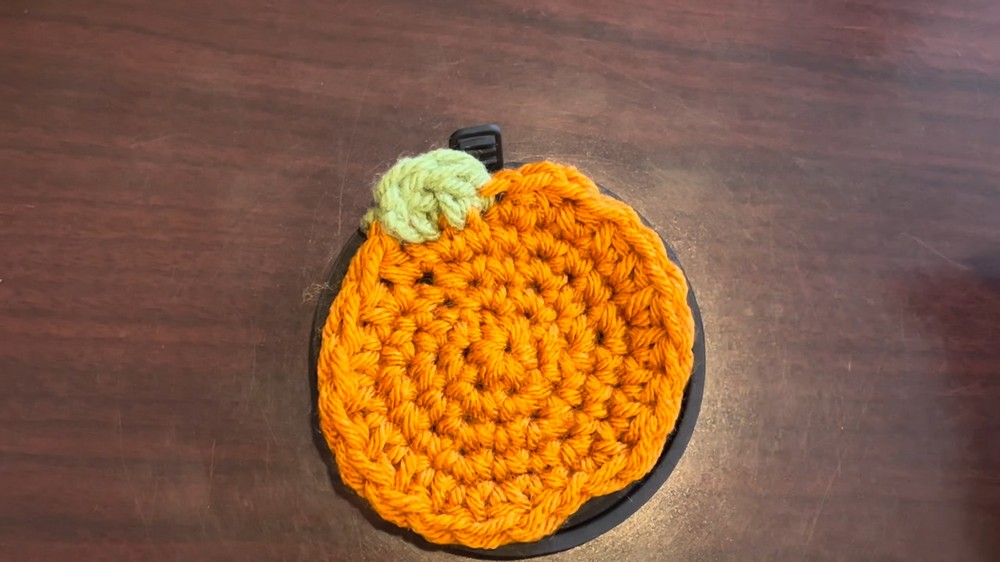
Jazz up your ride with adorable crochet pumpkin car coasters fall vibes, cozy feels, and a dash of handmade magic for your car.
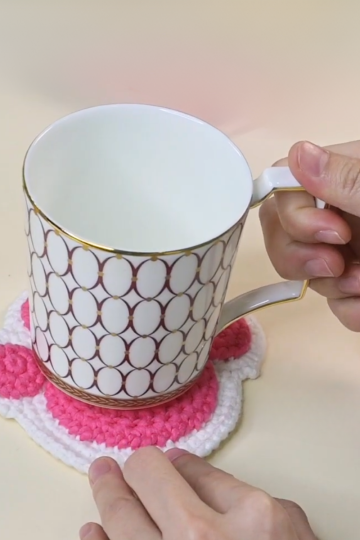
Cup holders often miss out on personality, but crochet pumpkin car coasters are here to change that! Perfect for car interiors, these coasters combine practicality with seasonal charm, offering a cozy autumn vibe every time you hop inside. Crocheted to fit standard cup holders, they protect surfaces from drips, spills, and scratches while adding a fun, handmade touch that’s hard to miss. Whether you’re commuting to work or taking a road trip, they quietly work to keep your car neat while spreading a little festive cheer.
DIY Crochet Pumpkin Coasters to Transform Your Car's Look
Their cheerful pumpkin design isn’t just cute it’s a wonderful way to celebrate fall, making every journey extra enjoyable. These coasters are lightweight, absorbent, and durable, which means they’ll stay looking fresh through repeated use.
Beyond being a functional accessory, they make thoughtful gifts for loved ones who adore seasonal decorations or love unique handmade items for their vehicles. Whether you’re sprucing up your own ride or sending fall vibes to a friend, these crochet pumpkin car coasters aren’t just car accessories they’re tiny slices of autumn joy tucked into your daily routine.
Introduction:
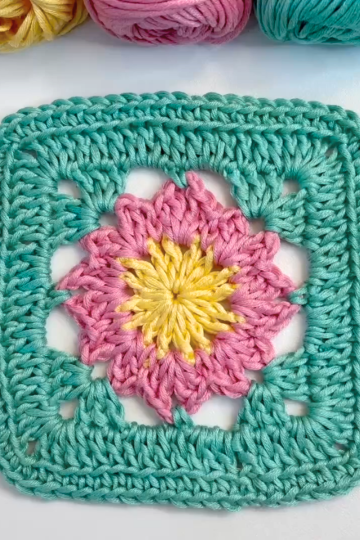
This pattern walks you through creating a cute crochet pumpkin car coaster. Designed for autumn enthusiasts, this car coaster adds a cozy seasonal touch to your vehicle. It’s a beginner-friendly project worked in rounds using two colors of yarn pumpkin spice for the body and sage green for the stem and simple stitches like single crochet, half double crochet, and double crochet.
Materials Needed
To recreate this pumpkin coaster, you’ll need the following:
- Yarn:
- Pumpkin Spice (Yarn Bee Soft & Sleek, or similar)
- Sage Green (or any green yarn for the stem)
- Hook: 5mm Crochet Hook
- Tools:
- Scissors
- Tapestry Needle
- Stitch Marker (optional)
This project is worked in a magic circle followed by rounds of increasing stitches to shape the pumpkin, finishing with a small green stem for detail.
Step-by-Step Guide
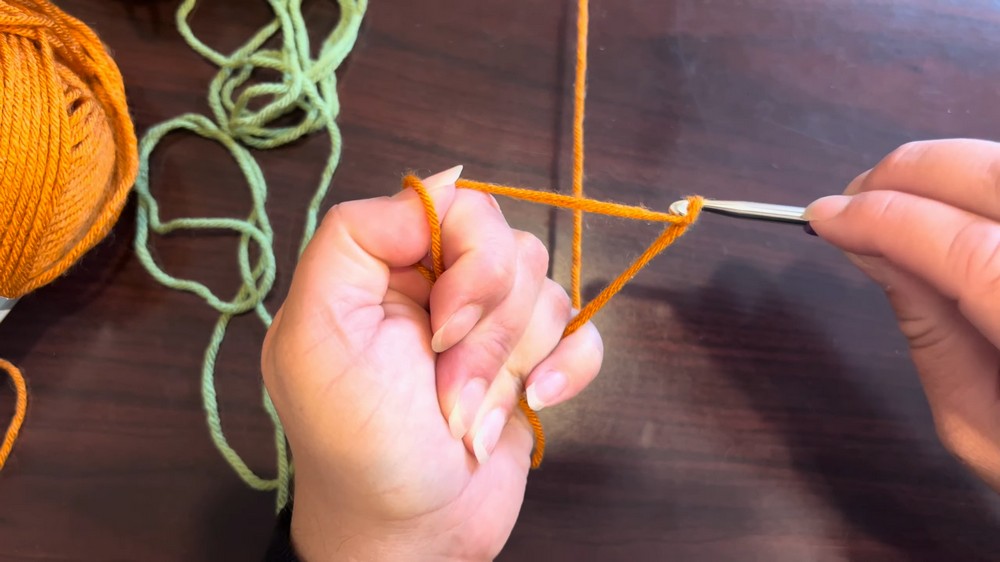
Step 1: Create the Magic Circle
- Lay the yarn over your hand and loop it to create an "X" on your palm.
- Insert your hook under the first strand of yarn, grab the second strand, and pull it through.
- Twist the loop on your hook and pull the second strand through the loop to secure the magic circle.
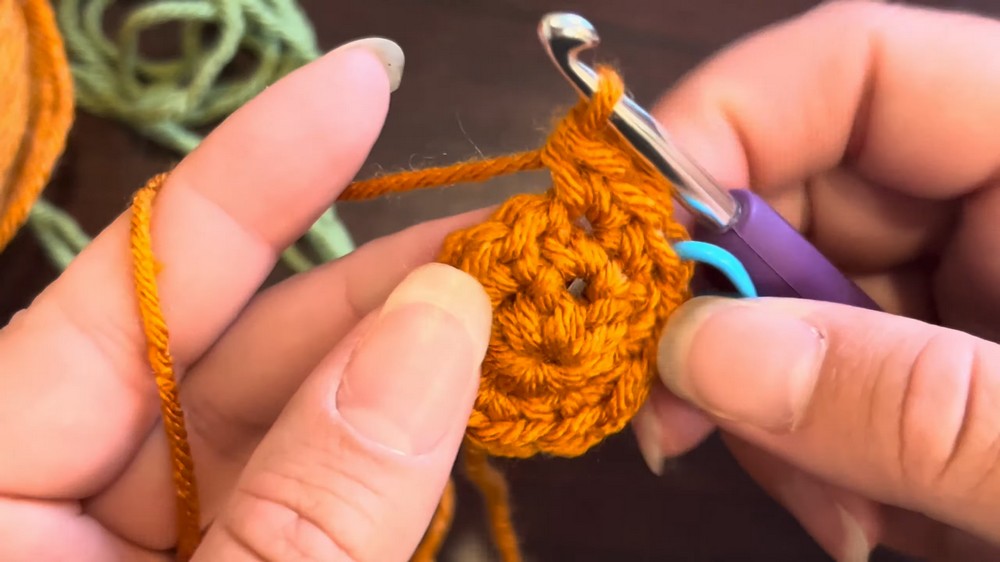
Step 2: Row 1 – Single Crochets Inside the Ring
- Start with 6 single crochets inside the magic circle.
- Pull the tail tight to close the loop.
- Slip stitch into the first single crochet to finish the row.
Step 3: Row 2 – Increase Stitches
- In this row, you’ll double the number of stitches by increasing in every stitch.
- Insert your hook into the first stitch, single crochet once, then single crochet again into the same stitch (this is an increase).
- Repeat this process for all 6 stitches (increasing in each stitch).
- At the end of the row, you’ll have 12 stitches total.
Step 4: Row 3 – Alternating Single Crochet and Increase
- Begin with a single crochet in the first stitch.
- In the second stitch, perform an increase (two single crochets in the same stitch).
- Continue the pattern of single crochet, increase all the way around the row.
- At the end of this row, your stitch count will grow.
Step 5: Row 4 – Increase with Two Single Crochets
- In this row, the pattern changes to two single crochets followed by an increase.
- Crochet two single stitches into the next two stitches, then increase in the third stitch.
- Repeat the pattern (single crochet, single crochet, increase) until the row is completed.
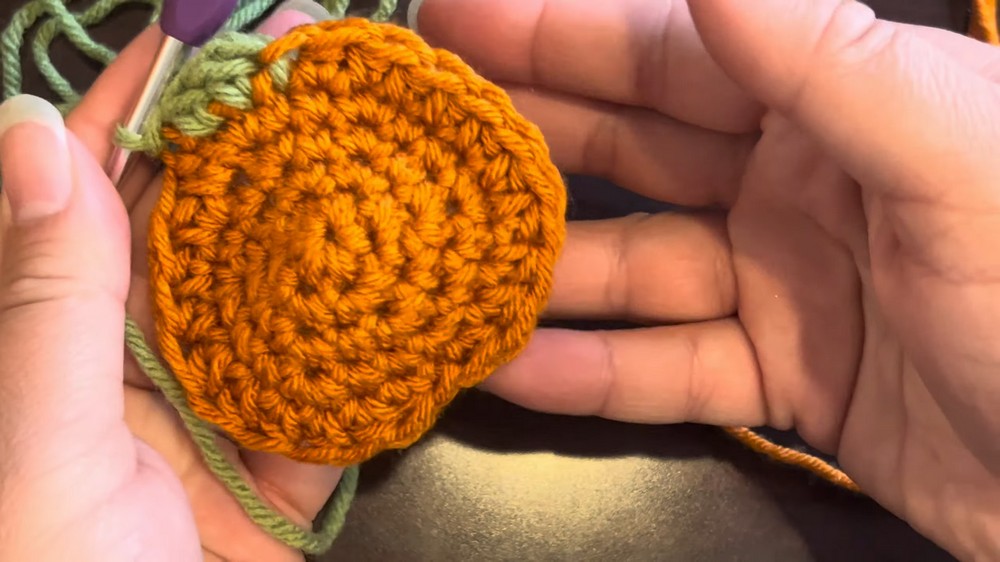
Step 6: Add Half Double Crochets to Shape the Pumpkin
- Work 10 half double crochets into the next 10 stitches, one in each stitch. To create a half double crochet, yarn over, insert your hook, pull through, then yarn over again and pull through all three loops on your hook.
- Slip stitch into the next stitch after the 10 half double crochets.
- Repeat another set of 10 half double crochets.
Step 7: Switch Yarn Color for the Stem
- Attach the green yarn by looping it into the next stitch and securing it with a slip stitch.
- Work two double crochets into the next stitch.
- Finish with a slip stitch in the next stitch, then cut the yarn and pull it through.
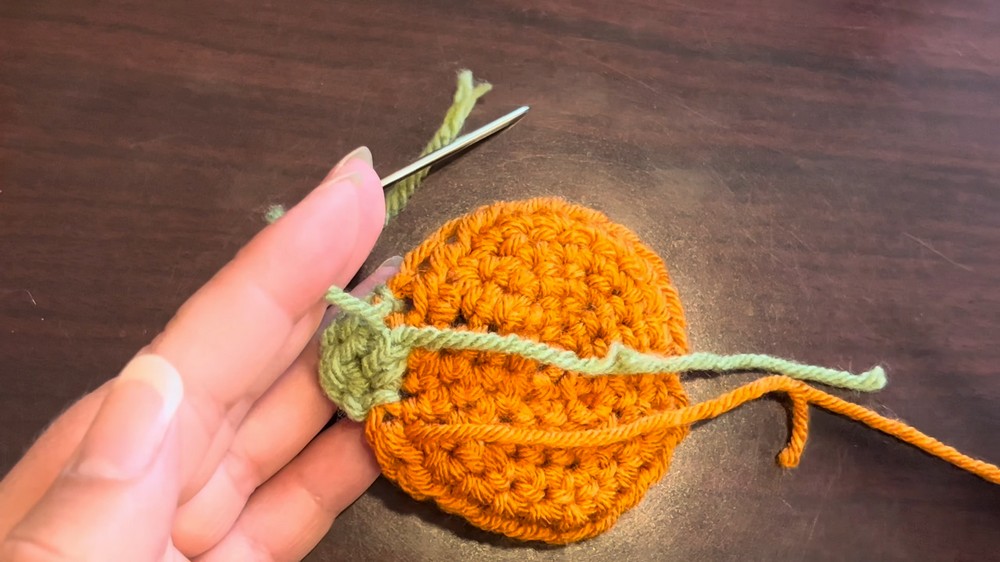
Step 8: Tidy Up Edges and Sew In Ends
- Use your tapestry needle to sew in the loose ends.
- For the color change at the stem, use your needle to clean up the edges by stitching over uneven areas like a cross stitch.
Conclusion
Congratulations, you’ve completed your handmade crochet pumpkin car coaster! This cozy little project is perfect for seasonal decor or as a thoughtful fall-themed gift. By following simple rounds of increases and basic stitches, you’ve created a functional and adorable piece.
Leave a Reply