

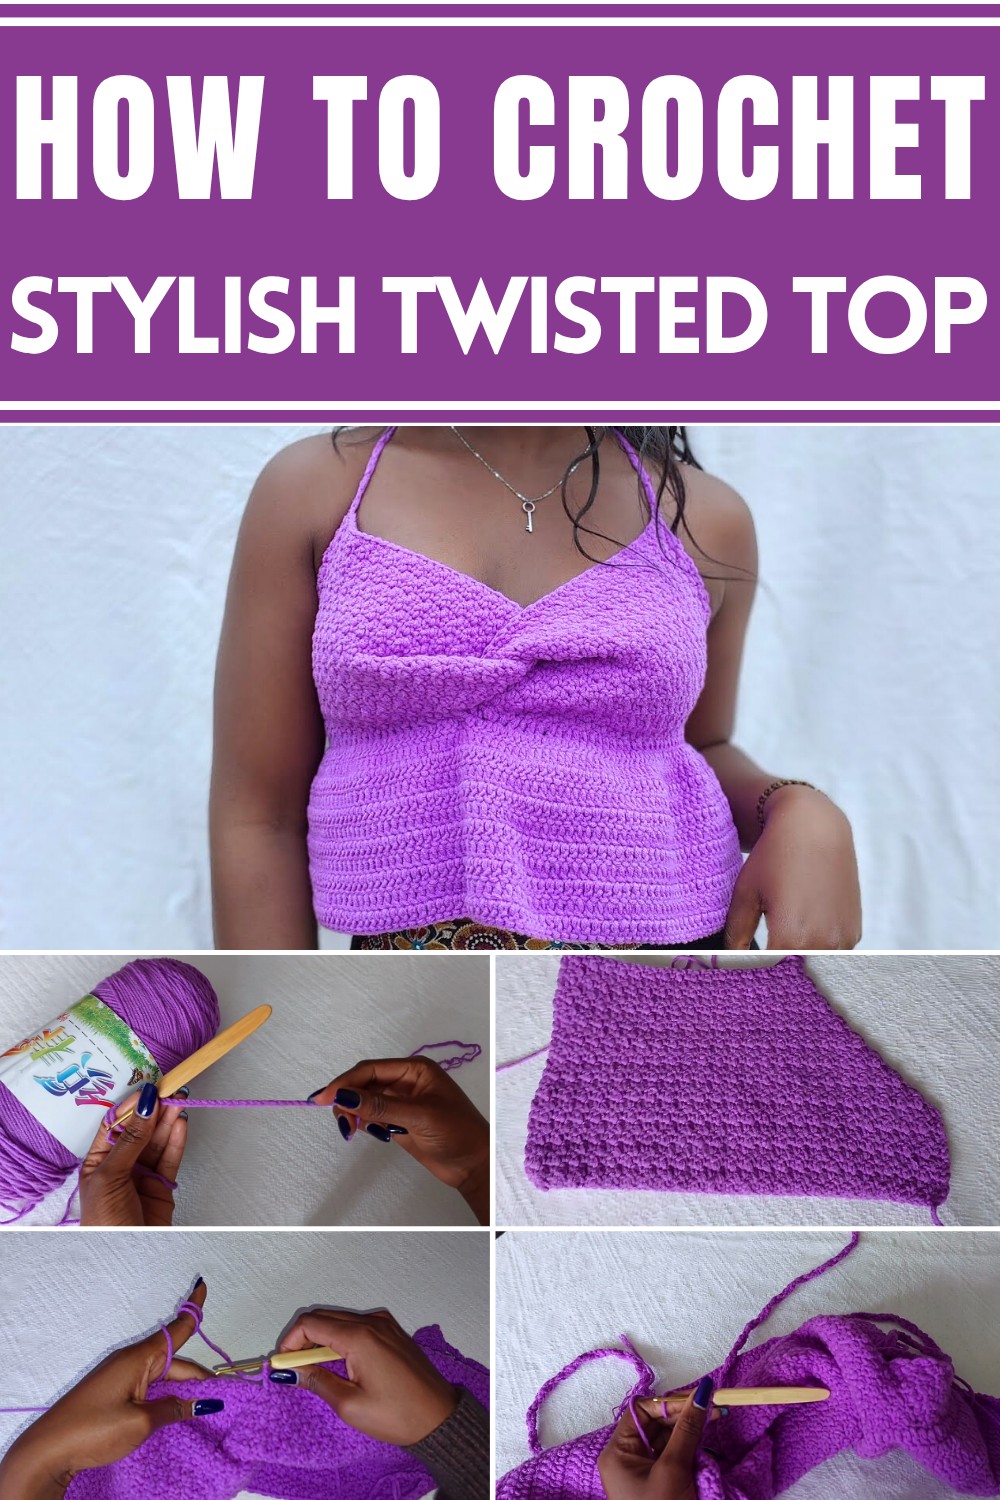
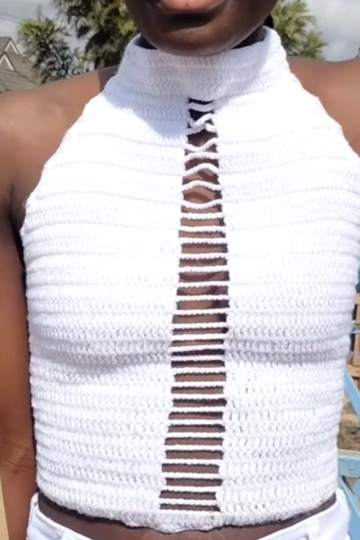
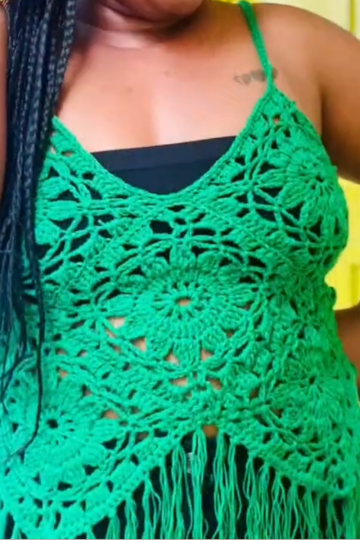
Catch eyes this summer with the Chic Crochet Twisted Top – a lightweight, stylish essential that blends effortless elegance with trendy charm.
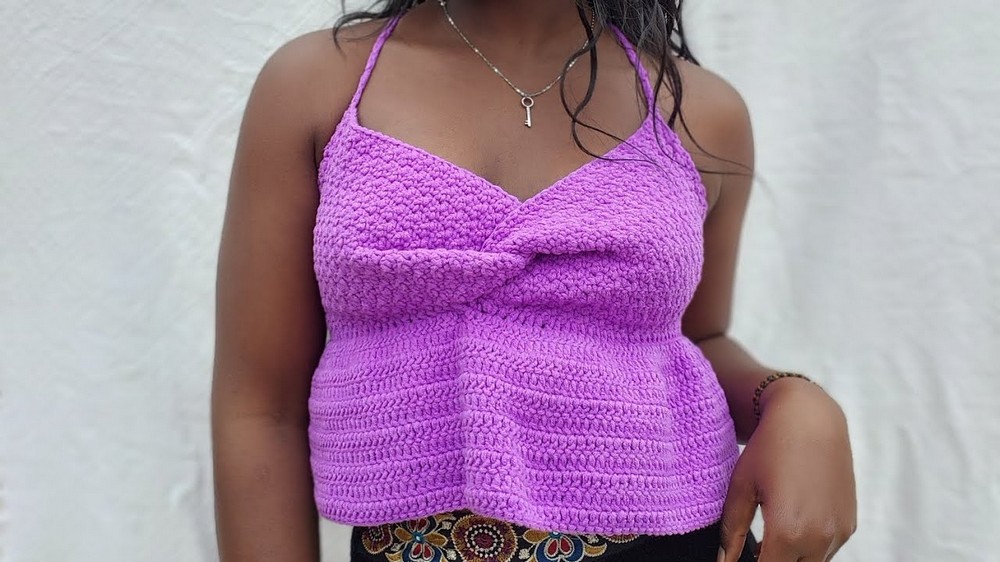
Crochet has long been celebrated for its timeless charm, and the Chic Crochet Twisted Top takes this beloved art form to a new level. Perfect for sunny days, this top is designed to be both fashionable and functional, offering a breezy feel to keep you cool during warm weather. Featuring a twisted front design, it adds a stylish flair that stands out in any summer ensemble, whether paired with high-waisted shorts or flowy skirts.
FREE Crochet Twisted Top Pattern for Stunning Style
Ideal for casual outings or beachside strolls, its lightweight material ensures comfort while still making a statement. The intricate crochet detailing showcases elegance, while the breathable fabric makes it a go-to piece for humid days. Beyond its visual appeal, the top offers versatility; transition effortlessly from day to evening by layering it with accessories or pairing it with varying bottoms.
What makes this summer staple truly unique is its ability to strike the perfect balance between comfort and sophistication. Each twist and detail work together to create an effortlessly chic look that amplifies your confidence. Whether dressing it up for brunch with friends or lounging outdoors, you’ll find this twisted top to be your trusted companion in achieving summer style with ease and flair.
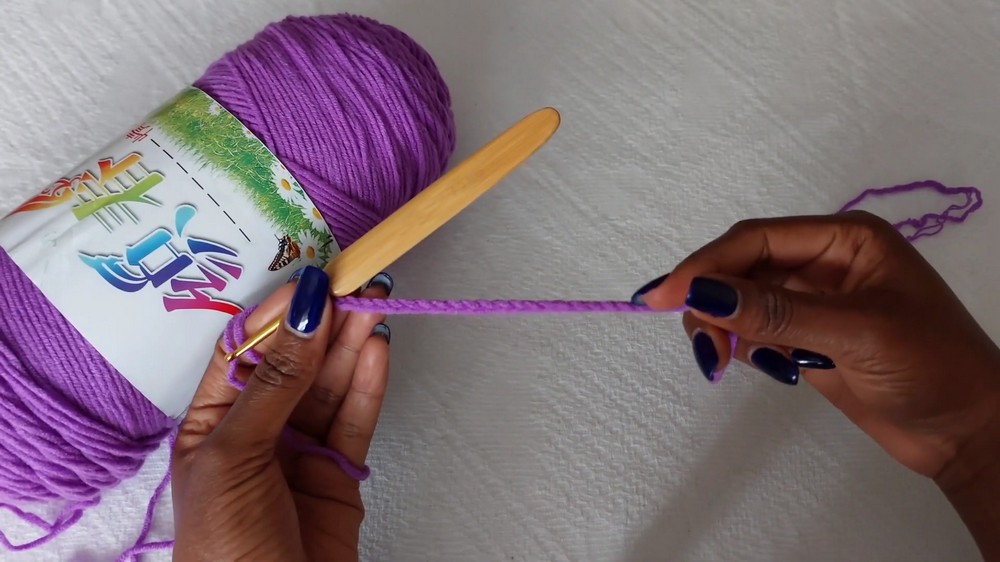
Materials Required:
- 200 grams of medium-weight yarn (available at Mayan Store or similar).
- 3.5 mm crochet hook.
- Measuring tape.
- Darning needle.
- Scissors.
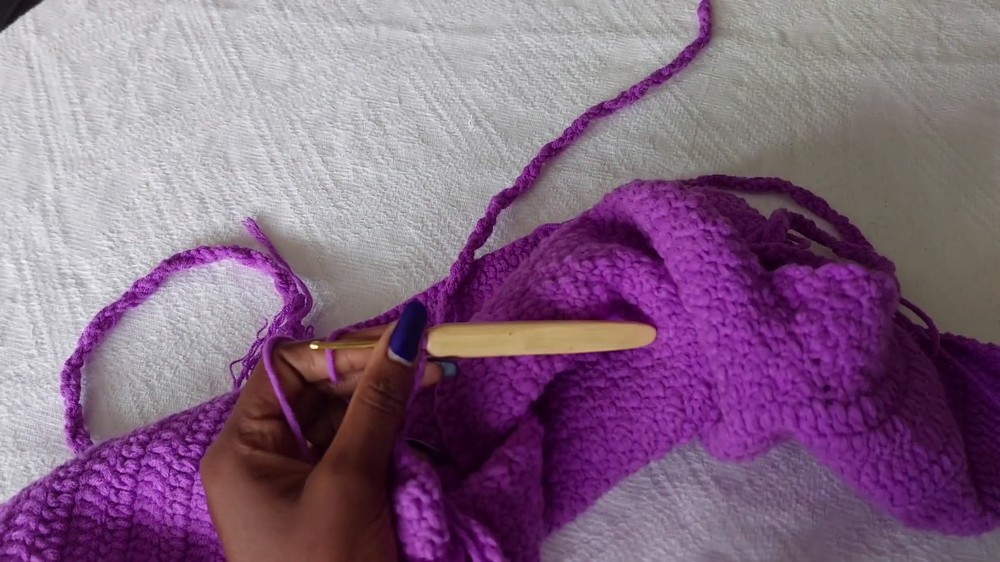
Step-by-Step Guide
Key Measurement:
- Measure from the underarm, over the top of one breast, to the cleavage area.
- For a size medium, Joanna uses 10 inches.
Creating the Crochet Pattern
1. Starting the Crochet:
- Slip Knot: Begin by creating a slip knot.
- Chain Formula: Chain according to your measurement. Use the formula: multiple of 2 + 1. For example:
- If 10 inches = 49 chains (to accommodate a multiple of 2, removing one stitch later to retain an even number).
- If 10 inches = 49 chains (to accommodate a multiple of 2, removing one stitch later to retain an even number).
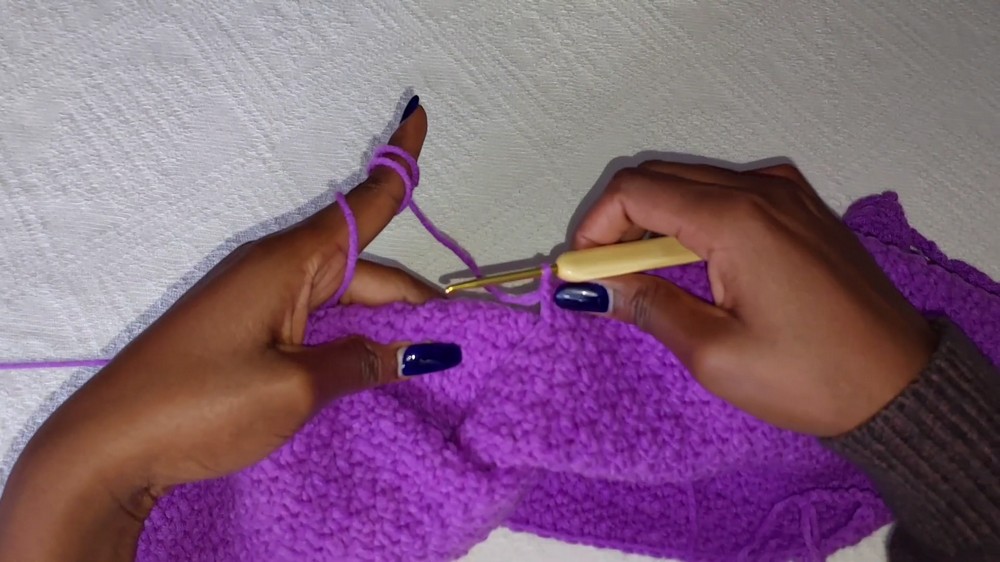
2. Alternating Single and Double Crochets:
- Start the first row:
- Single crochet in the second chain from the hook.
- Alternate single crochet and double crochet for the entire row.
- Important: Always start with a single crochet and end with a double crochet to maintain the pattern flow.
3. Second Row and Beyond:
- Chain one and turn your work.
- Alternate:
- Crochet a single crochet where there was a double crochet.
- Crochet a double crochet where there was a single crochet.
- Ensure to maintain the pattern alternation for all rows.
- Tip: Continue this until the piece covers the bust area.
Decreasing for Shaping
- Stop crocheting once the height of the piece reaches the cleavage area (approximately 3 inches for Joanna).
1. Decreasing Rows:
- At the end of a row:
- Skip the last stitch before turning your work.
- At the beginning of the next row:
- Skip the first stitch and resume alternating single and double crochets.
- Continue decreasing one stitch on one side (slanting edge) while leaving the other side straight.
Result:
- After decreasing, you will form one side of the bust/cup.

Repeating and Joining the Cups
1. Crochet the Second Cup:
- Repeat the same pattern of measurements, rows, and decreases from the first cup to create the second side.
2. Assemble the Cups:
- Alignment: Flip one cup downward and keep the other facing upward.
- Join: Use a darning needle to sew:
- Attach one edge of the first cup to the middle point of the second cup.
- Secure edges tightly stitching through all layers.
- After joining both cups, you will have the initial assembly of the upper portion of the top.
Crocheting the Waistband
1. Measuring the Waist:
- From the joined cups, calculate the measurement for half of your waist size (this ensures proper fit).
2. Decrease for the Waist:
- Similar to the cups:
- Alternate single and double crochets while decreasing on one side only to shape the waistband.
3. Adding Strings:
- Add long strings to the back for tying:
- Use the formula: Create a chain 2, double crochet pattern to form thick and durable strings.
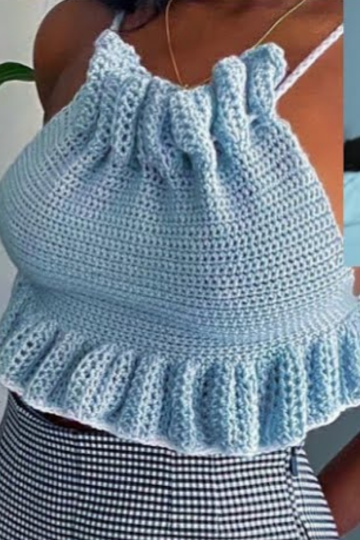
Creating the Peplum Ruffles
1. Attach Yarn at Waistband Base:
- Attach yarn wherever the joined cups end.
- Begin crocheting double crochets in each row along the lower edge of the cups.
2. Subtle Ruffles:
- First row: Alternate increased stitches by creating:
- Two double crochets in one stitch.
- Then one double crochet in the next stitch.
- Repeat this alternation to the end of the row.
- Second row onward:
- Crochet rows of double crochet without increases to form soft ruffles.
3. Joining the Middle Point:
- Strengthen the middle join of the ruffles by adding double crochets.
- Use the darning needle later to join two sides securely.
Adding Final Straps
- Create long straps for the backtie using the same chain 2, double crochet formula.
- Attach straps securely to the top edges of the cups.
Finishing Touches
- Weave in all loose yarn ends using your darning needle.
- Secure all stitches and joins to prevent unraveling during wear.
Conclusion
The pattern guides you through a simple yet elegant crochet process to create a twisted peplum top personalized to your size.
Leave a Reply