

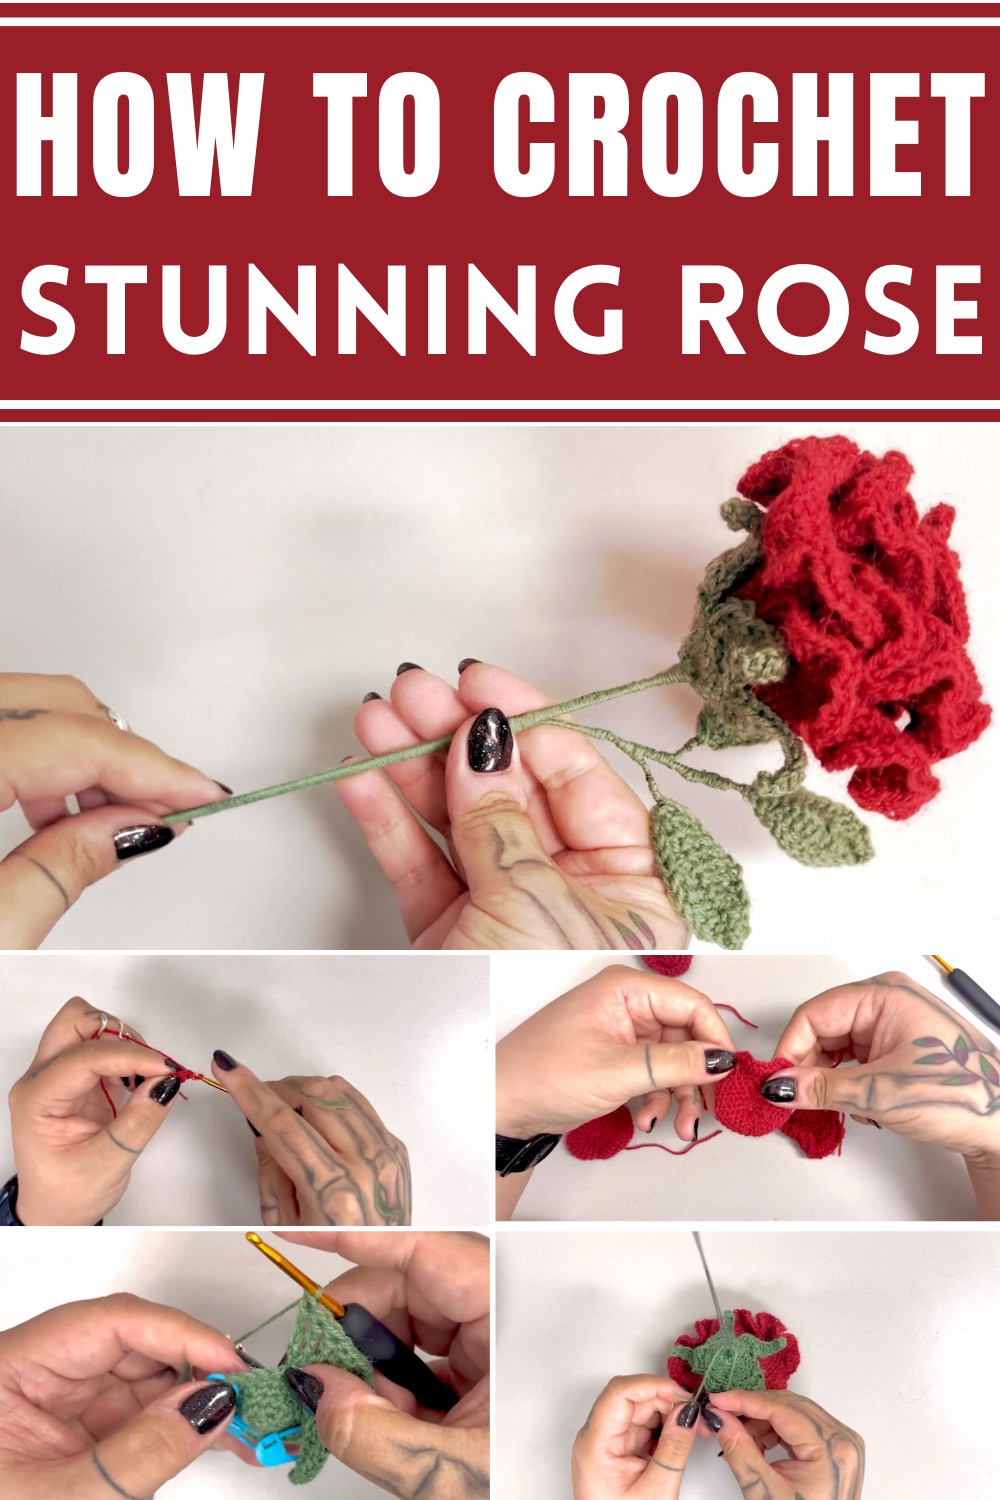
Learn how to crochet rose pattern with simple steps, creating beautiful designs for home decor, thoughtful gifts, or unique personal projects.
Flowers may wither over time, but yarn-crocheted roses hold their beauty forever. These charming creations bring life to any project, showcasing vibrant textures and intricate designs through the art of crocheting. From adorning hats, bags, and clothing to decorating cozy spaces, their adaptability knows no bounds. Whether given as thoughtful gifts or used in personal projects, they carry the warmth of handmade artistry and add a touch of elegance wherever they appear.
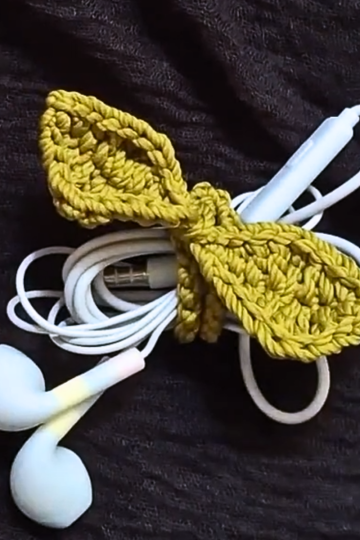
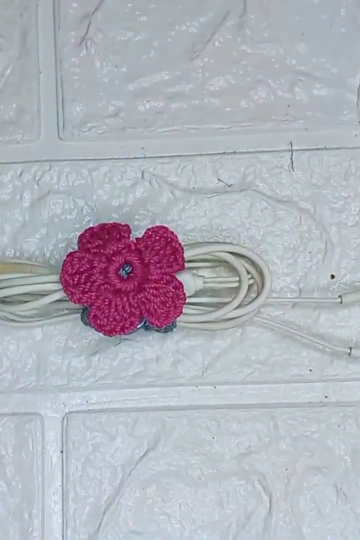
Unique Crochet Rose Design for Accessories
Beyond their decorative appeal, crocheting roses offers soothing benefits for the mind. The rhythmic motions of each stitch promote relaxation, reduce stress, and enhance focus, making it a rewarding activity for both beginners and experts.
Compact and easy to carry, they’re perfect for small on-the-go projects or quick creative breaks during busy days. With their timeless appeal and therapeutic effects, crochet roses bring more than beauty they bring joy and tranquility to everyday life.
Introduction
In this pattern, you’ll make a crochet flower consisting of small and big petals, a flower base (supple), and a wired leaf for added structure. The project uses fundamental stitches such as single crochet, half double crochet, double crochet, and triple crochet, making it suitable for intermediate crochet enthusiasts. With precise attention to detail and repetitive steps, this design can be assembled into a charming flower that can be used for home décor, accessories, or gifts.

Part 1: Creating the Small Petals
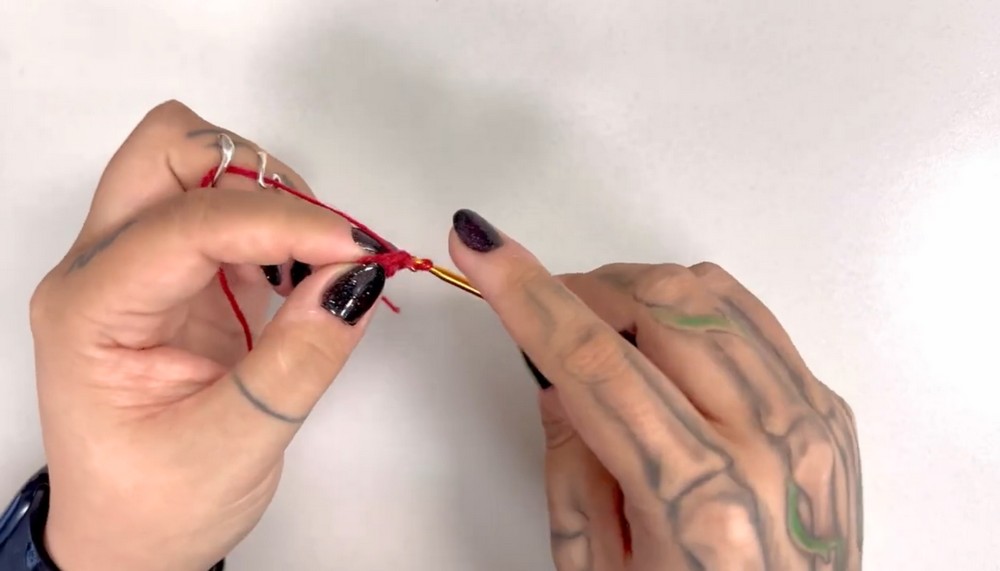
Step 1: Create the Base
- Start with a magic circle.
- Work five single crochets into the circle.
- Pull the string tight to close the loop.
- Finish with a slip stitch and chain one.
Step 2: Begin Increasing
- Increase in every stitch around to bring the total to 10 stitches.
- Pull the tail string through the stitches to hide it as you crochet.
- Finish with a slip stitch and chain one.
Step 3: Continue the Rounds
- Work 1 single crochet followed by 1 increase. Repeat five times.
- Complete the round with a slip stitch and chain one.
- Next, work 2 single crochets followed by 1 increase. Repeat five times.
- End with a slip stitch and chain one.
- Continue with 3 single crochets and 1 increase, repeating five times. Finish with a slip stitch and chain one.
Step 4: Final Rounds for Shape
- Work 4 single crochets and 1 increase, repeating five times.
- Finish with a slip stitch and chain one.
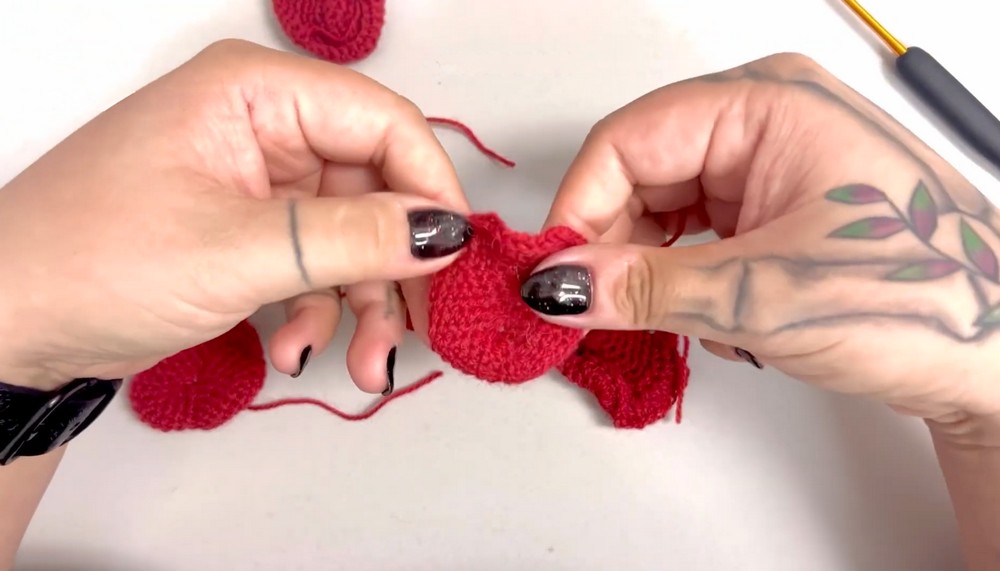
Step 5: Shaping the Petal
- Crochet 11 single crochets followed by 2 half double crochets in the same stitch.
- Then work 2 half double crochets one after the other, followed by 2 half double crochets again in one stitch.
- Continue with 12 single crochets and finish with a slip stitch and chain one.
Step 6: Final Edge Round
- Work 11 single crochets followed by 2 double crochets in each stitch for the next 10 stitches.
- Finish with 12 single crochets, one slip stitch, and a chain one.
- Cut the yarn, pull it through to secure, leaving a small tail.
- Repeat these steps to create a total of 6 small petals for your flower.
Part 2: Crocheting the Big Petals
Step 1: Magic Circle Base
- Begin with a magic circle and work five single crochets into the center.
- Pull the string tight and close the loop with a slip stitch and chain one.
Step 2: Increasing Stitches
- Increase in each stitch to create 10 stitches. Slip stitch and chain one to finish the round.
Step 3: Gradual Growth
- Work 1 single crochet and 1 increase. Repeat five times.
- Slip stitch and chain one.
- Then, work 2 single crochets and 1 increase, repeating five times. Finish with a slip stitch and chain one.
- Next, crochet 3 single crochets and 1 increase, repeat five times. Slip stitch and chain one.
Step 4: Expanding the Petal
- Work 4 single crochets and 1 increase, repeating five times. Finish off with a slip stitch and chain one.
- Finally, work 5 single crochets and 1 increase, repeating five times. Slip stitch and chain one.
Step 5: Shaping the Big Petal
- Work 6 single crochets, followed by 2 half double crochets in the same stitch.
- Continue with 6 half double crochets individually across; repeat this entire sequence three times in total.
- End with 2 half double crochets in the same stitch and seven single crochets.
- Slip stitch and chain three.
Step 6: Final Rounds
- Work 7 double crochets, followed by 3 double crochets in one stitch, repeating this sequence 25 times.
- End with 7 double crochets, a slip stitch, and a chain one.
- Cut the yarn, pull through, and tie off securely.
Part 3: Building the Flower Supple (Center)
Step 1: Magic Circle Base
- Begin with a magic circle and work 5 single crochets into it.
- Pull the string tight and close the loop with one slip stitch and chain one.
Step 2: Increasing Rounds
- Increase in every stitch, bringing the count to 10 stitches.
- Finish off with a slip stitch and chain one.
Step 3: Adding Dimension
- Work 10 single crochets in the round and end with a slip stitch and chain one.
- Crochet 1 single crochet and 1 increase, repeating five times for a total of 15 stitches. Finish with a slip stitch and chain one.
- Then, work 2 single crochets and 1 increase, repeating five times. Slip stitch and chain one.
- Finally, work 3 single crochets and 1 increase for five repeats. Slip stitch and chain one.
Step 4: Creating Curves
- Chain 13 stitches.
- Work from the second stitch:
- 3 single crochets
- 2 half double crochets
- 2 double crochets
- 2 triple crochets
- 3 triple triple crochets
- Skip 4 stitches and then slip stitch to connect.
- Repeat this curve-building process five times total.
- Finish off with a slip stitch, chain one, and cut the tail.

Part 4: Crocheting the Leaf with Wire
Step 1: Adding Structure
- Start with a chain of 13 stitches.
- Add the wire to the chain for added stability.
Step 2: Working Along the Chain
- Begin with 1 single crochet from the second stitch of the hook.
- Continue with:
- 1 half double crochet
- 2 double crochets
- 4 triple crochets
- 2 double crochets
- 1 half double crochet
- Finish the point with a picot stitch.

Step 3: Completing the Other Side
- Turn to the opposite side of the chain:
- Start with 1 half double crochet.
- Then repeat:
- 2 double crochets
- 4 triple crochets
- 2 double crochets
- 1 half double crochet
- 1 single crochet
- Finish with a slip stitch and chain one.
- Wrap the excess wire with yarn to secure.
Conclusion
By following this detailed guide, you’ll be able to crochet a stunning crochet flower with intricate petals, a dimensional flower center, and structured leaves. This pattern combines practical techniques with artistic flair, resulting in a design that can be used to decorate clothing, accessories, or as standalone art pieces. Whether it’s your first time attempting a crochet flower or you’re an experienced crocheter, take your time and enjoy the process to create something truly special.
Leave a Reply