

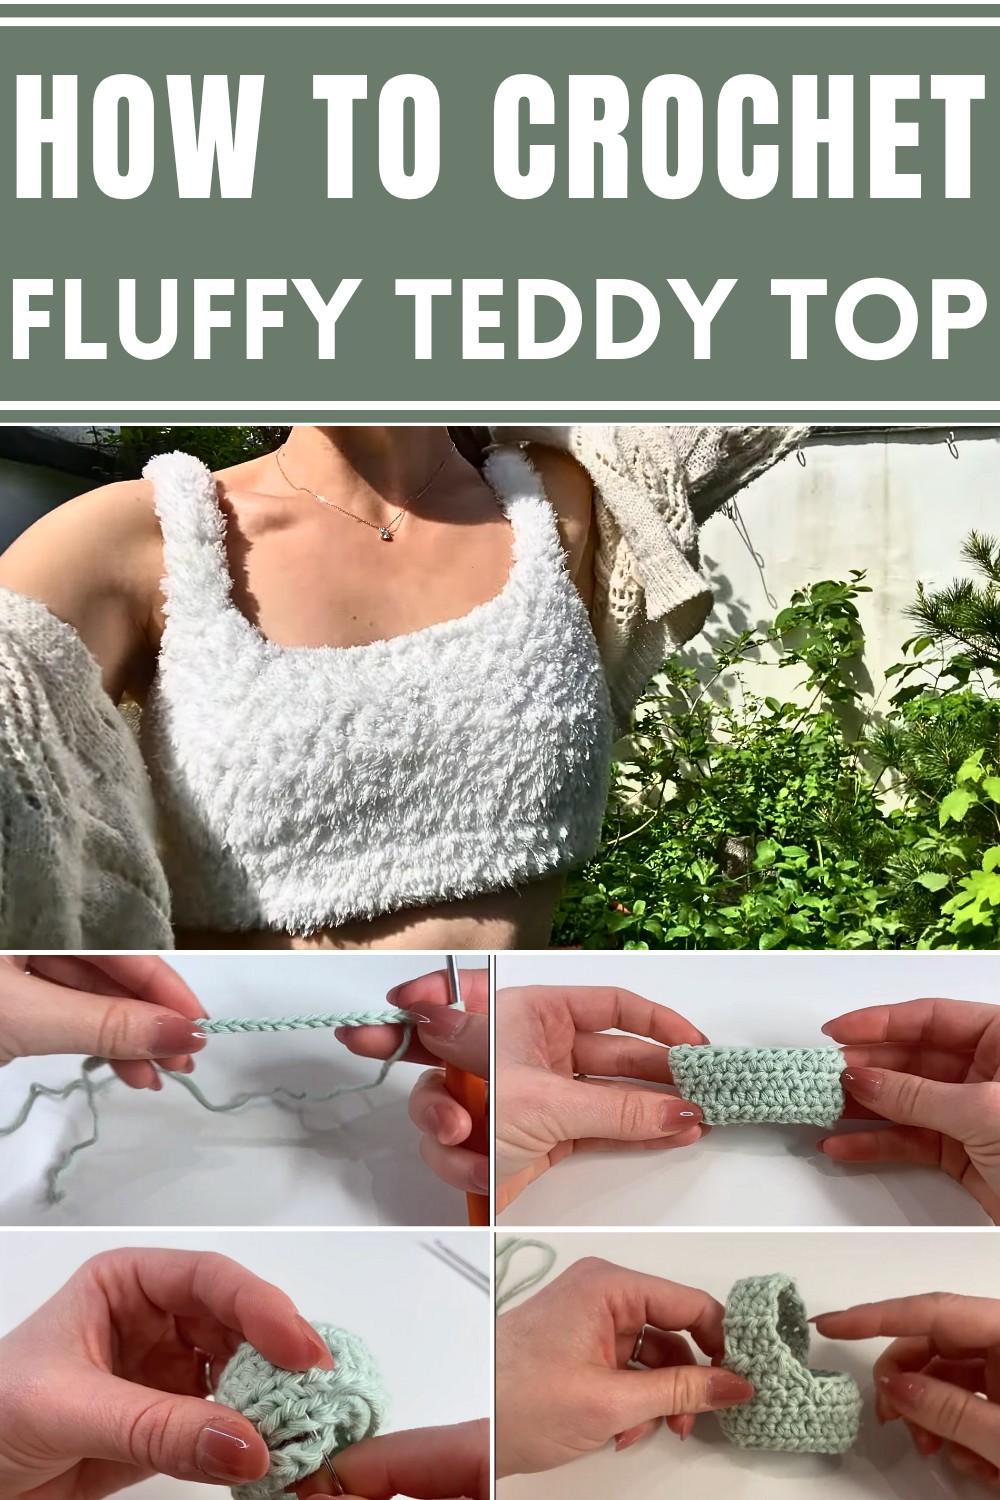
Elevate your style with the Crochet Fluffy Teddy Top, a soft, cozy, and lightweight piece perfect for adding charm and comfort to your wardrobe.
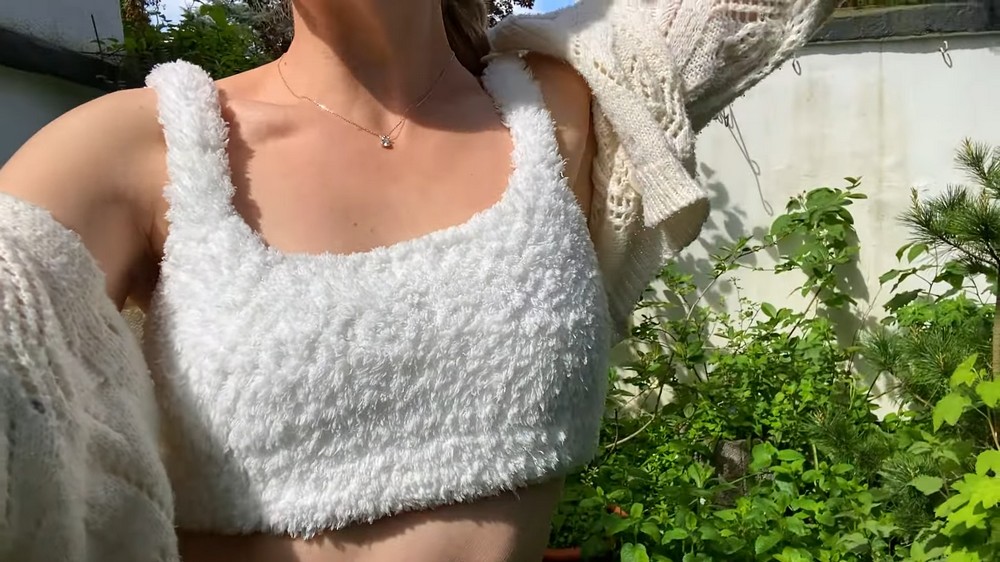
Soft textures and timeless designs have always held a special place in everyday fashion. The Crochet Fluffy Teddy Top brings these elements together in a piece that’s both stylish and practical. Its teddy-like softness surrounds you in comfort, making it an ideal choice for layering during cooler months or wearing on its own for relaxed outings. Lightweight yet cozy, this top provides the perfect balance of warmth and breathability.
Cutest Crochet Fluffy Teddy Top Pattern to Elevate Your Wardrobe
Designed to effortlessly complement jeans, skirts, or casual trousers, it’s a versatile addition to your wardrobe that adapts to any occasion. Beyond its aesthetic charm, the top offers durability and easy maintenance, allowing it to remain a favorite for seasons to come. Its fluffy texture adds a playful edge to your ensemble without being overwhelming, making it suitable for both everyday wear and a touch of cozy sophistication.
With a focus on combining practicality and modern style, the Crochet Fluffy Teddy Top becomes more than just clothing—it’s a guarantee of comfort. Whether dressing up for an outing or winding down at home, this top brings a sense of effortless coziness and charm to your day. Add it to your collection for a truly unique way to stay warm yet fashionable year-round.
Materials Needed
- Fluffy yarn (e.g., Teddy from Go Handmade)
- 4 mm crochet hook (adjustable based on your yarn)
- Measuring tape
- Stitch markers
- Scissors
- Darning needle
Tips for Working with Fluffy Yarn
- Identify stitches: Fluffy yarn usually has a small thread attached to the fluffy part, aiding in identifying stitches.
- Addition of cotton yarn: Adding a strand of cotton yarn in a similar color can help see the stitches more clearly.
- Counting stitches: Count your stitches each row to ensure accuracy.
- Feeling the stitches: Feel the stitches to guide your hook accurately.
Measuring
- Bust Circumference: Measure around your bust for the width of the top.
- Upper Bust to Under Bust: Measure vertically from your upper bust to under bust for the length of the top.
Tutorial Steps
Create the Base
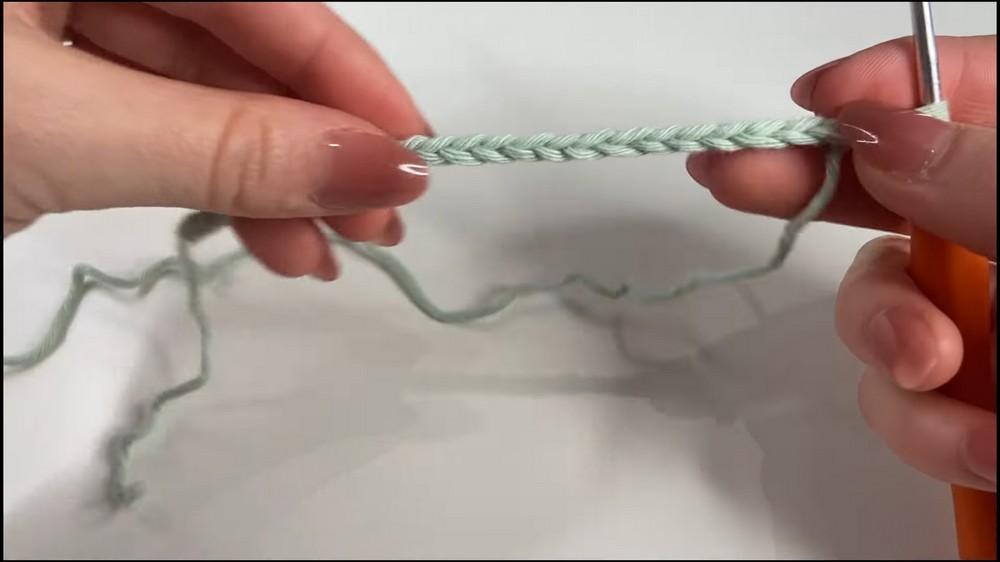
- Slip Knot: Begin by making a slip knot.
- Chain: Create chains until you reach your bust circumference. Use a measuring tape to check size.
- Join in a Round: Form a circle with the chains ensuring they are not twisted. Insert the hook into the first chain made and make a slip stitch.
- Chain One: Start the round and mark with a stitch marker.
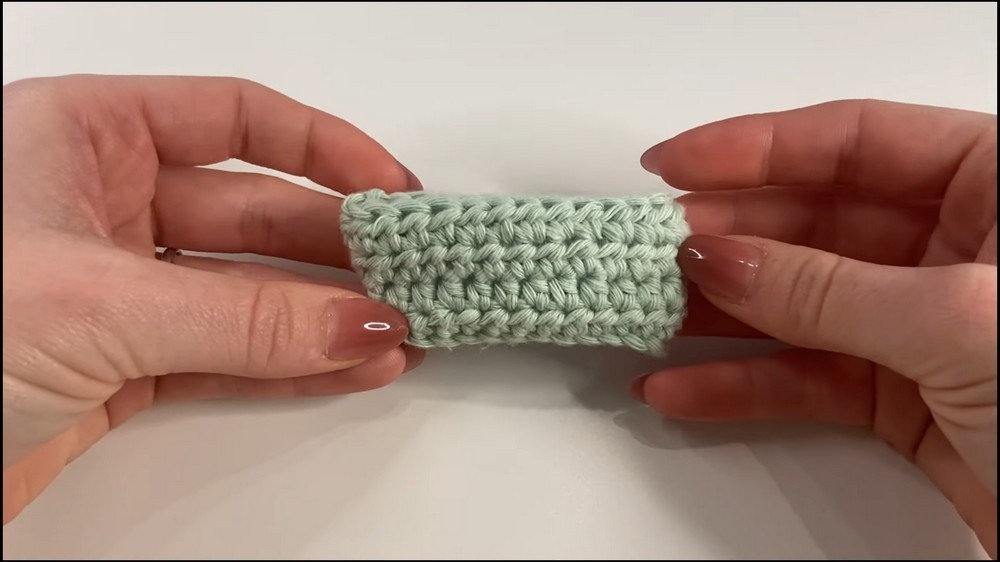
- Half Double Crochets: Yarn over, insert the hook, grab the yarn, pull through the stitch, resulting in three loops on the hook. Yarn over again and pull through all three loops. Continue until the end of the row.
Continue Rows
- Slip Stitch: At the end of the row, insert the hook into the stitch marker’s stitch and make a slip stitch.
- Chain One and Turn: Chain one, turn your work, insert the stitch marker, and continue making half double crochets.
- Repeat: Repeat the process until the fabric reaches the upper bust to under bust measurement.
Finish Off
- Cut Yarn: Upon reaching the desired length, cut the yarn and fasten off.
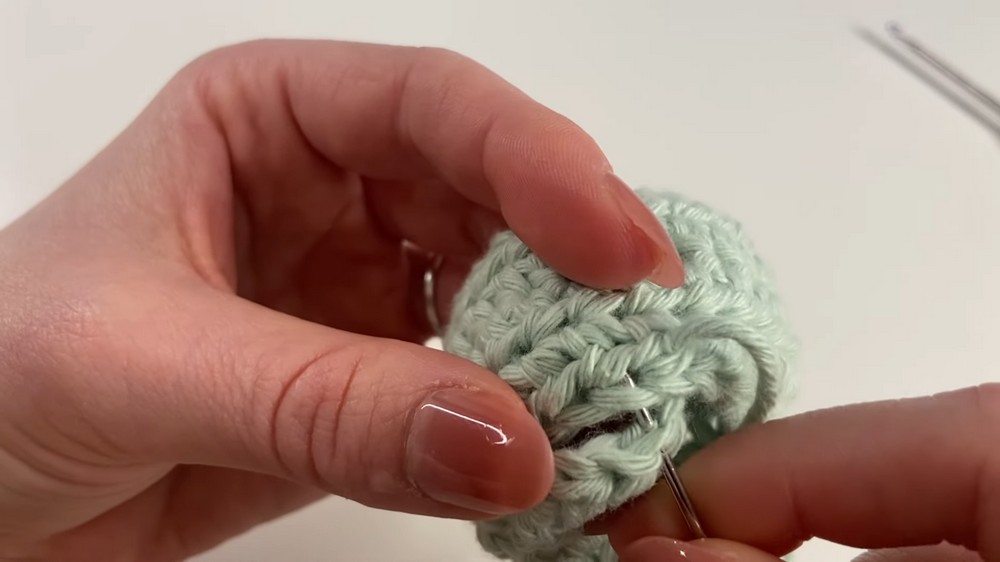
- Weave in Ends: Use a darning needle to weave in the yarn ends by going through random stitches. Hide the yarn within the fabric.
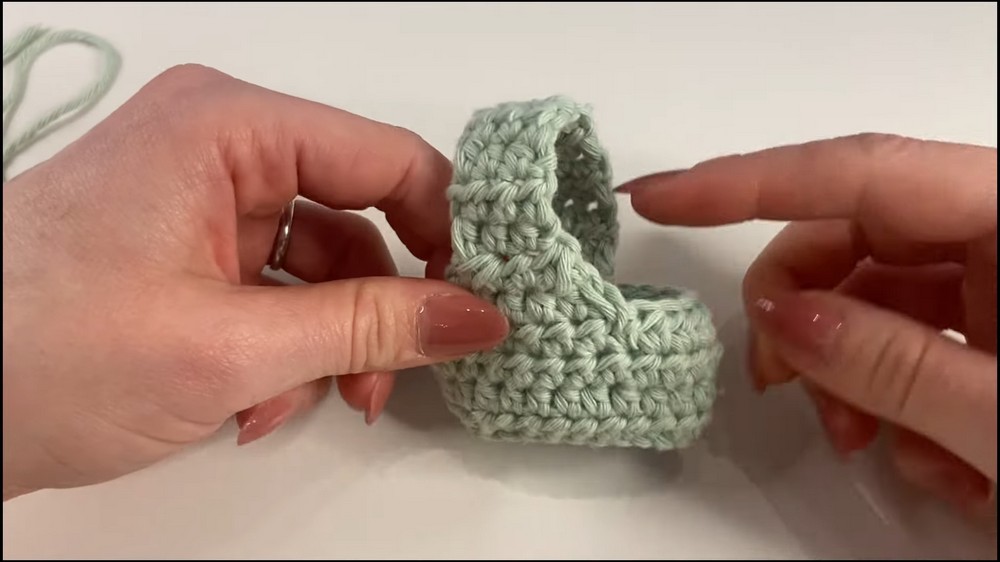
Adding Straps
- Strap Positions: Use your bra as a reference, placing stitch markers at strap start points.
- Attach Yarn: Insert hook into stitch marker, remove marker, attach new yarn, secure with a chain one.
- Half Double Crochet Decrease: Yarn over, insert hook into stitch, pull through, resulting in three loops. Yarn over, insert hook into next stitch, remove marker, pull through, resulting in five loops. Yarn over and pull through all loops.
- Continue Rows: Make decreases at strap areas, then create regular half double crochets. Repeat pattern until desired strap length.
Attach Straps
- Measure and Sew: Fasten off, use darning needle to sew straps onto the back, ensuring alignment.
- Weave Ends: Weave in any remaining yarn ends.
Conclusion
Congratulations! You've now finished creating your fluffy crochet top. By following these detailed steps, you should have a beautiful, well-fitted crochet top that's perfect for spring.
Leave a Reply