

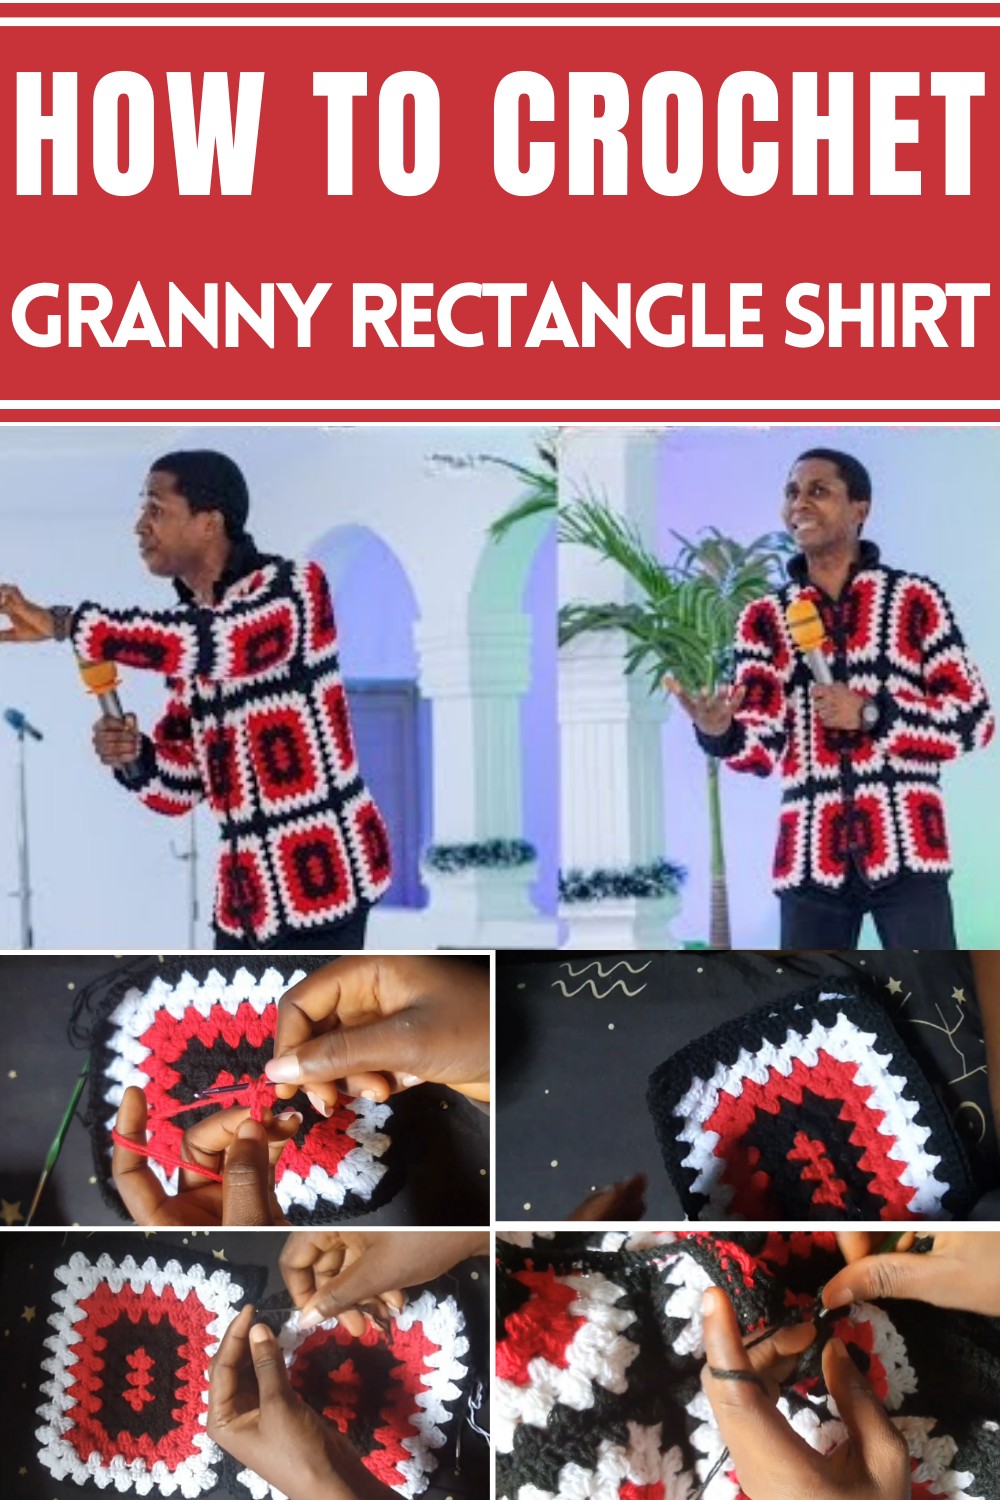
Elevate your style with the Crochet Granny Rectangle Shirt versatile, breathable, and a perfect blend of comfort and handmade charm for every outfit.
Timeless crochet techniques have found their way into modern fashion, offering new ways to blend handmade charm with everyday practicality. The granny rectangle shirt embodies this evolution, taking the well-loved granny square motif and adapting it into a unique rectangular design that’s perfect for wearable projects. Lightweight yet durable, it is designed for comfort, making it ideal for layering in cooler weather or as a standalone piece during warmer months.
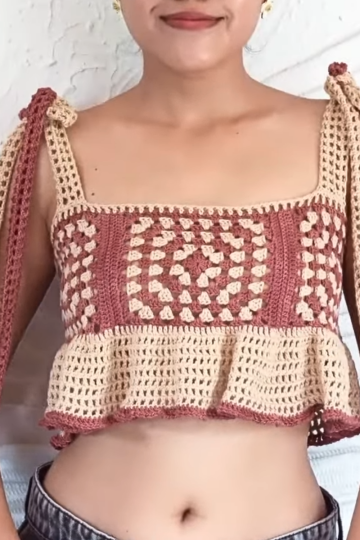
C hic Crochet Granny Rectangle Shirt Pattern Stylish and Handmade
This shirt isn’t just about style—it’s about versatility. With its simple structure, it’s a great choice for beginners, while seasoned crocheters will appreciate its adaptability for creative customizations. From vibrant color combinations to textured yarns, each shirt can be uniquely tailored to suit personal preferences or match specific occasions. Beyond its aesthetic appeal, the granny rectangle shirt encourages sustainable practices by allowing crochter to use eco-friendly or recycled materials.
Perfect for casual outings, laid-back summer gatherings, or thoughtful handmade gifts, this shirt combines practicality with a touch of individuality. Its universal appeal and timeless design make it a staple in any wardrobe, bridging the gap between traditional crochet art and contemporary styling, all while keeping comfort at the forefront of its benefits.
1. Materials Needed
The following materials are mentioned in the pattern:
- Crochet hooks: 3.0 mm and 4.0 mm.
- Yarns: Three colors (red, black, and white).
- Darning needle: Used for joining and stitching pieces.
- Scissors: For cutting yarn.
- Measuring tape: To measure dimensions of finished rectangles.
 1
1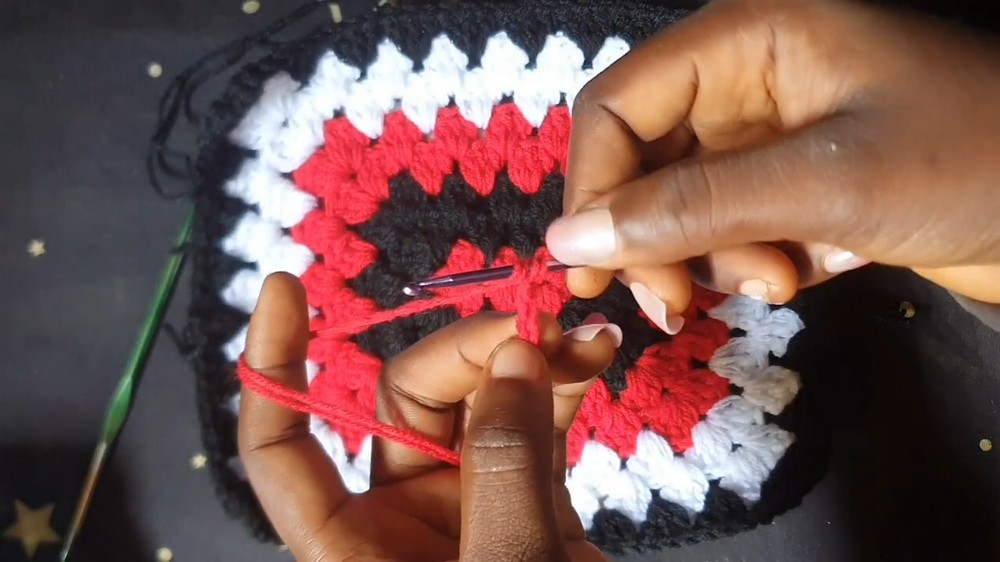
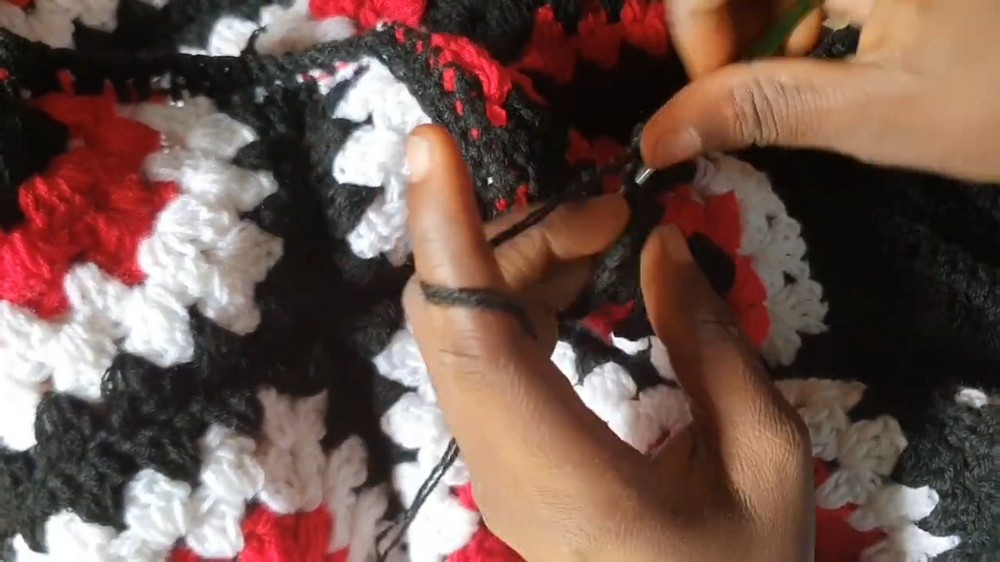
- Foundation: Begin with a chain of 9 stitches using red yarn and a 3.0 mm hook. Skip two chains and crochet into the third using half double crochet. Build clusters of granny stitches (three half double crochets per space).
- Corners: Chain two stitches at each corner to help define the rectangular shape.
- Alternating Colors: Finish a row and switch colors (e.g., to black yarn) using a slip stitch method. Switch to a 4.0 mm hook when using black yarn.
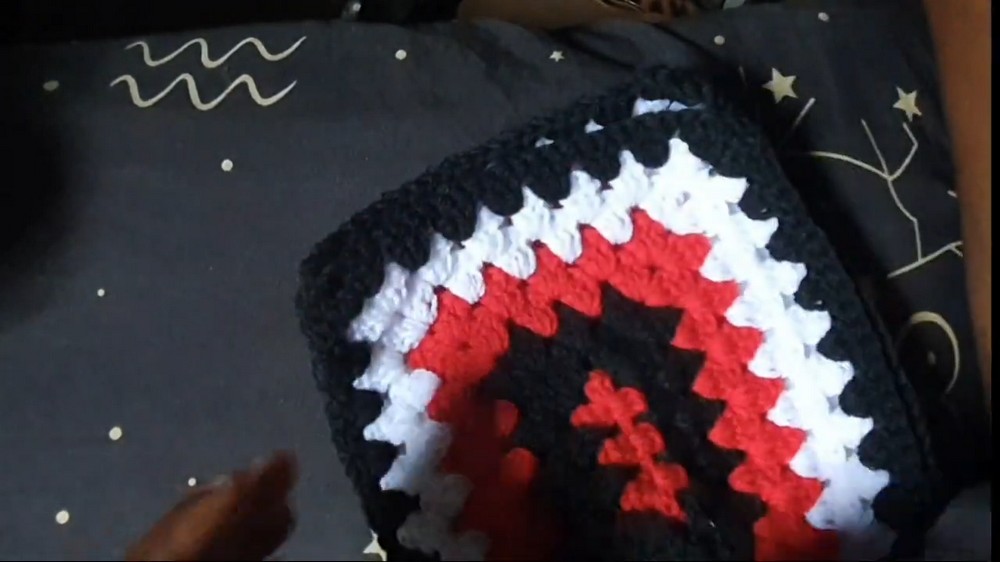
- Adding Rows: Continue expanding the rectangle by repeating the granny stitch pattern, alternating yarn colors as specified.
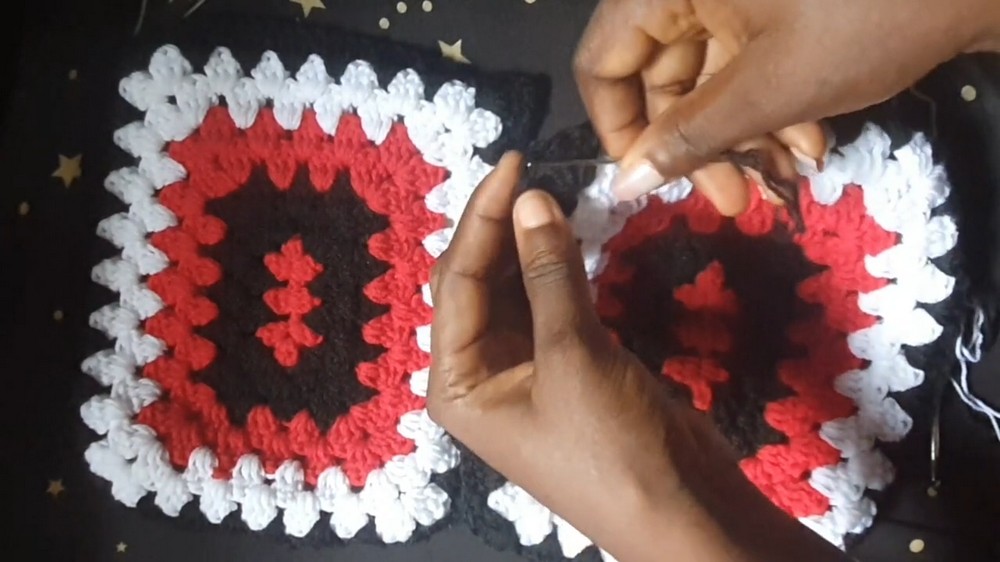
- Smaller Rectangles: Follow similar steps to create smaller pieces for arm panels and necklines. Adjust the chains (e.g., 8 stitches instead of 9) for sizing needs.
- Assembly: Using a darning needle, sew panels together on the wrong side, ensuring clean finishing on the right side. Follow provided measurements for garment assembly.
Step-by-Step Details Crochet Granny Rectangle Shirt
The pattern demonstrates how to crochet a granny rectangle shirt this project using basic crochet techniques. It provides step-by-step guidance on crochet rectangular granny stitches and assembling them into a wearable garment. The project is versatile and allows for customization of colors and dimensions, making it suitable for sweaters, dresses, or accessories. The pattern offers practical insights for beginners and intermediates looking to expand their crochet skills.
2. Special Features
- Granny Rectangle Shape: The pattern focuses on crocheting rectangular granny shirt, rather than traditional granny squares. This unique shape makes it suitable for larger projects such as sweaters or rectangular panels.
- Color Alternation: Red, black, and white yarns are alternated systematically to achieve a vibrant pattern.
- Customizable Dimensions: The pattern includes sizing guidance, allowing adjustments for personal or customer preferences.
- Detailed Sewing Instructions: The creator thoroughly explains how to sew rectangular panels together for garment construction.
3. Level of Difficulty
- Beginner-Friendly: While some techniques, like joining and sewing, may require patience, the core granny stitch and rectangular creation process are straightforward and suitable for beginners.
- Intermediate Challenges: The shaping and assembling steps, such as creating smaller panels for arm parts and necklines, may pose slight challenges to newer crocheters.
4. Tutor’s Suggestions
- Working Consistently: Ensure tension and stitch consistency throughout the project for smoother assembly and symmetric results.
- Start Simple: Beginners are encouraged to start with a single rectangle before progressing to full garment assembly.
- Seams and Sewing: Always sew pieces together on the wrong side to ensure clean finishing on the right side.
- Customization: The creator emphasizes measuring accurately for personal sizing and adapting dimensions based on feedback.
5. Uses
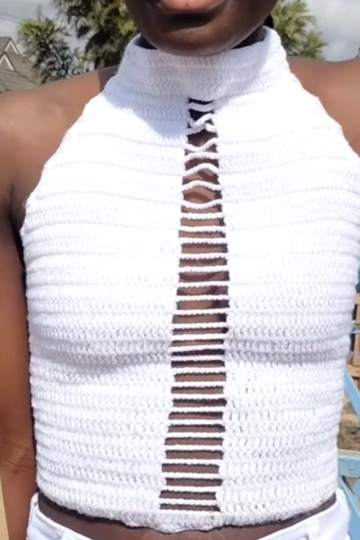
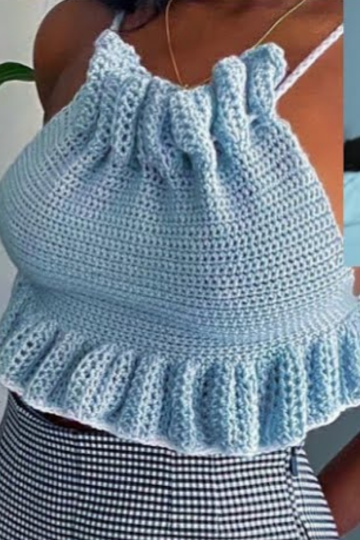
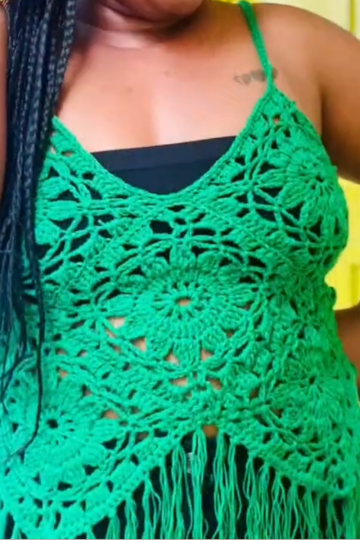
- Wearable Garments: Completed panels can be sewn together into sweaters, tops, or dresses as demonstrated.
- Accessories: Smaller rectangles can be used for scarves, bags, or decorative fabric.
- Patterns and Gifts: This versatile design makes great personalized gifts or unique additions to home decor projects.
7. Tip
When switching colors, always sew in loose ends immediately after completing rows. This eliminates issues with unraveling and makes the final assembly process cleaner.
Conclusion
The pattern provides clear instruction for constructing a rectangular granny shirt crochet pattern and assembling panels into a functional garment. By combining simple techniques, careful measurements, and vibrant color combinations, creators can produce a variety of projects, from practical apparel to decorative works. Perfect for enhancing crochet skills, this project balances beginner-friendly techniques with challenges that foster growth.
Leave a Reply