

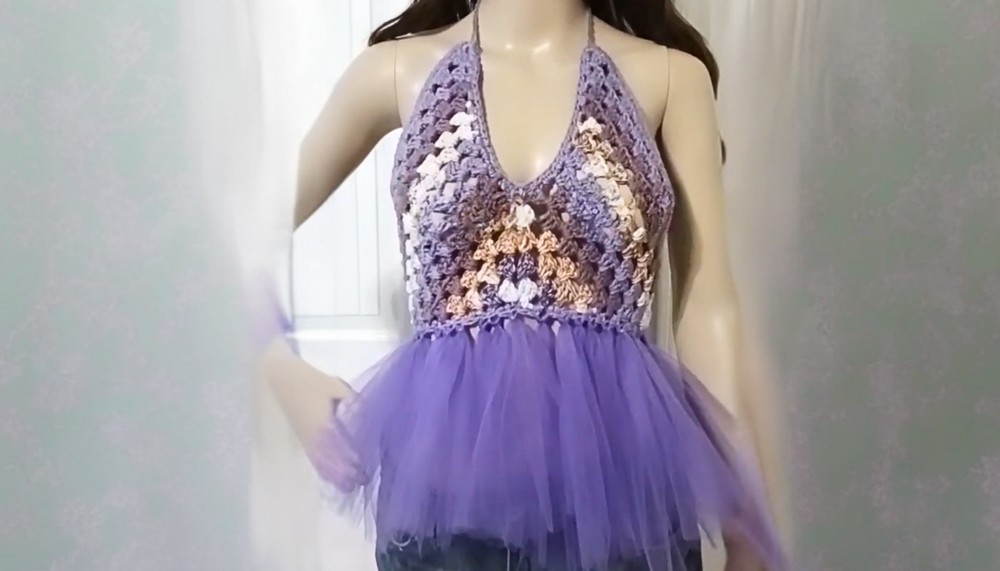
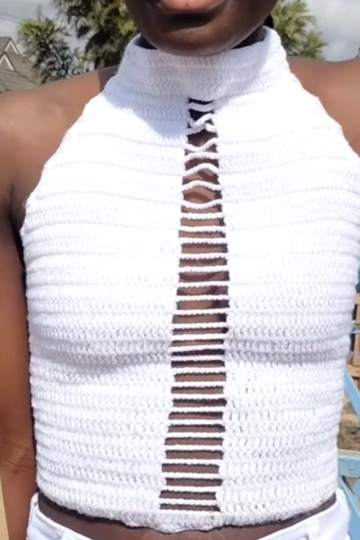
Style your outfit with a Crochet Half Granny Square Top, offering lightweight comfort and versatile charm for any season.
Popular in crochet tradition, the half granny square pattern brings a fresh perspective to modern clothing in the form of the Crochet Half Granny Square Top. This Adaptable piece stands out for its lightweight and breathable qualities, making it ideal for warm weather or layered ensembles during cooler months. Incorporating triangular motifs, the design seamlessly merges style with function, allowing it to be paired with anything from casual jeans to flowy skirts.
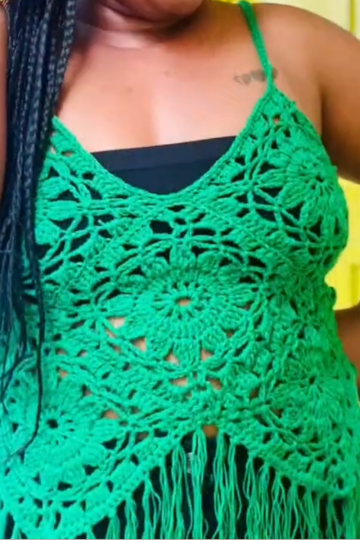
Breezy Crochet Half Granny Square Top Pattern for Stylish Handmade Wear

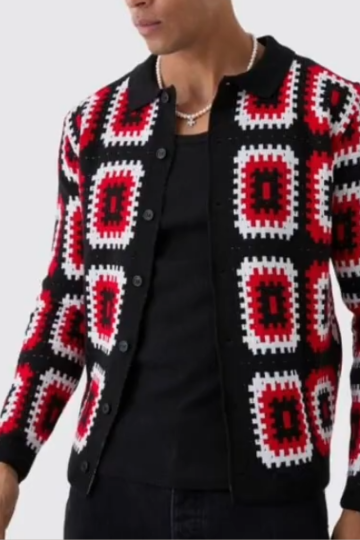
Beyond its aesthetic appeal, this top proves practical for various occasions, whether worn on relaxed outings, vacations, or informal gatherings. Its easy-to-care-for nature ensures convenience, while the intricate stitching adds texture and charm to your attire. The Crochet Half Granny Square Top shines as an everyday garment, offering the right mix of comfort and style.
For those who value individuality in fashion, the top serves as more than just clothing—it’s a statement. The well-balanced design provides versatility without sacrificing elegance, ensuring it earns a place in a thoughtfully curated wardrobe. Lightweight, adaptable, and visually striking, this top redefines casual wear, offering practicality and flair in equal measure.
Materials Needed
- Yarn: Choose cotton yarn like "I Love This Cotton" from Hobby Lobby. The video uses three colors: Sunsetting, French Lilac, and Amethyst.
- Crochet Hook: Select the size that works best with your yarn.
- Scissors: For cutting yarn.
- Needle: To weave in the ends when finishing the project.
 1
1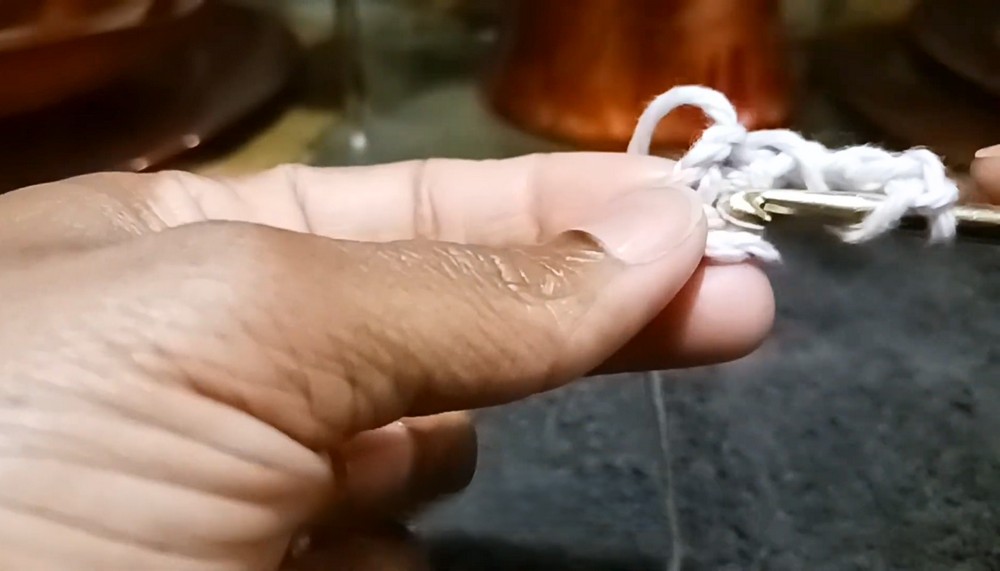 2
2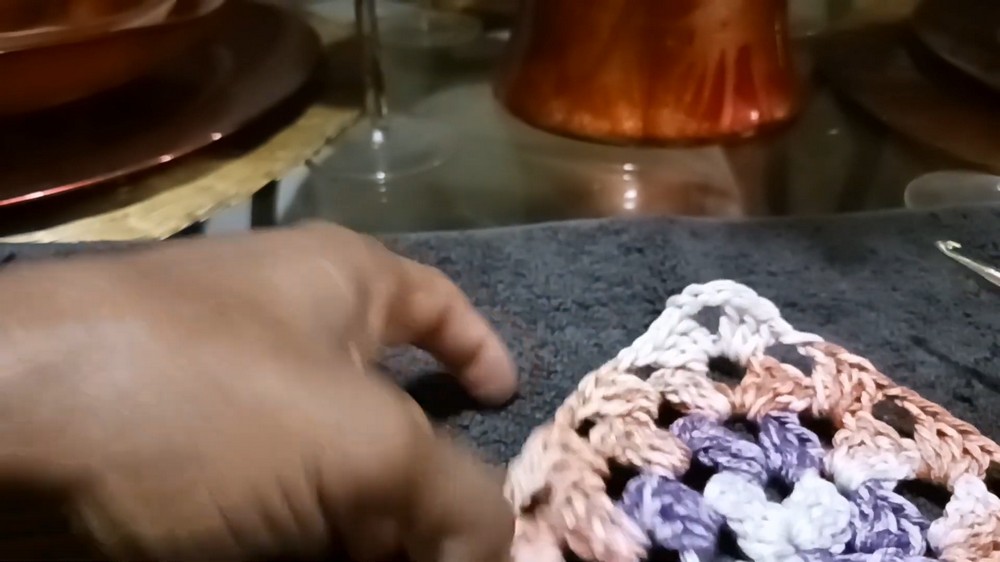 3
3
 4
4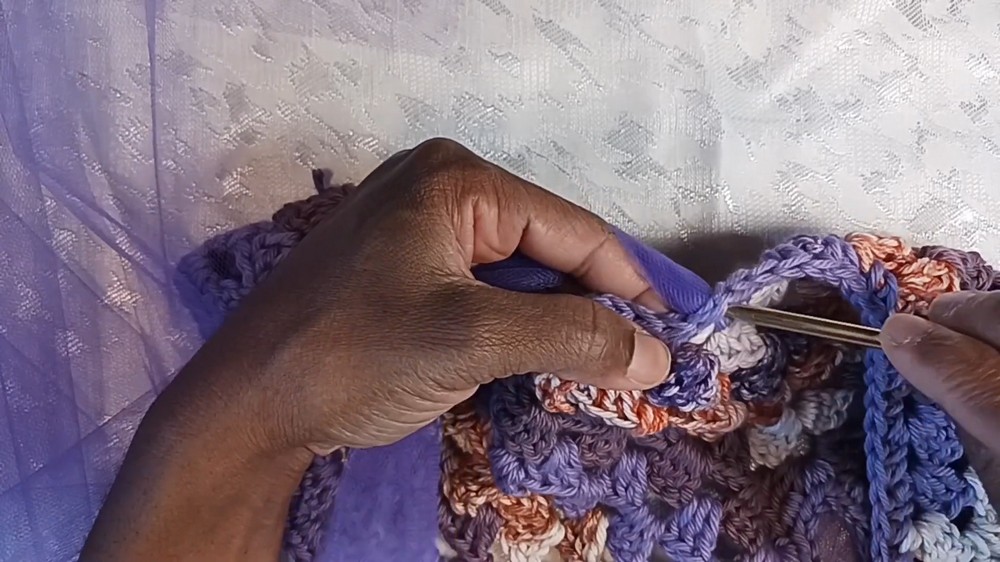
Step-by-Step Process
1. Starting the Half-Granny Square
- Begin by creating a slip knot on your hook.
- Chain 4 stitches.
- Connect the chain into a ring using a slip stitch into your first chain.
- Chain 4 (this counts as your first double crochet and chain space for the next row).
- Into the center of the ring:
- Place 3 double crochets (DC).
- Chain 3.
- Place 3 double crochets again.
- Chain 1, followed by 1 double crochet.
2. Building Rows for the Halter Top
Repeat the granny square pattern with the following adjustments every row:
- Chain 4 to begin a new row and turn your work.
- For each space in the previous row:
- Place 3 double crochets to fill the space.
- Chain 1.
- When you reach the middle chain space (top of the “V”):
- Chain 3.
- Place 3 double crochets again into the same space.
- Continue chaining and filling the spaces until the end of the row.
- End each row with a double crochet.
- Continue until the granny square section reaches your desired size. (For larger sizes, keep increasing by adding rows.)
3. Changing Yarn Colors
- To change colors:
- At the end of a stitch, leave two loops on your hook instead of finishing the stitch.
- Pick the next yarn color and pull it through the loops.
- Tie the working yarn tails together for added security.
- Continue crocheting with the new color, repeating the granny square pattern.
4. Completing One Side of the Top
Focus on one side of the square pattern:
- Work exclusively on one half (the side that forms the triangular shape).
- Continue building rows with the granny square pattern until your halter top reaches the desired length for one side.
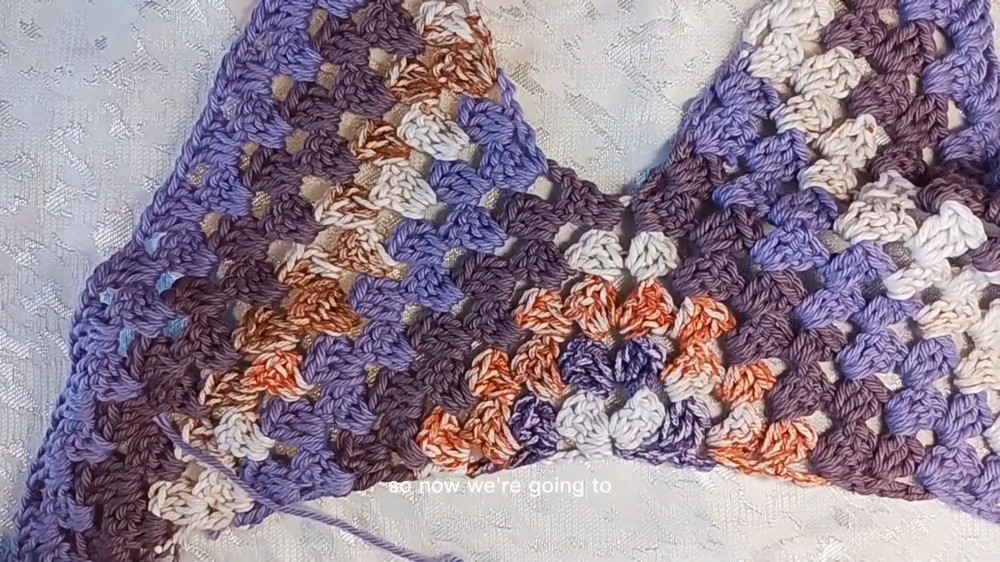
5. Crocheting the Second Side
Once the first side is complete:
- Attach yarn to start the second side of the halter top (directly opposite the first).
- Repeat the granny square pattern (chain 4, fill spaces with double crochets, chain 1, etc.).
- Keep building rows until the second side matches the length of the first side.
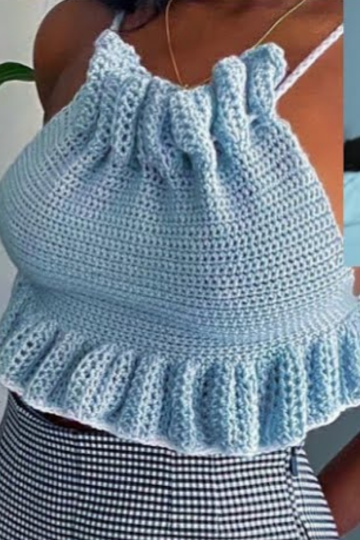
6. Adding the Trim
To create a smooth and uniform border:
- Add half double crochets (HDC) around the edges of the halter top.
- Place 3 half double crochets at turning corners to ensure a rounded shape.
- For chain spaces, insert 2 half double crochets.
- Continue this pattern along all edges until the trim is complete.
7. Adding the Straps
- At the top corners of both triangular sections:
- Attach yarn.
- Chain the number of stitches needed for straps (e.g., chain 50 for smaller straps).
- Repeat for both sides.
- Securely tie the straps or sew them onto the edges for reinforcement.
8. Adding Fringe or Embellishments
- For fringe:
- Use cardboard to measure and cut fabric (like tulle) or yarn strips.
- Wrap the material around the cardboard as desired.
- Cut the loops to form strips.
- Attach the fringe:
- Fold each strip in half.
- Insert it into the edges of the halter top, knotting it in place.
- Continue adding fringe as desired.
Conclusion
Once all steps are completed, your crochet halter top is ready to wear. The top features a trendy design formed by combining granny square patterns, decorative trim, and optional embellishments like fringe. The project allows for modifications to suit various sizes and styles, making it versatile and creative. Whether paired with jeans, skirts, or worn over swimwear, this crochet halter top is a chic handmade addition to any wardrobe.
Leave a Reply