

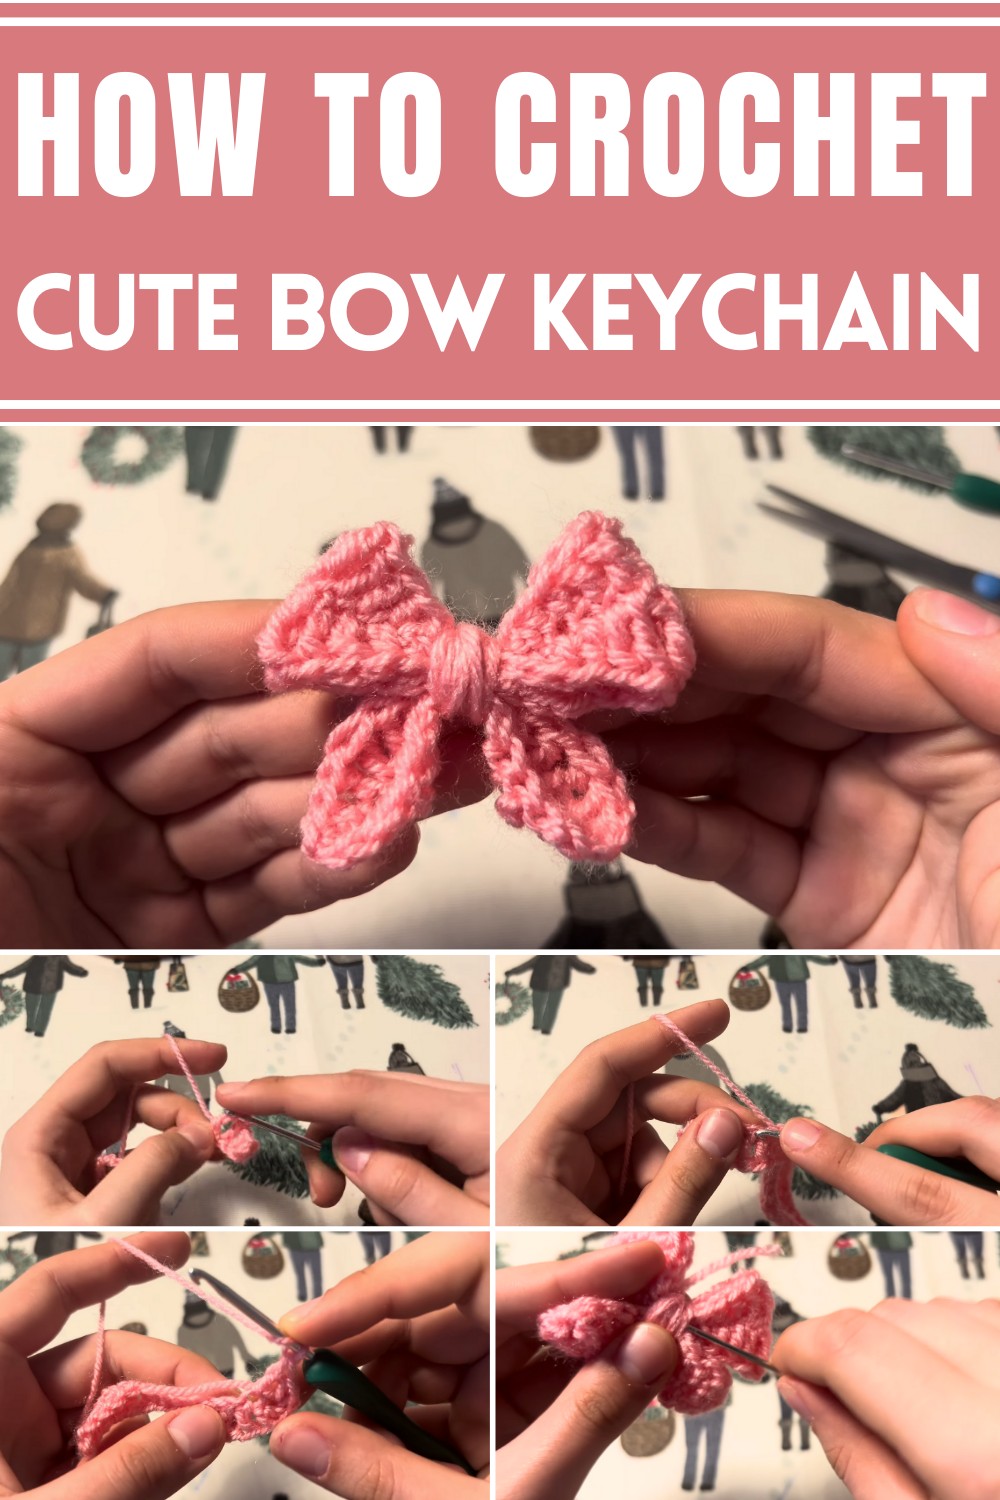
Add a pop of fun to your style with free crochet bow pattern perfect for hair, gifts, or décor totally charming for every occasion.
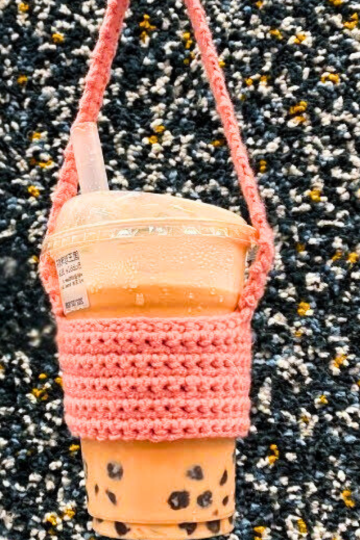
Brighten up your ordinary accessories with a delightful spin on handmade charm crochet bow patterns bring style and personality to the simplest of items. These little treasures, crocheted from yarn and imagination, are the perfect way to add flair to everything from hair ties and handbags to gift wrap and home décor. Their versatility makes them ideal for sprucing up both casual and formal occasions, while their durable yet lightweight nature ensures they hold up beautifully over time.
Versatile Crochet Bow Pattern for All Your Needs
Beyond their aesthetic appeal, crochet bows are budget-friendly, allowing you to use scraps of yarn to design one-of-a-kind pieces tailored to any color scheme or season. Adding these bows to your creations offers a personal touch, symbolizing thoughtful care and creativity. They make wonderful gift embellishments or stylish hair accessories that are sure to stand out.
Simple yet impactful, crochet bows demonstrate how even small details can make big impressions. Perfect for crocheters of all skill levels, they provide a rewarding opportunity to design accessories with functional and decorative value all while sharing your unique sense of style with the world.
Introduction:
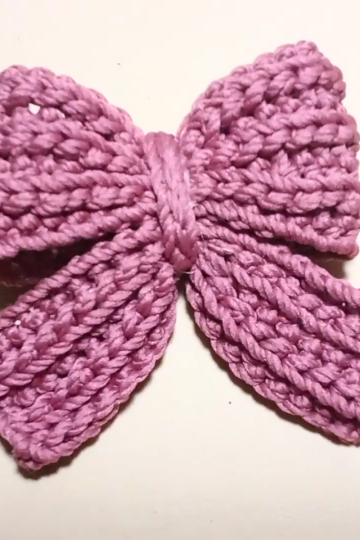
Crocheting a bow is a fun and creative way to jazz up your projects, from hair accessories to home décor. In this guide, we’ll walk through the steps to create a stunning crochet bow with two interconnected layers. The process involves creating two bow pieces and joining them together to form a beautiful, layered design. Gather your materials, and let’s get started.
Materials You’ll Need:
- Any size yarn of your choice
- 3mm crochet hook
- Scissors
- Yarn needle
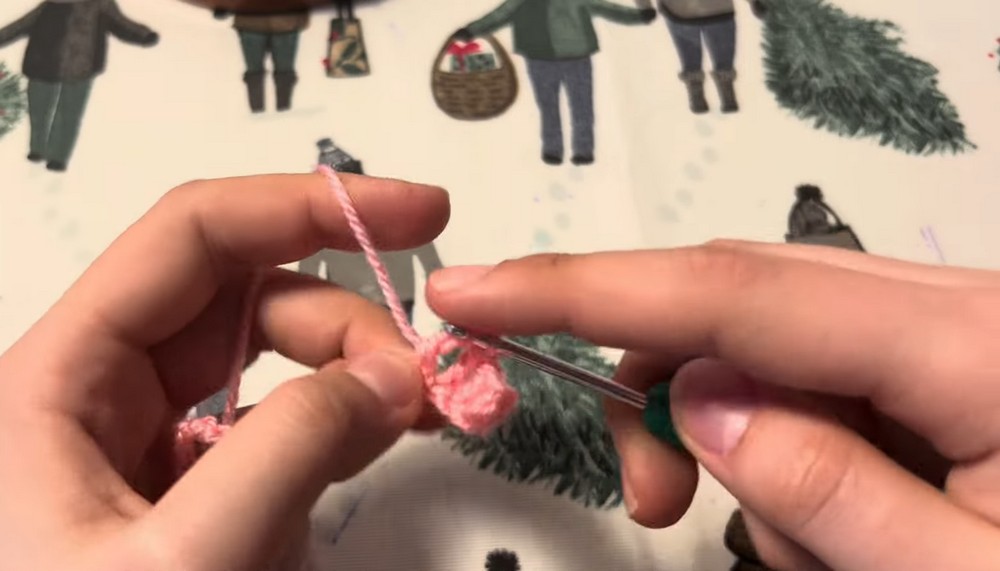
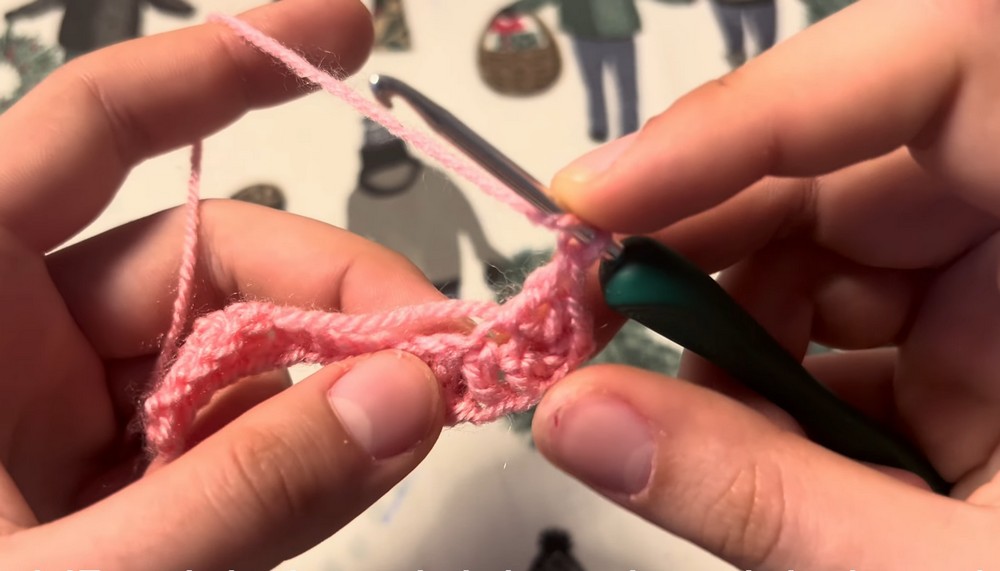
Step 1: Creating the First (Larger) Bow
1. Begin with a Foundation Chain
Start by creating a slip knot. Chain 25 chains to form the foundation. Be sure to keep the chain loops evenly sized for a neat finish.
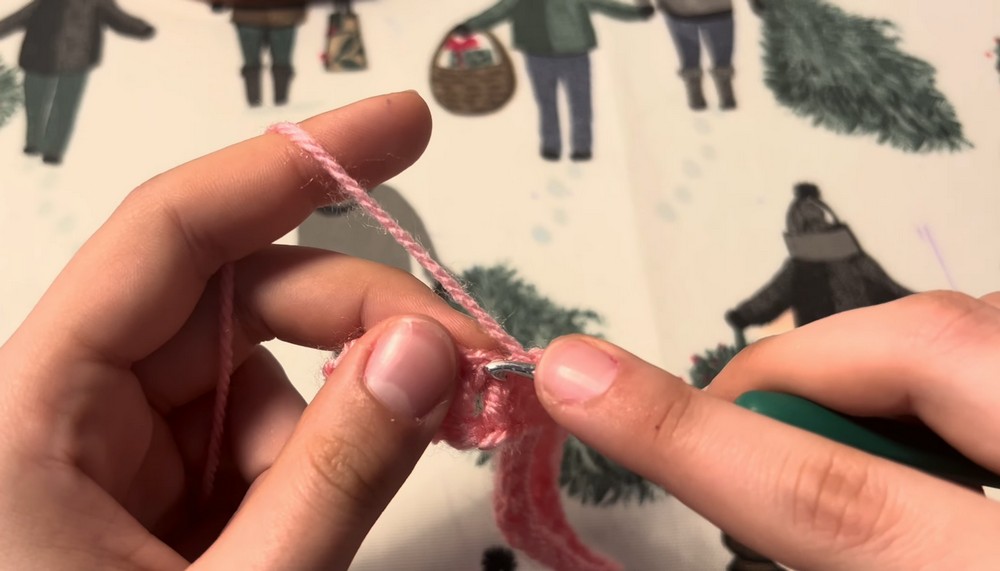
2. Follow the Stitch Pattern (Row 1)
- Work 2 half-double crochets (HDC) into the next two stitches.
- Make 2 double crochets (DC) into the next two stitches.
- Create 2 treble crochets (TR) into the next two stitches.
- Mirror the pattern as follows:
- 2 double crochets (DC)
- 2 half-double crochets (HDC)
- 2 slip stitches (SS)
3. Repeat the Pattern
Continue following the stitch pattern mentioned above to complete the row. This sequence alternates between half-double crochets, double crochets, and treble crochets, giving the bow its unique shape.
4. End the Row
When you reach the last loop, work 3 single crochets (SC) into it, creating a neat edge and rounding off the end.
5. Work Into the Back Loops (Row 2)
Repeat the entire stitch pattern while working into the back loops of the previous row. This mirrors and completes the design for the larger piece.
6. Finishing the Larger Bow
End the row by slip stitching into the first stitch. Leave a long tail (about 50 cm) for assembly later. Cut and pull through to secure the yarn.
Step 2: Creating the Second (Smaller) Bow
1. Make a Smaller Chain
Chain 15 stitches for the smaller bow.
2. Follow the Stitch Sequence
Work the following stitches in progression:
- Single crochet (SC)
- Half-double crochet (HDC)
- Double crochet (DC)
- Treble crochet (TR)
3. Mirror the Pattern
Next, mirror the pattern by working backward:
- Double crochet (DC)
- Half-double crochet (HDC)
- Single crochet (SC)
4. Add Slip Stitches in the Center
Make 2 slip stitches in the middle of the row.
5. Repeat the Mirrored Pattern
Continue following the stitch pattern, alternating between SC, HDC, DC, and TR, until the bow shape is complete.
6. Finishing the Smaller Bow
End the row with single crochets in the last stitch to keep the edges neat. Slip stitch to finish and fasten off the yarn.
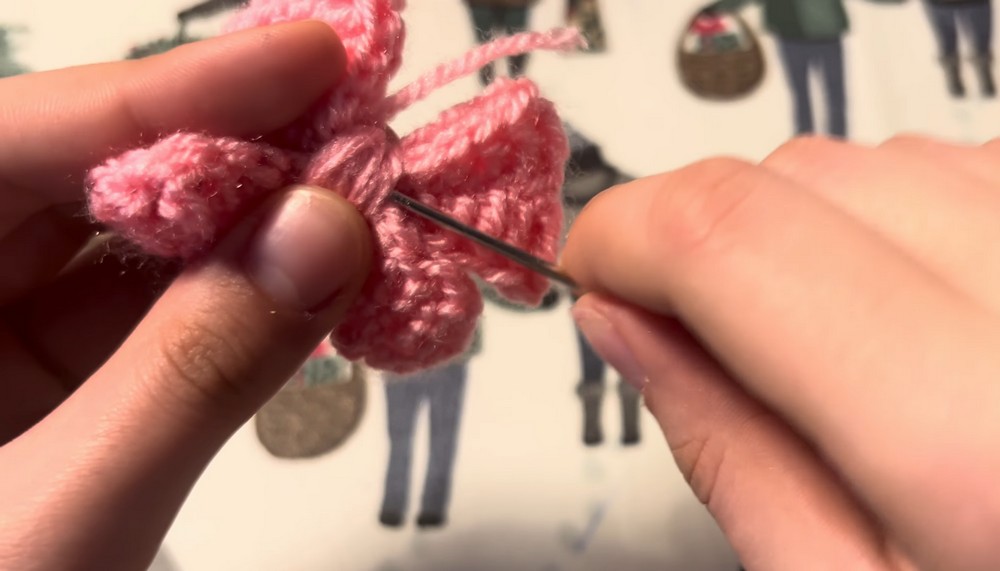
Step 3: Assembling the Bow
1. Position the Pieces
Take the larger bow piece and place the smaller bow on top. Ensure both pieces are aligned and facing the right side up.
2. Attach the Bows Together
Thread the long tail of the larger bow into a yarn needle. Insert the needle through the center of both bow pieces and pull through to secure them.
3. Wrap the Center
Twist the long tail around the middle of the bow about 10 times, ensuring the "tails" (hanging ends) of the bow face the desired direction.
4. Finalize the Attachment
Use the yarn needle to secure the wrapped center and hide any leftover tails by weaving them into the bow.
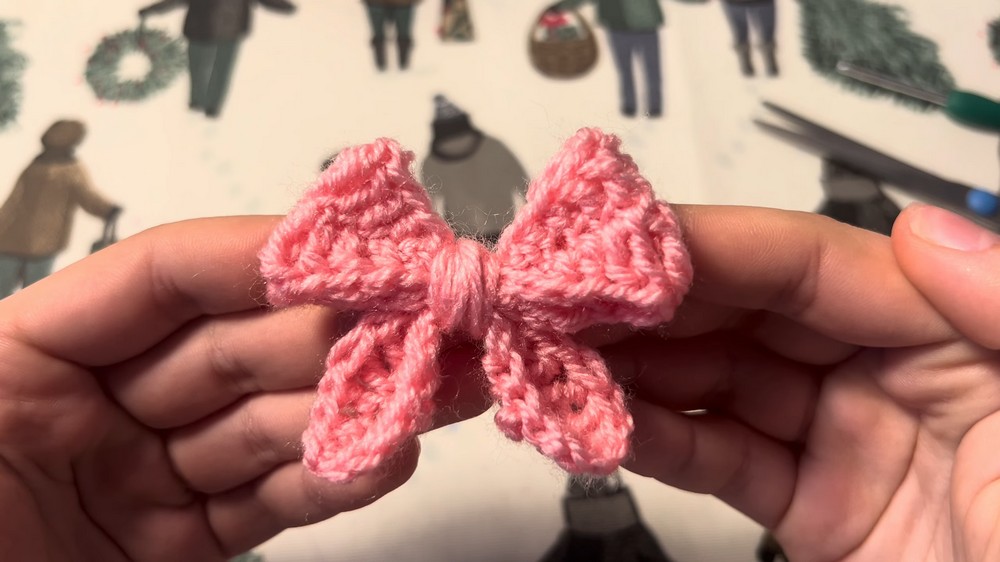
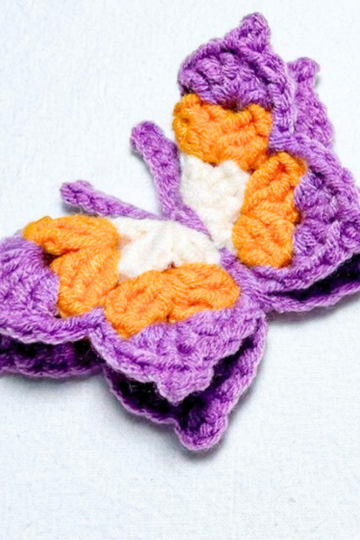
Conclusion
And that’s it—you’ve successfully created a beautiful crochet bow! This bow is fun and versatile, perfect for accessorizing hair clips, gift wraps, or even sprucing up a handmade scarf or blanket. Whether you're a beginner or experienced crocheter, this project is quick, enjoyable, and a great way to enhance your crochet skills.
Don’t forget to experiment with different yarn colors and thicknesses to create bows in unique textures and styles. Now grab your yarn and start stitching!
Leave a Reply