

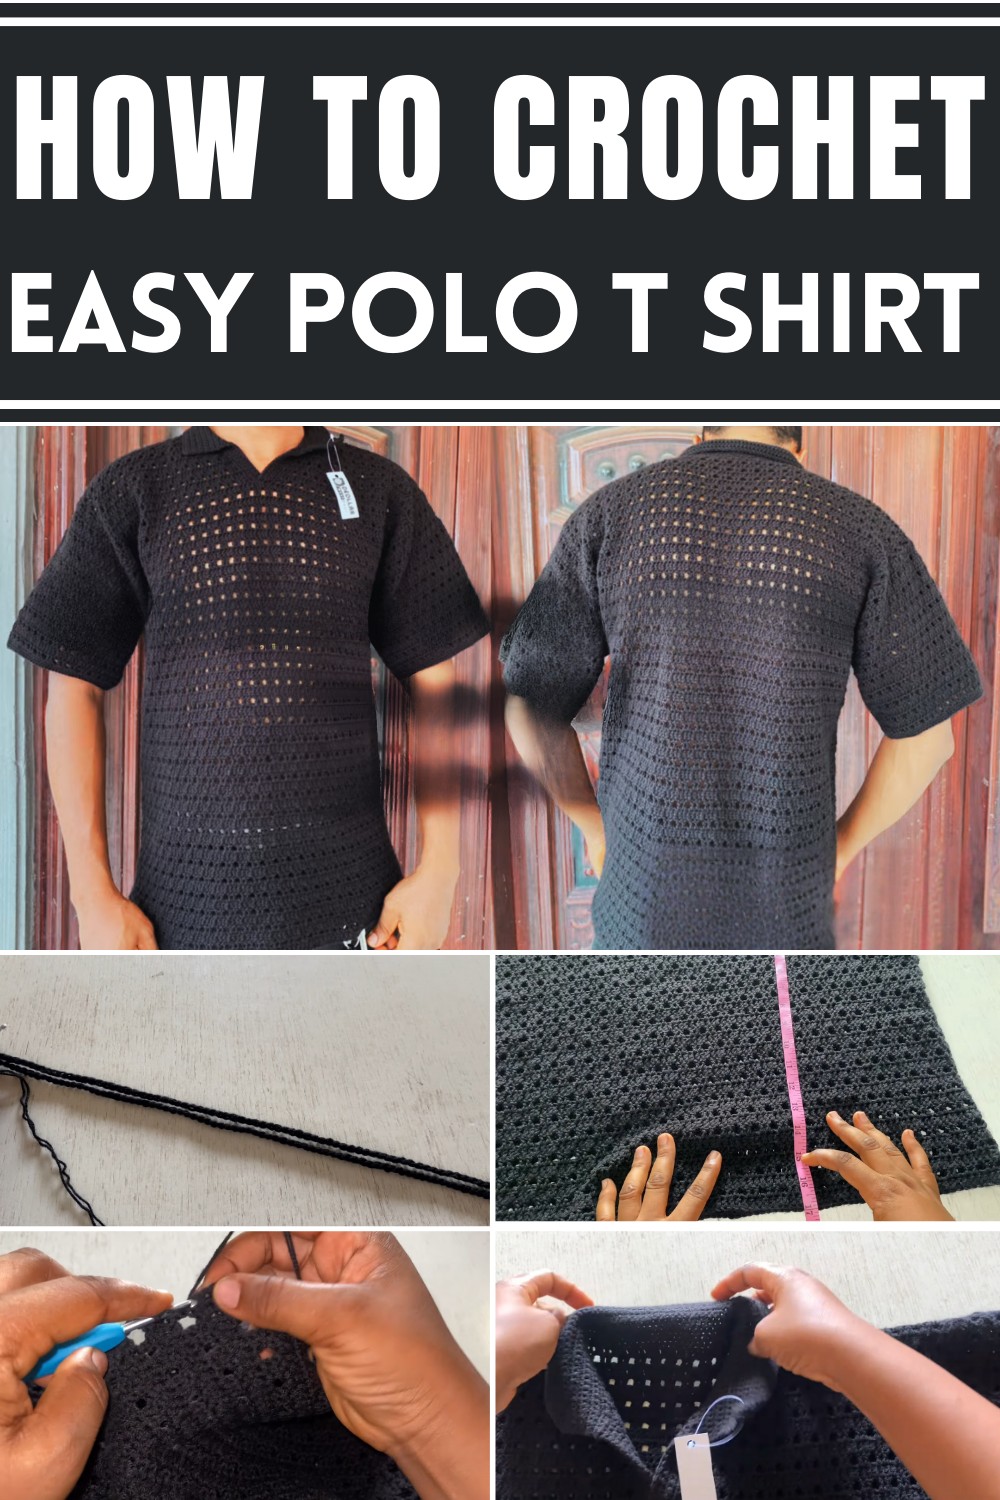
Focus on the charm of handmade fashion with our delightful crochet Polo Shirt pattern easy to follow and perfect for creating unique, stylish design.
This innovative design brings a touch of elegance and individuality to an iconic wardrobe staple. Perfect for casual outings, workdays, or even smart-casual events, the crochet polo shirt adds texture and charm to your outfit while keeping its polished appeal. Its lightweight and breathable nature make it ideal for warm days, while layered styling ensures comfort in cooler weather.
Step-by-Step Crochet Polo Shirt Pattern – Make It Custom
The crochet polo shirt pattern is highly versatile, allowing you to choose the yarn, color, and style that match your personal taste. Whether opting for solid tones or experimenting with stripes and intricate details, it ensures a unique look that stands out. For beginners, it introduces the art of shaping and structure in crochet, while experienced makers can enjoy refining their techniques and exploring customizable options.
Beyond its stylish appearance, working on this pattern brings added benefits, including relaxation and satisfaction through each stitch. It’s also a thoughtful gift idea for loved ones, blending practicality with creativity. A crochet polo shirt is not just clothing it’s a beautiful combination of comfort, effort, and individuality that elevates everyday wear.
Introduction
This crochet t-shirt pattern is designed to fit custom measurements, ensuring the perfect fit for each individual. Using simple techniques like working in rounds, double crochet, single crochet, and foundational chains, this project walks you through creating a stylish t-shirt with lapels, collar, and sleeves. The pattern uses alternating row designs for structure and functionality. This pattern is perfect for intermediate crocheters looking to challenge their creativity.
Materials Required:
- Acrylic Yarn: Two strands are used simultaneously for durability.
- Crochet Hook: Size 4mm.
- Stitch Markers: For precise pattern and measurement marking.
- Measuring Tape: To take custom measurements (chest, length, armholes, sleeves, neck depth, etc.).
- Notebook/Pad: To jot down measurements and notes.
- Scissors: To cut yarn as needed.
Measurements and Preparations
- Measure the Chest: Divide the chest measurement by two for the t-shirt’s width.
- Determine Length: Note the length of the t-shirt including the band.
- Neck Depth: Measure how deep you want the neckline to be.
- Sleeve Dimensions: Ensure to note sleeve length and armhole size.
- Sketch Layout: Sketch the t-shirt to plan lapels, sleeves, and collar placement.
- Prepare Yarn and Tools: Gather the materials before starting.
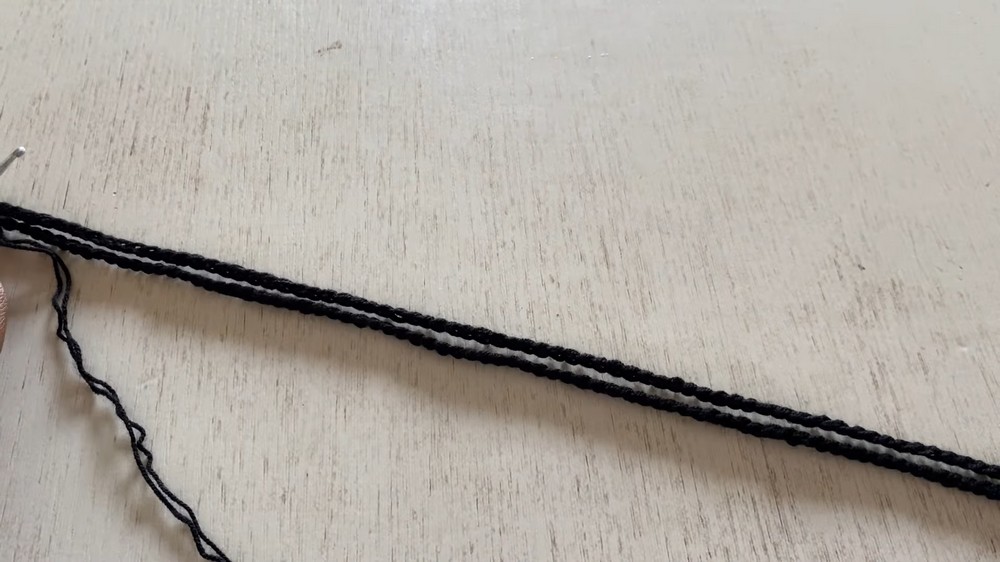
Step 1: Create the Foundation Chain
- Make a slip knot and create the number of chains needed based on your shirt width.
- Measure the Chains: Ensure the chains match the desired width.
- Connect the chains into a round with a slip stitch, forming the base for the pattern.
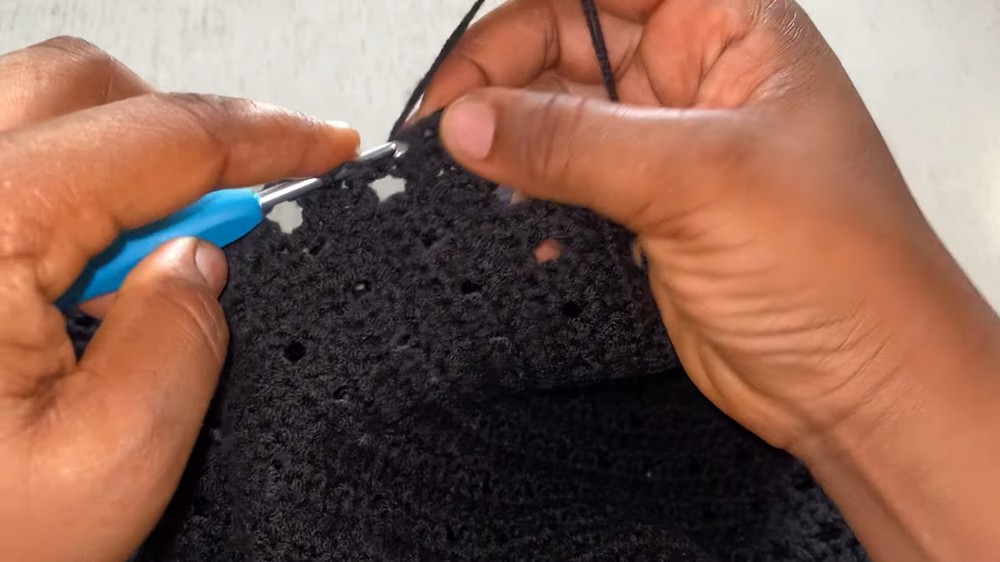
Step 2: Start Crocheting in Rounds
- Row 1 - Double Crochet:
- Start with 2 foundation chains for height.
- Skip the first chain and make double crochets into each chain until the end of the round.
- Connect with a slip stitch to finish the row.
- Count stitches and divide into front and back sections.
- Row 2 - Alternating Pattern:
- Begin with 2 foundation chains and turn the work counterclockwise.
- Use the pattern:
- Skip one chain, make a double crochet into the next chain, chain one, and repeat.
- Continue repeating the pattern to complete this row.
Step 3: Alternate Between Patterns
- Row 3: Repeat Row 1 (solid double crochet).
- Row 4: Repeat Row 2 (alternating pattern).
- Keep alternating between these rows to form the body of the t-shirt.
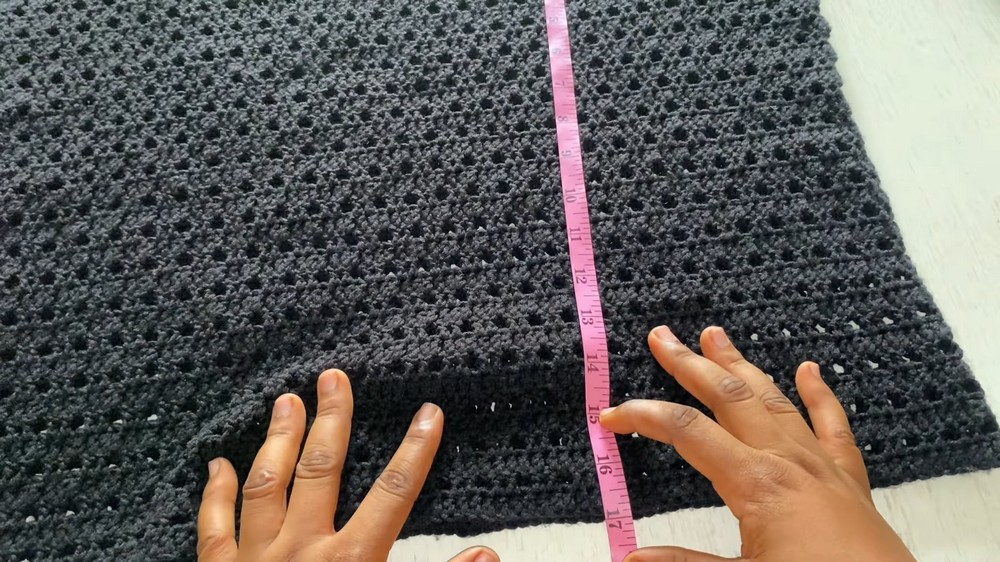
Step 4: Separate Front and Back Sections
- Once the necessary length is achieved from the base to the armhole (e.g., 17 inches), divide the stitches equally into front and back sections using stitch markers.
- Begin working only on the back section.
- Crochet upward to the total shirt length (e.g., 28 inches), leaving space for the band.
- Cut the yarn when done.
Step 5: Create Front Panels (Lapels and Collar Space)
- Divide the front section into two equal parts using stitch markers.
- Work each panel separately:
- Identify neck depth (e.g., 5 inches) and crochet up to that point for the lapel.
- Create the lapel slant:
- Decrease two stitches per row for 6 rows.
- On the 7th row, decrease one stitch.
- Finish the lapel edges by joining them with single crochets.
- Join both front panels to the back at the shoulder seams using single crochet.
Step 6: Add Sleeves
- Identify the armhole space for the sleeve.
- Attach yarn to the bottom of the armhole.
- Crochet in rounds counterclockwise:
- Use double crochet to create the sleeve length (e.g., 8 inches).
- For the band, use single crochet rounds (0.5 to 1 inch).
- Repeat for the other sleeve.
Step 7: Create the Lapel
- Attach yarn at the base of the lapel.
- Work single crochet rows, alternating between clockwise and counter-clockwise turns.
- Stop when the lapel reaches the desired width and texture (e.g., about 2 inches wide).
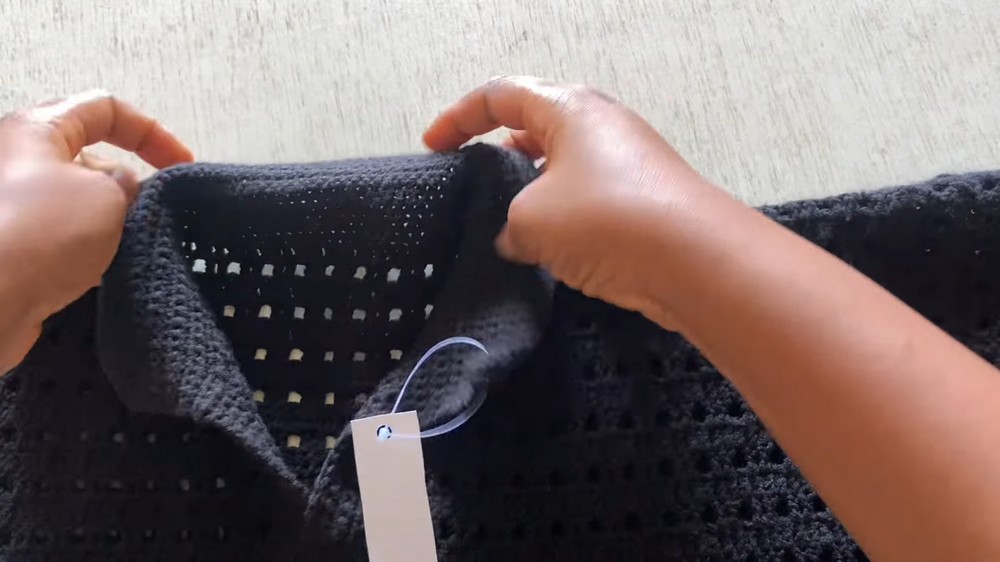
Step 8: Create the Collar
- Attach yarn at the top edge where the lapels meet.
- Crochet single crochet rows all the way around the neckline.
- Repeat rows until the collar reaches the desired height (e.g., 14 rows).
Finishing Touches
- Weave in all the loose ends using a yarn needle.
- Steam or block the t-shirt lightly for smooth edges.
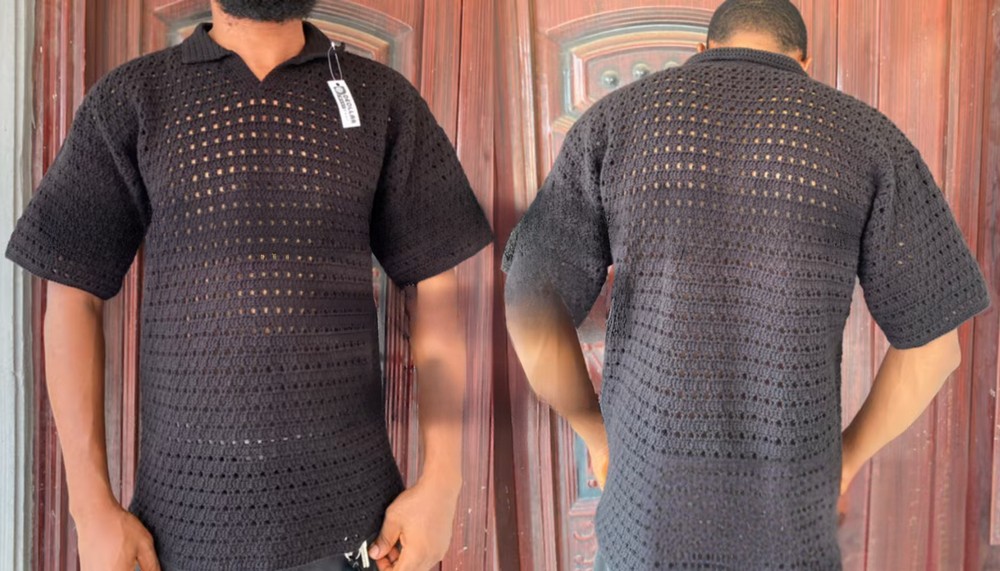
- Fold the collar and lapels properly for the finished look.
Conclusion
This step-by-step guide provides a detailed walkthrough to create a custom crochet t-shirt with intricate details like sleeves, lapels, and a collar. The alternating pattern design gives the shirt a unique texture while remaining simple enough for intermediate crocheters. Whether for personal wear or gifting, this project ensures style and comfort.


Leave a Reply