

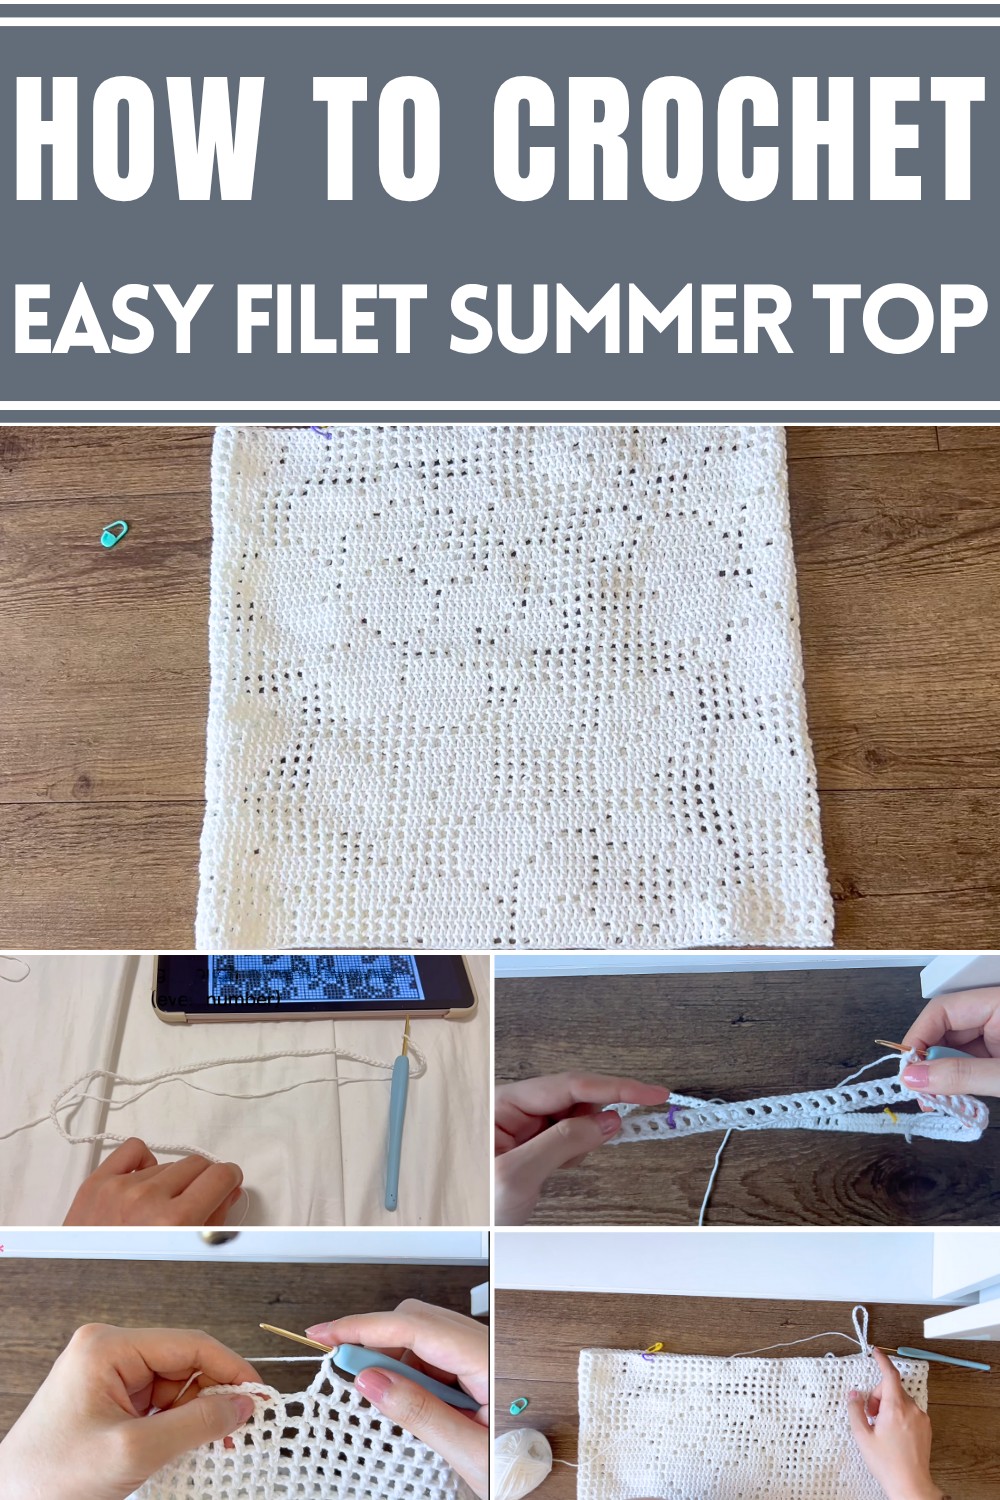
Turn heads this sunny season with a crochet filet summer top, merging lightweight comfort and captivating design for effortless charm on warm, breezy days.
Sunny days bring an opportunity to wear something light, stylish, and comfortable. Crochet filet summer tops are a perfect choice for staying cool while looking effortlessly elegant. With their soft, breathable design, they allow for easy movement on warm days and offer a subtle touch of detail through their intricate pattern. These tops aren’t limited to one occasion—you can wear them casually, pair them with shorts for a relaxed outing, or layer them over a fitted undershirt for a polished evening look.
Breezy & Chic Crochet Filet Top Pattern for Summer
Their versatility makes them a favorite in seasonal wardrobes, blending well with bright summer colors or neutral tones. Many are handmade, showcasing that adds personal charm to every piece. Beyond their aesthetic appeal, the crochet filet summer tops are highly practical for hot weather, providing comfort without sacrificing style. These tops make thoughtful gifts for friends who appreciate unique and handcrafted clothing.
Lightweight, stylish, and adaptable, this wear is more than just a summer staple—it’s a piece that combines comfort with understated beauty. Incorporating one into your wardrobe enhances your summer attire and brings a touch of elegant simplicity to everyday outfits. Embrace the charm of crochet filet summer tops this season for a blend of functionality and delicacy.
Materials Needed
Before starting, gather the following supplies:
- 100% cotton yarn
- 2.5 mm crochet hook
- Scissors
- Stitch marker
- Tapestry needle
- Fillet crochet chart (recommended to print or use on an iPad for easier reference)
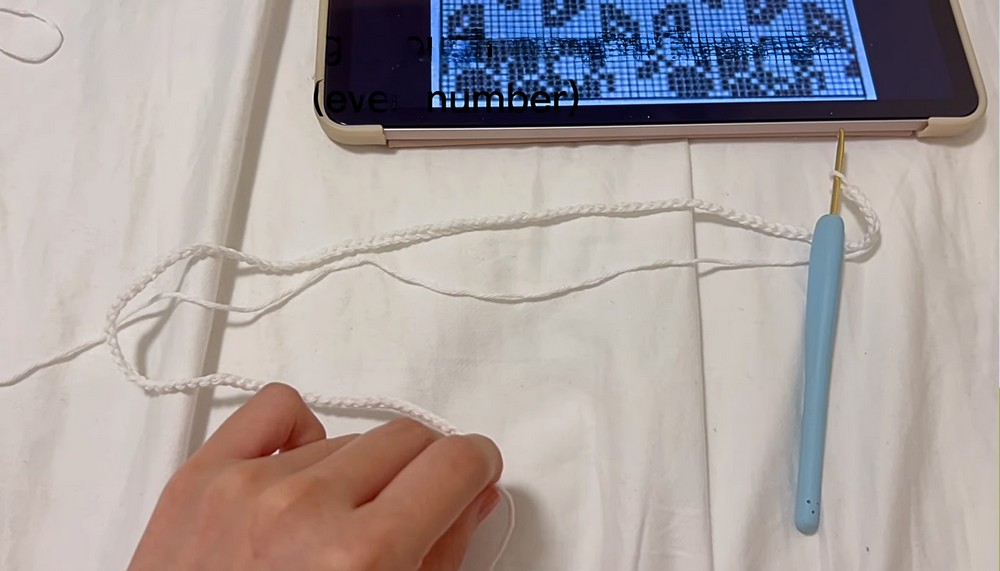
Step 1: Creating the Initial Chain
- Begin with a slip knot.
- Chain the required number of stitches.
- To determine the number of chains, you'll need to understand the chart design. For example, if the chart has 57 squares, each square requires 2 chains, so a minimum of 114 chains is required.
- Wrap the chain around your bust to ensure it matches the bust size (it must fit snugly). Adjust the chain count if necessary.
- Tip: The chain count should always be an even number for this design.
- Tip: The chain count should always be an even number for this design.
Step 2: Planning the Design
- Using the crochet chart:
- Calculate the breakdown of the row:
- Total chains: Determine the total number.
- Chart chains: Count the chains needed for the design (e.g., 114 for this example).
- Remaining chains: Subtract the total chains from the design chains to determine the background (e.g., 172 total chains - 114 chart chains = 58 extra chains).
- Divide the extra chains evenly for the starting and ending part of each row (e.g., 58 ÷ 2 = 29 chains on either side).
- Calculate the breakdown of the row:
- Set the chart pattern in the middle of your row to align the design with the top center.
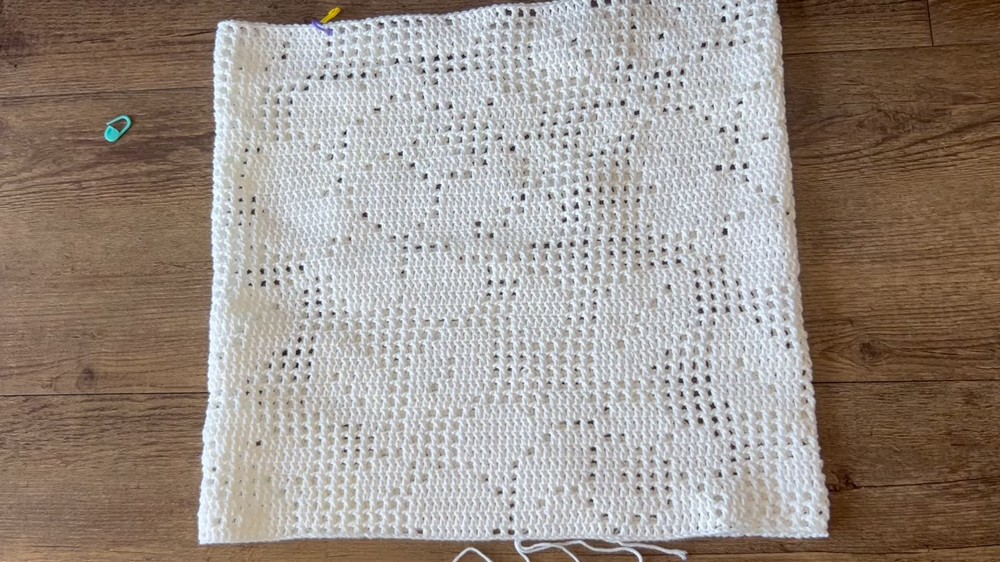
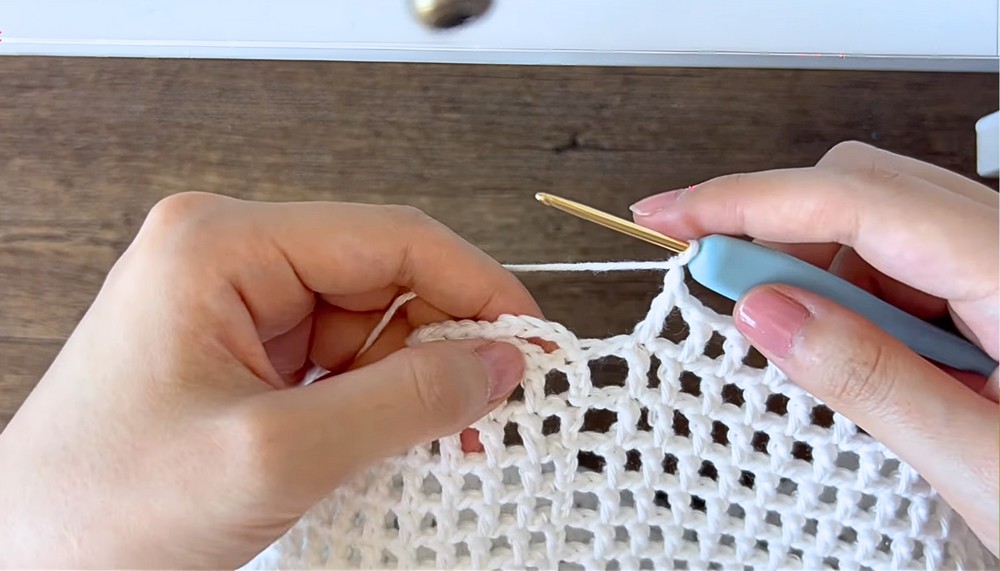
Step 3: Understanding the Mesh Pattern
- White Squares: Represent mesh patterns made using:
- One double crochet, one chain, skip one stitch, and another double crochet.
- Black Squares (solid blocks): Represent dense areas made using:
- Three double crochets in consecutive stitches.
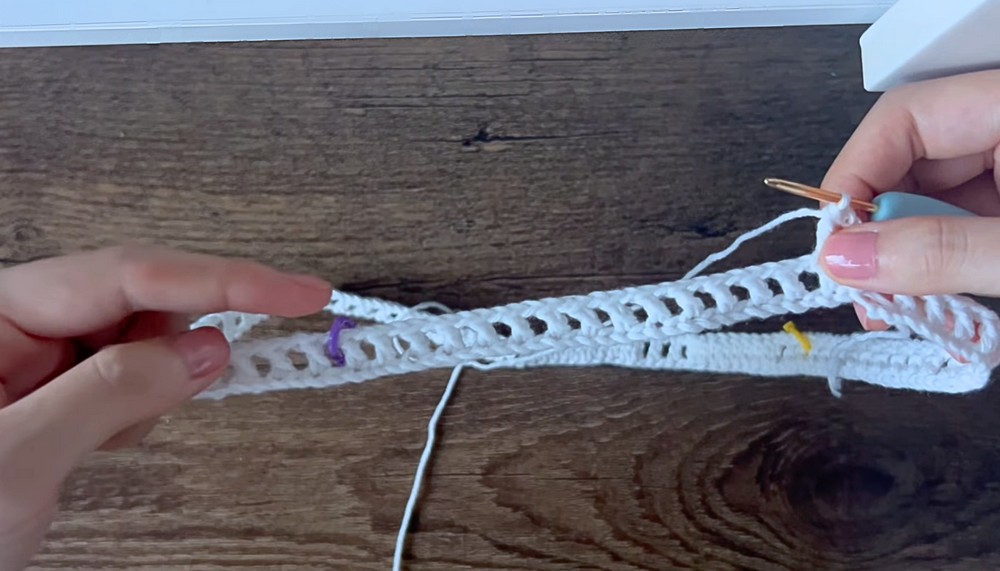
Step 4: Crocheting the First Row
- Begin with 4 chains to start the row.
- Form the white squares by repeating this sequence:
- Double crochet into the fifth chain, chain 1, skip 1, and double crochet again until the background section is complete.
- Example: If the background has 29 squares, repeat this for 29 white squares.
- Start following the fillet crochet chart:
- Count white squares, black squares, or combinations as per the chart instructions.
- For black squares, be careful with stitch counting:
- Formula: Multiply the number of black squares by 2, then add 1. For example: 5 black squares = (5×2)+1 = 11 double crochets.
- Add stitch markers at the start and end of the chart section for easier tracking.
Step 5: Completing the Row
- After completing the chart section, continue crocheting white squares for the remaining part of the row.
- End the row by:
- Chaining one.
- Using a slip stitch to join with the third chain from the start.
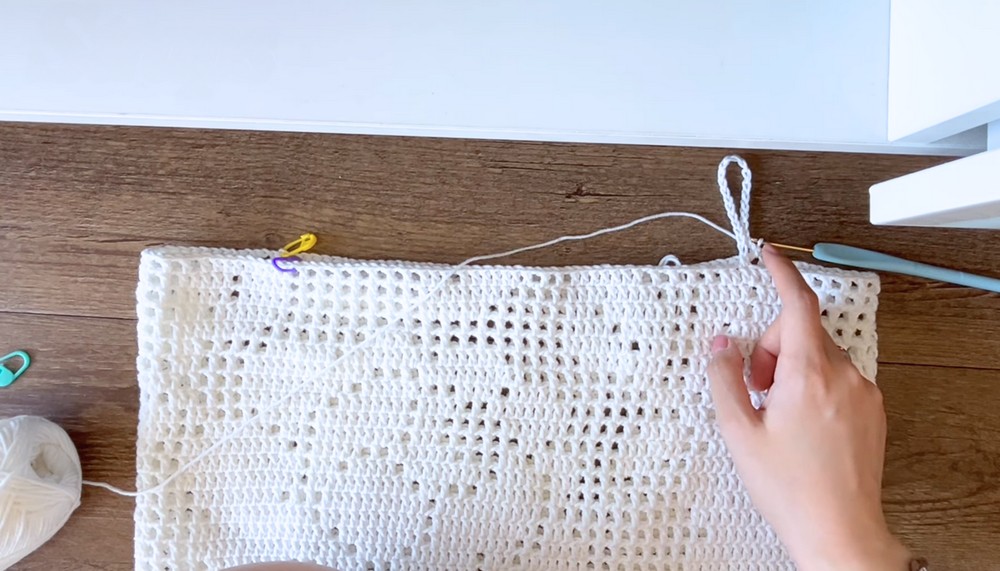
Step 6: Crocheting Subsequent Rows
- To start a new row:
- Chain four and make a double crochet into the double crochet from the previous row.
- Follow the pattern (white squares for the background, pattern squares for the chart).
- Use the chart to guide your design row by row until the motif is fully formed.
- Example: Follow the chart from row 1 until row 42 (or as specified).
- Example: Follow the chart from row 1 until row 42 (or as specified).
Step 7: Adding Straps
- Try on the top and determine where the straps should begin and end. You will need 4 stitch markers:
- Place one marker at the front left and right, and one at the back left and right.
- Attach new yarn at one marker starting point and begin chaining for the strap.
- Make the chain long enough for your fit by trying the strap on.
- Once the strap is the desired length, slip stitch into the opposite marker to secure it.
- Ensure the strap is not twisted.
- Repeat for the other strap.
-
- Optional: If you prefer a tube-top style, you can omit the straps entirely.
Conclusion
This crochet pattern demonstrates how to create a customized fillet crochet top step by step. By following the fillet chart and understanding the mesh pattern, you’ll be able to crochet a unique design that fits perfectly. After completing the top, you can finalize the project with straps or keep it strapless depending on the style you prefer. Fillet crochet allows for intricate motifs and can be tailored to your body measurements and design preferences.
Leave a Reply