

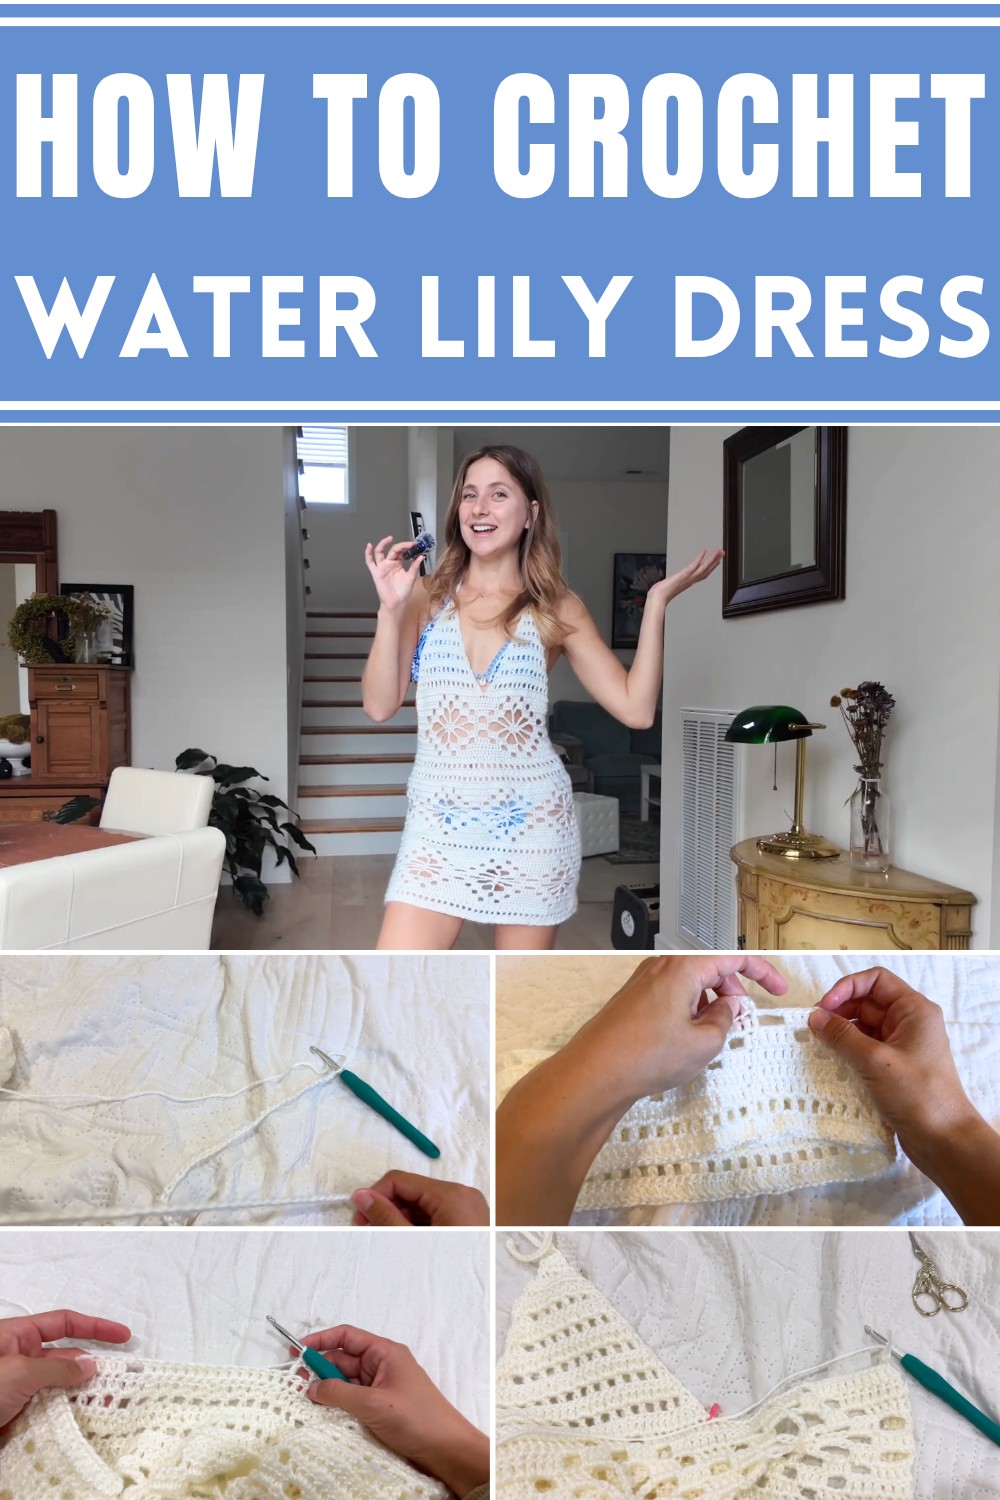
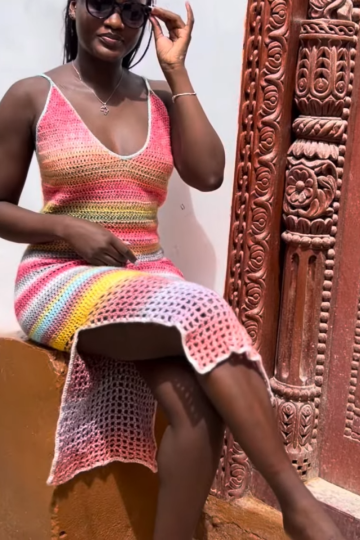
Turn heads with the unique Crochet Water Lily Dress pattern—perfect for making a statement at any occasion with timeless handmade beauty.
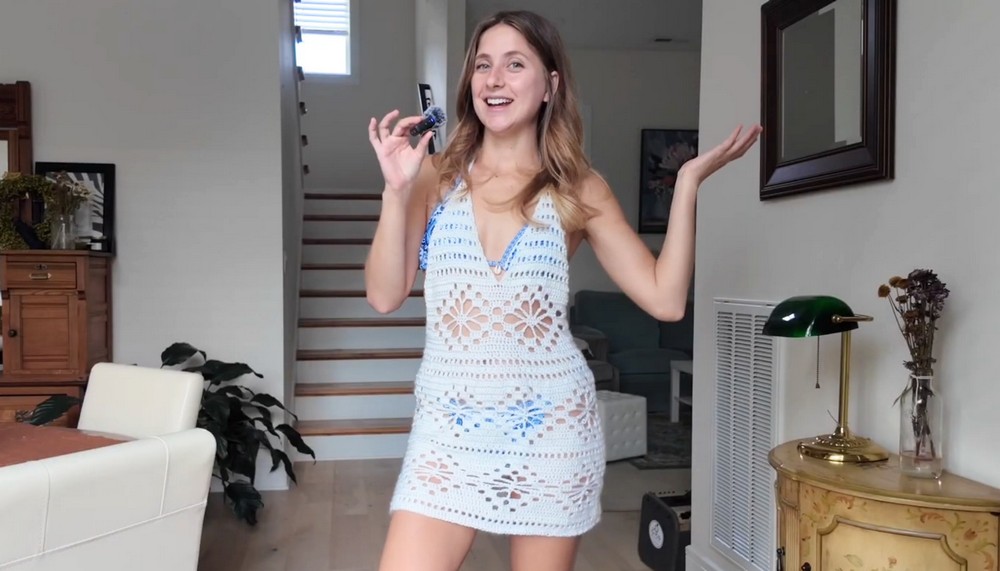
Soft silhouettes and delicate textures come to life in the Crochet Water Lily Dress a timeless piece that elevates everyday style. Inspired by the gentle elegance of water lilies, this dress is more than just attire; it’s a celebration of craftsmanship and effortless beauty. Whether worn at a relaxed garden gathering, on a sunny day at the beach, or at a sophisticated evening event, its versatility knows no bounds.
Stunning Crochet Water Lily Dress A Step-by-Step Pattern
The design’s flowing structure offers unparalleled comfort, making it ideal for all-day wear while still turning heads. Thoughtful detailing mimics the intricate patterns found in nature, giving it a unique charm that sets it apart from ordinary garments. Perfect as a stand-alone statement or layered for a personalized touch, this dress adapts beautifully to both casual and formal settings.
Beyond its aesthetic appeal, the crochet work invites endless possibilities for customization. Adjust the size, experiment with colors, or add personal flourishes to make it your own. Its breathable material ensures practicality without sacrificing elegance, while its flattering fit complements a variety of body shapes. A true wardrobe treasure, the Flowy Crochet Water Lily Dress effortlessly combines style, function, and charm, making it a lasting favorite for countless occasions.
Materials Required
- Yarn:
- Bernat Baby Sport Yarn (lightweight, ideal for full-length dresses).
- Yarn B Soft Yarn (heavier, recommended for shorter dresses).
- Hooks:
- A 5.5mm crochet hook for looser stitches.
- Additional Tools:
- Yarn scissors.
- Stitch markers.
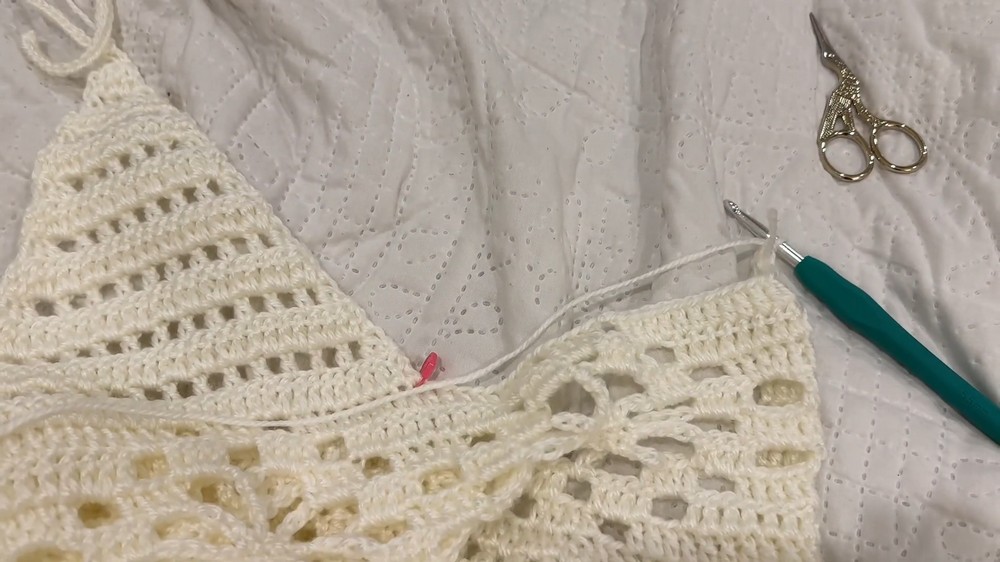
Step-by-Step Instructions
Start with the Foundation
- Create the Starting Chain:
- Chain in multiples of 25 to determine the skirt size based on the widest part of your hips.
- Test by holding the chain around your hips or measure using a tape.
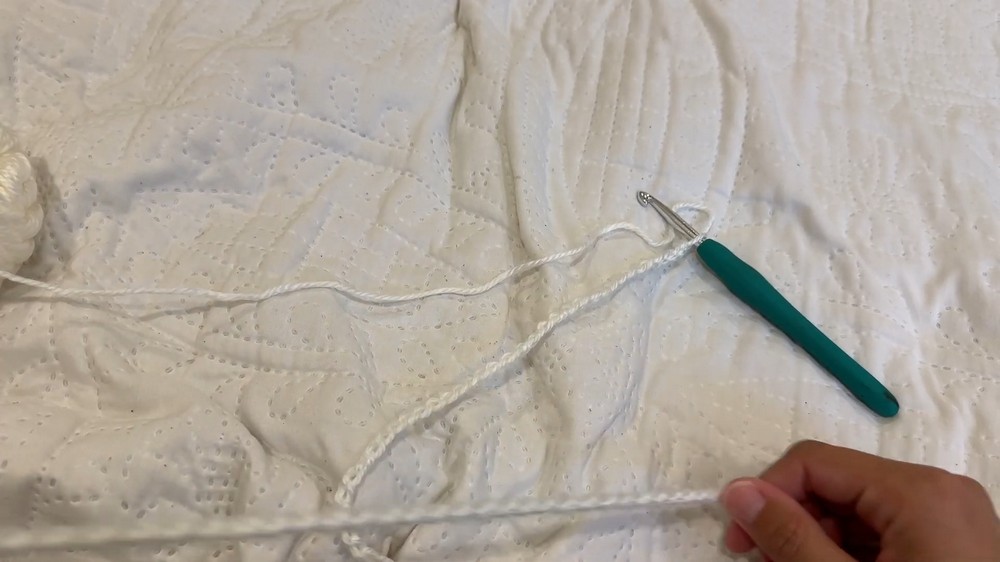
- Make a Loop:
- Slip stitch into the first chain to create a loop and ensure the chain is straight, not twisted.
- Chain 2 for the turning stitch.
- Double Crochet Around the Loop:
- Double crochet into every chain stitch, weaving in the yarn end as you work around.
- Slip stitch into the first double crochet to close the round.
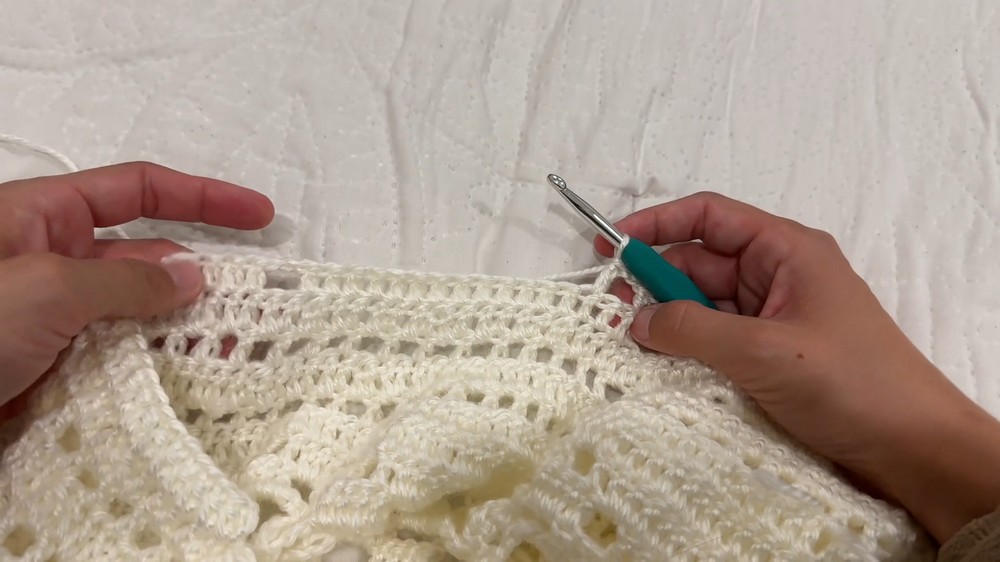
Begin Flower Detailing
- Row 1 (Mesh Stitch):
- Chain 1, skip a stitch, and double crochet into the next one. Repeat this pattern.
- Row 2 (Double Crochets):
- Double crochet into every stitch and chain space from the previous row.

- Double crochet into every stitch and chain space from the previous row.
Add Flower Patterns
- Flower Rows:
- Incorporate chain 2 gaps followed by groups of double crochets and chain 2 spaces.
- Work in specific stitch counts (such as 17, 10, or 4) to form flower shapes.
- Repeat the flower detailing and create symmetry throughout the skirt.
Adjust for the Waist
- Decreasing Rows:
- As the skirt reaches the top of your hips, alternate between working regular double crochets and chain 1 "mesh rows."
- Add decreases by performing double crochet decreases at regular intervals (e.g., five double crochets followed by a decrease).
Creating the Cups
- Mark the Middle Stitch:
- Divide the front section and find the middle stitch. Use a stitch marker for accuracy.
- Crochet Triangles:
- Start each row with double crochet two together (decrease) and work toward the middle, alternating between mesh stitch rows and solid double crochet rows.
- Form the Straps:
- Chain a desired length for straps at the top of each triangle.
- Work slip stitches back down the chain to create sturdy straps.
Final Touches
- Symmetry for Cups:
- Repeat the same steps for the second cup, ensuring symmetry for both triangles.
- Tie-Off and Weave Ends:
- Secure the yarn and weave any remaining ends for a clean finish.
Conclusion
This backless crochet dress is a unique and versatile design that allows for customization based on size, length, and style preferences. From detailing the flower skirt to forming the front cups, every aspect of this project offers artistic freedom. By following this pattern, you can create a beautiful, personalized piece that highlights your skills and serves as a fun summer outfit or an elegant evening dress.


Leave a Reply