

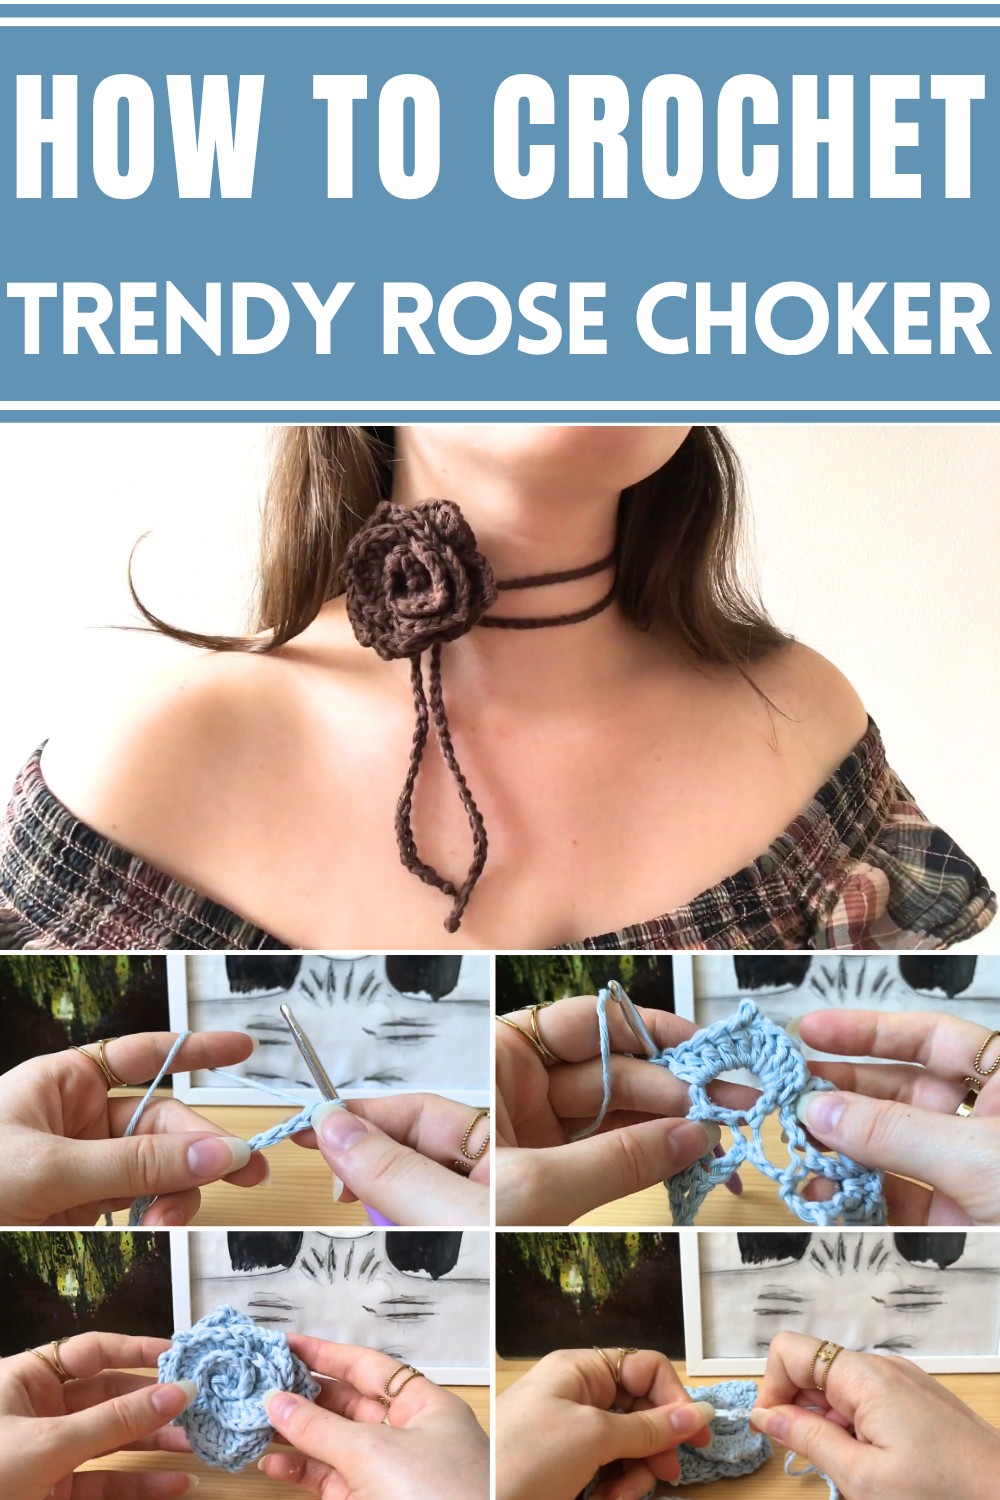
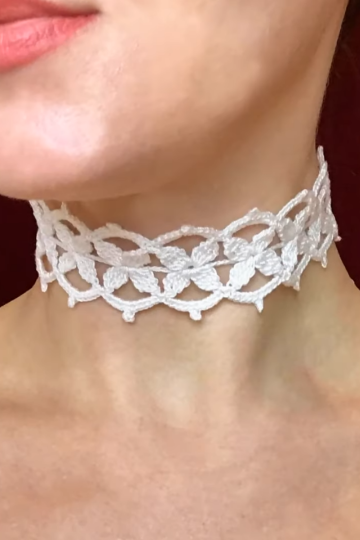
Turn heads and spark smiles with the Crochet Rose Choker a playful, romantic twist that’s blooming with charm and creativity!
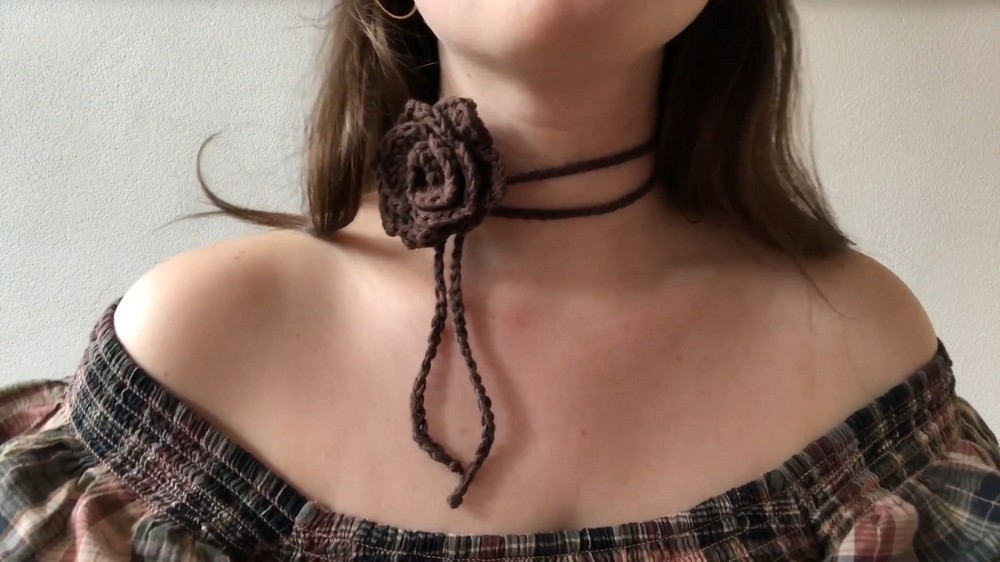
Handmade accessories have a special way of adding meaning to your wardrobe, and this design brings a touch of romance into the mix. With its soft floral details and elegant charm, the Crochet Rose Choker is a perfect piece for enhancing your personal style. Whether you’re heading to an evening function or just adding a delicate touch to a casual outfit, its versatility makes it a go-to choice for countless occasions.
Crochet Rose Choker Inspiration for Handmade Fashion
One of the standout benefits of this choker is how effortlessly it balances beauty and comfort. The lightweight material ensures it feels great to wear, while the intricate rose pattern offers a romantic appeal. It’s a thoughtful gift idea for loved ones or a fun way to express creativity through something timeless yet unique.
The Crochet Rose Choker also provides a satisfying opportunity for makers of all experience levels. Beginners can find joy in creating something special for themselves or others, while seasoned creators can explore adding personalized details to an already stunning design. This charming accessory is more than just fashionable it carries a touch of warmth and individuality, offering the perfect mix of artistry and practicality for any occasion.
Introduction
In this pattern, the creator walks us through the steps to crochet this charming design using very little yarn, making it a perfect leftover project. The rose can be customized with curved or pointy petals, using cotton or fluffy acrylic yarn, depending on your preference. It’s beginner-friendly and results in a stunning piece of wearable art.
Materials Needed
- Yarn (Cotton or fluffy acrylic, approximately 15g or less)
- Crochet hook:
- 4.5mm for cotton yarn
- 4mm for acrylic yarn
- Darning needle
- Scissors
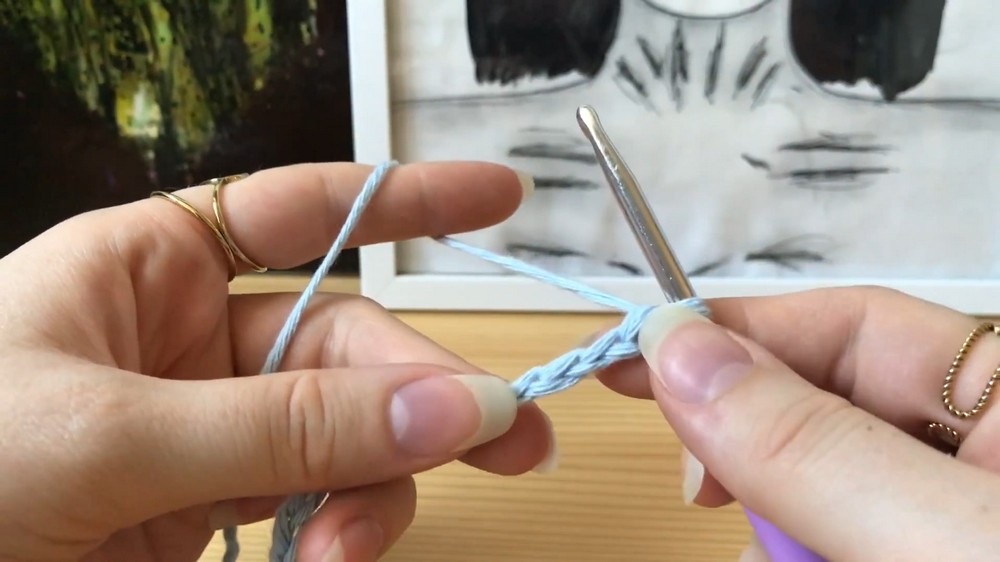
Step 1: Starting the Rose Base
- Create a slip knot:
- Hold the yarn, twist it at the top, pull the long string through, and tighten.
- Place your preferred hook size into the loop and tighten the slip knot.
- Chain 44 stitches to establish the base.
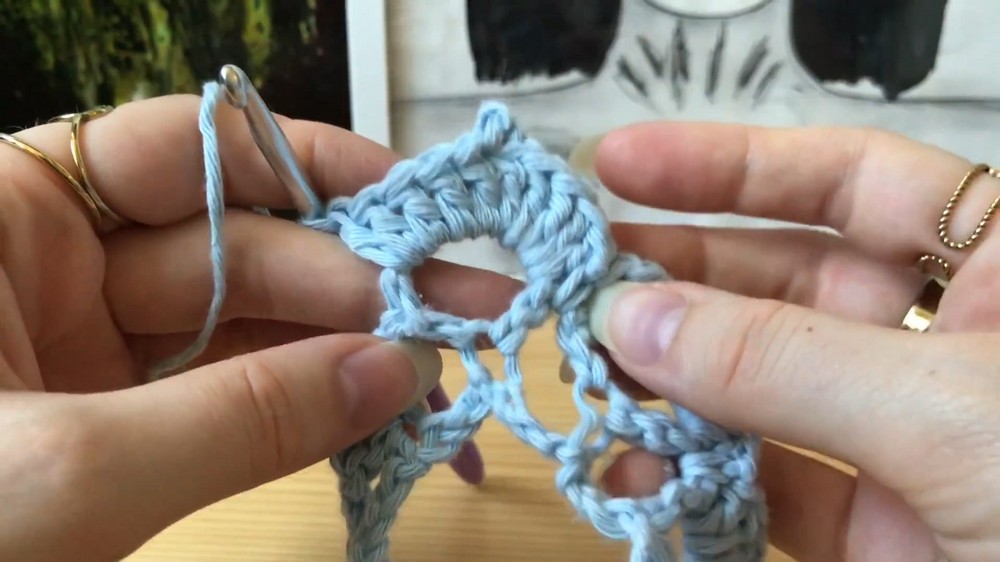
Step 2: Building the Foundation
- Double Crochet in the Fourth Chain:
- Yarn over and insert the hook into the fourth chain from the hook.
- Place one double crochet (DC) into the stitch.
- Chain Loops:
- Chain 4 after the DC and place another double crochet into the same stitch.
- Skip 3 chains and repeat the process: DC, chain 4, DC.
- Continue crocheting until the end of the chain.
- You should end up with 11 loops if 44 chains were made.
Step 3: Petal Formation
Option 1: Curved Petals
- Chain 2 and place 10 double crochets into the first loop space.
- Single crochet into the gap between loops.
- Repeat this process for each loop until the foundation is filled with petals.
Option 2: Pointy Petals
- Create the first 5 double crochets in a loop space.
- Add a Pico Stitch:
- Chain 2 (tight chains for neater points).
- Insert the hook into the top of the previous DC and make a slip stitch.
- Add 5 more double crochets into the same loop space.
- Single crochet into the gap between loops.
- Repeat for each subsequent loop to complete the petals.
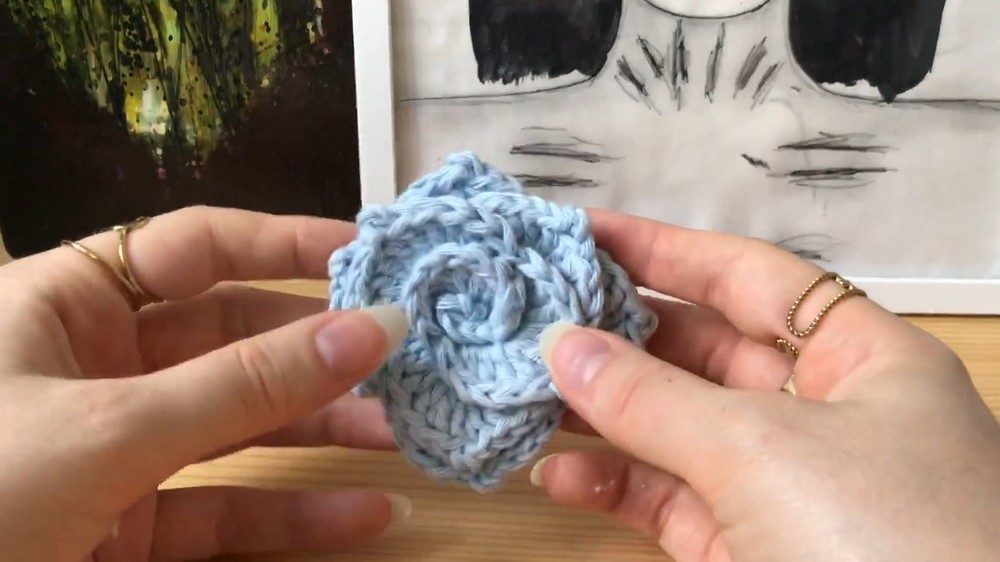
Step 4: Rolling the Rose
- Start rolling from the side with the shorter tail end.
- Stack petals gradually, ensuring each petal is slightly higher than the previous one.
- Adjust the placement to ensure petals overlap nicely for a realistic rose shape.
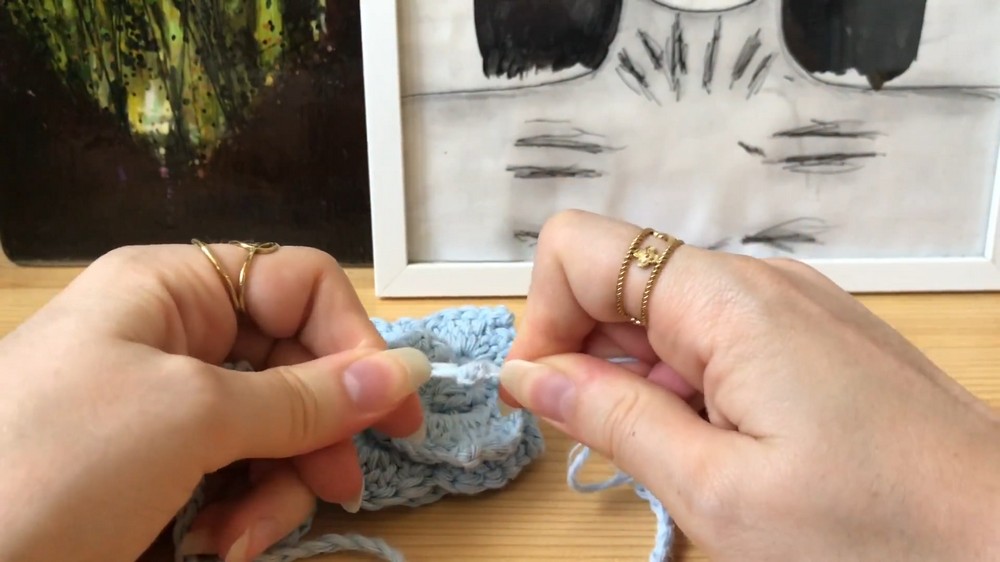
Step 5: Securing the Rose
- Thread the long tail onto the darning needle.
- Carefully sew the base petals together, ensuring the stitches don't show on the front side.
- Sew down individual petals to prevent unfurling.
- Repeat the process across all petals to secure the rose shape.
- Tie and weave in the ends for a clean finish.
Step 6: Creating the Neck Tie
- Make a slip knot and chain 160 stitches (adjust length based on preference).
- Cut the yarn close to the chain and secure with a knot.
- Thread the necktie through the rose:
- Use a needle to pull the yarn through the rose base.
- Ensure petals sit facing upwards and adjust the tie for symmetry.
- Secure the ends:
- Tie knots at both ends of the chain.
- Trim closely or melt ends (for acrylic yarn) for better durability.
Conclusion
The crochet rose choker is an elegant and customizable project that can transform leftover yarn into a stunning accessory. Whether you prefer curved or pointy petals, this creative pattern lets you adapt your choker to your personal style. The step-by-step process ensures a well-structured rose that’s perfect for gifting or adding a unique touch to your outfits. With minimal materials and time required, this project is a delightful way to explore crochet artistry.
Leave a Reply