

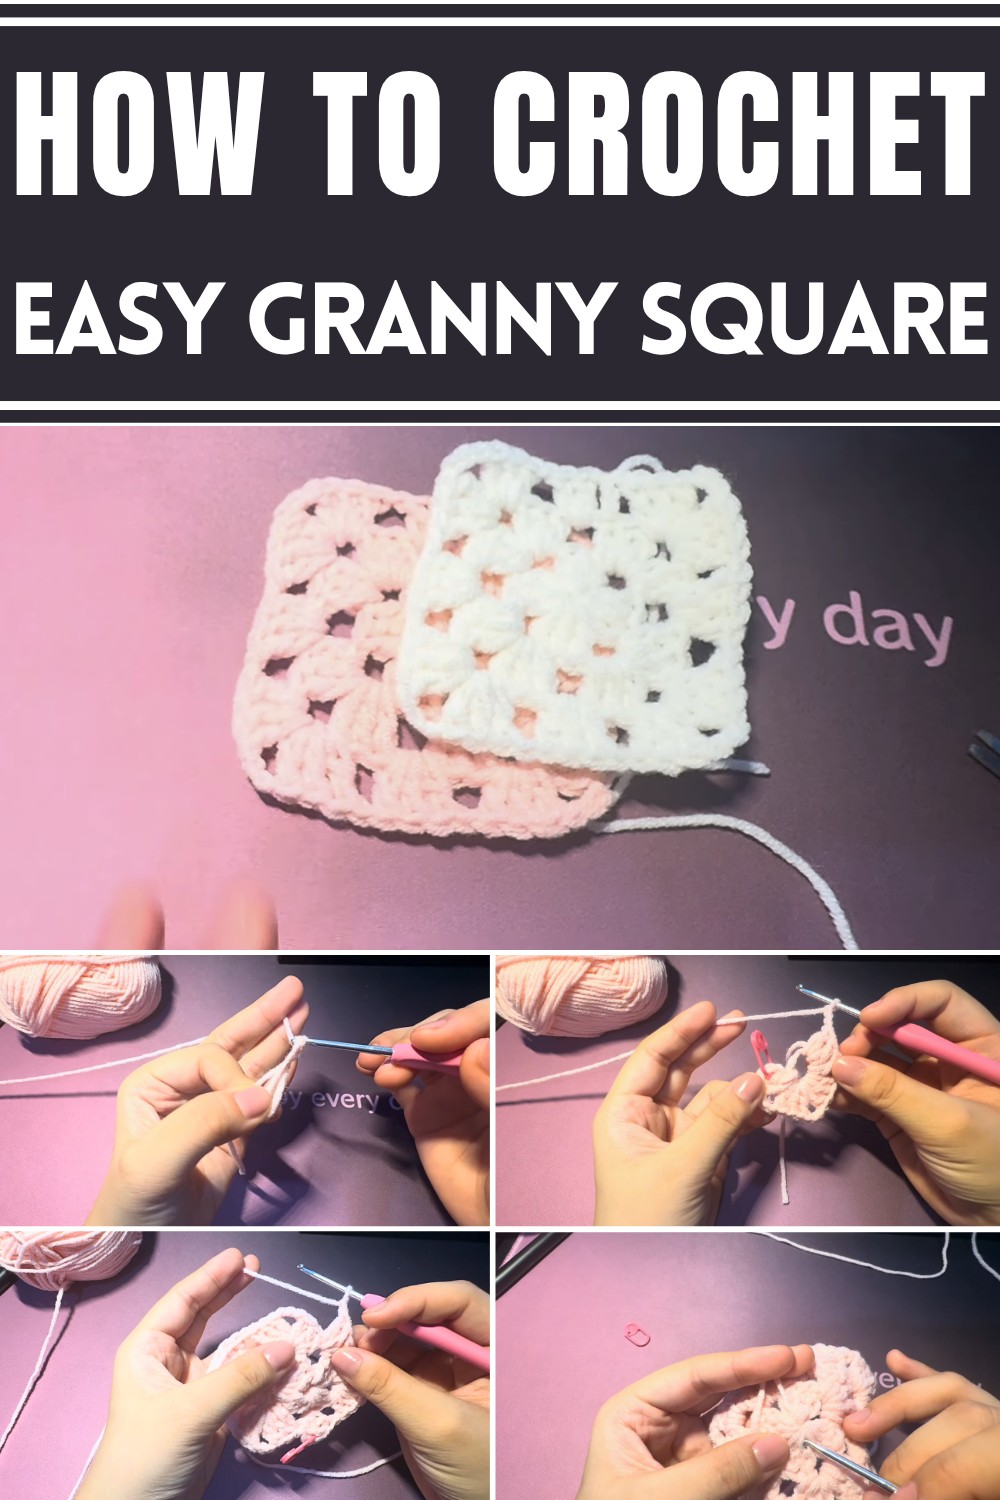
Reveal a chic crochet granny square pattern that's bursting with charm, perfect for sprucing up your home and creating trendy accessories.
The humble granny square has transformed from a nostalgic classic into a modern-day favorite, bringing warmth, style, and creativity into any home or wardrobe. A stylish granny square pattern today boasts vibrant colors, bold textures, and innovative layouts, making it ideal for making everything from a cozy blanket to a trendy bag. What sets the granny square apart is its versatility—it can be customized in endless ways, allowing crafters of all levels to add their own flair to each piece.
How to Make Beautiful Crochet Granny Squares Like a Pro
A granny square isn’t just about aesthetics; it offers practical benefits as well. Perfect for upcycling yarn scraps, it promotes sustainability in a creative way. The small modular nature makes it easy to tackle in short sessions, offering stress relief and a sense of accomplishment.
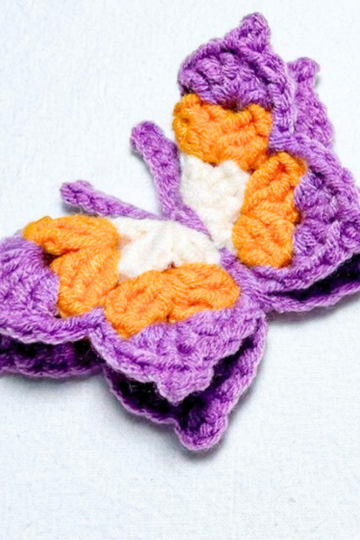
Whether used as a table mat, pillow cover, or wearable piece, this pattern adds a touch of personality and vibrancy to any space. A granny square provides more than just an activity it serves as a gateway to self-expression and a celebration of handmade artistry. With its timeless appeal and functional edge, this pattern promises to breathe new life into your everyday surroundings.
Introduction
Granny squares are versatile, beginner-friendly crochet pattern that are popular for creating scarves, rugs, pouches, blankets, and more. This step-by-step guide teaches you how to create a classic granny square while practicing your double crochet stitches and chains. By mastering this simple yet dynamic pattern, you can make practical and stylish projects.
Materials Required:
- Yarn
- Hook
Step 1: Create the Magic Ring
- Make a loop with your yarn to start the magic ring.
- Hold onto the loop with your fingers while inserting your hook.
- Yarn over, pull the yarn through the loop, then pull it through again to secure the loop.
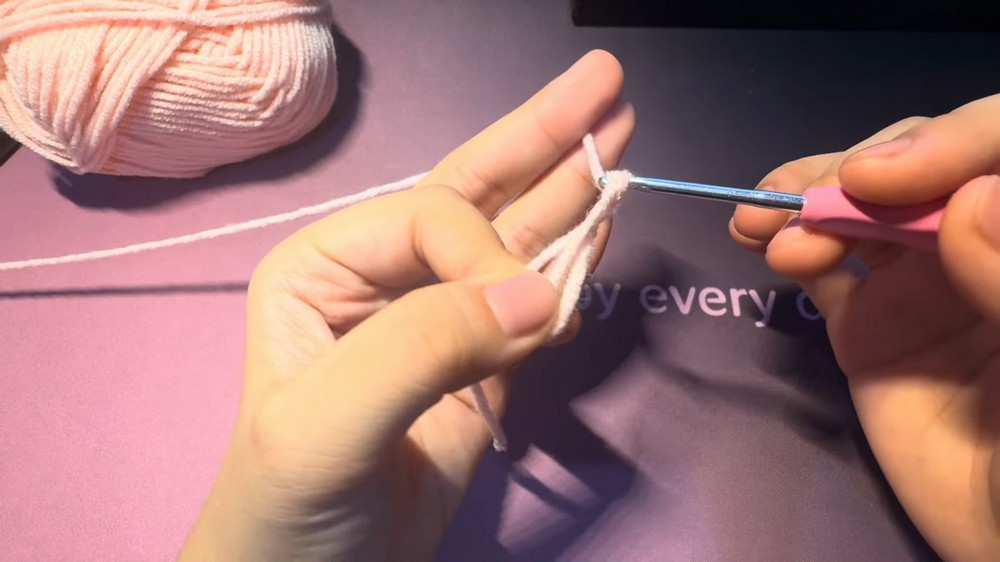
The magic ring is now complete. This will form the center of your granny square.
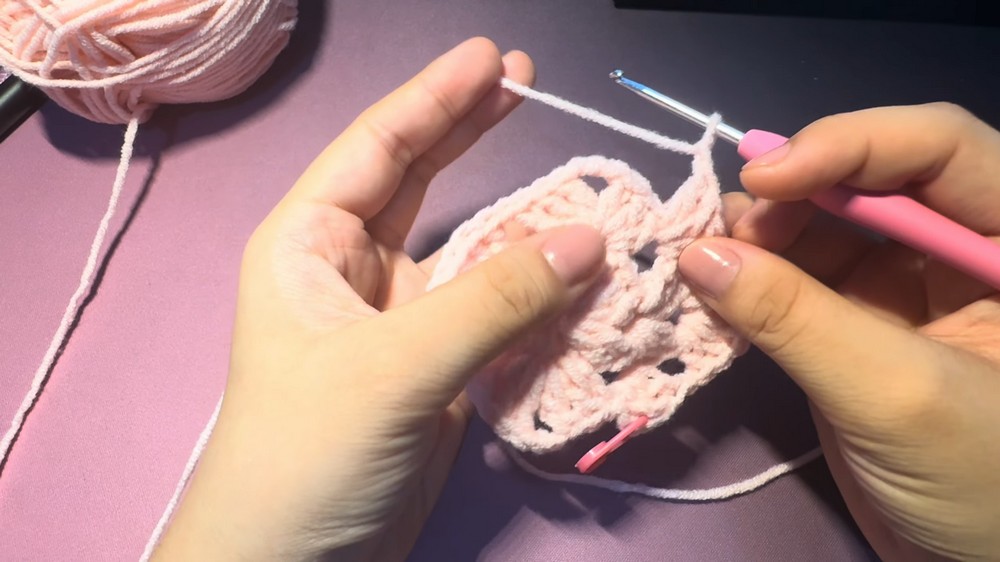
Step 2: Chain Three and Begin the First Round
- Chain three stitches. These will count as one double crochet.
- Pin (or mark) the third chain using a signaling pin or marker to identify it.
Step 3: Work the First Set of Double Crochets
- Yarn over and insert your hook into the magic ring.
- Yarn over again and pull through, leaving three loops on your hook.
- Yarn over, pull through the first two loops, and repeat to pull through the last two. This completes one double crochet.
- Repeat this process for a total of three double crochets (including the chain-three as your first double crochet).
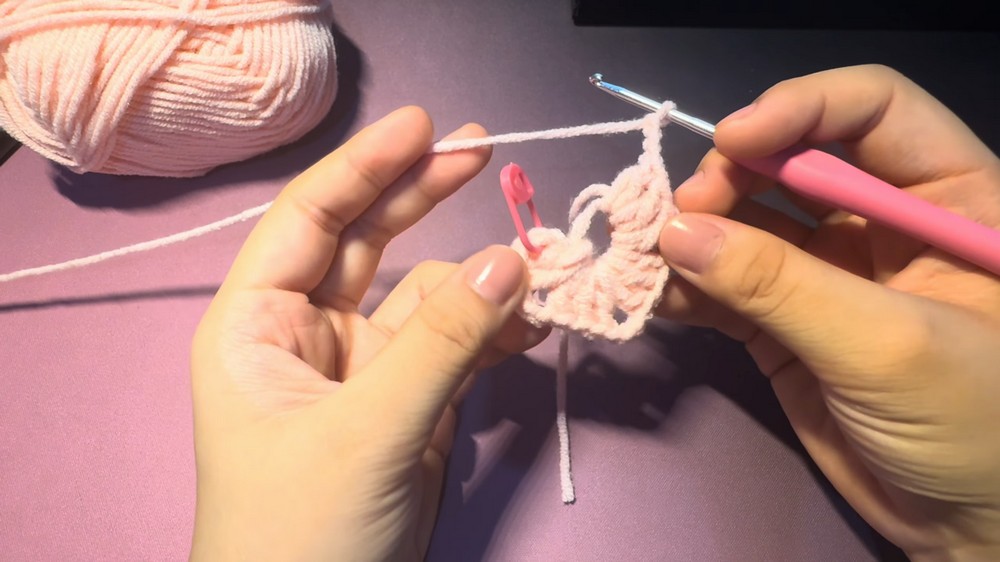
Step 4: Create the Corner of the Square
- Chain three stitches to form the corner.
- Work another set of three double crochets into the magic ring.
- Repeat this pattern until you complete four sets of three double crochets, with three-chain spaces between each set.
Step 5: Close the First Round
- Pull the loose tail of your magic ring to tighten the center hole.
- Slip stitch into the top of the chain-three where your signaling pin is.
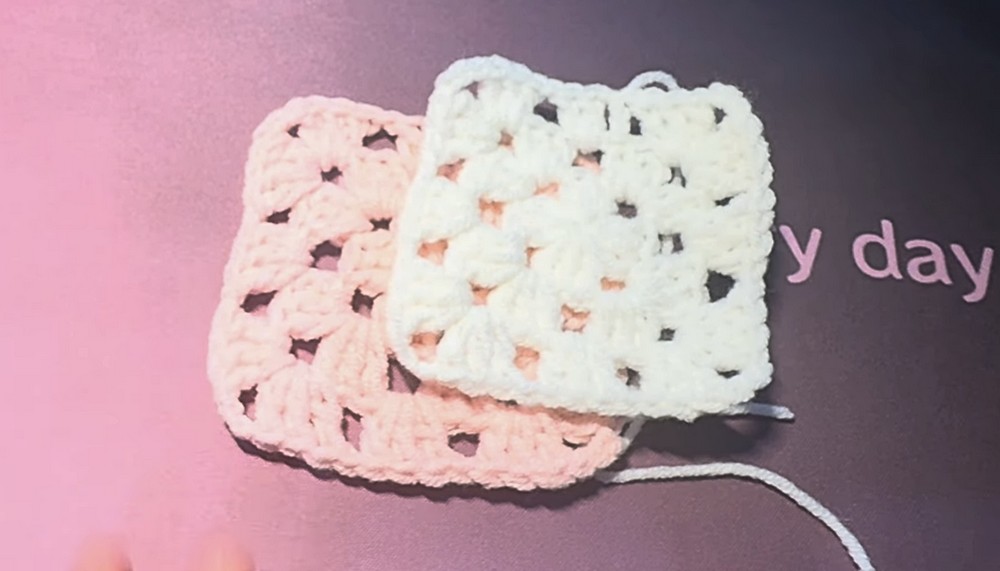
- Your first round is complete—your work should resemble a small square.
Step 6: Start the Second Round
- Chain three stitches (counts as one double crochet).
- Mark the third chain with a pin to track your slip stitch later.
- Chain one to move to the first corner of the square.
Step 7: Work Into the First Corner
- In the corner space, work the following:
- Three double crochets
- Chain three to form a corner space
- Three double crochets
- Move to the next corner by chaining one stitch.
Step 8: Repeat the Pattern for Each Corner
For each of the remaining corners:
- Work three double crochets, three chains, and three double crochets into the corner space.
- Chain one to move to the next corner.
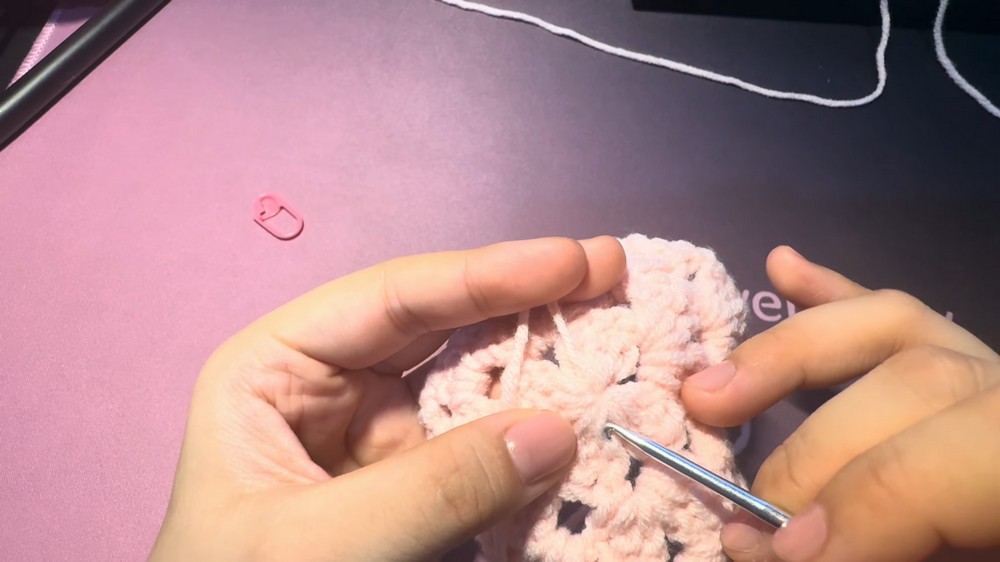
Step 9: Slip Stitch to Finish the Round
- Slip stitch into the top of the chain-three (where your pin is) to join the round.
- At this point, the square will grow with additional rows as desired.
Step 10: Start the Third Row (Optional)
- Depending on your starting point:
- If you’re at a hole, chain three to start.
- If you’re not near a hole, chain four to shift to the next working space.
- Follow the same general pattern:
- Three double crochets in each chain space.
- In each corner space: Three double crochets, three chains, and three double crochets.
Repeat this process, adding as many rows as desired, until your granny square reaches the desired size.
Final Steps: Finishing the Granny Square
- Once you’ve reached the desired size, cut the yarn.
- Weave in the loose ends by threading them through the stitches using a yarn needle or hook. Trim any excess yarn.
Your granny square is complete!
Tips to Keep in Mind
- Use a signaling pin or marker to track the third chain of each round for easier slip stitching.
- To adjust the size of your granny square, simply repeat the pattern and add more rows.
Conclusion
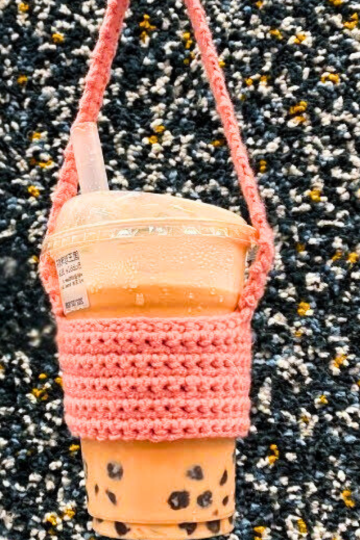
Granny squares are among the most versatile and beginner-friendly crochet patterns. They can be adapted for countless projects, from blankets to accessories like headphone pouches. By mastering the consistent pattern of double crochets and chains in this guide, you can confidently create your own designs. With practice, you'll find this classic technique to be a fun and rewarding addition to your crochet skills.
Leave a Reply