

Tiny toes meet big cuteness with cozy crochet baby slippers—soft, stylish, and perfect for little adventures around the crib!
Soft feet deserve special care, and crochet baby slippers bring a unique mix of comfort and charm to every step. Designed for warmth and gentle wear, these slippers are perfect for newborns and toddlers alike. Their lightweight structure allows for easy movement, while the breathable fabric ensures delicate skin stays protected and cozy.
One-of-a-Kind Crochet Baby Slippers for Cozy Comfort

Stylish yet functional, crochet baby slippers are ideal for indoor play or keeping little toes snug during naps. The stretchy material provides comfort without restricting movement, and the soft soles are gentle on growing feet. They’re a great choice for cooler weather or to complete any adorable baby outfit.
Available in a variety of patterns and colors, these slippers are more than just a practical accessory—they’re a creative way to showcase a baby’s unique personality. Whether you’re gifting them to celebrate a newborn arrival or treating your little one to a touch of handmade love, crochet baby slippers stand out as a heartfelt and practical addition to your baby essentials collection.
Materials Needed
- Yarn:
- Blue-colored milk cotton yarn (main body).
- White yarn (eyes).
- Pink yarn (duck’s mouth).
- Hook Size:
- Use a 3.5 mm crochet hook.
- Tools:
- Scissors.
- Darning needle (DY needle).
- Stitch markers.
- Black beads for eyes (or pre-made flat eyes).
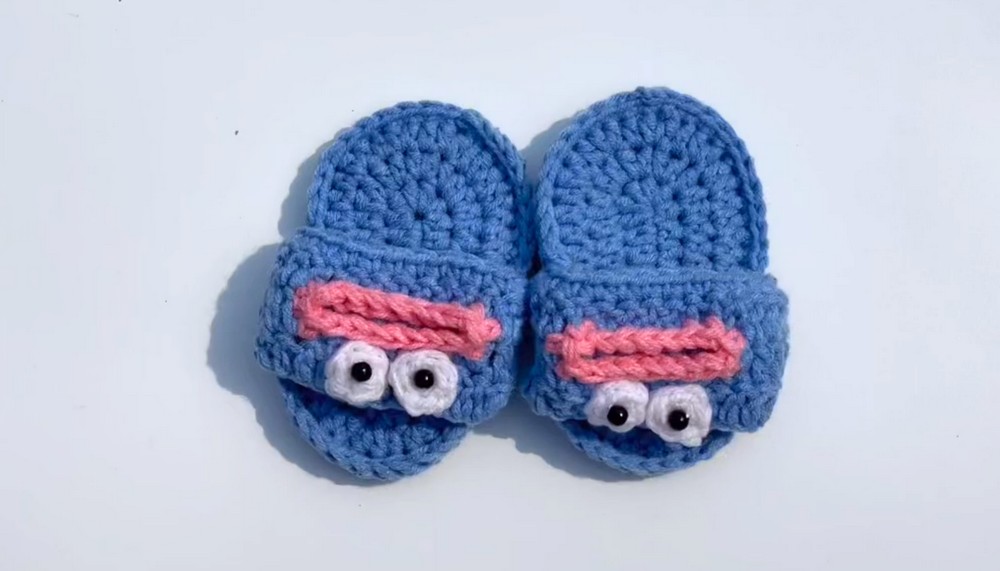
Part 1: Making the Sole of the Shoes
Row 1
- Create a slip knot and chain 10.
- Work a half double crochet (HDC) in the second chain from the hook:
- Yarn over (Y/O), insert your hook, pull up a loop—three loops on the hook.
- Yarn over and pull through all three loops to complete the stitch.
- Use a stitch marker to mark the first stitch.
- Place another HDC in the same stitch (increase in the starting stitch).
- Make 7 HDC across the next stitches (one per stitch).
- In the last stitch, make 6 HDC to create a curved effect.
- Work along the other side of the foundation chain:
- 7 HDC in the next stitches.
- 2 HDC in the last stitch (end-side increase).
- Slip stitch into the first marked stitch to join the row.
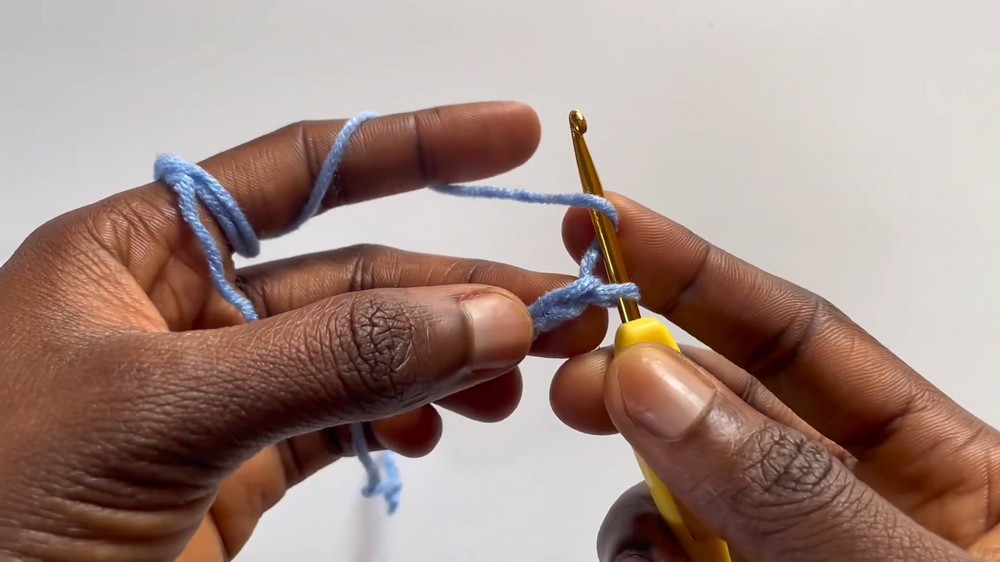
Row 2
- Chain 1.
- In the first stitch:
- Work 2 HDC and place a stitch marker in the first HDC.
- In the next stitch:
- Again, work 2 HDC to increase.
- Place 1 HDC across the next 7 stitches.
- Add 2 HDC in each of the next 6 stitches to increase curvature.
- Work 1 HDC across the next 7 stitches.
- Add 2 HDC in the next 2 stitches.
- Complete with a slip stitch to join the row.
Row 3 (Final Row for Sizes 0-3 Months)
- Chain 1.
- Begin with 2 HDC in the first stitch, marking your first stitch.
- Work as follows for the next section:
- 2 HDC in a stitch, followed by 1 HDC in the next stitch (repeat twice).
- Place 1 HDC across the next 7 stitches.
- Add 2 HDC, followed by 1 HDC, across the next 6 stitches (repeat the pattern).
- Work 1 HDC in the next 7 stitches.
- Finish by placing 2 HDC, followed by 1 HDC, across the next 4 stitches.
- End with a slip stitch, then chain 1 and cut off the yarn.
Note: Repeat this process to make 4 soles total (two per shoe).
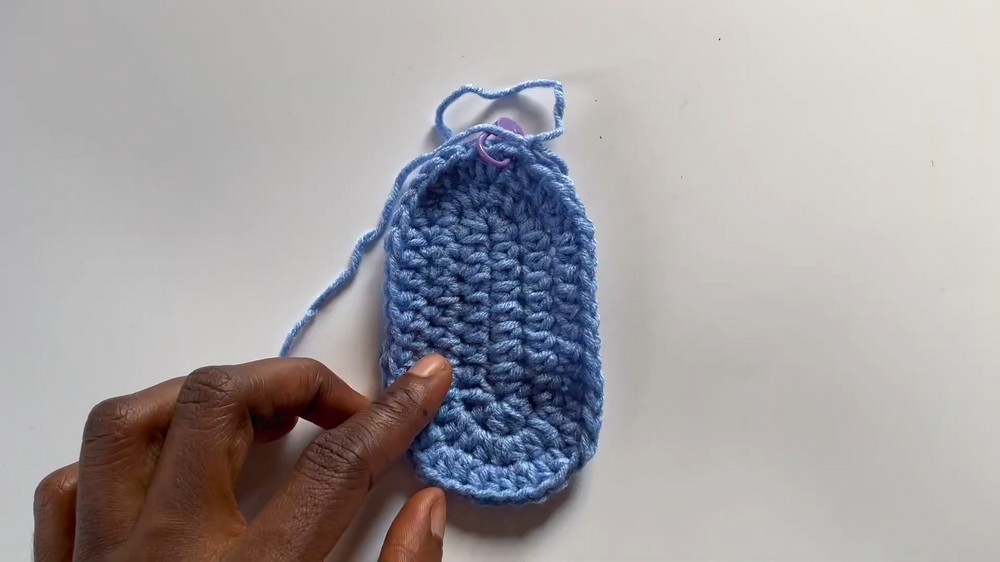
Part 2: Creating the Upper (Top) of the Slides
Rows 1–3
- Begin with a slip knot and chain 16.
- Work 16 double crochets (DC) into the chain, starting from the third loop to ensure stability.
- Chain 1, turn your work, and repeat 16 DC for Row 2 and Row 3.
Row 4
- Chain 1.
- Work 16 single crochets (SC) across the row.
- Finish with a chain 1 and cut off the yarn, leaving long tails for attachment.
Part 3: Adding Duck Eye Features
Making the Base
- Use white yarn to create a magic ring.
- Secure it with a chain 1 and work 5 SC into the ring.
- Pull the tail tight to close the ring.
- Slip stitch into the first stitch to form a small circle and cut off the yarn.
Attaching Beads
- Sew small black beads into the center of the white eye circles using a needle and thread, ensuring the beads are secure.
Part 4: Creating the Duck’s Mouth
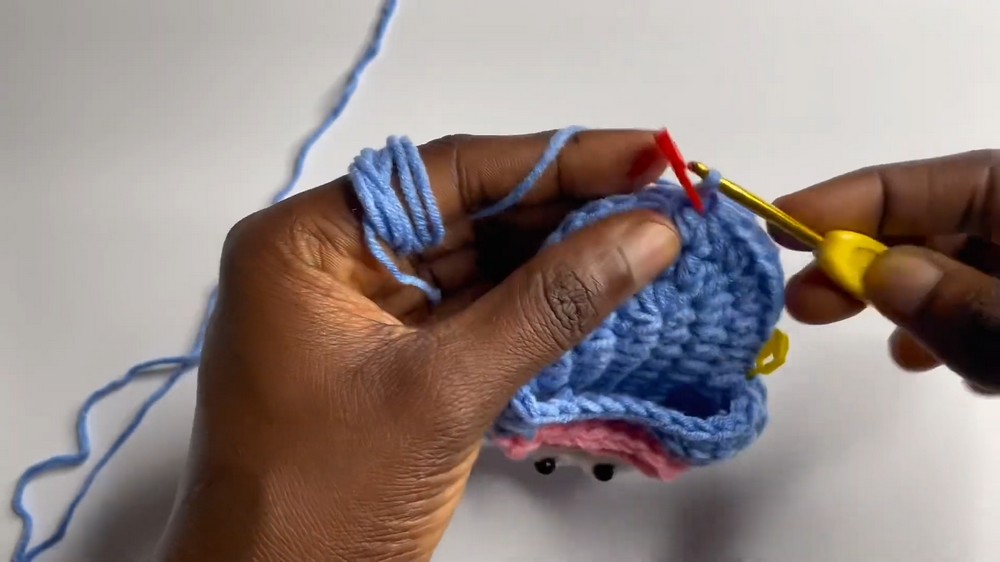
- Use pink yarn and work with three strands for thickness.
- Create a slip knot and insert it onto the hook.
- Attach the yarn at the top of Row 3 on the upper part of the slide.
- Work 7 SC in a curved manner along the slide's top.
- Turn and work similarly on the other side to form a "bill-like" curve for the duck's mouth.
- Secure the yarn with a slip stitch and cut off excess once complete.
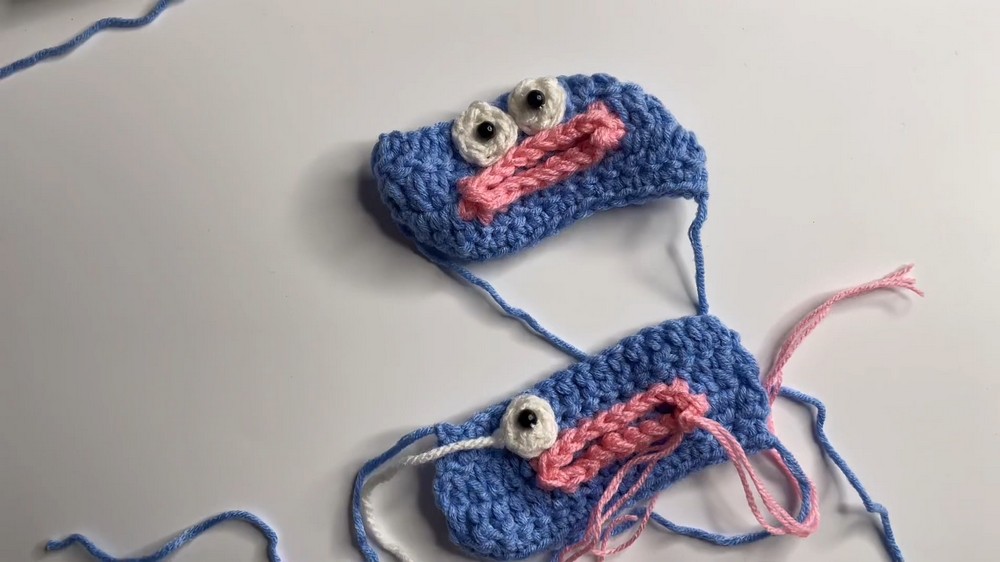
Part 5: Assembly Instructions
- Take two soles per shoe, placing the wrong sides together.
- Use stitch markers to pin the upper part of the slides onto the sole.
- Pin the back and sides using 6 stitches on each side.
- Attach soles by single crocheting through both layers (wrong sides together).
- When reaching the upper part, ensure your hook passes through all layers simultaneously.
- Secure loose ends and finalize your work by weaving in excess yarn.
Conclusion
Congratulations! You’ve created a baby sleepers perfect for infants aged 0–3 months. You can customize the size by increasing the number of stitches as per the measurements of the child's feet. These slippers make thoughtful gifts and cherishable keepsakes. Let your creativity shine as you adjust colors, designs, and sizes!
Leave a Reply