

Learn how to crochet an adorable jellyfish amigurumi with this free pattern featuring simple instructions a seamless design and perfect handmade gifts.
Creating amigurumi is always a joyful experience, especially when the project results in a charming and whimsical sea creature. Recently, I had the pleasure of making a delightful Free Crochet Jellyfish Amigurumi Pattern, a perfect project for anyone interested in crocheting cute marine-inspired keychains or decor. This crocheted jellyfish combines fun with technique, making it a satisfying endeavor for those who appreciate detailed handiwork and playful designs.
Quick & Easy Crochet Jellyfish Amigurumi Free Pattern
The jellyfish features a graceful rounded lid and numerous flowing tentacles that lend it a lifelike, dynamic appearance. Its texture is smooth yet tactile, crocheted using half double crochet stitches and slip stitches that form dense, even rounds ideal for amigurumi shapes. The use of magic ring starts, increases, and decreases ensures a seamless finish, while strategic color changes and stitch markers help maintain stitch count and shape consistency throughout the rounds.
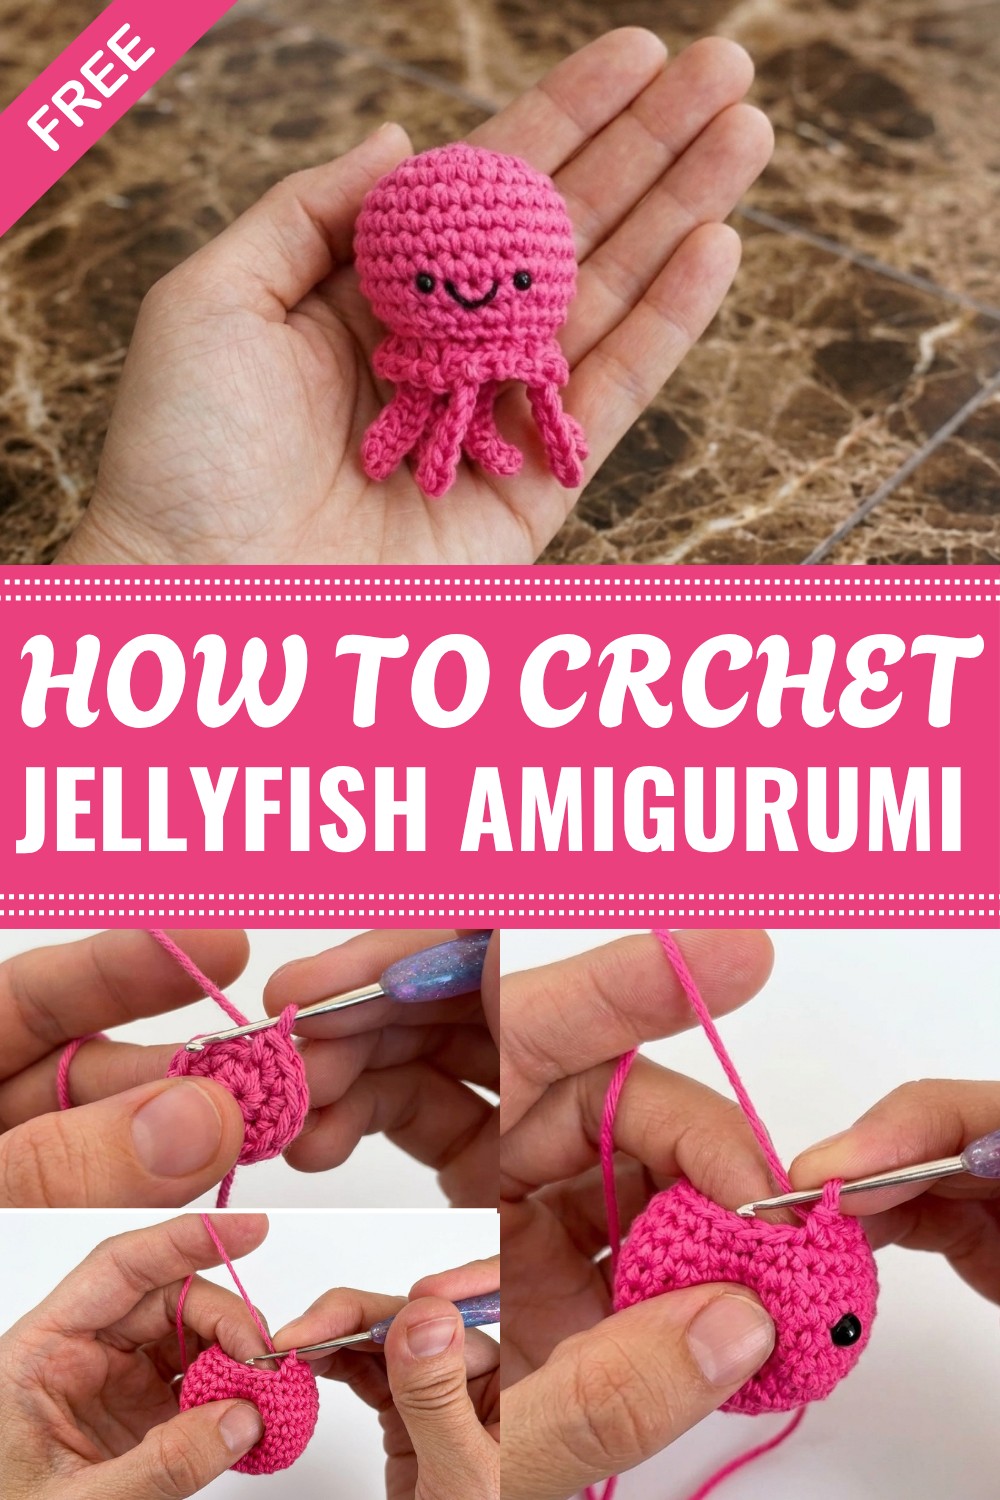
A standout element is the way the tentacles are incorporated directly into the body without sewing, creating a virtually seamless effect that enhances the appeal and durability of the piece. The addition of small 3mm safety eyes and a simple embroidered smile bring personality and warmth to this handmade creation. Designed with intermediate crocheters in mind, this pattern balances manageable complexity with engaging detail, perfect for those looking to expand their amigurumi skills.
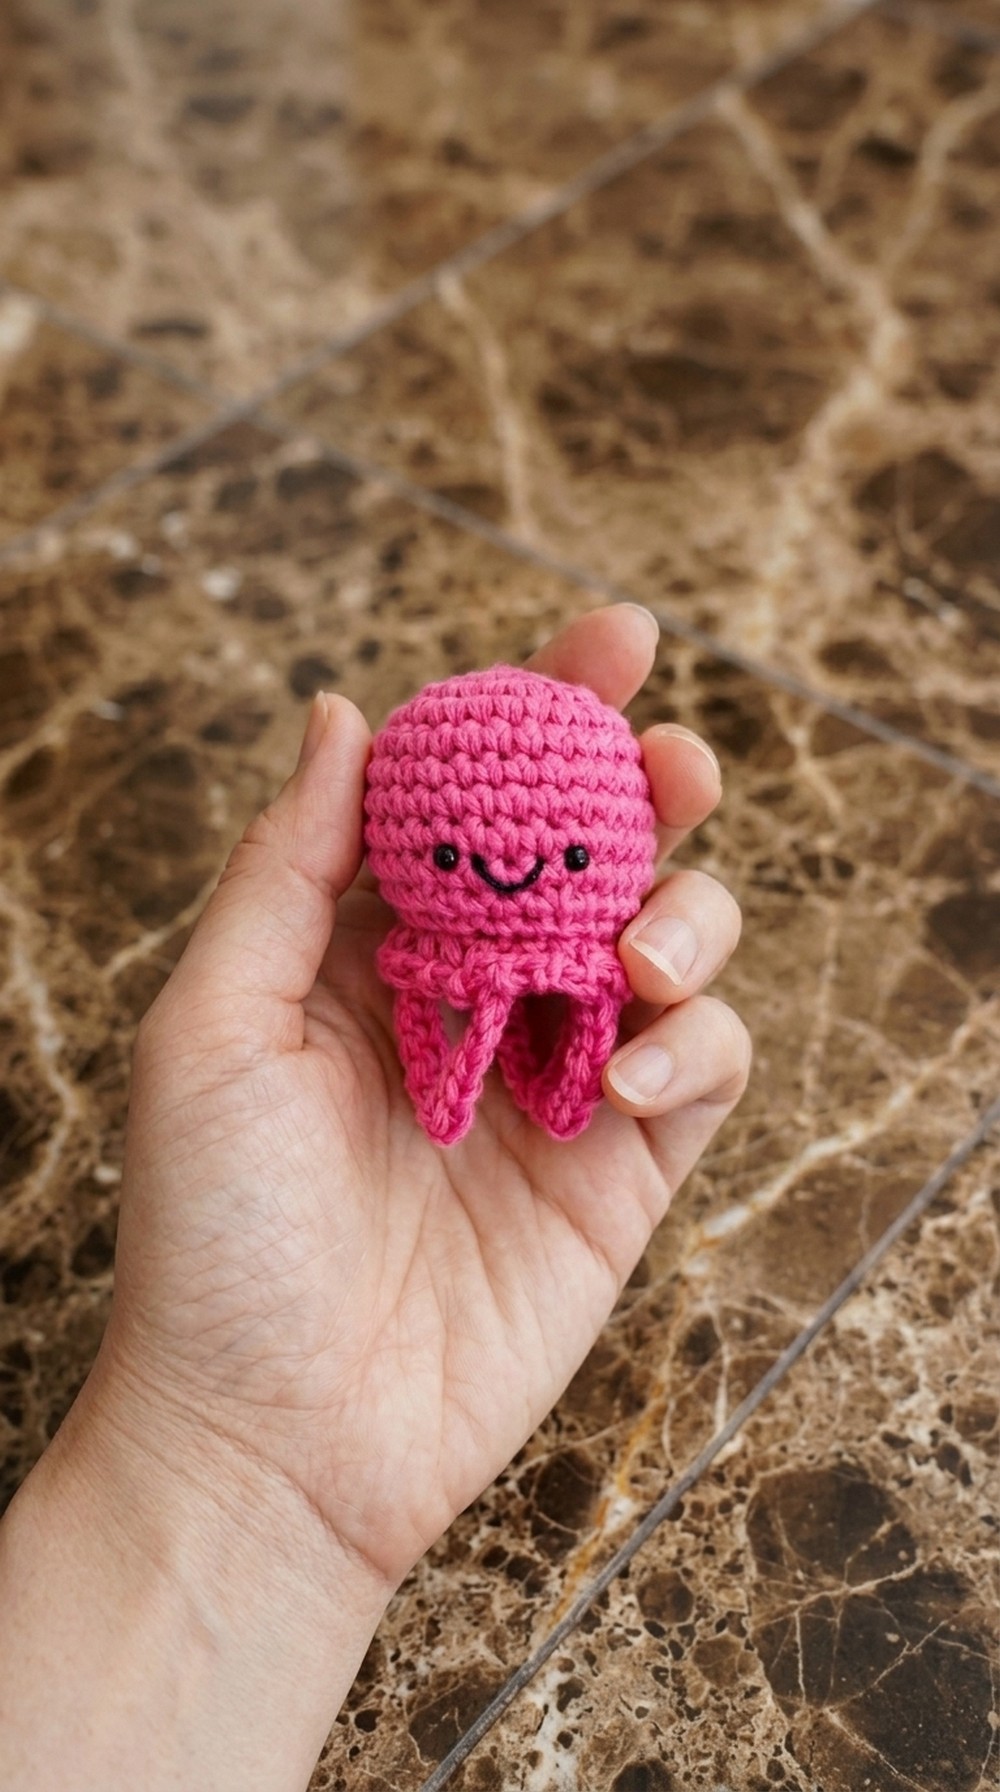
This crochet jellyfish is versatile as a unique gift, adorable keychain, or marine-themed decoration. Its compact size and sturdy construction make it an excellent collectible for amigurumi lovers and a charming touch for home or office spaces. Whether you want to brighten your surroundings or offer a thoughtful handmade present, this project offers a wonderful blend of creativity and practicality. For crocheters ready to embrace a fun, skill-building challenge, this free crochet jellyfish amigurumi pattern is an inspiring and rewarding choice.
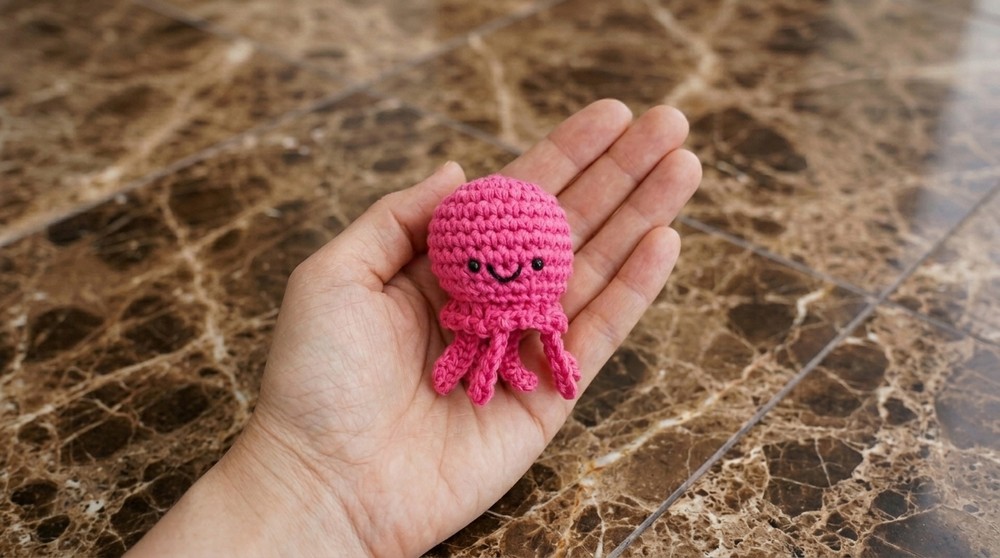
No-Sew Amigurumi Jellyfish Keychain Pattern
Before You Start
- Read through all instructions before starting.
- Use stitch markers to help track rounds and tentacle placement.
- Choose your favorite yarn color combinations for a unique jellyfish.
- Practice magic ring, increases, and invisible decreases if unfamiliar.
- Have all needed materials and tools ready.
Pattern Notes
- All rounds are worked in continuous spirals unless noted.
- Safety eyes are placed after Round 8 of the body.
- Tentacles are integrated directly during crocheting – no sewing needed.
- Markers used to help position tentacles and guide joining.
- Stuff as you assemble for best shape.
- Embroidery is used for the mouth.
- Pattern includes instructions for expert level; refer to beginner version if needed.
How I Made the Crochet Pattern?
- Designed seamless body and tentacles using integrated construction.
- Placed tentacles during increases for symmetry.
- Top and body joined with a decorative border, not sewing.
- Added smile and eyes for personality.
- Included a hanging loop for keychain use.
Skill Level
Intermediate to Expert
Requires confidence in magic ring, increases, decreases, working in spiral, and integrating tentacles as you crochet.
Finished Size
Approx. 6–8cm diameter, 10–14cm length (tentacles included)
Size may vary slightly with yarn and tension.
Materials
- 100% mercerized cotton yarn in 2–4 colors
- 2.0mm crochet hook (or steel 4 for fine work)
- Stitch markers or scrap yarn
- 3mm safety eyes (or embroidered eyes)
- Scissors
- Yarn needle
- Fiberfill stuffing
- Tweezers (optional, for placing safety eyes)
Measurements / Sizing
- Body Diameter: 6–8cm
- Tentacle Length: 4–7cm (adjustable)
- Total Height: 10–14cm
Gauge
- Not crucial for amigurumi.
- For guidance: 10 rounds of sc in spiral should measure ~5cm in diameter (unblocked).
Stitch Abbreviations
- MR: magic ring
- ch: chain
- sc: single crochet (half point)
- inc: increase (2 sc in one stitch)
- dec: decrease (invisible)
- sl st: slip stitch
- st(s): stitch(es)
- rep: repeat
Special Stitches
- Invisible Decrease: Insert hook into front loops of both next stitches, yarn over and pull through both loops, yarn over and pull through two remaining loops.
- Tentacle: ch 7, skip last ch, sl st in back of each of next 6 ch, sl st into marked stitch.
- Integrated Tentacle Placement: Use markers to space tentacles evenly during Round 3 of lid.
The Pattern
Lid (Top, with Tentacles)
Round 1:
- MR, 6 sc. Pull tight.
Round 2:
- 6 inc – 2 sc in each st. (12 sts)
Round 3 (Tentacles and increases):
- (inc, sc, Tentacle) rep 6 times.
- For each tentacle: ch 7, skip last ch, sl st in back loop of next 6 ch, sl st into same st.
- Mark each tentacle placement for joining later.
(Total 18 sts, 6 tentacles)
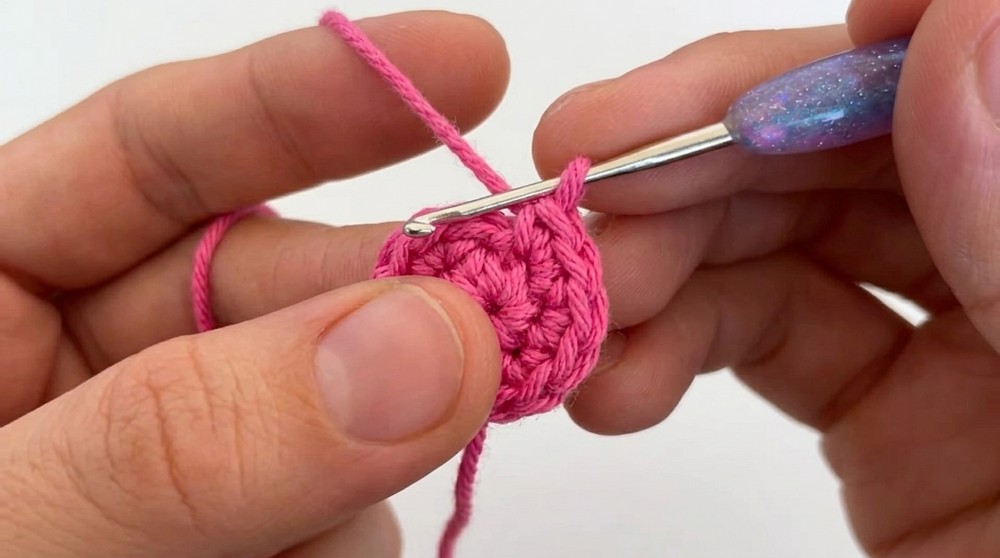
As you finish this section, your lid will have tentacles worked directly into the round. Use colored markers to identify tentacle and joining stitches for later assembly.
Secure lid:
- Ch 3, fasten off and leave a long tail for joining.
Body
Round 1:
- MR, 8 sc
Round 2:
- 8 inc – 2 sc in each st. (16 sts)
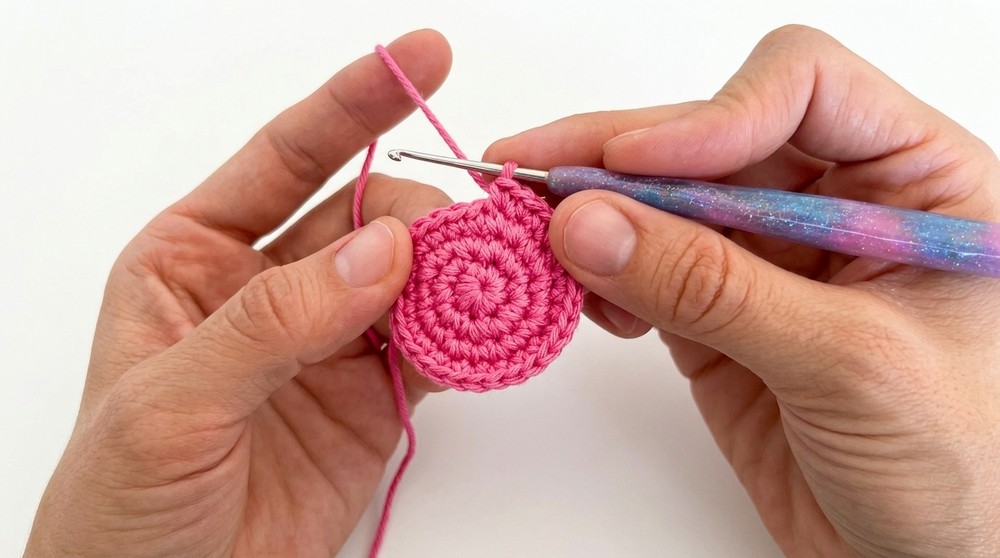
Round 3:
- (inc, sc) rep 8 times (24 sts)
Round 4:
- (sc x3, inc) rep 6 times (30 sts)
Rounds 5–9 (5 rounds):
- sc in each st (30 sts)
You'll now have a slightly domed tube – this is the body of your jellyfish.
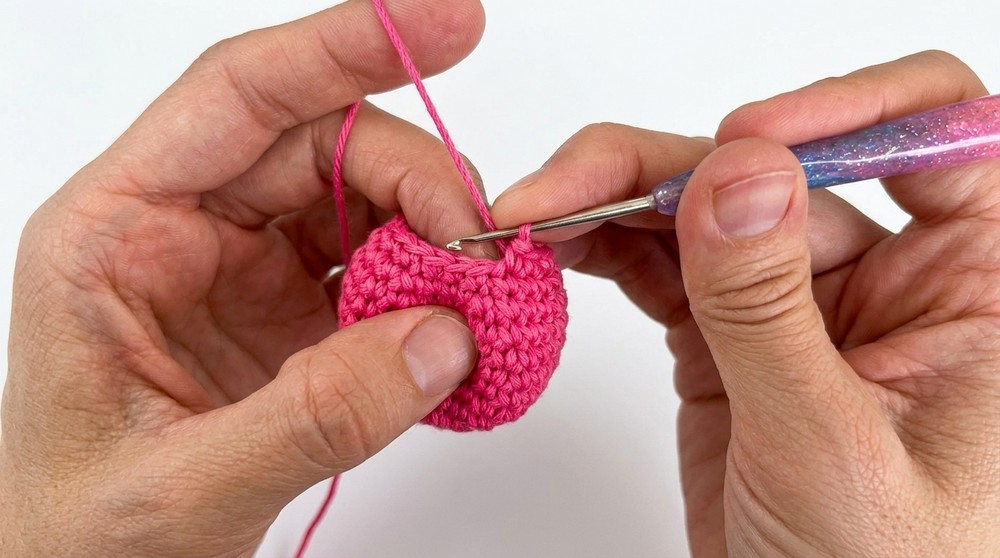
Round 10:
- (dec, sc x3) rep 6 times (24 sts)
Round 11:
- (dec, sc x2) rep 6 times (18 sts)
Insert safety eyes after Round 8. Place them 3–4 stitches apart, centered on front. Secure with washers, or melt back for extra hold if needed.
Assembly & Decorative Border
Joining lid and body:
- Align 18 sts of lid and body. Use markers to match tentacles and joining stitches.
- Begin decorative join:
- sc through both lid and body stitches, ch 2, rep around.
- Join each marked stitch for tentacle (front-facing).
- Ensure tentacles face outside.
- Stuff with fiberfill before final stitches.
- Finish:
- sl st in next st, fasten off, weave tail.
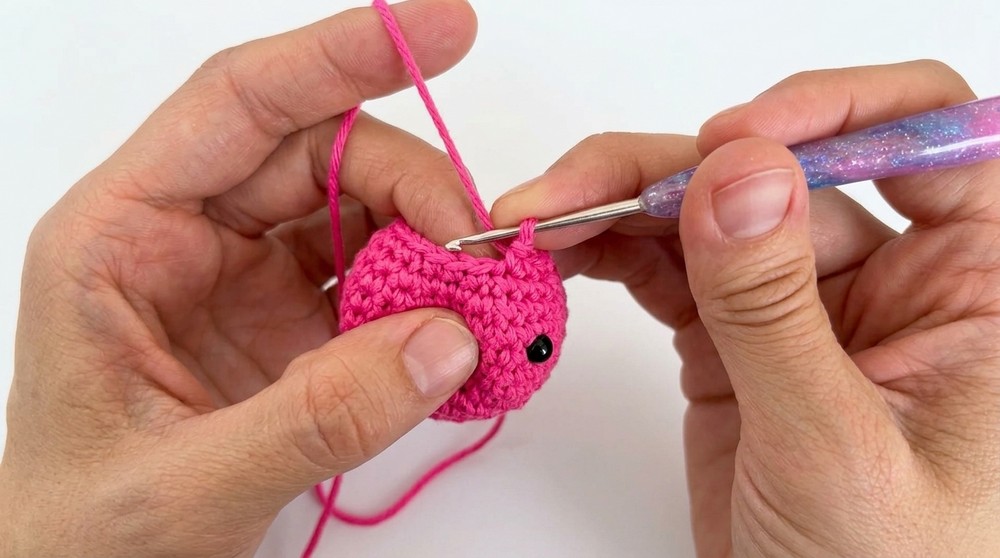
While assembling, alternate joining through plain stitches and tentacle-marked stitches. Tentacles should naturally flare outward. Add stuffing before closing.
Embroidered Mouth
- Use black (or desired color) thread.
- Enter needle from inside to front, bring out below eyes.
- Backstitch a smile, re-enter at edge for depth.
- Tie off, hide knot and tails inside head.
- Compress to fully conceal knot.
Hanging Loop & Finishing
- Use chain to form loop atop lid (optional for keychains).
- Add jump ring for key rings or attach lobster clasp.
- Place any remaining safety rings or beads as desired.
- Shape piece and tentacles gently.
Solution of Common Problems
Problem: Tentacles twisted or tangled.
Solution: Adjust tension carefully when making chains. Flatten tentacles as you join lid to body.
Problem: Lumpy joins or uneven stitches.
Solution: Use markers for alignment; check stitch count before joining. Stuff gently before closing.
What You Can Make By Using These Stitches
- Seamless amigurumi keychains (jellyfish, octopus, etc)
- Small plush animal bases
- Tentacled toys and decorations
- Desk mascots or ornaments
- Play food or aquatic decorations
This seamless jellyfish is a charming accessory for bags, keys, or gifts! Practice no-sew amigurumi techniques and personalized colors for a unique result. Integrated tentacles make this project efficient and beginner friendly to assemble, with all the fun details stitched in as you go.
Leave a Reply