

Focus on elegance with the Crochet Filet Belt Pattern, transforming yarn into fashionable, glam looks perfect for handmade sophistication.
Yarn’s versatility shines through in the Crochet Filet Belt Pattern, offering a stylish and functional accessory that enhances your outfits. This intricate design combines delicate crochet techniques with practical use, making it a standout choice for fashion enthusiasts. Lightweight yet sturdy, the belt adds a refined touch to casual dresses or formal wear while maintaining comfort throughout the day.
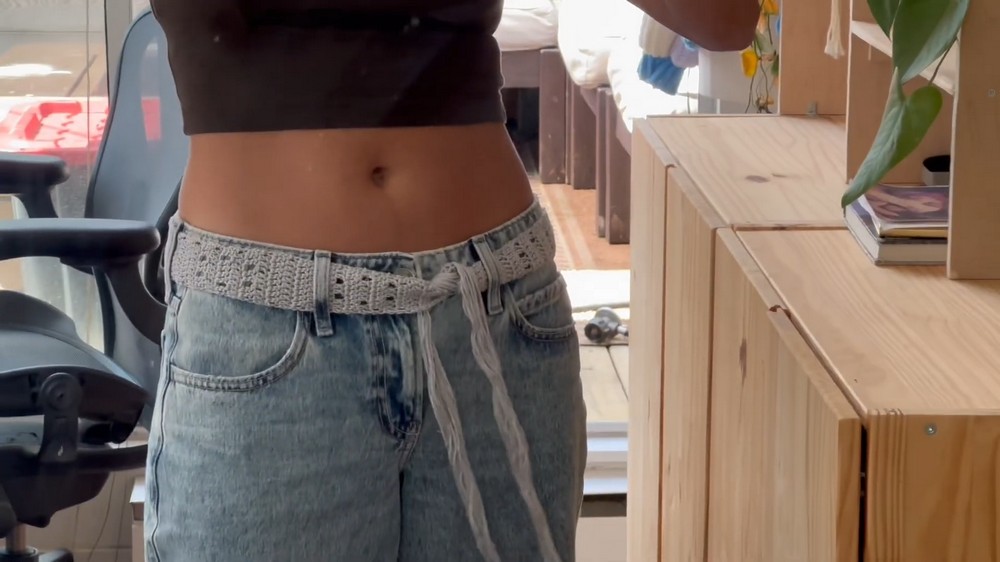
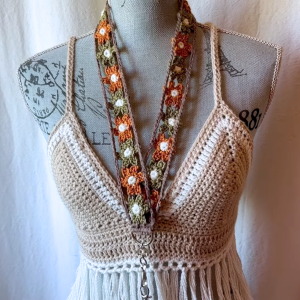
DIY Bohemian Crochet Filet Belt—The Perfect Handmade Accessory

Its unique filet pattern brings an artisanal feel, perfect for showcasing individuality. Beyond its aesthetic appeal, the belt ensures durability and flexibility, ideal for those who appreciate long-lasting accessories. Customizable with endless yarn colors and pattern variations, it suits every taste and adapts easily to changing fashion trends.
This crochet pattern also highlights sustainable fashion practices by encouraging the use of natural, eco-friendly materials. It appeals to those seeking mindful choices in their wardrobe while celebrating the beauty of handmade artistry. Beyond accessorizing, it makes for a thoughtful, personalized gift that carries meaning and care in every stitch. By incorporating this belt into an outfit, anyone can effortlessly elevate their look with a unique blend of sophistication, practicality, and environmentally conscious design.
Introduction to the Crochet Filet Belt Pattern
This pattern walks you through how to create a beautiful Crochet Filet Belt using simple techniques, perfect for adding a handmade and stylish flair to your wardrobe. This pattern both beginner-friendly and wonderfully detailed. The pattern also includes guidance on adding fringes to finish the belt for a polished look. Below are the step-by-step details broken down under clear headings for clarity.
Materials Needed
- 100% cotton yarn (size 3)
- 3mm crochet hook
- Scissors for fringe cutting
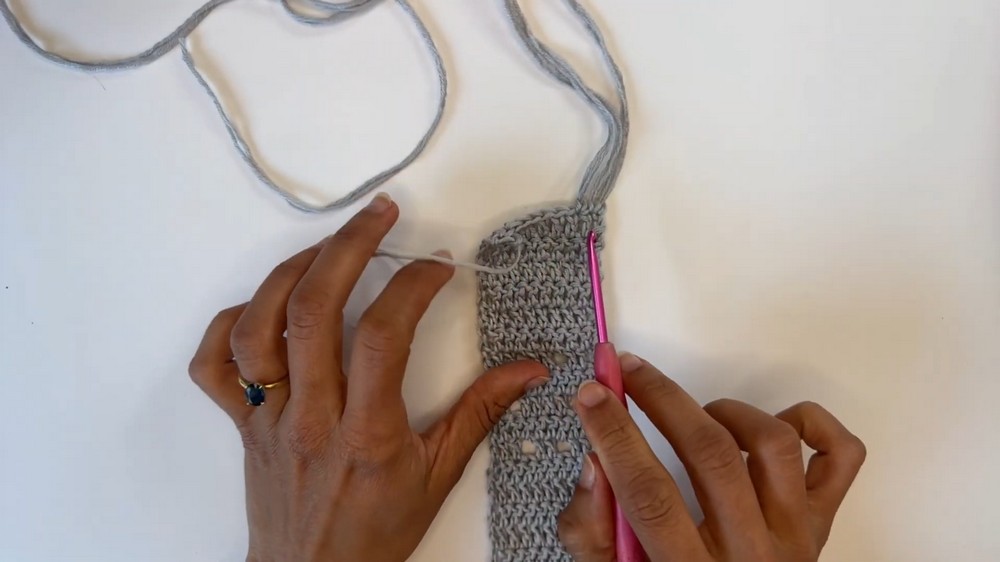
Step-by-Step Instructions
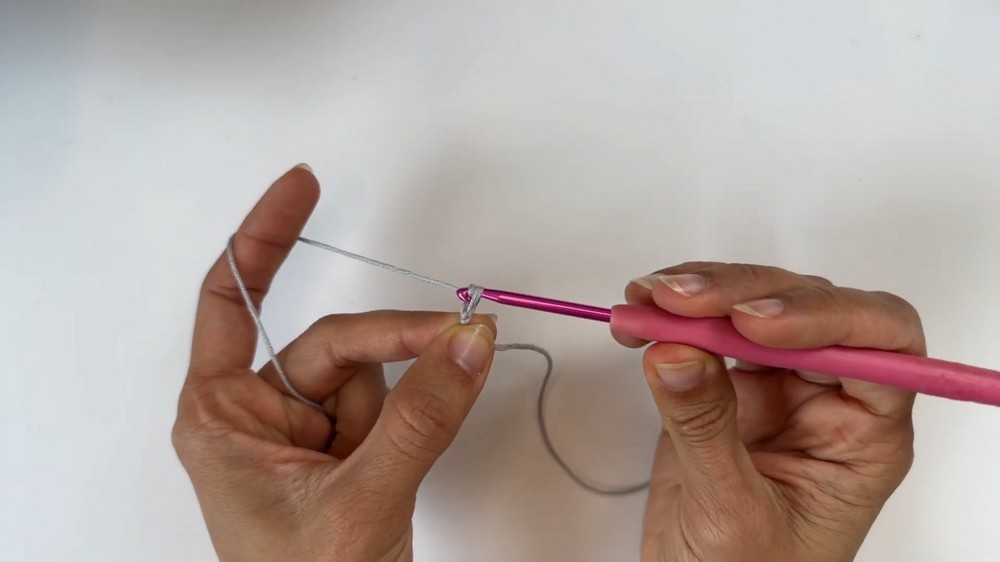
1. Creating the Slip Knot
- Leave a yarn tail.
- Wrap the yarn around two fingers to form a loop.
- Pinch it with your ring finger and thumb.
- Bring the back strand forward and pull it through, creating a small circle.
- Pull the ends to secure and adjust the loop where the crochet hook enters.
2. Foundation Chain
- Chain 11.
- This number determines the width of the belt.
3. Row 1: Double Crochets
- Skip 2 chains (counts as a double crochet).
- Work 1 double crochet into the next chain.
- Continue making double crochets across until you reach the end.
- Ensure you have 10 stitches at the end of the row (including the skipped chains).
4. Row 2: Double Crochet Repeat
- Chain 2 (counts as a double crochet).
- Skip the first stitch of the row.
- Work 1 double crochet into the next stitch.
- Make double crochets into each stitch across, including the turning chain at the end.
5. Rows 3-6: Double Crochet Rows
- Repeat the instructions from Row 2.
- These rows establish the solid foundation for the belt.
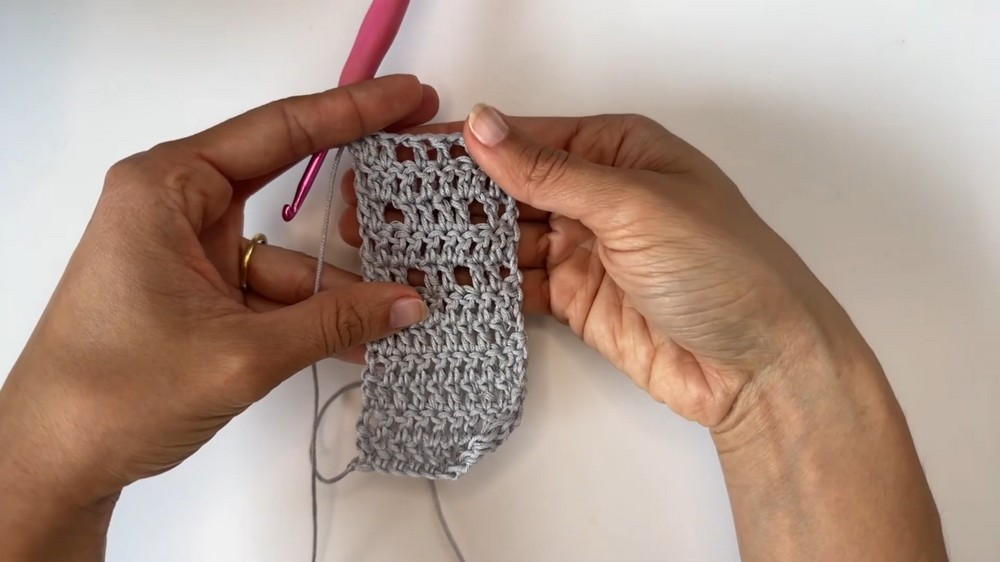
6. Row 7: Beginning Filet Crochet (Flower Pattern)
- Chain 2, flip the work.
- Skip the first stitch.
- Double crochet into each of the next 2 stitches.
- Chain 1, skip one stitch, double crochet into the next.
- Repeat: Chain 1, skip one, double crochet into the next.
- Work double crochets into the last 2 stitches.
- This row introduces the flower-pattern effect (small holes).
7. Row 8: Filling the Pattern (Solid Row)
- Chain 2, flip the work.
- Skip the first stitch.
- Make 1 double crochet in every stitch and chain from the previous row.
- This row creates a solid foundation for the filet crochet.
8. Row 9: Filet Crochet Continuation
- Chain 2, flip the work.
- Skip the first stitch.
- Work 1 double crochet into the next stitch.
- Chain 1, skip the next stitch, and double crochet into the following.
- Work 1 double crochet into the next 3 stitches.
- Chain 1, skip one stitch, double crochet into the last 2 stitches.
9. Row 10: Solid Base Row
- Repeat Row 8 by working 1 double crochet into each stitch and chain.
10. Row 11: Enhancing the Flower Pattern
- Repeat Row 7 instructions to create the flower pattern.
11. Rows 12-17: Double Crochet Rows
- Repeat Row 8 for solid rows to create balance on either end of the flower pattern.
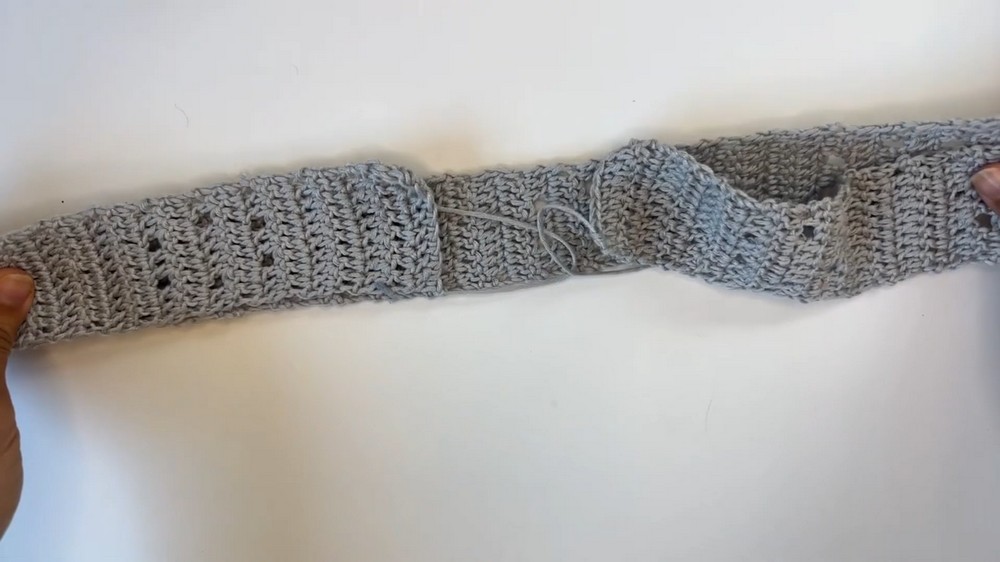
12. Repeat Rows 7-17
- To lengthen the belt, continue repeating the filet pattern and solid rows.
- Measure the belt around your waist to ensure the desired fit.
Adding the Fringe
1. Cut the Strands
- Cut yarn strands longer than desired (e.g., folded length of 16 inches).
- Fold each strand in half and prepare to attach them.
2. Attach the Fringe
- Insert the hook into each stitch at the end of the foundation chain and pull the folded strand through.
- Loop the ends of the strand and pull them through the resulting loop.
- Repeat for all stitches on both ends of the belt for even coverage.
3. Trim the Fringe
- Align the fringe ends and trim for even length and polished edges.
Conclusion
This Crochet Filet Belt Pattern is an elegant and functional accessory you can customize to fit your size and style preference. The step-by-step process makes it beginner-friendly, while the pattern's filet crochet details create a stylish touch. Adding fringes gives it a bohemian flair, perfect for completing any outfit.

Leave a Reply