

Create a festive Halloween pumpkin hair clip with this crochet pattern, ideal for seasonal costumes and adding charm to your holiday look.
There’s something special about small, handmade pumpkins that add a touch of warmth and charm to any room. These cute crochet pumpkins Hair Clips are perfect for bringing a little bit of fall magic into your life. They make lovely gifts, sweet decorations, or fun collectibles that you’ll enjoy all season long.
Easy Crochet Pattern: Spooky & Cute Halloween Pumpkin Hair Clips
Each pumpkin is small and round, usually only a few inches wide. They are made using simple crochet stitches like single crochet and basic increases and decreases to create their shape. Because they are worked in the round, these amigurumi pumpkins are a great project for beginners who want to try new crochet skills.
The design is bright and cheerful, often featuring a classic orange body with a tiny green stem on top. These little details give the pumpkins their friendly, cozy look. You can easily attach them to hair clips, key rings, or even use them as cute table decorations.
Making these crochet pumpkin hair clips helps you practice important techniques like crocheting in the round, changing colors, and shaping with stitches. They are small projects that you can finish quickly, giving you a sense of achievement and a lovely handmade piece to show off or gift.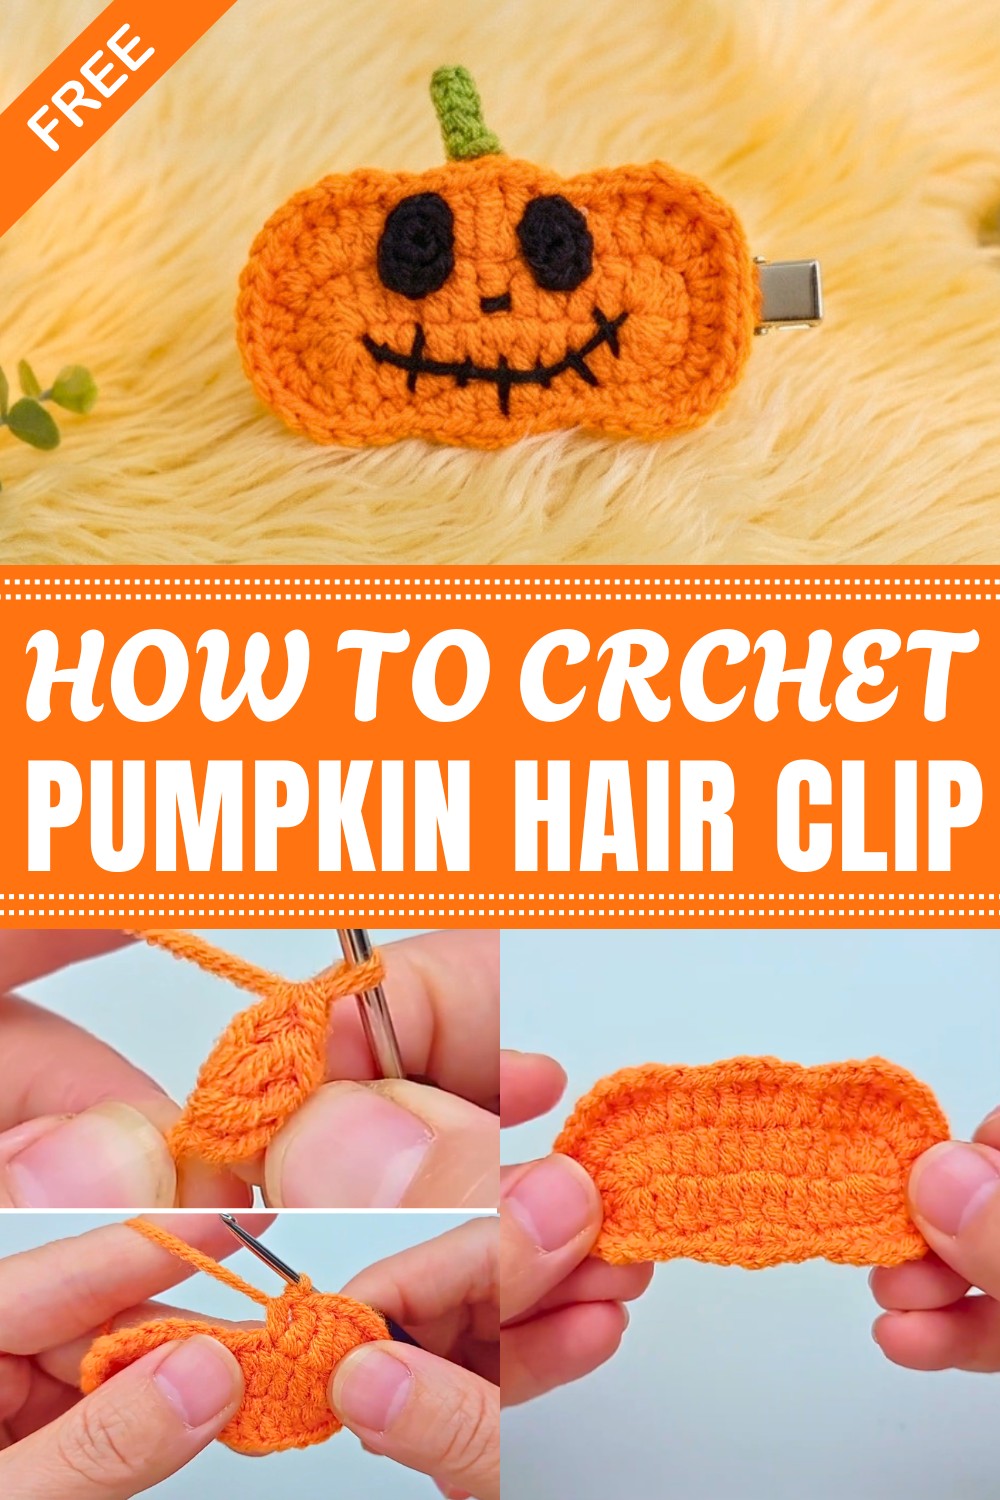
Flat Pumpkin Hairpin Crochet Pattern
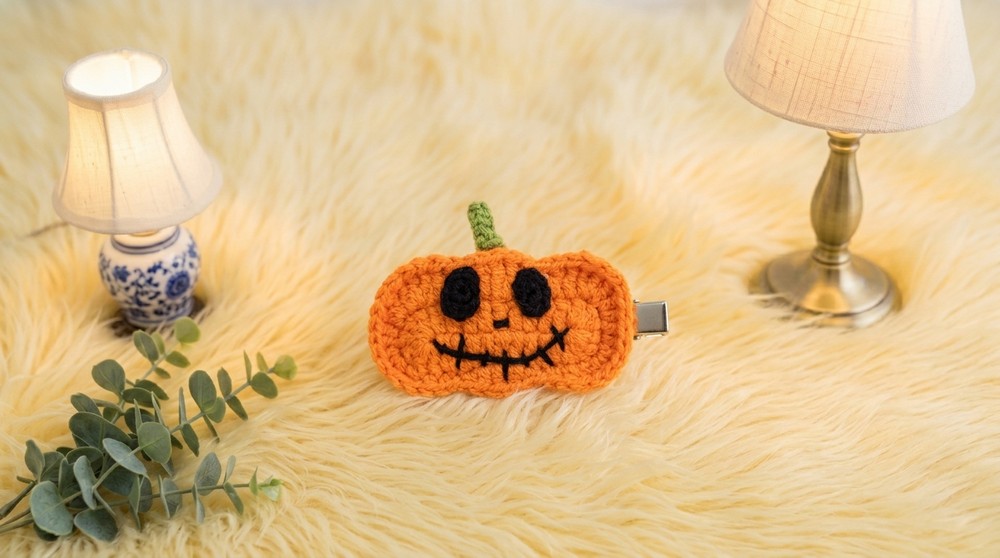
With Halloween just around the corner, today I’ll walk you through creating a super simple and delightfully charming flat pumpkin hairpin. Small in size, quick to finish, and full of festive flair, this pumpkin hair clip is perfect for kids or anyone who wants to enjoy the season. You’ll use basic stitches, layers of vibrant cotton yarn, and cheerful embroidered details for an adorable result.
Quick Overview Of Pattern
- Project Type: Flat pumpkin motif with stem and face, attached to a hairpin
- Main Techniques: Crochet in rows and rounds, basic embroidery for the face, simple construction
- Style/Finish: Flat design for use as a hair accessory
Notes
- Use two hook sizes for shaping and texture: 1.5mm for detail, 2.0mm for the main body.
- The main pumpkin is crocheted in an oval with gentle increases and shaping for a cute round look.
- Pumpkins are made using “long stitch” (likely US dc or tr), hdc (medium-long) and sc (short), and slip stitch for edging.
- Embroider the face to personalize your pumpkin; glue (hot or craft glue) recommended for fast assembly, especially on the hairpin.
- This pattern is suitable for confident beginners and up.
Skill Level
Beginner / Easy
Comfortable with basic crochet stitches (chain, sc, hdc, dc, slip stitch), working in rows and rounds, and simple shaping.
Materials
- 4 strands of orange milk cotton yarn (main body)
- 2 strands of green milk cotton yarn (stem)
- Small amounts of black yarn/thread (face embroidery)
- Crochet hooks: 1.5 mm and 2.0 mm
- Yarn needle for embroidery and weaving in ends
- 6 cm (2.5 in) metal hairpin/barrette blank
- Scissors
- Hot glue gun or strong craft glue
Measurements / Sizing
- Pumpkin motif (finished): ~5 cm (2 in) wide
- Stem: ~2 cm (0.75 in) long
- Eye patches: ~1.2 cm (0.5 in) across
- Fits a 6 cm (2.5 in) hairpin
Gauge
Not critical. Ensure your stitches are firm and even, especially for the flat motif.
Stitch Abbreviations
| Abbreviation | Meaning |
|---|---|
| ch | chain |
| sl st | slip stitch |
| sc | single crochet |
| hdc | half double crochet |
| dc | double crochet (long stitch) |
| tr | treble crochet |
Special Stitches
- Long stitch: The video refers to a “long stitch.” Use US double crochet (dc), or if you want a slightly taller motif, use treble (tr). Adjust as desired.
- Medium-long stitch: Use half double crochet (hdc).
- Working into back bump: For stem, insert the hook under the back bar of each chain for a textured edge.
Pumpkin Body (Working in Rounds)
Yarn: 4 strands orange milk cotton
Hook: 2.0 mm
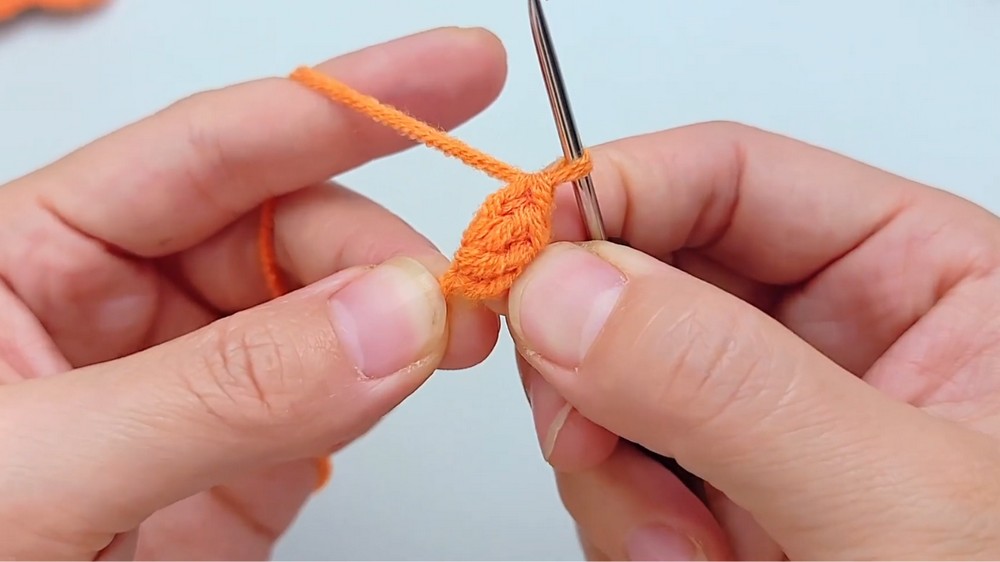
Round 1
- Ch 13.
- In 3rd ch from hook: 3 dc (corner curve).
- Dc in next 9 ch.
- In last ch: 6 dc (turns curve).
- Work down the other side of chain: Dc in next 9 ch (opposite side of starting chain).
- In last ch (same as where your first 3 dc went): 3 dc (complete other curve).
- Sl st to first dc to join.
[Total stitches: 30 dc]
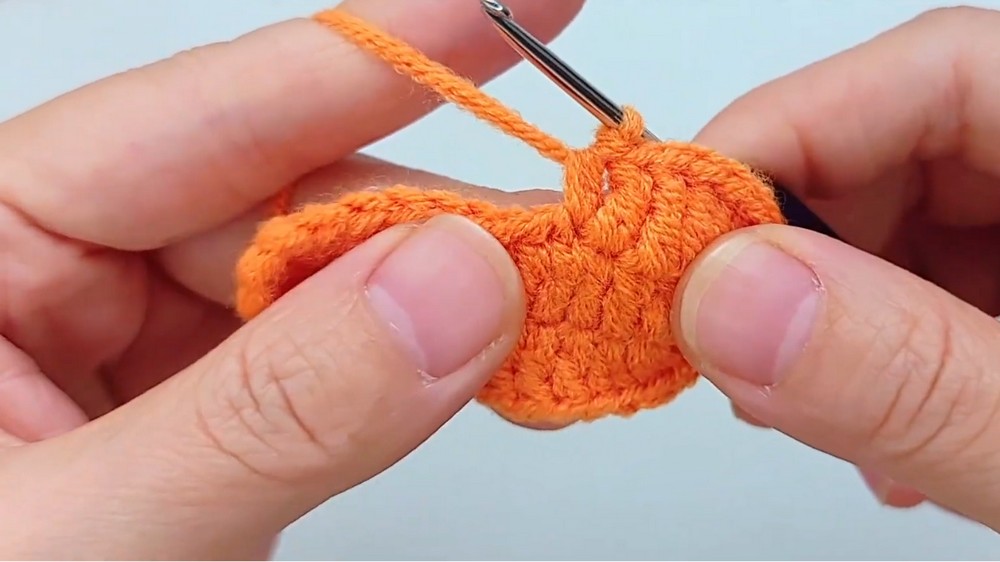
Round 2
- Ch 2 (counts as first dc, or use standing dc).
- Dc in same st as join.
- (2 dc in next st) – increase.
- Dc in next 3 sts.
- Dc in next st, hdc in next st, dc in next st.
- (2 dc in next st)
- Dc in next st, hdc in next st, dc in next st.
- (2 dc in next st)
- Dc in next 3 sts.
- (3 dc in next st) – for roundness.
- (2 dc in next st) – increase.
- Dc in next st.
- (3 dc in next st).
- Sl st to first dc.
[Total stitches: count as you go, due to grouping and increases, the round will be larger and rounder]
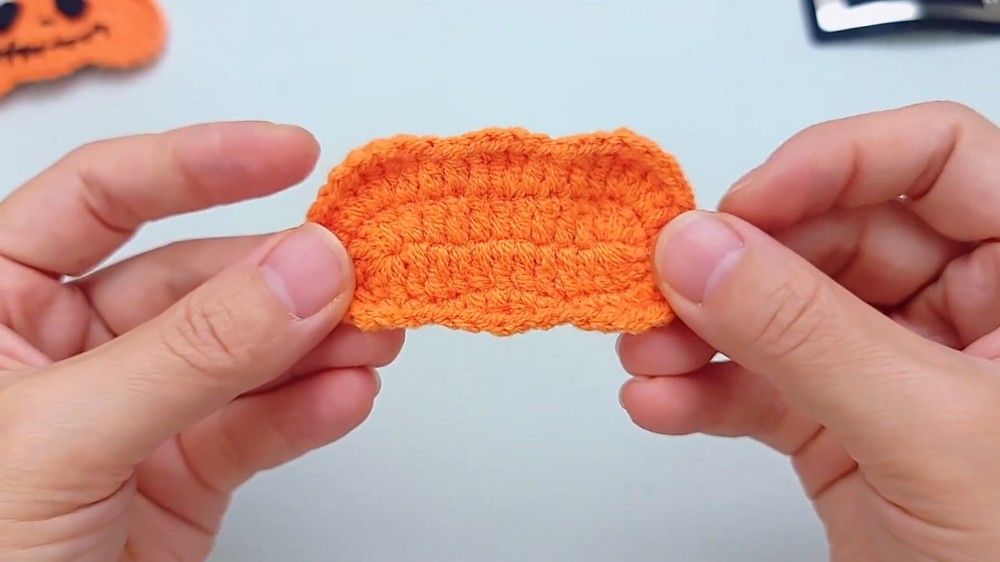
Finishing the Pumpkin Body:
- Fasten off, pull yarn through, and hide ends.
Pumpkin Stem (in Rounds)
Yarn: 2 strands green milk cotton
Hook: 1.5 mm
Round 1
- Ch 7.
- Turn, working in back bumps:
- Sl st in first 3 ch.
- Sc in next ch.
- Hdc in each of last 2 ch.
- Ch 1, pull up loop and fasten off.
- This creates a simple curve that you’ll glue to the pumpkin body.
Pumpkin Eyes (each worked as a Round)
Yarn: Black
Hook: 1.5 mm
Round 1 (make 2 eyes)
- Create a magic ring.
- Ch 1 (does not count as st).
- Into the ring, work in this order, all in one round:
- Sc in ring
- 2 hdc in ring
- 2 sc in ring
- 3 dc in ring
- 1 sc in ring
- Pull tight to close the ring.
- Fasten off, leave tail for sewing or gluing.
- Make two identical pieces.
Assembly (as Final Step)
- Glue or sew stem to top center of pumpkin.
- Attach two eyes on pumpkin with glue or sewing.
- Embroider nose and mouth with black yarn.
- Glue entire motif to a 6 cm hair barrette.
- Adjust, trim, and tidy up for a neat finish.
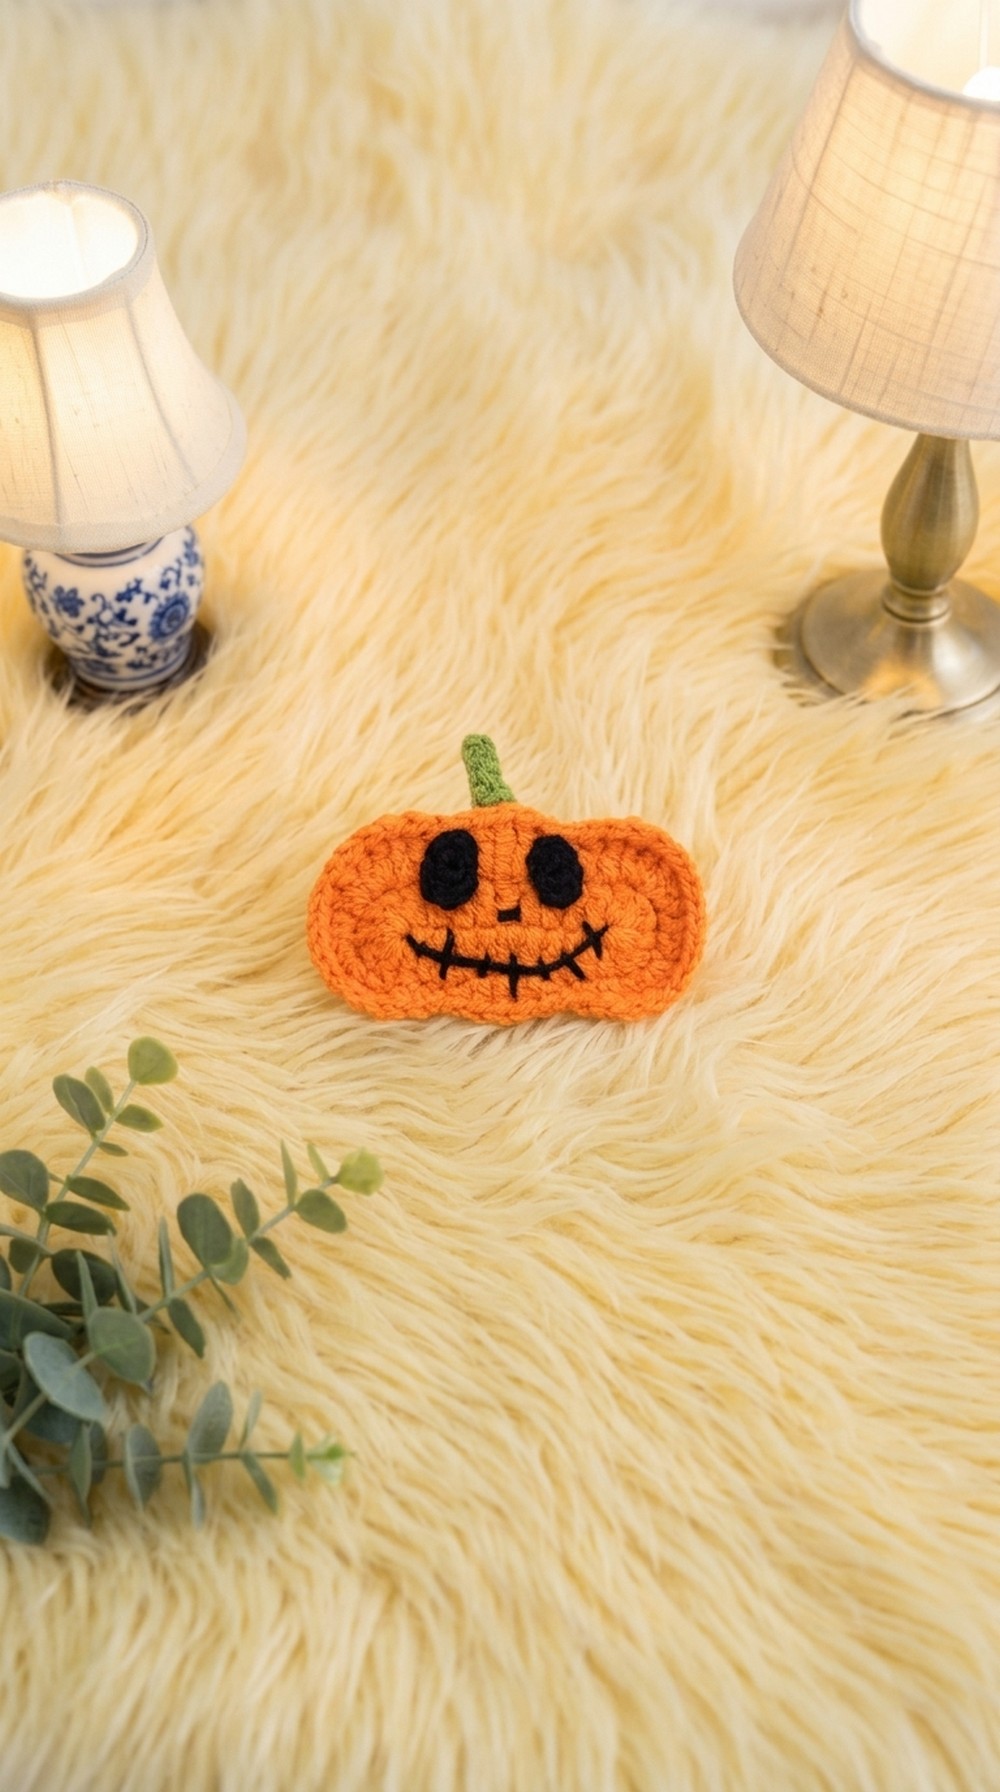
Optional: Full Face Embroidery (not in rounds, for extra detail)
- Use black yarn or thread to embroider a nose (triangular or oval) and a mouth (smile or spooky).
- Finish up with a careful trim of excess threads or any overhanging fibers.
Conclusion
You’ve made your flat pumpkin in simple rounds! This easy design means you can make several for party treats or gifts. Enjoy your festive hair accessory, and Happy Halloween.
Leave a Reply