

Hook yourself a boho-chic vibe with this playful crochet bucket bag pattern style, sass, and handmade magic all in one fabulous project!
Once a simple carryall, the bucket bag is now a style statement, and this crochet version brings boho-chic charm to the forefront. With its roomy structure and easy over-the-shoulder design, this bag is perfect for everyday use and makes a standout accessory for casual outings or trendy festivals. The pattern combines functionality with an artsy touch, resulting in a bag that’s not just useful but also a reflection of personal flair.
Crochet Bucket Bag Pattern - Your New Favorite DIY Project
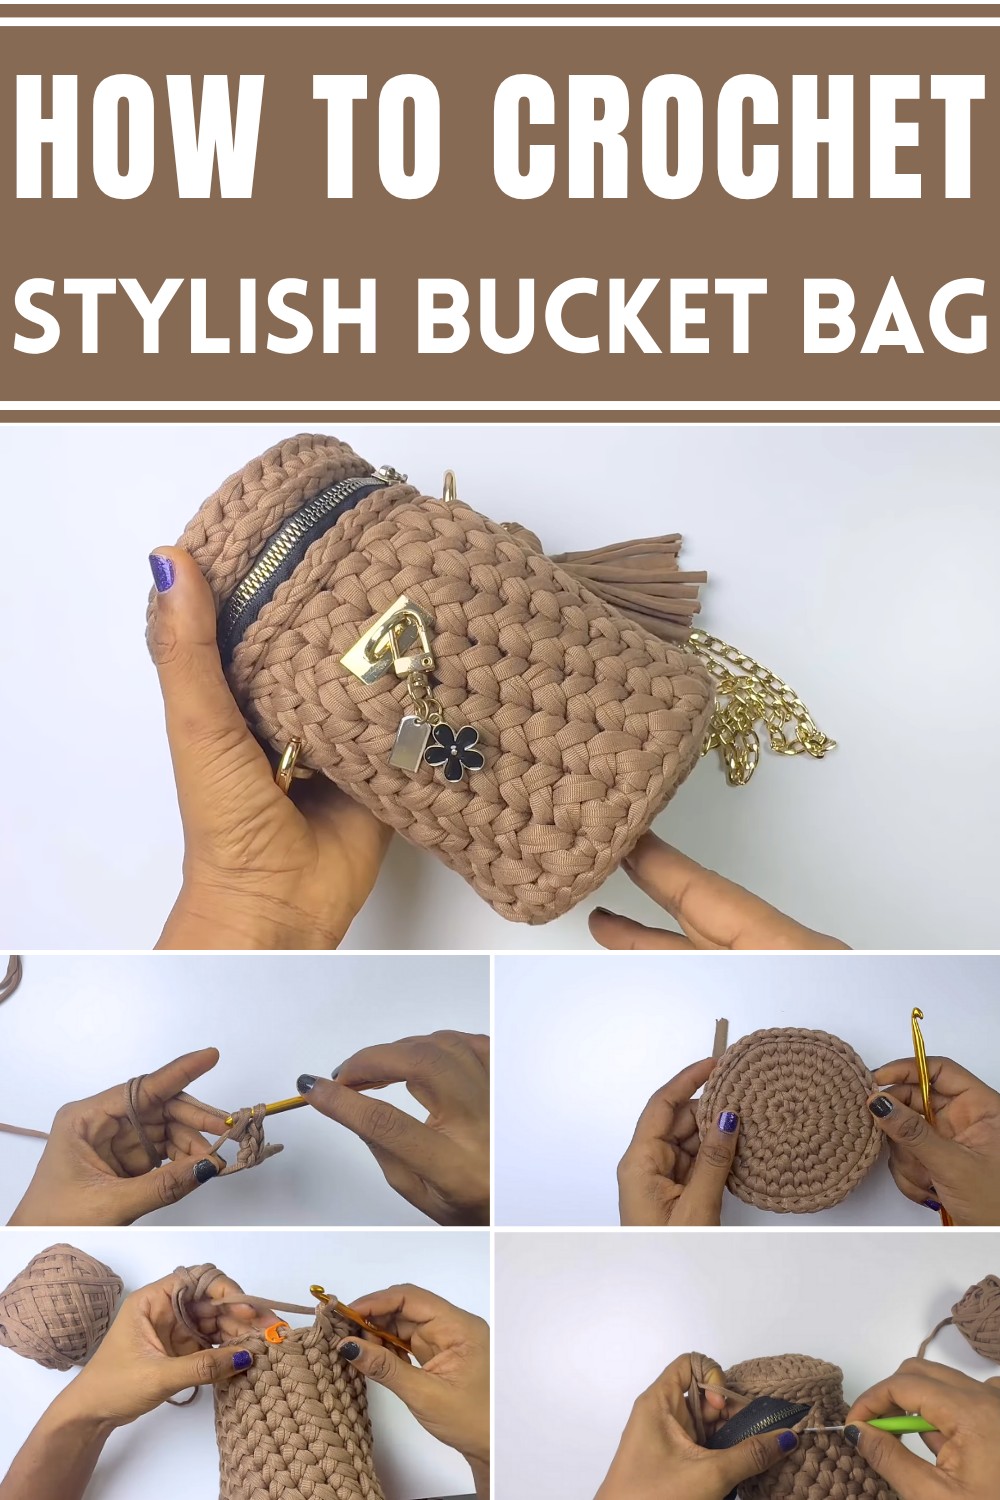
Whether storing essentials like keys, wallets, and phones or serving as a stylish home for lightweight items, its versatility sets it apart. The texture and design give it a uniqueness that store-bought bags just can’t match. A great option for gifts, it also offers an avenue to express creativity while being practical.
This crochet pattern invites makers of all skill levels to add a touch of boho spirit to their wardrobes. Pair it with flowing dresses, distressed jeans, or even chunky sweaters—the bucket bag adapts effortlessly to your style. Not only does it serve as an accessory, but it also carries sentimental value as something handmade.
Introduction to the Pattern
The pattern featured in this tutorial focuses on creating a bucket-style crochet bag from start to finish. The base uses a waistcoat stitch, while the body incorporates alternating single crochet techniques to produce a textured, attractive design. The bag is completed with a zipper and handles, ensuring both functionality and aesthetic appeal.
Materials Needed
- Yarn (specific color as preferred)
- Crochet hooks: 6mm hook for the base, smaller hook for detailed finishing
- Sewing needle
- Scissors
- Zipper
- Stitch markers
- Optional: Soldering iron for zipper holes (alternative: needle and thread)

Step-by-Step Process
1. Crafting the Bag Base
- Prepare the Yarn and Hook:
- Begin with a 6mm crochet hook and your chosen yarn.
- Create a ring knot as the starting point.

- Row 1:
- Work six single crochets into the ring.
- Pull the yarn to tighten the circle and skip the first stitch.
- Begin a waistcoat stitch by inserting the hook into the next space.
- Perform 2 single crochets into each stitch (increases). At the end, you should have 12 stitches for Row 1.
- Rows 2 to 5 (Increasing Rounds):
- Expand the base by alternating patterns of single crochet increases (e.g., 1 single crochet in one stitch, 2 single crochets into the next stitch). This creates a circular shape.
- By Row 5, introduce larger gaps (e.g., four single crochets, followed by an increase with 2 single crochets).
- Finishing the Base:
- Complete Row 5, close the strand using slip stitches, and cut any excess yarn.
- Transition to smaller crochet hooks for better control as you work on the upper portion.

2. Building the Bag Body
- Switch Hooks:
- Use a smaller crochet hook for cleaner, more detailed stitches.
- Single Crochet Around the Base:
- Create a circular row of single crochet stitches around the edge of the base.
- Alternate Stitch Pattern:
- Skip one stitch, and single crochet into the next.
- Return to the skipped stitch, insert the hook underneath, and perform a single crochet. This creates a crisscross pattern.
- Repeat this process for subsequent rows until you reach the desired height of the bag (12 rows recommended).
- Finish the Body:
- Use slip stitches to close off the final row.
- Cut excess yarn and ensure a clean edge.

3. Crafting the Cover
- Base Repetition:
- Repeat the same waistcoat stitch pattern used for the base to create the cover. This involves working multiple rows (five rows suggested).
- Single Crochet Around the Edges:
- Perform a row of single crochet stitches around the cover for additional detailing.
- Finishing:
- Close the strand after the last row, trim excess yarn, and ensure all loose ends are secured.
4. Attaching the Zipper
- Prepare the Zipper:
- Use stitch markers to designate where the zipper should stop—e.g., skip five patterns and mark the area precisely.
- Sew the Zipper:
- Use either a soldering iron (optional) or needle and thread to attach the zipper. If using thread, perform slip stitches around the zipper edges before sewing.
- Switch to a smaller crochet hook to match the tighter holes in the zipper fabric.
- Close the Bag Opening:
- Fix the zipper securely to both the bag body and cover using slip stitches.

5. Adding Handles
- Prepare the Yarn:
- Cut yarn for the handles, ensuring an even length.
- Tie additional yarn to reinforce the handle attachment points.
- Attach Hooks:
- Fix the handles on both sides of the bag using hooks. Ensure alignment for balance and comfort.
Conclusion
This crochet bucket bag combines functional design with artistic flair. From constructing the sturdy base to adding the body’s textured pattern and functional zipper, each step ensures a durable, attractive accessory. Whether you add your own twist with embellishments or use the basic design, this pattern serves as a creative foundation for your project.




Leave a Reply