

Achieve cozy style with the Free Crochet Chopper Hat Pattern, Perfect for all skill levels that lets you create a warm, retro winter accessory.
Crocheting isn’t just a hobby it’s a chance to add a personal touch to everyday life. The Free Crochet Chopper Hat Pattern is perfect for those looking to create something special with their own two hands. This pattern helps you make a snug, stylish hat inspired by classic aviator helmets, blending practicality with a delightful retro flair. Ideal for both beginners and seasoned crocheters, its step-by-step instructions ensure an enjoyable and successful project.
Unique Crochet Chopper Hat Pattern You’ll Love

The Chopper Hat is versatile and practical, perfect for keeping you warm during outdoor adventures, winter walks, or simply adding a unique accessory to your outfit. Its cozy fit and charming design make it a favorite for children and adults alike. Plus, crocheting this hat offers more than just warmth; it’s a fulfilling way to showcase your creativity and craftsmanship.
Imagine the sense of accomplishment as you put the final stitch on your handmade hat and the joy in wearing something you’ve made yourself. Friends and family will marvel at your talent, and you might even inspire them to pick up a crochet hook. The Free Crochet Chopper Hat Pattern isn’t just about making a hat; it’s about experiencing the joy and satisfaction that comes with creating something wonderful from scratch.
Introduction to the Chopper Crochet Hat Pattern
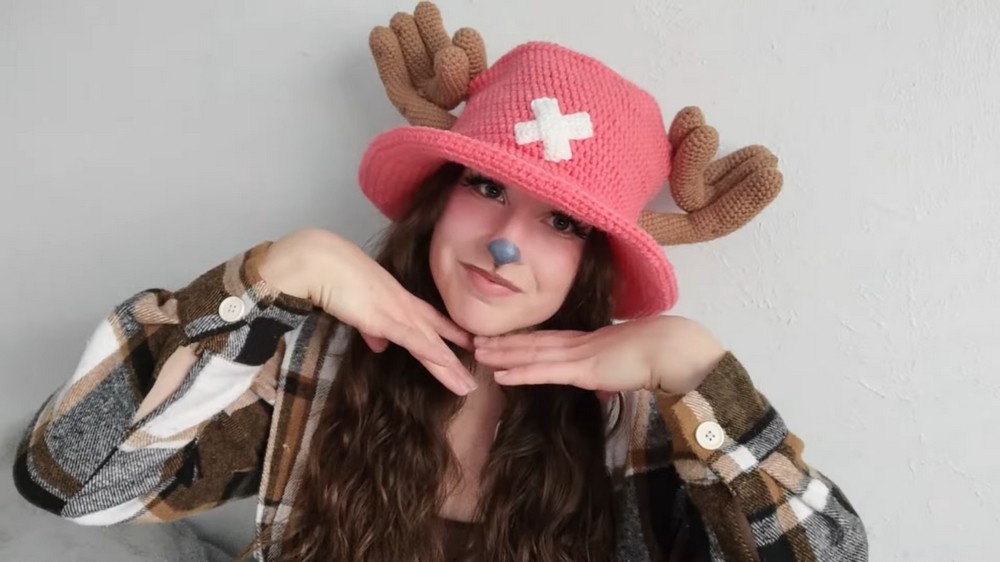
The Chopper Crochet Hat is a fun and adorable project inspired by Tony Tony Chopper from the anime One Piece. This pattern is slightly challenging yet rewarding, ideal for anime lovers and crochet enthusiasts who want to bring a handmade flair to their cosplay collection. With detailed steps and specific materials, this hat comes to life with a coral base, functional brim, ears, antlers, and decorative embellishments.
Materials Needed
Before starting, ensure you have the following materials:
- Yarn:
- Medium-weight coral yarn (hat base)
- Tan yarn (ears)
- Brown yarn (antlers)
- Light-weight white yarn (decorative X)
- Hooks:
- 5mm crochet hook
- 4mm crochet hook
- 3.5mm crochet hook
- Additional Supplies:
- Doll wire (for antlers)
- Pliers and wire cutters (for shaping wire)
- Yarn needle
- Scissors
- Stuffing (light amount for shaping antlers)
Step-by-Step Instructions
1. Create the Hat Base
- Start with the Crown:
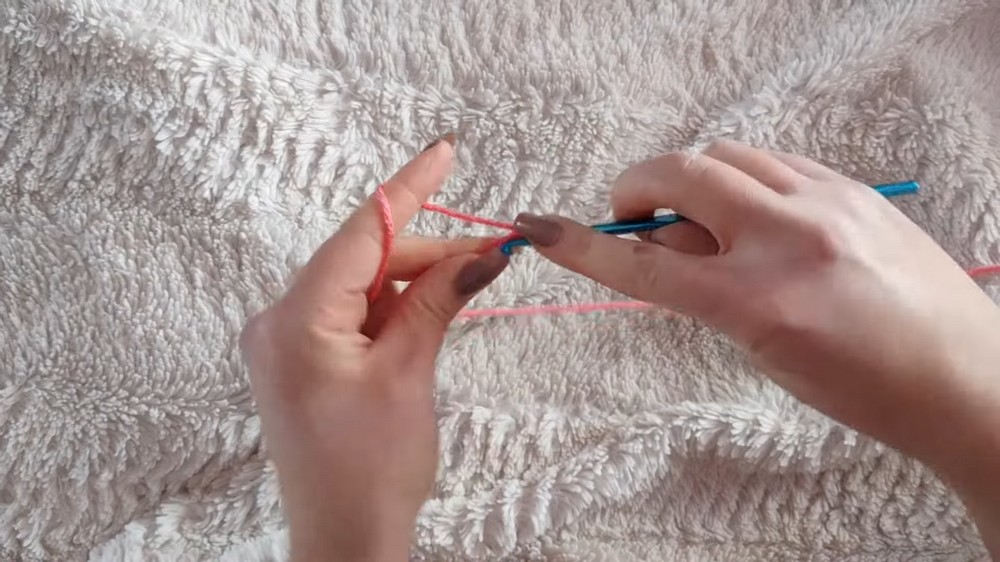
- Using the coral yarn and a 5mm hook, create a magic circle (refer to the Crochet Basics Series, if unfamiliar).
- Secure with a chain and make 10 half-double crochets (HDC) into the circle. Close the circle tightly.
- Increasing Rows for the Crown:
- Row 2: Increase in every stitch (20 stitches).
- Row 3: HDC into the first stitch, increase in the second stitch; repeat (30 stitches).
- Row 4: HDC into the first two stitches, increase in the third stitch; repeat (40 stitches).
- Row 5-8: Continue increasing, adding one additional HDC between increases with each new row (up to Row 8 with 80 stitches).
- Optional: If you need a larger size, continue increasing until desired width is reached.

- Defining the Top:
- Crochet one round of HDC in the back loop only to create a more defined edge.
- Lengthening the Hat:
- Rows 9-21: HDC into every stitch (without increasing), ensuring a sturdy shape.
2. Create the Brim
- Start Shaping:
- Row 22: HDC into the first seven stitches, increase into the eighth stitch; repeat (front loop only).
- Rows 23-24: HDC in every stitch.
- Further Increases:
- Row 25: HDC into the first eight stitches, increase into the ninth (100 stitches).
- Row 27: HDC into the first nine stitches, increase into the tenth (110 stitches).
- Row 29 (final increase): HDC into the first ten stitches, increase into the 11th (120 stitches).
- Finish the Brim:
- Row 30: HDC into each stitch to complete the brim.
- Pro Tip: Mist the brim with water and shape using pins. Let it dry to achieve better stiffness and form.

3. Make the Decorative X
- Begin with White Yarn:
- Using a 3.5mm hook, chain 13 stitches.
- Turn your work, single crochet across (12 stitches).
- Build the Piece:
- Continue single crocheting for four rows total.
- Fasten off and leave a long tail for sewing.
- Make Two Pieces:
- Create a second identical piece, ensuring both have tails for sewing.
- Sew the X:
- Arrange the pieces into an X shape and sew them together securely.
- Attach the X to the front center of the hat base.
4. Crochet the Ears
- Start the Base:
- With tan yarn and a 4mm hook, create a magic circle.
- Chain one and single crochet three stitches into the circle. Pull closed.
- Increasing Rows:
- Row 2: Increase in the first stitch, single crochet into the next two stitches (4 stitches).
- Row 3: Single crochet into the first stitch, increase into the second; repeat for the next set (7 stitches).
- Row 7: Follow the sequence of increase stitches until your ear shape totals 20 stitches.
- Edge and Finish:
- Fold the ear in half and single crochet along the edge.
- Fasten off, leaving a long tail for sewing.
- Repeat to create two ears.
5. Make the Antlers
- Base Antler:
- Use brown yarn and a 4mm hook, starting with a magic circle.
- Complete Rows 1-2 with increases until the stitch count reaches 15 stitches.
- Lengthening:
- From Row 3-33, single crochet in each stitch without increasing.
- Stuff and Wire:
- Insert doll wire into the casing, curling the ends to prevent poking.
- Lightly stuff the antler.
- Close the Antler:
- Decrease stitches as described (using invisible decreases or regular techniques).
- Small Antler:
- Follow the same process but stop around Row 3. Leave the bottom open to attach to the hat.
6. Assemble the Hat
- Attach the Ears:
- Sew the ears above where your own ears would naturally fall, lining up with the brim of the hat.
- Attach the Antlers:
- Begin with the small antler, sewing it above the ear placement.
- Combine larger antlers by sewing them to the smaller one and securing to the hat.
- Position and Shape:
- Finalize placement by sewing larger antlers toward the hat's top edge.

Conclusion
The Chopper Crochet Hat is an intricate piece that requires patience and attention to detail in every step. From crocheting the hat base to assembling decorative features like the ears, antlers, and iconic X, this pattern is a hands-on experience that leaves you with an impressive handmade product. Perfect for cosplay or as a gift, this whimsical hat is sure to impress any One Piece fan.

Leave a Reply