

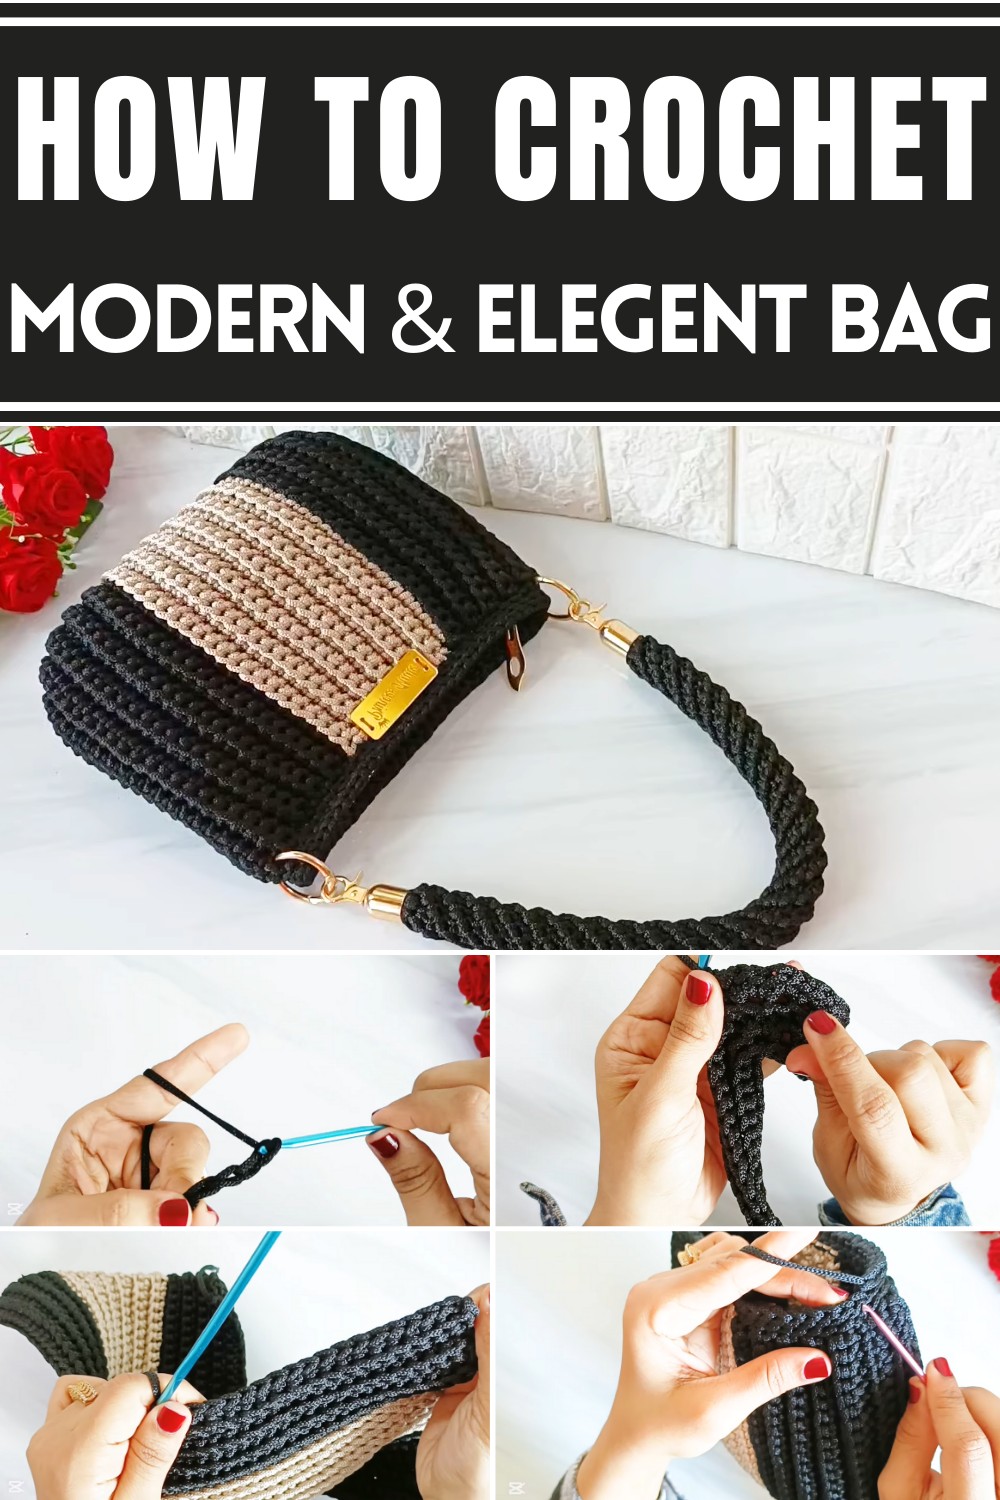
Enhance your accessories collection with free crochet bag pattern, offering customizable, eco-friendly designs that combine practicality and personal style.
Did you know that having the perfect bag can make your day smoother in surprising ways? A lightweight, durable, and stylish accessory can showcase personality while keeping essentials neatly organized. This free crochet bag pattern lets you create a versatile piece with incredible ease. Whether it’s for carrying groceries, books, personal items, or a sustainable gift idea, this bag design brings both practicality and charm to your daily routine.
Modern Crochet Bag In The Easiest Way
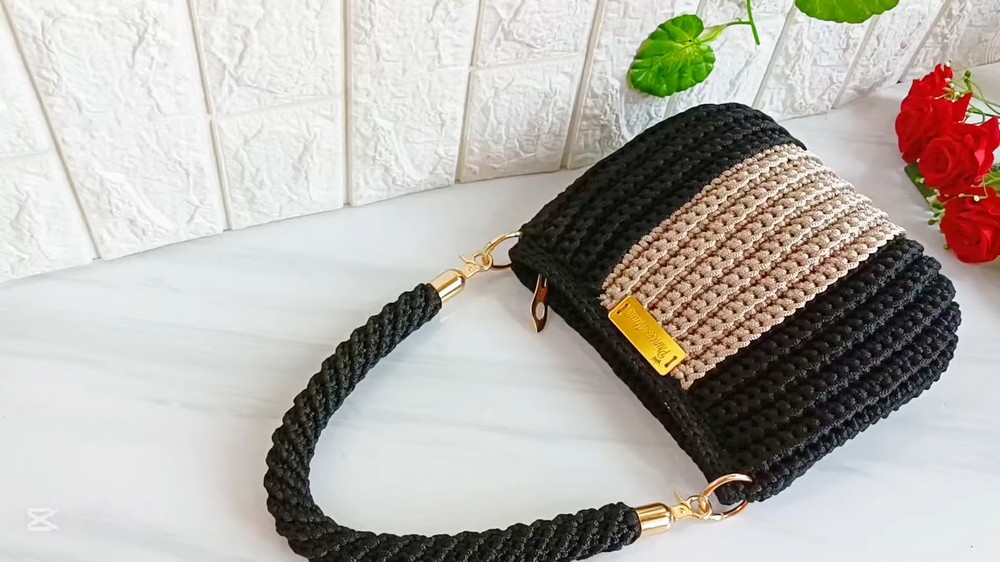
The pattern focuses on thoughtful details, offering a functional yet trendy design that’s both reliable and fashionable. Its soft yet sturdy crochet material provides comfort while staying strong enough for regular use, no matter the occasion.
One of its best features is the flexibility to adjust colors or textures, allowing the bag to complement a range of styles, moods, or outfits. Whether you prefer bold tones or subtle shades, every bag becomes a custom-made statement piece that fits your unique taste. Lightweight and reusable, it’s the perfect step toward sustainability while adding convenience to your life. Combining practicality and fashion, this pattern offers an ideal solution for those looking for functionality wrapped in artistic design.
Introduction:
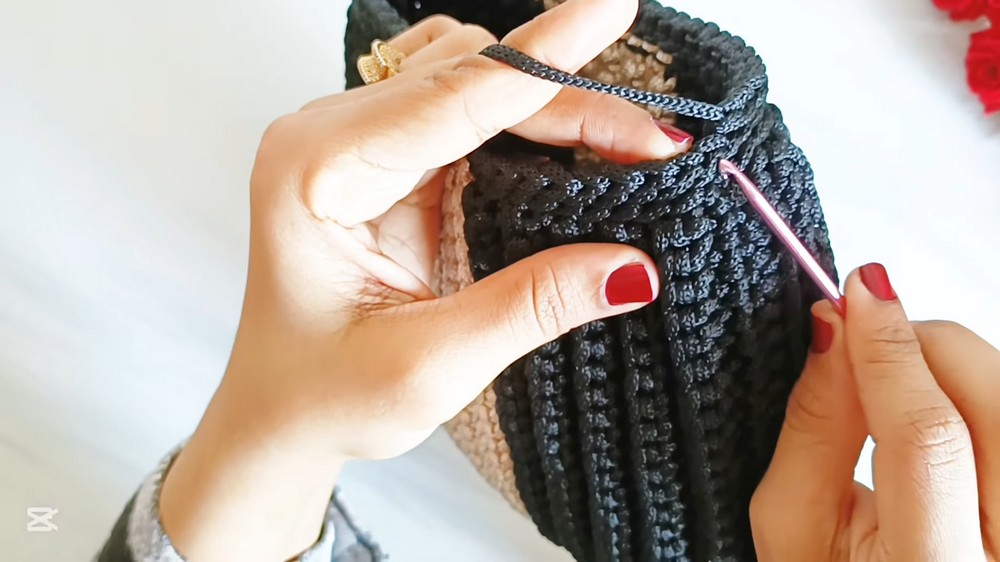
In this pattern, creator walks us through the creation of a simple yet stunning hand-crocheted bag. This bag showcases how precision and creativity come together to crochet a fashion accessory that you can customize to suit any style. The result is a beautifully textured bag that’s quick and easy to complete with step-by-step instructions provided. Let’s step into the process.
Materials Needed
- Thread: Polyester thread (3 mm thick), 250 grams of black color, and 100 grams of beige color.
- Needle: 4.5 mm crochet hook.
- Pins for lining installation.
- Lining with attached zipper.
Step-by-Step Instructions
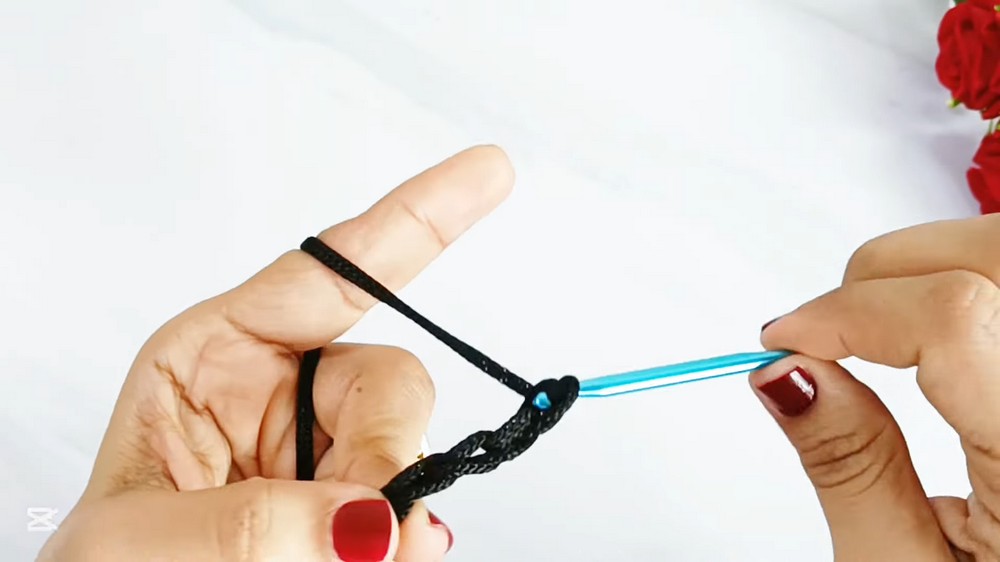
Step 1: Starting the Foundation Chain
- Begin with a starting knot and crochet 41 chains using the black thread.
- Work single crochet stitches into 40 back loops of the chain to complete the first row.
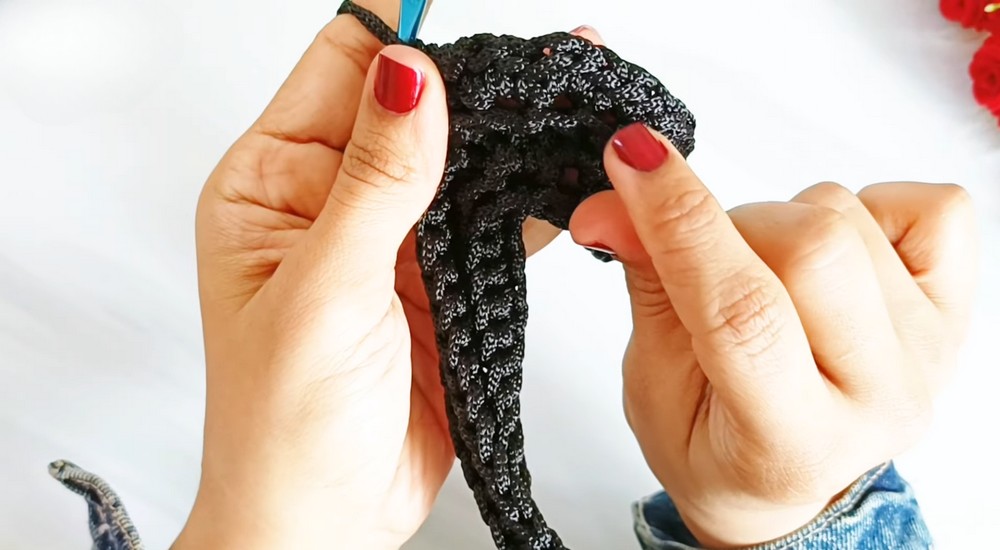
Step 2: Building Rows (2nd – 10th Row in Black)
- Second Row:
- Raise a chain and turn your work.
- Work 18 single crochet stitches into the back loops.
- Increase section:
- Crochet two single stitches in one loop.
- Crochet three single stitches in the next loop (repeat twice).
- Finish with two single crochet stitches in one loop.
- Complete the row with 18 single crochet stitches in the back loops (Total = 46 stitches).
- Third Row:
- Raise a chain and turn your work.
- Work 46 single crochet stitches in the back loops.
- Fourth and Subsequent Rows:
- Continue adding rows gradually following this cycle of single crochet stitches and increase techniques:
- 4th Row: Total 52 stitches after work increase.
- 5th–10th Rows: Continue 52 single crochet stitches in black without increases.
- Continue adding rows gradually following this cycle of single crochet stitches and increase techniques:
Step 3: Adding Contrast Color (Beige Thread)
- Switch to beige thread after completing the black rows.
- Begin with a chain in the new color to seamlessly transition.
- Work 12 rows of beige, maintaining the same stitch count (52 single crochet stitches in the back loop).
- Adjust the total row count based on the desired bag size.
Step 4: Working the Decreases
- Row 29:
- Work 21 single crochet stitches in the back loops.
- Begin the decrease section:
- Decrease across two stitches and turn them into one.
- Decrease across three stitches and turn them into one (repeat twice).
- End with another two-stitch decrease.
- Complete the row with 21 single crochet stitches (Total = 46 stitches).
- Row 30:
- Work 46 single crochet stitches in the back loops.
- Row 31:
- Work 18 single crochet stitches, followed by decreases similar to Row 29.
- Finish with 18 single crochet stitches.
- Final Row:
- Complete 40 single crochet stitches in the back loops, ensuring smooth edges.

Step 5: Closing the Bag
- Side Seam Closures:
- Turn the bag inside out. Align the edges evenly.
- Use single crochet stitches to join both sides. Work under two loops from each edge for neat and secure seams.
- Adding Finishing Touches:
- After stitching, tidy up any excess thread by weaving it under the stitches.
Step 6: Decorative Touches and Lining
- Edging with Slip Stitches:
- Create neat edges by adding three rows of slip stitches around the rotation of the bag.
- Finish by weaving in the end threads for clean edges.
- Install Zipper and Lining:
- Secure the zipper and lining using pins. Sew the lining evenly to avoid distortion.
- Add decorative rings or accessories to personalize the bag.
Conclusion
This crocheted bag creation showcases how an easy pattern combined with thoughtful color changes and precise stitching results in an accessory that’s both stylish and functional. creator step-by-step guidance ensures that even beginners can follow along effortlessly. Customize the size, colors, or embellishments to suit your style, and let your creativity shine.

Leave a Reply