

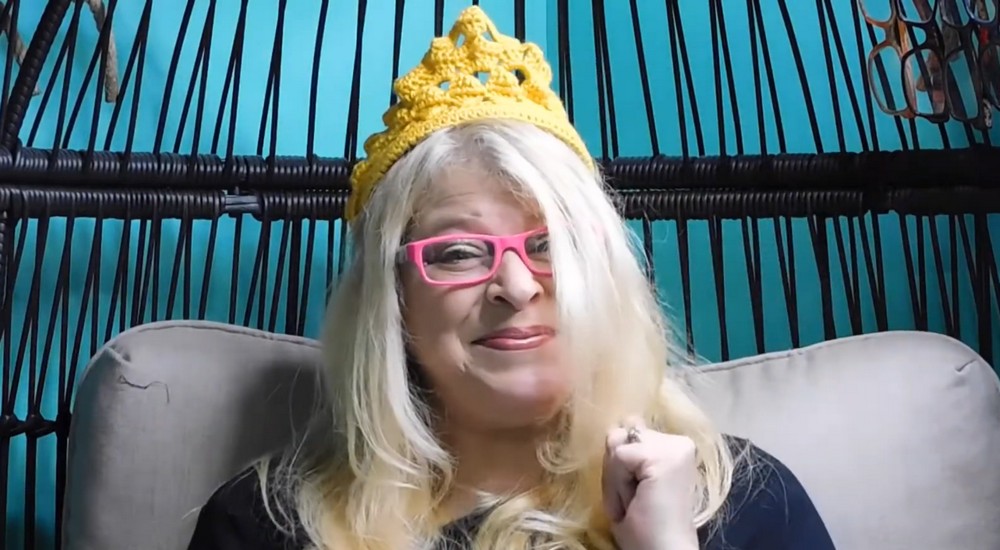
Elevate your celebrations with elegant and customizable crochet crown, perfect for playful adventures and creating memorable keepsakes for all ages.
Handmade accessories often carry an unmatched charm, blending creativity with personal touches that make them truly special. A crochet crown fits perfectly into this category, offering a simple yet delightful way to elevate celebrations, imaginative play, or themed events. This free pattern serves as a gateway to crocheting crowns that can be tailored in size, color, and design, ensuring they meet the needs of any occasion. Whether it’s for a child’s birthday, a whimsical photo shoot, or a fun costume accessory, the versatility of these crowns makes them an appealing choice.
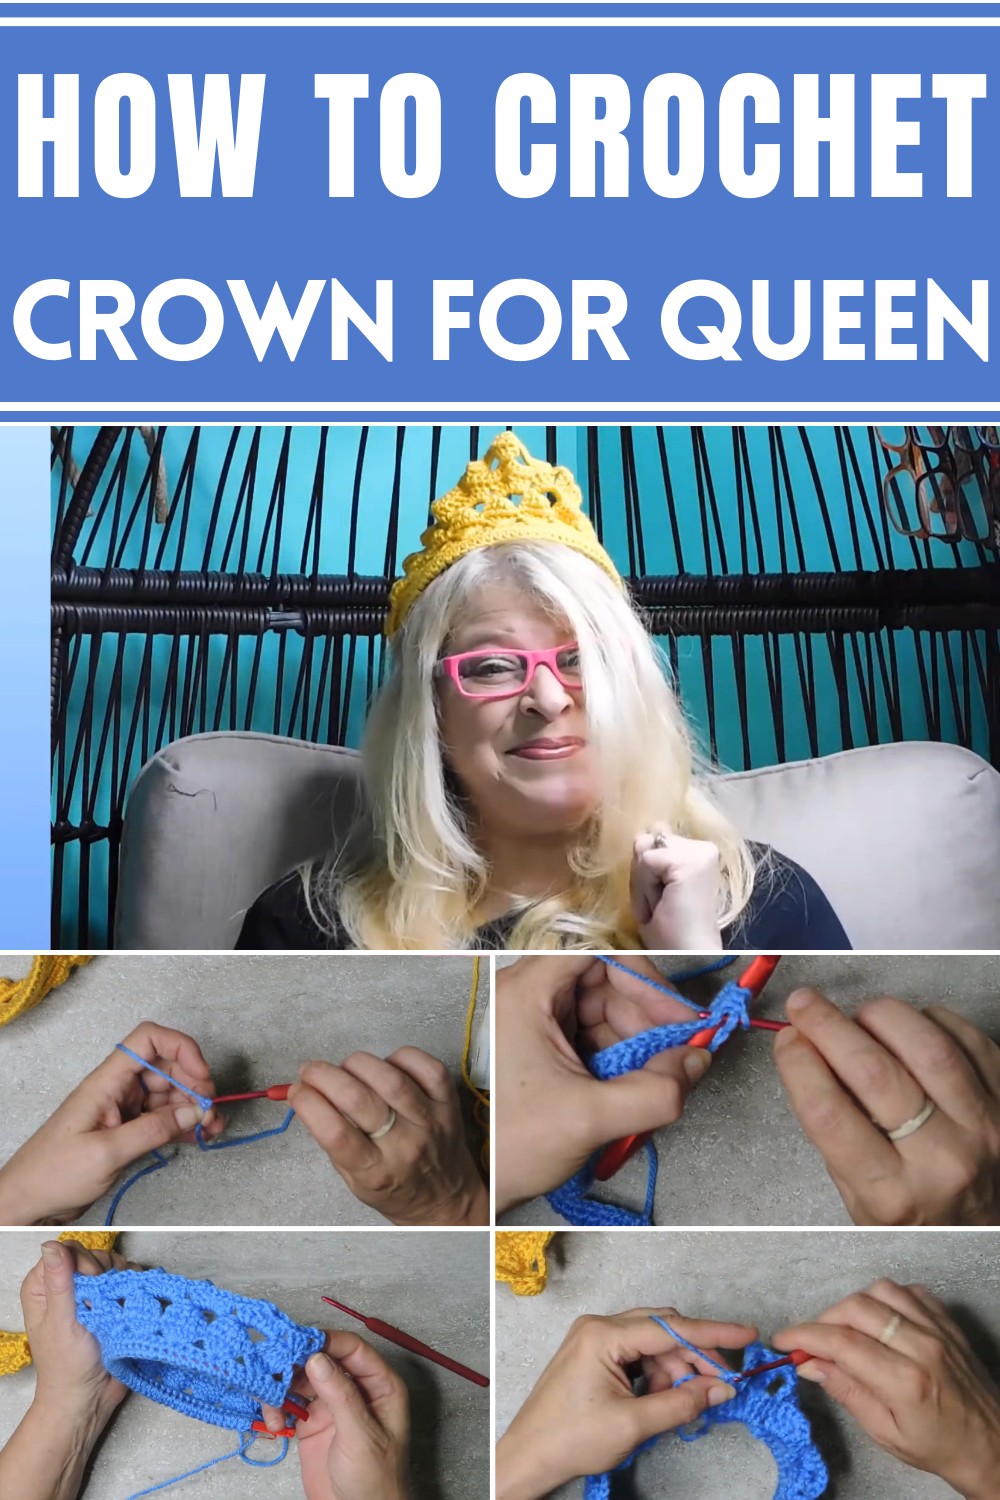
Crochet Crown for your Queen - Free Pattern
Apart from their aesthetic appeal, these crowns provide practical benefits. They are lightweight and comfortable, making them gentle on young wearers and pleasant for extended use. For enthusiasts, crocheting can offer a calming and therapeutic activity that doubles as a creative outlet a great way to unwind while producing meaningful pieces.
What’s more, these handmade items hold sentimental value, often becoming cherished gifts or keepsakes that evoke warm memories. By stitching together thread and thoughtfulness, a crochet crown transforms simple materials into something that carries joy, personality, and a unique touch for any celebration or moment worth remembering.
Introduction
The pattern demonstrates how to create a beautiful crochet crown using simple stitches. This elegant crown is versatile, quick to make, and can be tailored to fit various occasions like birthday parties, Halloween, themed events, or just as a handmade accessory for little princesses. This guide will provide step-by-step instructions for the pattern, from the foundation to the intricate crown points and finishing touches.
1. Materials Needed
- Yarn: Choose a preferred shade (e.g., Red Heart Super Saver in “Delft Blue” as used in the video). Gold is another great alternative (e.g., Caron Simply Soft).
- Elastic Headband: Common stretchy headbands available at dollar stores or Walmart work great.
- Crochet Hook: 3.5 mm hook (adjust size as needed).
- Additional tools: Scissors and yarn needle to weave in ends.
Step-by-Step Instructions for the Crochet Crown
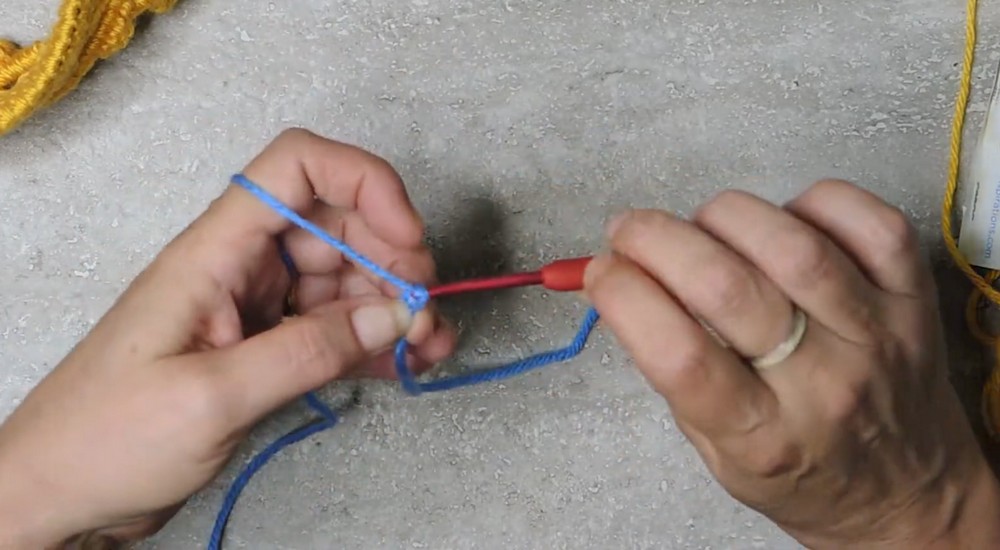
2. Row 1: Foundational Chain
- Begin with a slip knot.
- Chain 54 stitches loosely — this ensures flexibility as you will work into the back bumps of the chain later.
- Flip the chain over to find the back bumps and work 1 single crochet (SC) into each back bump. This creates a clean, sturdy edge.
- You will end with 53 single crochets in total. Fasten securely.
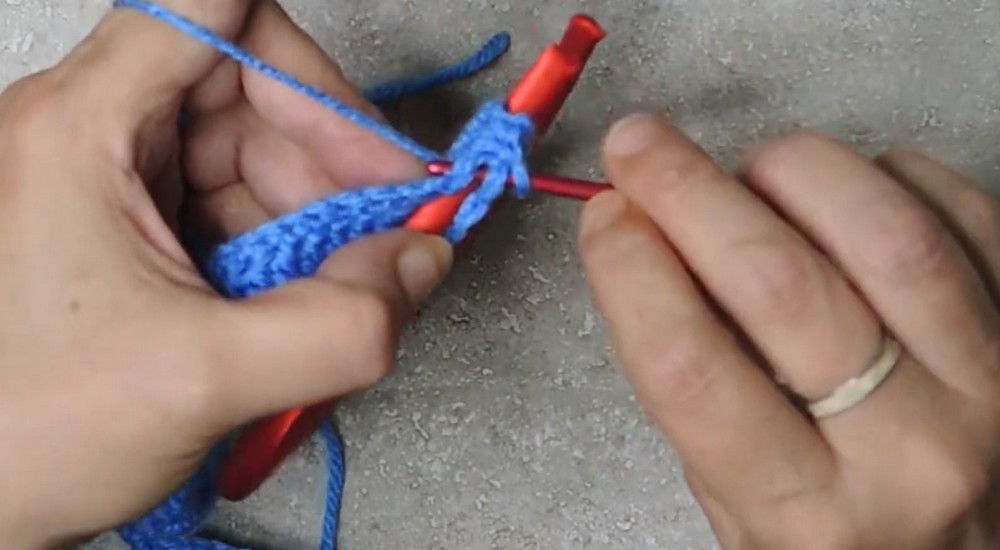
3. Row 2: Create the Rectangle
- Chain 1, then turn your work.
- Work 1 double crochet (DC) into each stitch across the row. You should finish with 53 double crochets.
- This forms a solid rectangle foundation for the crown.
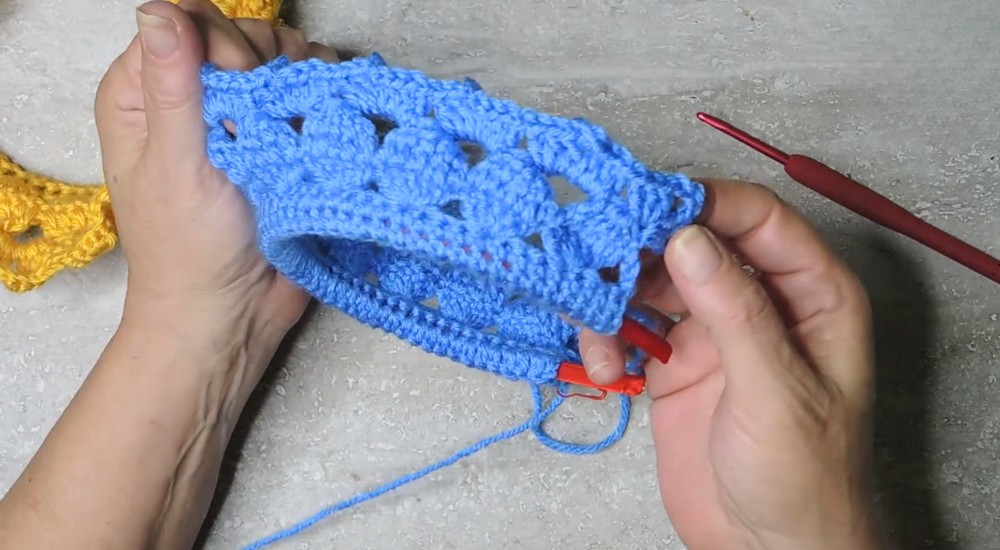
4. Attaching the Headband
- Fold the rectangle around the elastic headband to secure it.
- Chain 1, then join the two edges of the rectangle by working single crochets across. Insert your hook through the stitches on both sides, ensuring the headband is snugly encased.
- This technique hides the elastic headband while preserving flexibility.
5. Row 3: Shell Pattern (Start of Crown Design)
- Chain 3, which counts as the first stitch.
- Skip 3 stitches and work 5 double crochets into the fourth stitch. This creates a shell stitch.
- Repeat: Skip 3 stitches and work another shell of 5 double crochets into the next stitch.
- Continue this sequence until you finish with a total of 12 shell clusters across the crown.
- At the end, chain 1 and double crochet into the last stitch to complete the row.
6. Row 4: Diamond Pattern
- Chain 3, then turn your work.
- Begin a double crochet 5 together (DC5TOG) in each shell cluster.
- Yarn over, pull through the first stitch, and repeat for each of the five shell stitches.
- Once all 5 loops are collected, pull through all loops on the hook to create a poof or diamond shape.
- Chain 5 after each poof to move to the next shell cluster.
- Repeat this sequence for all 12 shell clusters.
- At the end, chain 1 and work a final double crochet into the last stitch to complete the diamond row.
7. Row 5: Crown Points
- Chain 3, and turn your work.
- In the very first stitch, work:
- 3 double crochets
- Chain 3
- 3 more double crochets
- Move to the chain spaces created in Row 4, and work the same pattern:
- 3 double crochets
- Chain 3
- 3 double crochets
- Repeat this sequence for each chain space along the crown.
8. Final Row: Single Crochet Edging
- Chain 1, then turn your work.
- Work 1 single crochet (SC) in each stitch across the row.
- In every chain space, work 3 single crochets.
- Continue this pattern to complete the edge of the crown, ensuring a smooth and clean finish.
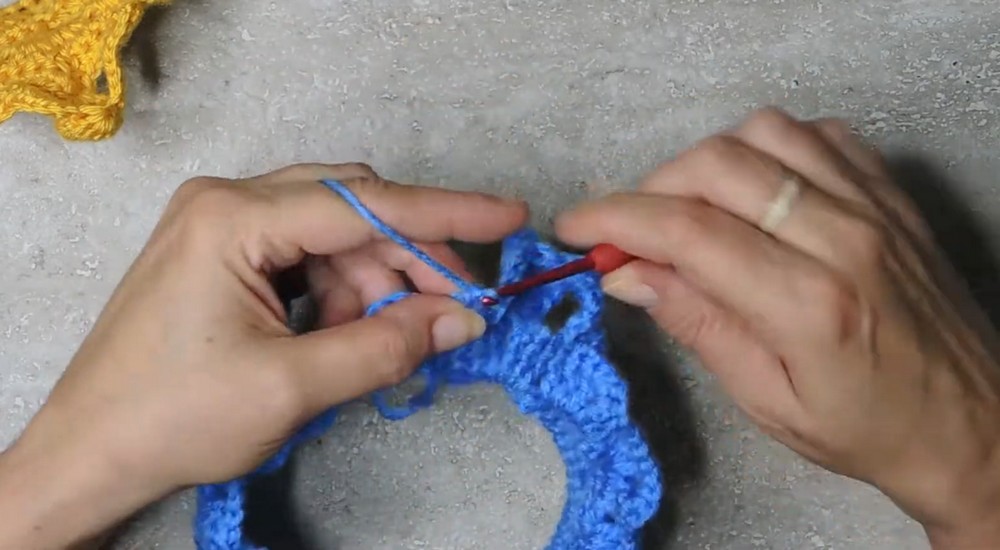
9. Creating the Crown Top (Optional Royal Accent Point)
- To add a decorative point at the crown’s center:
- Locate the center seventh point out of the total 13 crown points.
- Attach yarn and chain 1.
- Work into the third cluster over (to the right):
- Single crochet 3 stitches in the cluster.
- Chain 5, then jump to the center stitch of the crown point and work 5 double crochets into it.
- Chain 5 and single crochet 3 stitches into the cluster on the left side.
- Repeat this decorative detail to finish the crown accent.
10. Finishing Touches
- Weave in all loose ends using a yarn needle.
- Adjust the crown alignment so its points face upwards.
- For added structure, fold the top points slightly inward and secure them.
Conclusion
The crochet crown presented is a versatile and charming project. It utilizes common stitches such as single, double, and shell patterns, making it accessible for beginner and intermediate crocheters alike. The flexibility of the elastic headband ensures a universal “one-size-fits-all” fit, making it suitable for children and adults alike. Perfect for parties, Halloween, or just a playful handmade gift, this crown brings elegance and creativity to life. With its quick construction and stunning results, this pattern is an excellent choice for a fun crochet project!
Leave a Reply