

Learn to create a stylish crochet sunflower purse with this easy-to-follow pattern, perfect for adding a handmade touch to your accessories.
Sometimes it’s easy to overlook small crochet projects, thinking they won’t be very useful or interesting. But the Free Crochet Sunflower Bag Pattern quickly changed my mind. This bright and cheerful bag isn’t just pretty, it’s practical too. It’s a fun accessory that you can make in no time, and with a few small changes, you could also create matching items like a tiny wallet, a phone case, or even a decorative coaster.
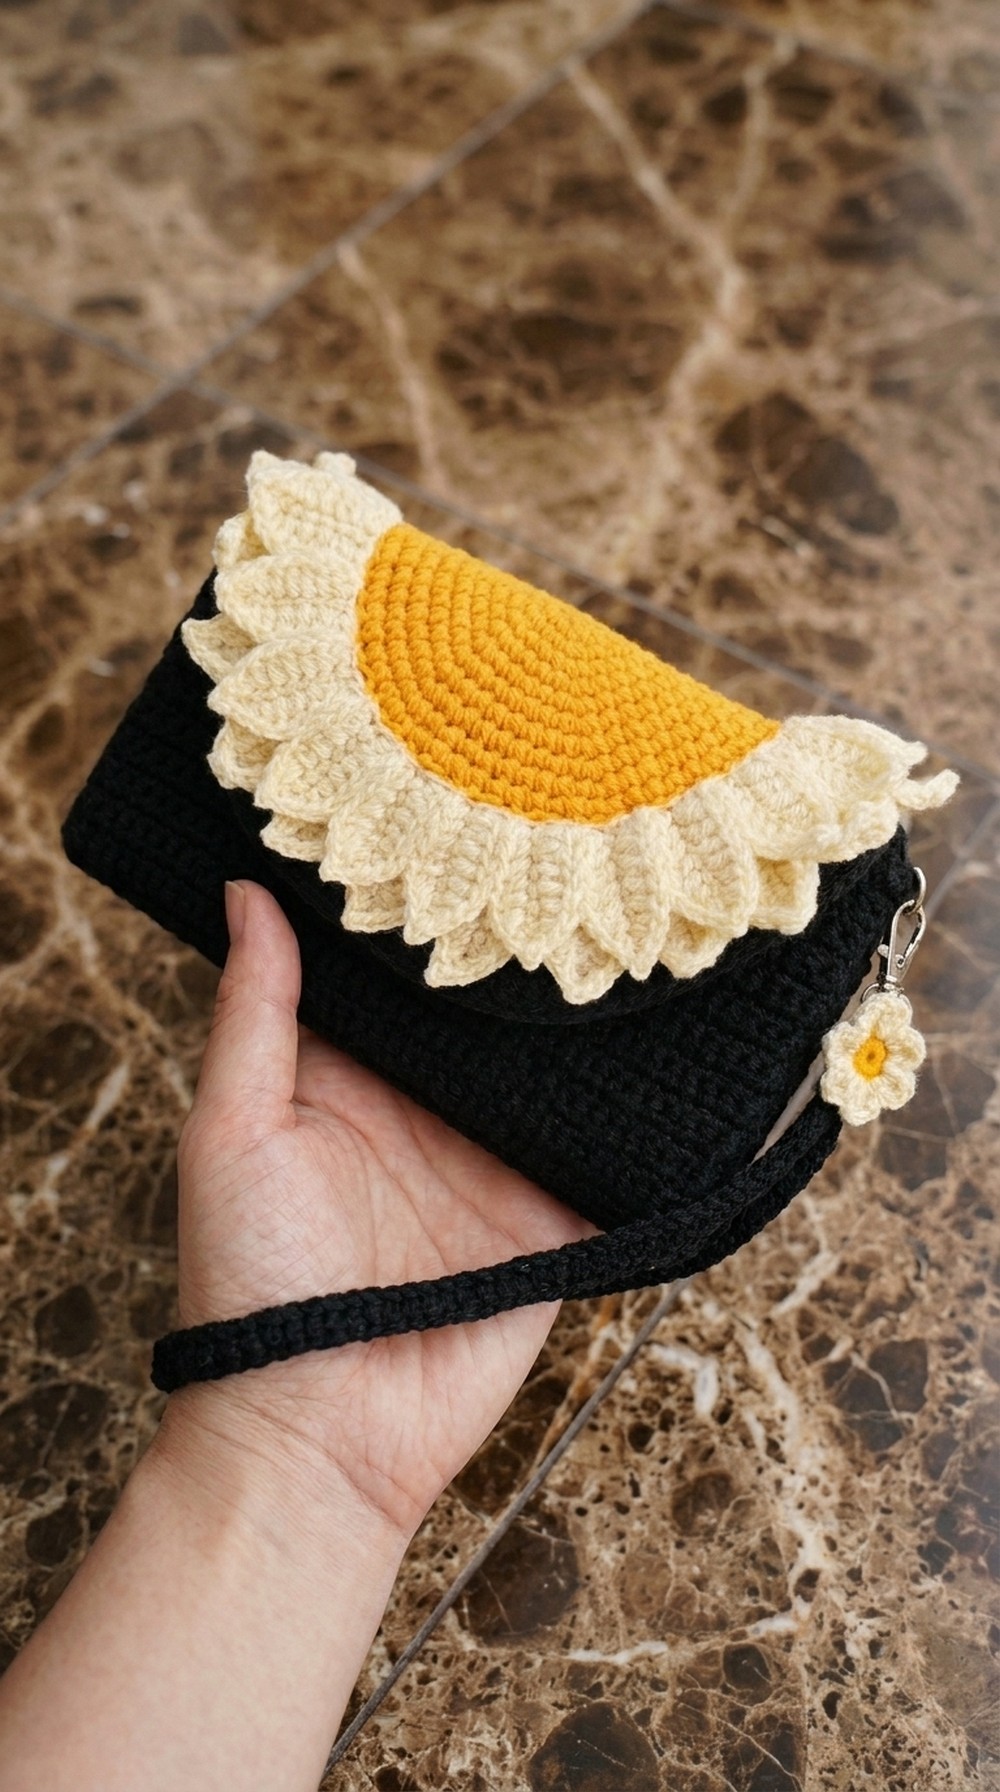
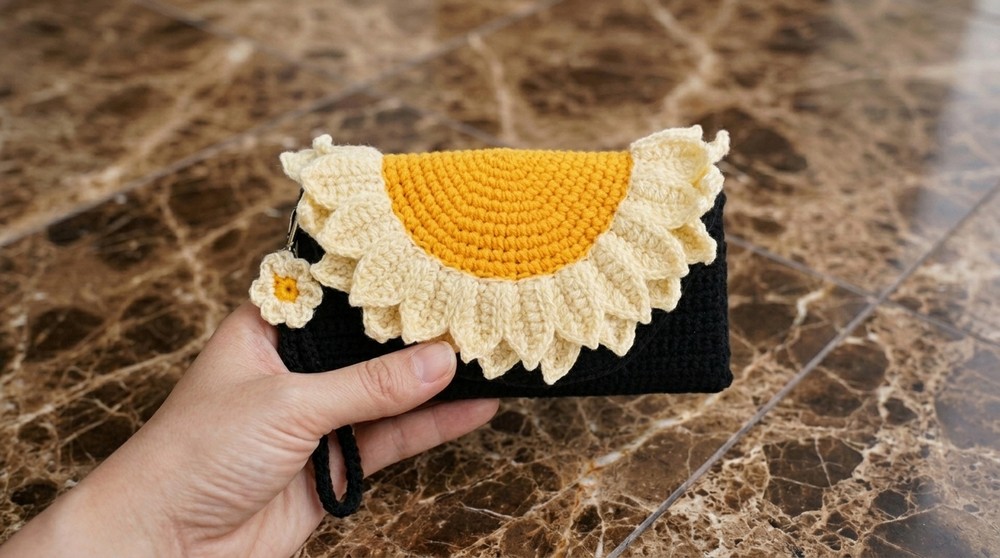
The sunflower bag shines with its vibrant and lively appearance. Its soft yet sturdy texture holds the shape of the large flower petals perfectly, giving the bag a sunny, warm feel. The shape is round with layered petals framing the center, making it a unique and stylish piece. This bag is the right size for carrying everyday essentials and adds a touch of handmade charm to any outfit, blending vintage-inspired style with fresh creativity.
Free Crochet Sunflower Bag Pattern
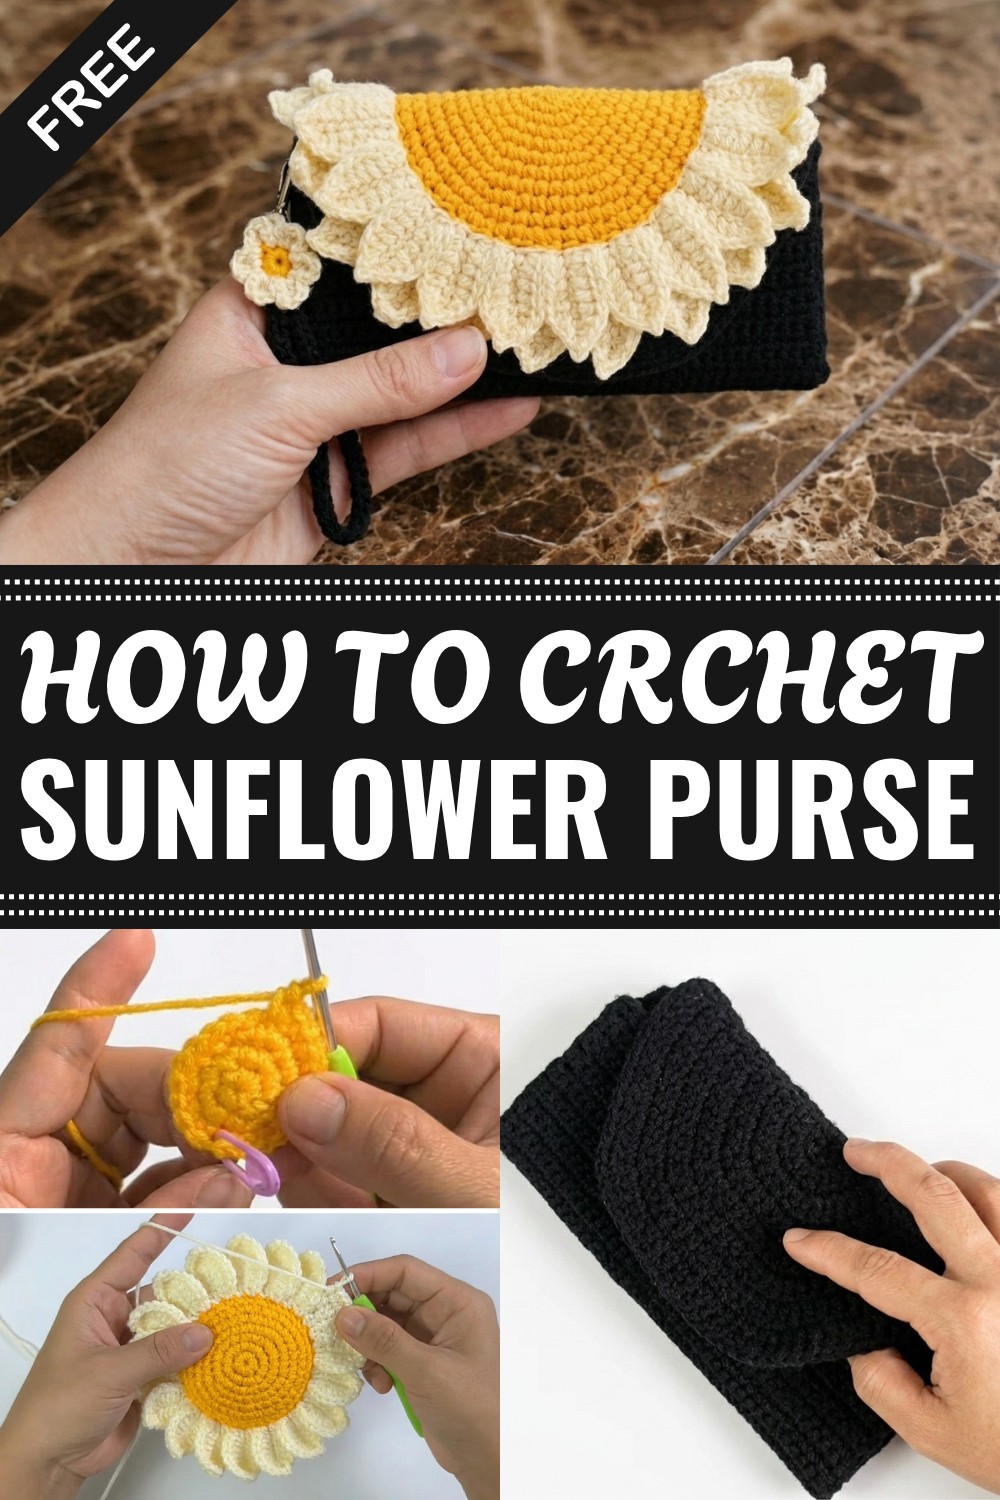
To make this project, the sunflower motif is crocheted first, then additional sections are attached to build the bag’s sides and handles. The pattern mainly uses basic stitches like single and double crochet, so it’s friendly to beginners who have mastered these stitches. Careful joining and shaping keep the bag strong while ensuring it’s comfortable to use.
The Free Crochet Sunflower Bag Pattern is perfect for thoughtful gifts, brightening your wardrobe, or creating a lovely handmade collection. It’s a quick and enjoyable project for anyone wanting a cheerful accessory. If you like simple and charming crochet projects, this sunflower bag might be just right for you.
Crochet 3D Flower Circle Keychain with Magnet Closure
Before You Start
- This pattern is for a 3D crochet flower with layered petals, finished as a keychain or decorative magnet.
- The flower features a circle center, two layers of petals (front and back), a stem/chain, and is assembled with glue and a magnetic closure.
- Read through the entire pattern before you begin, especially the assembly instructions.
- Practice the magic ring, basic increases, and working in front/back loops.
Pattern Notes
- The flower is built with continuous rounds (amigurumi technique) for the center circle.
- Layered petals are worked in the front and back loops of the circle, creating a dimensional effect.
- The petals use a mix of single, half double, and double crochet stitches for shaping, plus picots for edge detail.
- Chain for stem or handle is made separately and attached.
- For final assembly, accurate petal positioning is required—read Section “Assembly & Finishing.”
- Use glue (hot glue recommended) for petal arrangement and magnet attachment.
How I Made the Crochet Pattern
- Step-by-step transcription from a video tutorial, clarifying all instructions and shaping details.
- Converted all “spoken tips” into written, repeatable steps.
- Adjusted petal placement and counts for symmetry and ease of crafting.
- Added special notes on arranging back petals between front petals for true 3D effect.
Skill Level
- Intermediate (due to working in loops, shaping petals, assembling 3D structure)
Finished Size
- Circle center: 2.5–3 cm diameter
- Full flower diameter (with petals): approx. 7–8 cm
- Chain/stem: 10–12 cm (or as desired)
Materials
- Orange cotton or acrylic yarn (for center), 8ply or similar
- Off-white/light yarn for petals (contrasting color recommended)
- 2.5mm–3mm crochet hook
- Yarn needle
- Stitch marker
- Hot glue gun and sticks (or strong fabric glue)
- Magnet closure buttons (2 pieces, optional for magnet version)
- Keychain ring/hook
- Scissors
Gauge
- Gauge not critical—center should be tight and petals shaped.
Stitch Abbreviations
- MR = magic ring
- sc = single crochet
- hdc = half double crochet
- dc = double crochet
- ch = chain
- sl st = slip stitch
- picot = chain 1, sl st in previous st (makes a small bump)
- FL = front loop only
- BL = back loop only
Special Stitches
- Petal shaping: Combination of single, half double, and double crochet with picots.
- Picot: ch 1, sl st in previous st.
- Petal placement: Work petals in FL for front, BL for back—use markers if needed.
The Pattern
A) Circle Center
Round 1:
- Make a magic ring (MR).
- Work 6 sc into magic ring.
- Pull ring tight.
- Sl st to first sc to close round.
Round 2:
- Place marker in first st.
- Work 2 sc in each st around (12 sc).
- Sl st to first st.
Round 3:
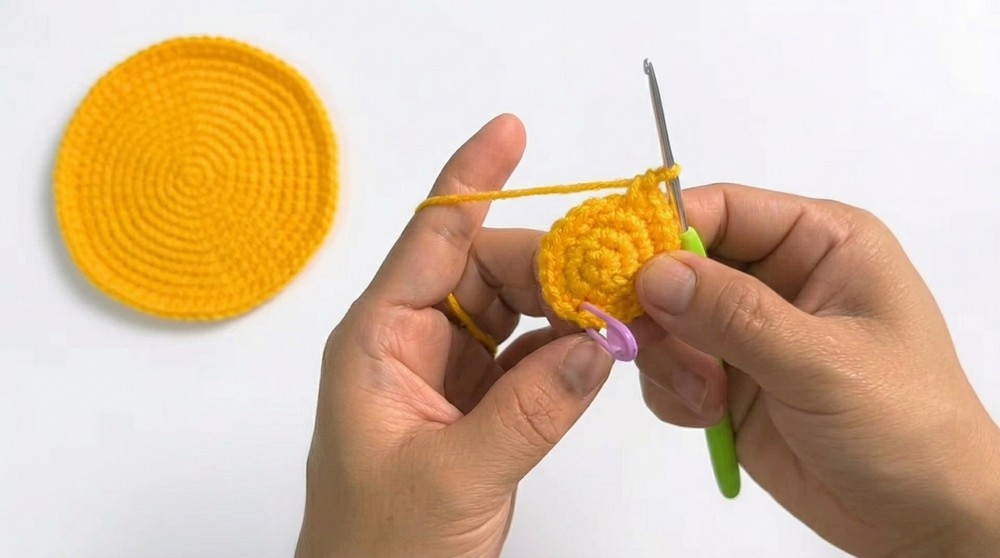
- Place marker again. Sc in first st, 2 sc in next st repeat around (18 sc).
- Sl st to first st.
Round 4:
- Sc in 2 sts, 2 sc in next st repeat around (24 sc).
- Sl st to first st.
Round 5:
- Sc in 3 sts, 2 sc in next st repeat around (30 sc).
- Sl st to first st.
Round 6:
- Sc in 4 sts, 2 sc in next st repeat around (36 sc).
- Sl st to first st.
Round 7–11:
- Continue increasing:
- Round 7: Sc in 5, inc
- Round 8: Sc in 6, inc
- Round 9: Sc in 7, inc
- Round 10: Sc in 8, inc
- Round 11: Sc in 9, inc
- Always Sl st to first st at end; use marker for accuracy.
- You should have a flat circular center, approx. 2.5–3 cm in diameter.
B) Front Layer Petals (Off-White Yarn)
- Attach light yarn to any FL of center.
- Work 6 petals evenly spaced in FL around circle.
For Each Petal:
- Sl st in FL, ch 8.
- Skip first ch, sc in next 7 ch.
- Sl st in next FL of circle.
- Repeat: Slip next FL, then sl st, ch 8, skip first, 7 sc, sl st in next FL, etc., until you have 6 petals.
- For petal edges, after completing last sc in petal, sl st into next circle FL; continue until all front petals are built.
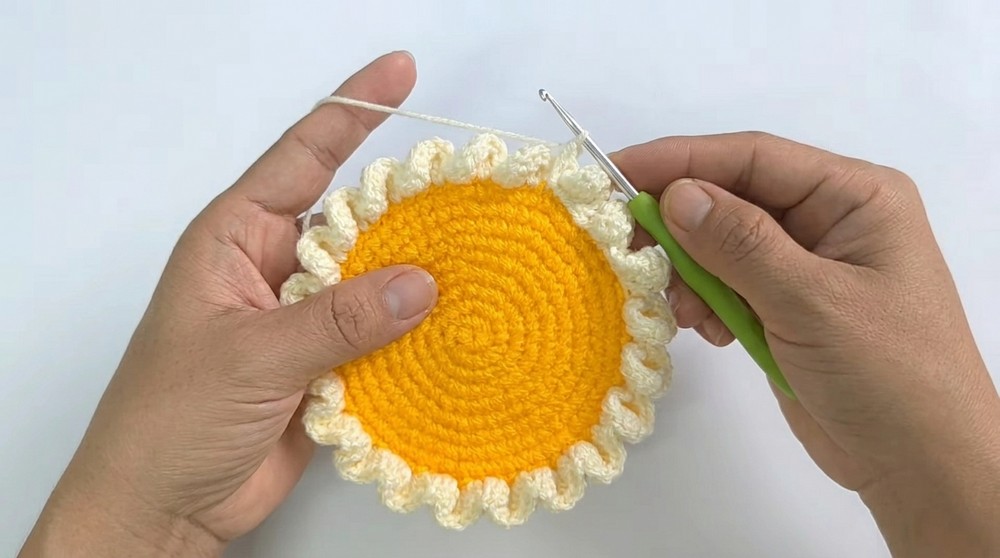
Front Petal Shaping (Per Petal):
- In petal row:
- 1 sc, 1 hdc, 3 dc (in next 3 sts), 1 hdc, 1 sc, in top st: sc, ch 1 (picot), sc.
After finishing petal:
- Continue same shaping for each petal, working only in FL.
You should see six evenly spaced petals formed in FL. Each petal is long, gently curved, and decorative.
C) Back Layer Petals (Off-White Yarn)
- Attach light yarn to any BL of center, place petals between the front petals for a 3D layered look.
For Each Petal:
- Sl st in BL, ch 10.
- Skip first ch, sc in next 9 ch.
- Sl st in next BL.
- Repeat, spacing petals so that back layer petals occur between front petals.
- Shape each petal as follows:
- Start at base: sc, hdc, 5 dc (in next 5 sts—petal longer), hdc, sc.
- In tip: sc, ch 1 (picot), sc.
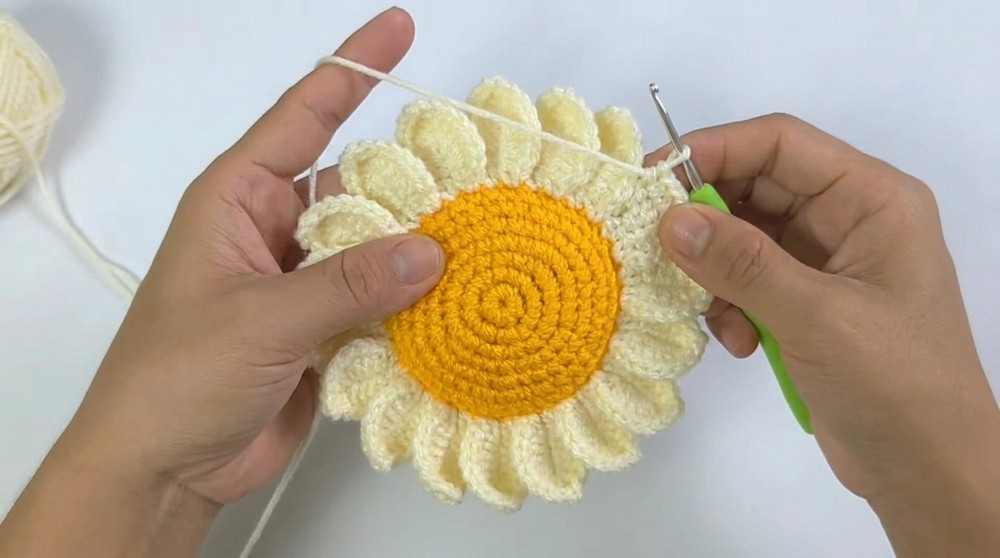
The back petals are larger and overlap between the front petals to create dimension. If needed, you can adjust placement for symmetry.
D) Quick Center Mini Flower (for Magnet/Embellishment)
Round 1:
- MR, 6 sc, pull tight, sl st to first sc.
- Fasten off orange, attach off-white.
For Each Petal:
- [ch 2, dc in next st, ch 2, sl st in same st] repeat around for 6 petals.
E) Stem/Chain
- Attach orange yarn (or other color) to circle base, ch 60 (or as desired for keychain).
- Fasten off, tie two knots at end. Trim yarn tails.
Assembly & Finishing
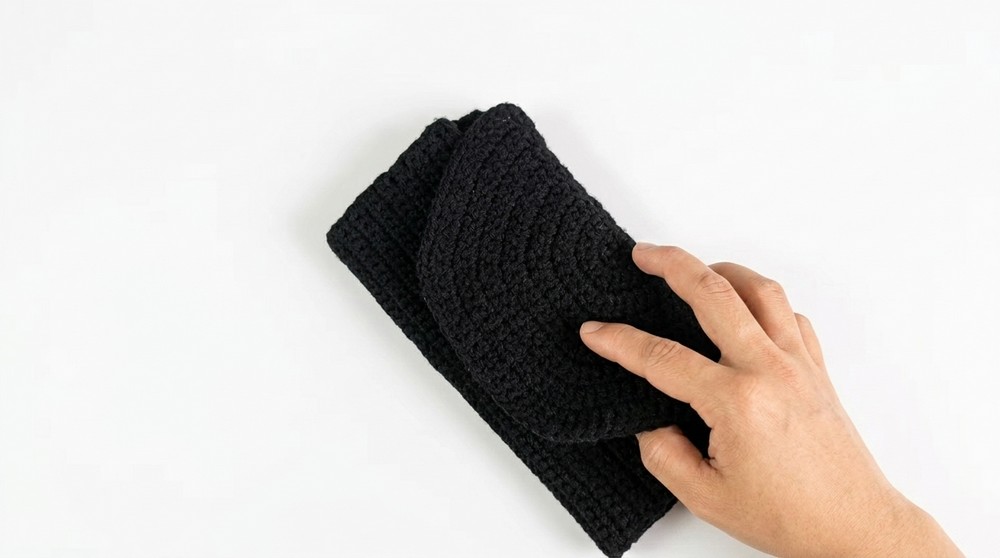
- Hide all yarn tails using a yarn needle.
- Arrange back petals so they sit between front petals (for full layered effect).
- Use hot glue to carefully attach petals, starting with back pairs, then placing front petals centered above them.
- Glue mini flower center if desired, to cover magnet or add a flourish.
- Attach chain or stem to the flower base, glue or sew for security.
- If using, glue magnet closures as shown in the video:
- Attach one half to flower back, one to a matching backing, let dry fully.
- Attach keychain ring/hook as needed.
- Let all glue dry and check security before use.
Solution of Problem
- Petals not positioned correctly: Rearrange petals, use glue to fix pairs so back petals always sit in middle of front petals.
- Magnet closure not secure: Use extra glue, allow longer drying, sew a backing if necessary.
- Chain detaching: Secure with knot or small stitch for durability.
What You Can Make By Using These Stitches
- Keychain flowers with layered petals
- Fridge magnets, brooches, or bag charms
- Embellishments for hats, headbands, or home decor
- 3D floral appliques for garments
- Larger versions for wall hangings using same petal layering technique
Leave a Reply