

Crochet a tulip pouch with this pattern featuring floral designs, perfect for crocheting beautiful and functional handmade accessories.
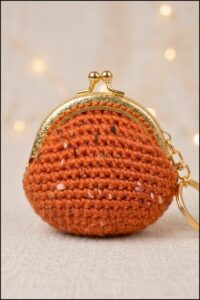
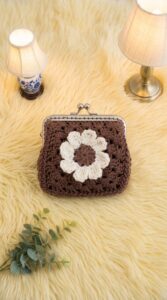
Making a small, charming pouch shaped like a tulip is such a delightful crochet project. This lovely accessory comes from the Free Crochet Tulip Pouch Pattern. With a few simple changes, you can easily turn this design into a coin purse, a mini makeup bag, or even a unique gift pouch to add a personal touch to your presents.
The tulip pouch stands out with its beautiful flower-inspired shape and soft texture that still holds its form well. Its layered petals create a delicate, feminine appearance that catches the eye. Small and practical, this pouch is perfect for carrying essentials or decorating your space. Its unique design blends elegance with the warmth of handcrafted charm, making it a delightful piece to own or give.
Elegant Free Crochet Tulip Pouch Pattern
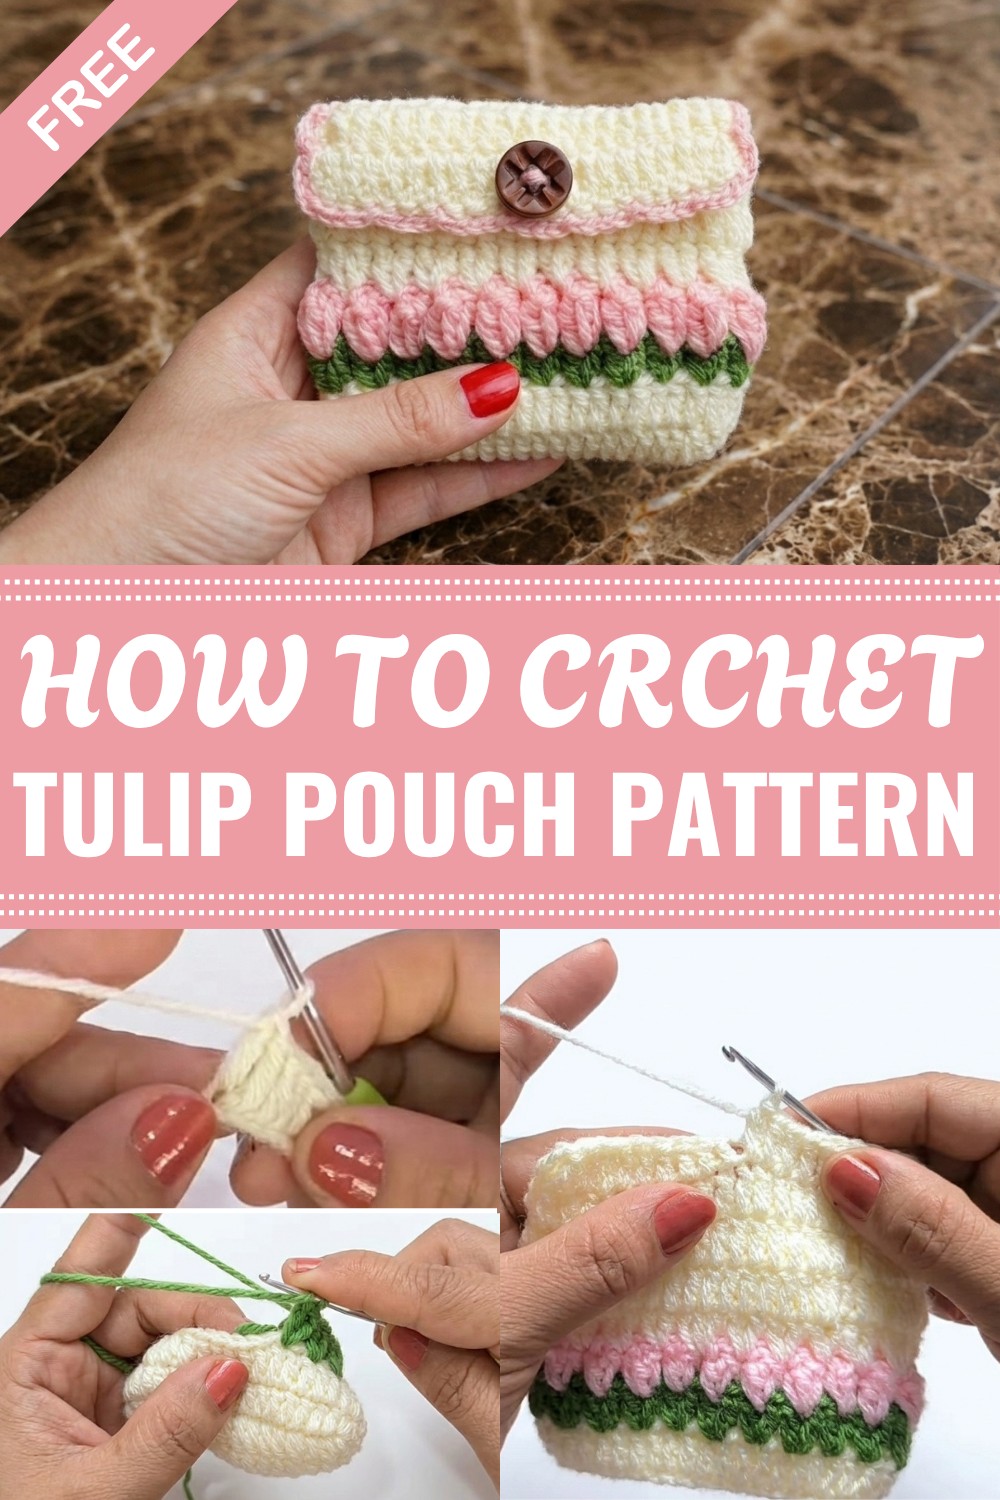
This project is built by crocheting separate parts that form the petals and the body of the pouch, then joining them together. The main stitches used are simple single and double crochets, which makes this pattern friendly for beginners who are comfortable with these basic techniques. The careful assembly ensures the pouch stays sturdy while remaining soft and flexible.
The Free Crochet Tulip Pouch Pattern is perfect for creating thoughtful gifts, pretty home décor, or handy storage for small items. It’s a quick and enjoyable project for anyone who loves making charming and useful crochet pieces. If you’re looking for an easy yet special pattern to suit your skill level, this tulip pouch is a wonderful choice that promises both fun and beauty.
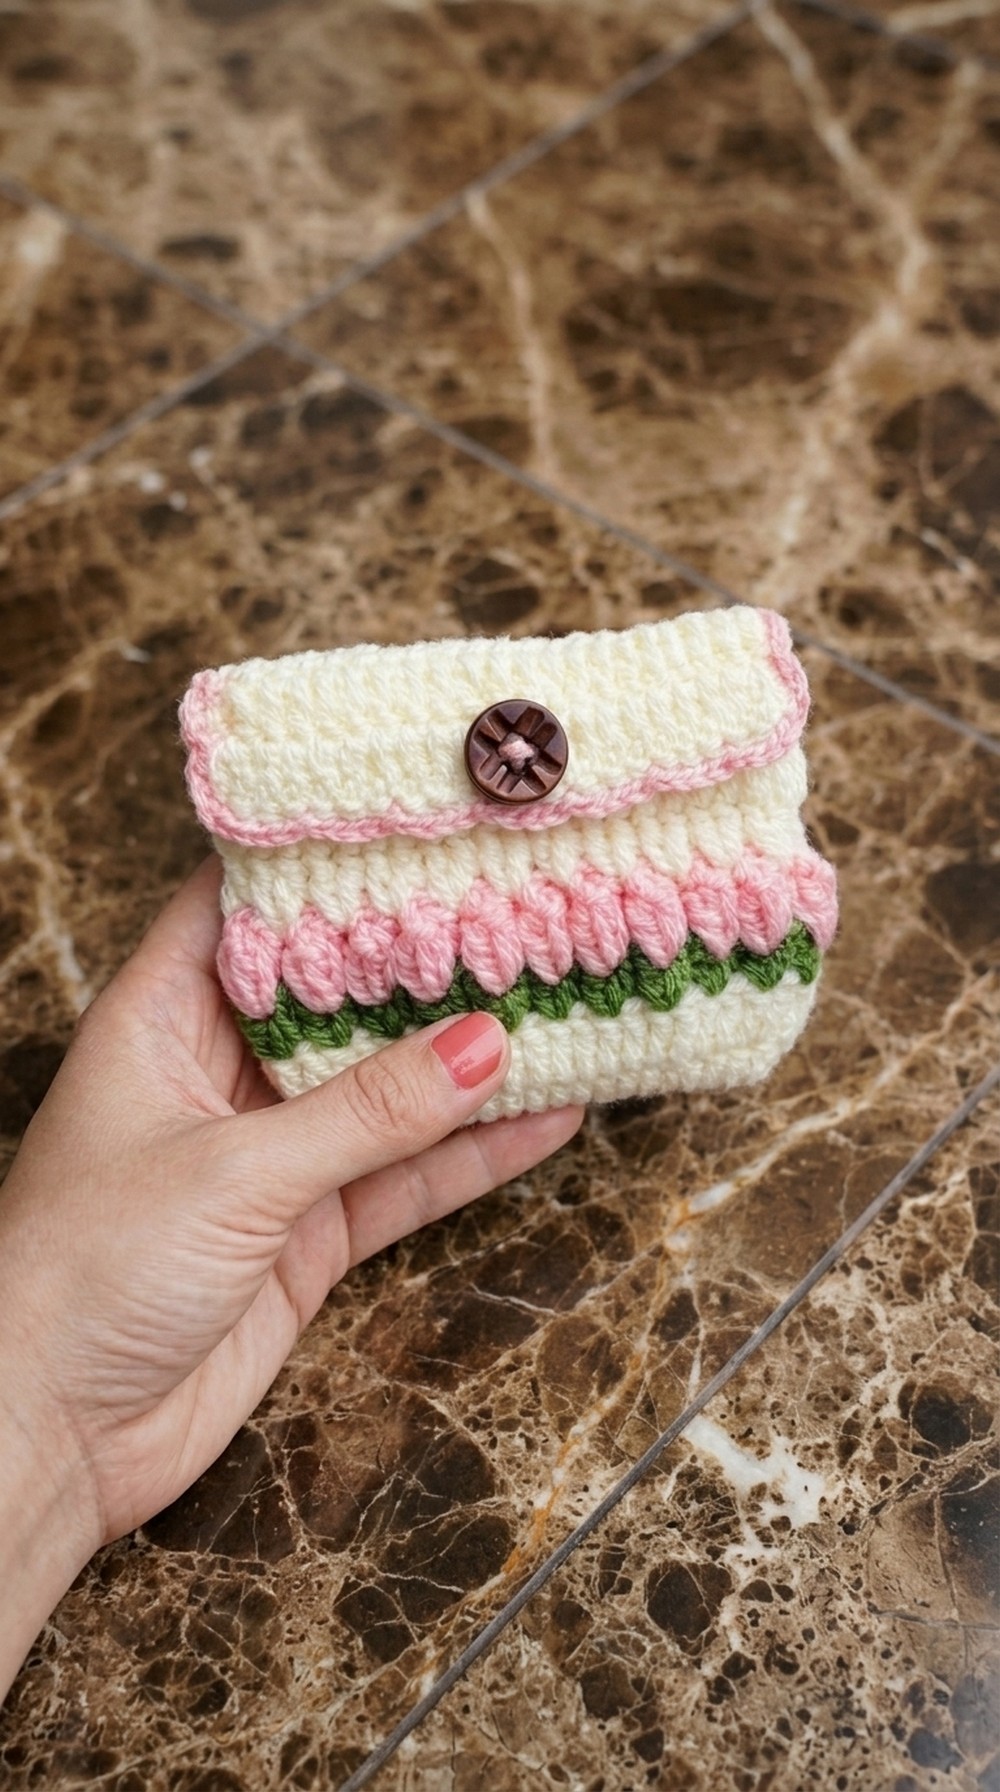
Crochet Three-Color Puff Pouch Pattern
Before You Start
- This easy, customizable pouch features a flat base, a puff stitch accent, and a textured border, all worked in three colors for contrast.
- Optionally, add a decorative button closure for practicality and style.
- The pattern is designed for adventurous beginners or intermediates seeking to practice color changes and simple increases.
- You will work in the round for the pouch body, then flat for the flap.
- The pattern is adaptable; adjust colors, size, or styling as you wish.
Pattern Notes
- The pouch begins with a foundation chain, then is worked in the round, building up the sides by working around both edges of the starting chain.
- Base uses double crochet for a quick build.
- The "puff" (bobble) stitch row is made over V-stitch spaces, creating a textural center stripe.
- A simple chain-loop border gives the edge a lacy effect.
- The pouch flap is worked flat in rows from one side and shaped for a buttonhole.
- Use stitch markers to keep track of rounds and for even puff placement.
- Color changes are made cleanly at the round joins; always change color at the last pull-through of the previous round.
- Weave in all ends securely for a neat, durable finish.
How I Made the Crochet Pattern
- Step-by-step transcription and clarification from the provided tutorial script.
- Translated “vehicles” and non-standard terms into accepted crochet vocabulary.
- Restructured instructions for maximum clarity, including explicit stitch and round counts.
- Consolidated multi-step color and border instructions into concise, readable steps.
Skill Level
- Adventurous Beginner / Intermediate
Finished Size
- Approx. 10 cm x 13 cm when folded, but easily adjustable (see "Measurements" below).
Materials
- 3 colors of DK acrylic yarn (approx. 30 g each): white (Color A), green (Color B), pink (Color C)
- 2.0 mm crochet hook
- Yarn needle (for weaving & joining)
- Scissors
- Button (any size or shape you prefer)
- Stitch markers (optional but helpful)
Measurements / Sizing (Optional Schematic)
- Foundation: 22 chains for approximately 10 cm width.
- Each round/row: adds ~0.7 cm in height (total height approx. 13 cm).
- To adjust size, add or subtract from the starting chain in multiples of 2 for symmetry.
Gauge
- Gauge is not strict; sample gauge is 24 dc and 11 rows = 10 cm x 10 cm
- For best results, check after the first few rows to confirm you like the size/thickness.
Stitch Abbreviations
- ch = chain
- sl st = slip stitch
- dc = double crochet
- sc = single crochet
- st = stitch(es)
- yo = yarn over
Special Stitches
- V-stitch: (dc, ch 1, dc) in the same stitch or space
- Puff / Bobble: (yo, insert hook into space, pull up, yo, pull through 2) three times in same spot, remove hook, insert into first dc, pull loop through, ch 1 to close.
- Chain-Loop Border: ch 4, skip 2, sl st in next st.
The Pattern!
Base (with Color A - Off White)
Foundation:
- Ch 22.
- Skip first 2 ch, dc in third ch from hook and in each ch across (20 dc).
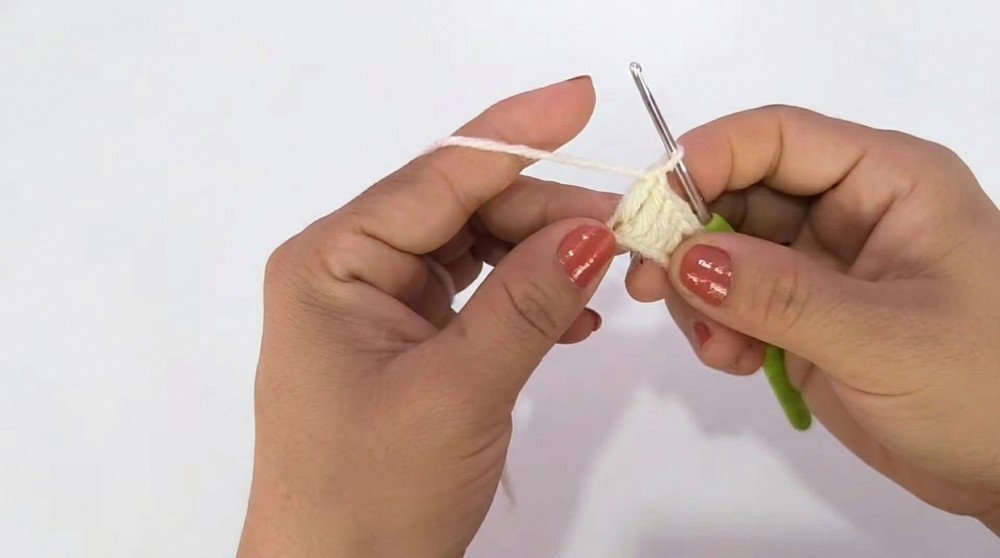
Curve to Work in the Round:
- In the last ch: 3 dc.
- Turn work and continue down the opposite side of the foundation chain (into the unused back loops).
- Dc in each ch (20 dc).
- At the last ch, 2 more dc in same st (for a total of 3 dc in each “corner”).
- Join with sl st to top of first dc. (46 dc around).
Round 2:
- Ch 2, dc in each st around (no increases).
- Join with sl st, fasten off this color.
At this point, you have an oval base. Your pouch is now worked as a tube in the round, no increases.
Color B (Green) – V Stitch Row
Join Color:
- Join yarn in the next st after the join.
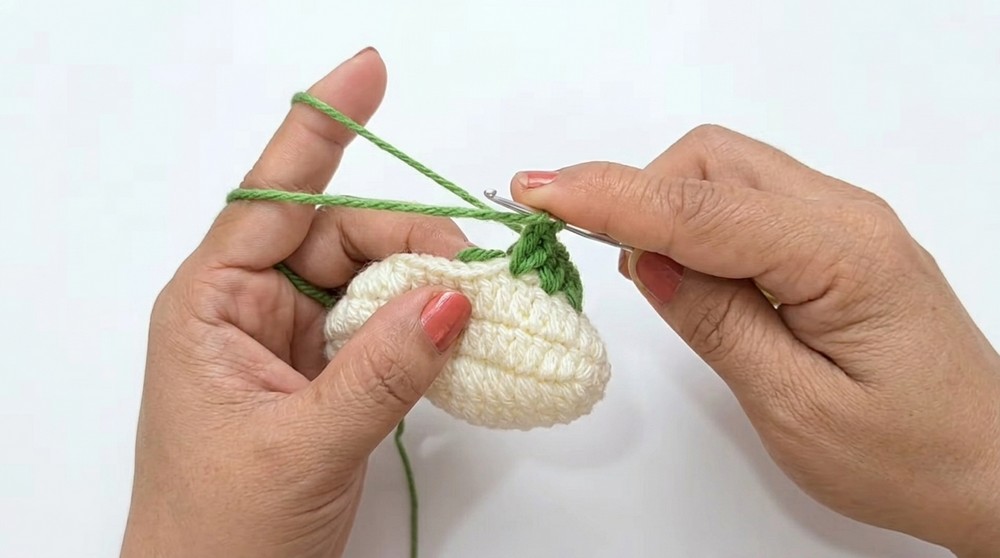
- Ch 3, (counts as first dc), dc in same st. Ch 1, dc in same st (first V-stitch made).
Repeat:
- Skip 1 st, (dc, ch 1, dc) in next st; repeat from * to * around.
- At the end, sl st to top of first dc to join.
- Fasten off.
Color C (Pink) – Puff/Bobble Row
Join Color:
- Join yarn in any ch-1 space of a V-stitch.
- Ch 3 (counts as first dc), [yo, insert hook into same sp, pull up, yo, pull through 2] x2, for a total of 3 dc in same space; remove hook, insert into top of first dc, pull live loop through to create bobble, ch 1 to close puff.
Repeat Puff:
- In each ch-1 space, make a puff (as above).
- Sl st to first puff to join, fasten off.
Color A (Off White) – Solid Rounds
Join Yarn:
- Join yarn in any space between two puffs.
- Ch 2, 2 dc in same sp.
Repeat:
- In each space between puffs, place 2 dc around.
- Sl st to first dc at end of round.
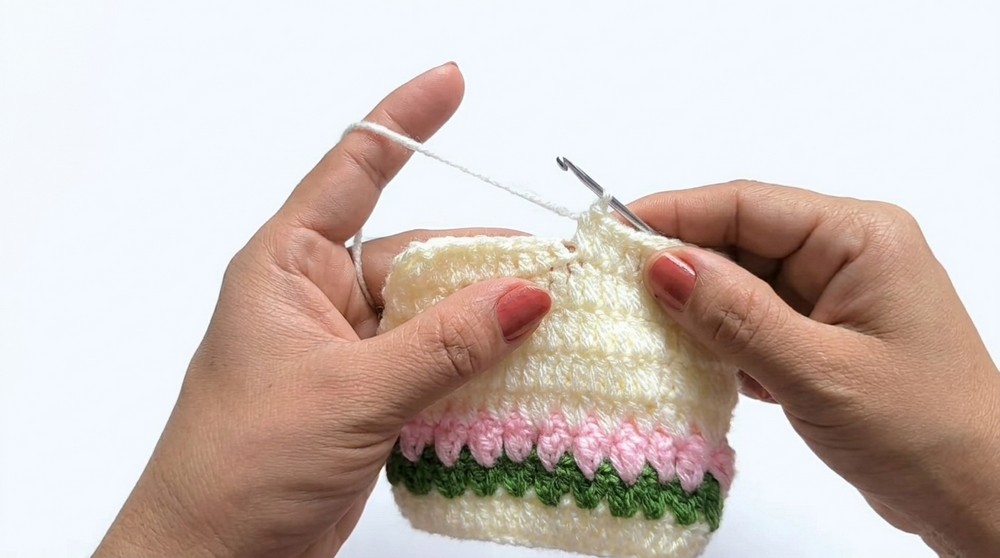
Next 2 Rounds:
- Ch 2, dc in each st around.
- Repeat for a total of three solid rounds after the puff round.
- Sl st to join at end of each round.
- DO NOT fasten off yet.
Make the Flap
- With color A, from the side where you wish to have the opening, ch 2, turn your work.
- Dc in each of the next 20 sts (working flat, not in the round).
- Ch 2, turn, dc in each st for two rows.
- Beginning a third flap row, work 9 dc, ch 2 for buttonhole, skip 2 sts, dc to end.
- Ch 2, turn, dc across (including in the ch-2 space).
- Fasten off.
Edging/Border (Color C – Pink)
- Attach pink yarn to one side edge of the flap.
- Ch 4, skip 2 sts, sl st in next st—repeat along the side, around the flap, and along the other side for a scalloped border.
- sl st to join, fasten off and weave ends.
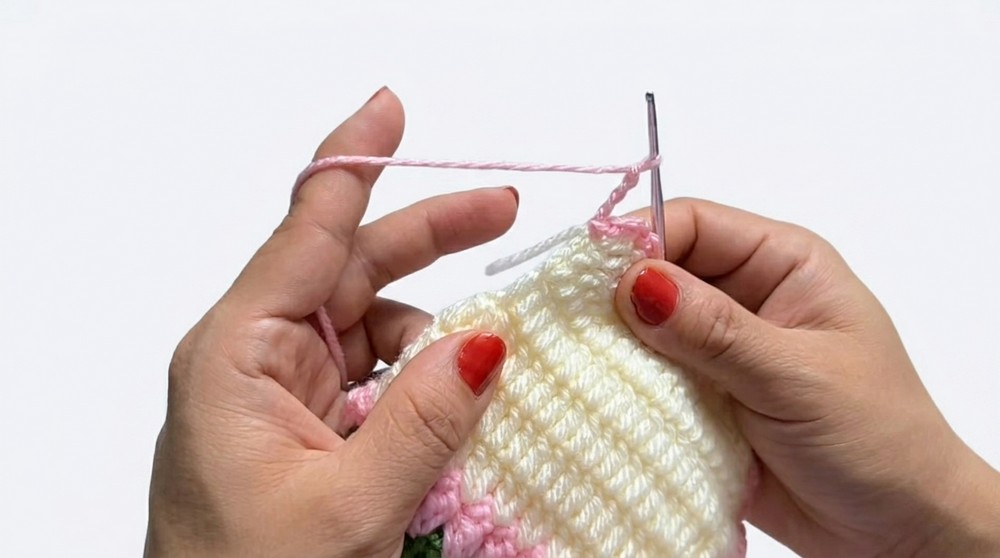
End-of-Section Explanation:
After working these steps, your pouch will have a sturdy flat base, a flexible body with a puff detail, and a secure flap featuring a lacy pink border. You can now add finishing touches and your button.
Assembly & Finishing
- Fold the pouch so the flap folds naturally on one side.
- Sew or glue the decorative button on the pouch body, aligning it with the buttonhole.
- Weave in all remaining yarn ends using a yarn needle.
- Block lightly if desired.
- Your pouch is ready to use!
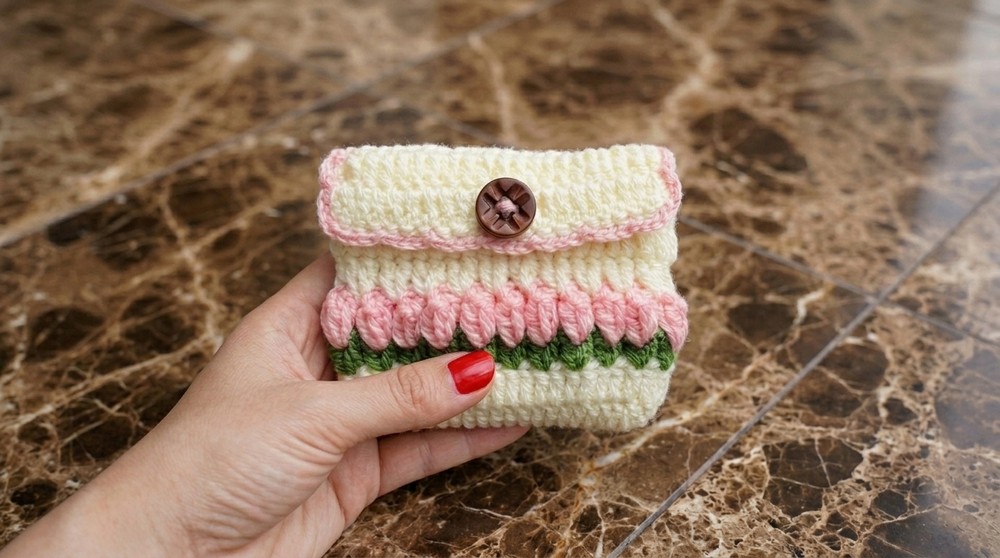
Solution of Problem
- If your pouch leans or twists: check stitch counts, especially for increases and on rounds after foundation.
- Puff row too tight? Use a slightly larger hook for the puff row.
- Flap curling: block with a little steam or spray.
What You Can Make Using These Stitches
- Multi-color phone, gadget, or sunglasses pouches
- Gift bags or party favor pouches
- Decorative pockets sewn onto totes or garments
- Scarf, blanket, or bag stripes using V-stitch or puff rows
- Pouches in different sizes by adjusting stitch count/row repeats

Leave a Reply