

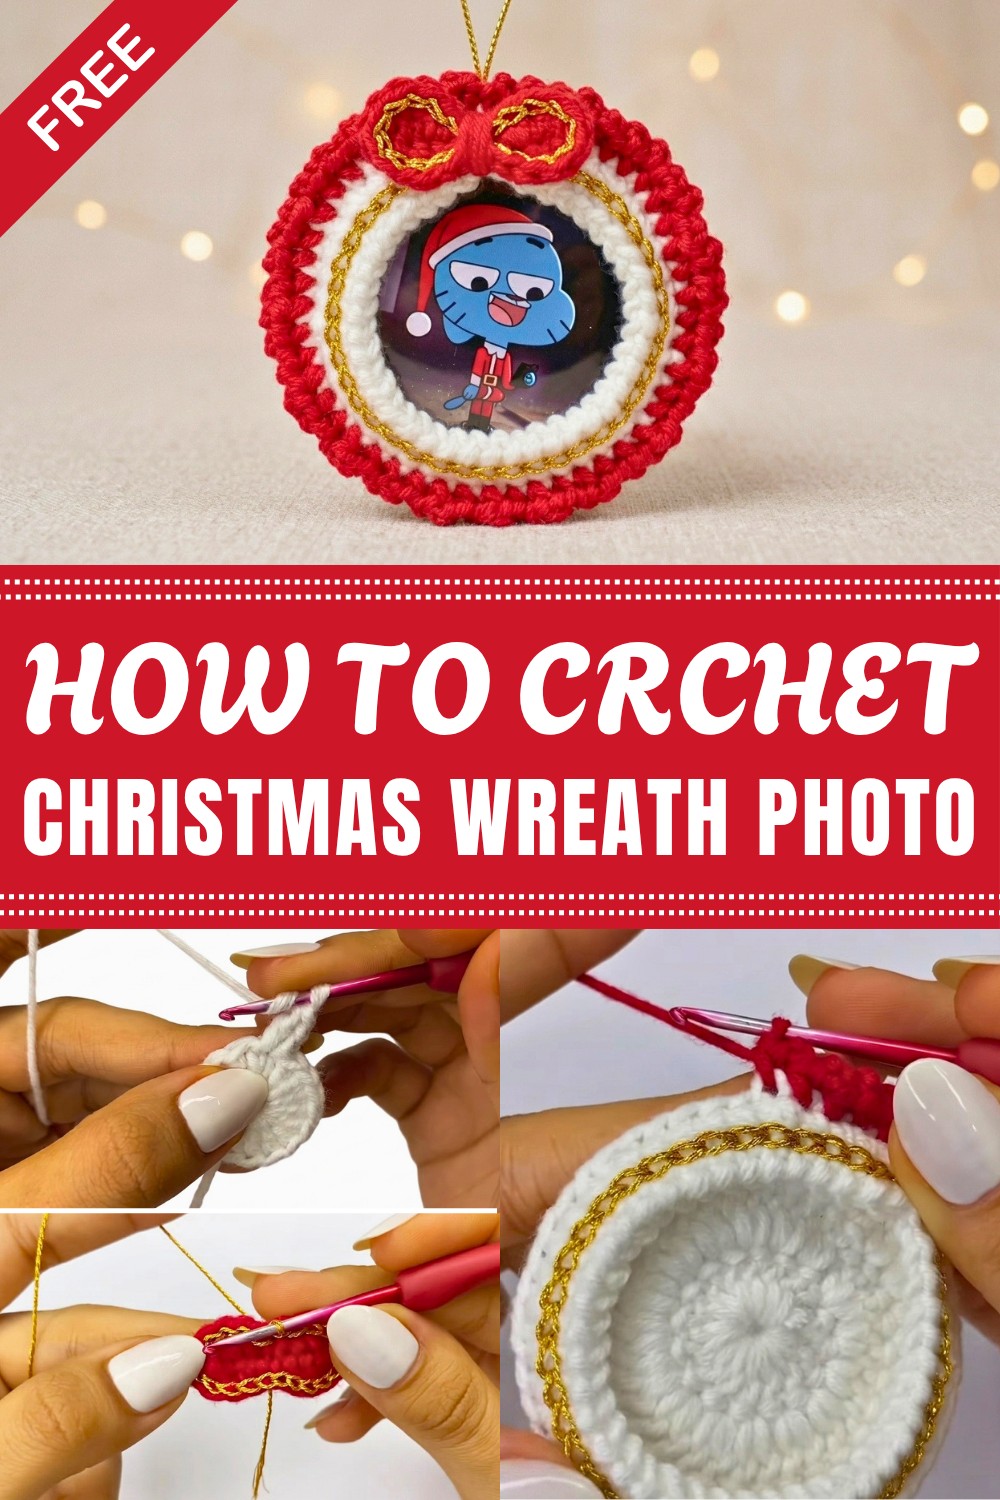
Ideal for intermediate crocheters, this pattern offers a wonderful opportunity to refine skills such as working in rounds, creating decorative edges, and mastering techniques for safely attaching photos. Along the way, you’ll gain confidence in assembling a three-dimensional project that blends function with festive flair.
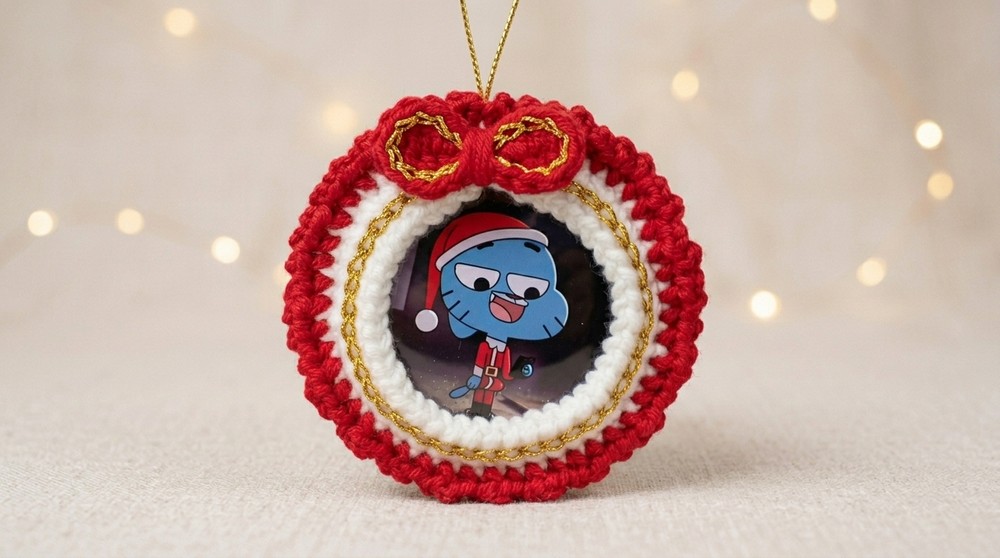
Whether you’re looking to crochet a heartfelt gift or simply infuse your home with personalized holiday cheer, this crochet Christmas photo wreath lets you celebrate the season while showcasing the joy of handmade creativity. It’s a rewarding and beautiful project that brings warmth and personality to your winter festivities.
Christmas Photo Ornament Crochet Pattern
This tutorial presents a detailed guide to crafting a delicate and elegant Christmas photo ornament using fine yarns and precise crochet techniques. Combining a sturdy yet decorative base with intricate gold-thread detail, a ruffled edge, and a charming decorative bow, this project is designed for intermediate crocheters aiming to create a personalized holiday keepsake. The pattern incorporates both double and single crochet stitches, increases, decreases, and slip stitches to sculpt a beautiful frame for your cherished photo.
Pattern Highlights
- Fine yarns: Utilizes 2 mm main yarn (Miratex) and 1 mm gold decorative thread (Cusi), creating a refined texture.
- Hook size: Uses a 2.20 mm crochet hook for delicate stitch work.
- Structure: Base begins with a magic ring and rounds of double crochets, increases, and decreases to shape the circle frame.
- Decorative Elements: Incorporates back loop single crochets and slip stitches for texture, complemented by a ruffled edge using chains and single crochets.
- Gold accents: Slip stitches in gold thread create a shimmering decorative border.
- Bow embellishment: Formed with chain foundation and worked with half-double crochets and slip stitches, edged with gold thread, and gathered with contrasting red thread for effect.
- Functional finishing: Includes a glue-on gold loop for hanging and a center opening designed to frame a photo approximately 5 cm in diameter.
Notes
- Maintain consistent tension to ensure smooth shaping of the circular frame.
- The photo size is adjustable; modify stitch counts if a larger or smaller frame is desired.
- Back loop single crochets add subtle texture and flexibility for the ruffle attachment.
- When working with very fine yarn, use sharp scissors and a comfortable hook for control.
- Liquid silicone glue ensures a durable and clean finish when adhering the bow and photo.
- The gold thread used for decoration should be handled gently to avoid splitting.
Skill Level
Intermediate: Recommended for crocheters with prior experience in:
- Working in the round with magic ring starts
- Increases and decreases in circular crochet
- Back loop single crochet techniques
- Slip stitch decoration
- Combining multiple yarn types and textures
- Basic crochet shaping and assembly
Materials
- Main Yarn: 2 mm thickness (e.g., Miratex), used as the primary color
- Decorative Thread: 1 mm gold thread (e.g., Cusi)
- Crochet Hook: 2.20 mm
- Other Tools: Scissors, yarn needle, stitch marker, liquid silicone glue
- Photo: Approximately 5 cm diameter (adjust according to desired frame size)
Measurements / Sizing
- Finished ornament diameter approximately 7 cm (can be adjusted by modifying rounds).
- Photo insertion space designed for around 5 cm diameter photo.
Gauge and Stitch Pattern
- Gauge is approximate due to fine thread and small hook.
- Pattern primarily consists of:
- Double crochet (dc) worked in rounds to form base.
- Single crochet (sc) in back loops for textured rounds.
- Slip stitches (sl st) for joining and decoration.
Stitch Abbreviations
| Abbreviation | Term | Description |
|---|---|---|
| ch | Chain | Yarn over, pull through loop |
| dc | Double crochet | Yarn over, insert hook, pull through twice (2 loops at once) |
| sc | Single crochet | Insert hook, yarn over, pull through both loops |
| sl st | Slip stitch | Insert hook, yarn over, pull through loop without increasing length |
| inc | Increase | Crochet two stitches into the same stitch |
| dec | Decrease | Crochet two stitches together to reduce stitch count |
| blo sc | Single crochet, back loop only | Single crochet inserted into back loop for texture |
Special Stitches
- Magic Ring: Adjustable loop method to start rounds tightly without holes.
- Back Loop Only Single Crochet (blo sc): Work single crochet in back loop exclusively, creating a ridge ideal for ruffle foundation.
- Slip Stitch Decoration: Used with gold thread to create an elegant edge by strategically slipping between single crochet stitches.
free crochet pattern
1. Base (Main Color)
Round 1:
- Begin with a magic ring.
- Chain 2 (counts as first dc).
- Work 16 double crochets (dc) into the magic ring.
- Join with a slip stitch to the top of the chain 2.
Round 2:
- Chain 2 (counts as first dc).
- Work 2 dc in each stitch around (16 increases).
- Total stitches: 32.
- Join with slip stitch.
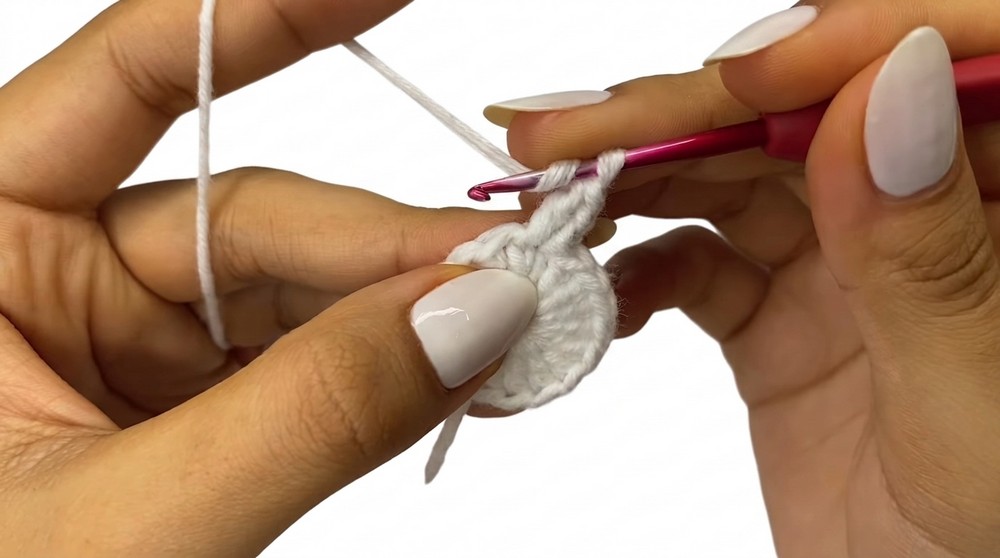
Round 3:
- Chain 2.
- Repeat [1 dc, 1 increase (2 dc in next stitch)] 16 times.
- Total stitches: 48.
- Join with slip stitch.
Round 4:
- Chain 1.
- [4 single crochets in back loops only (blo sc), 1 decrease (dec)] repeat 8 times.
- Total stitches after decrease: 40.
- Join with slip stitch.
Round 5:
- Chain 1.
- Work [1 chain, 1 slip stitch] in each stitch around to create a spaced mesh edge.
- Join and finish this round.
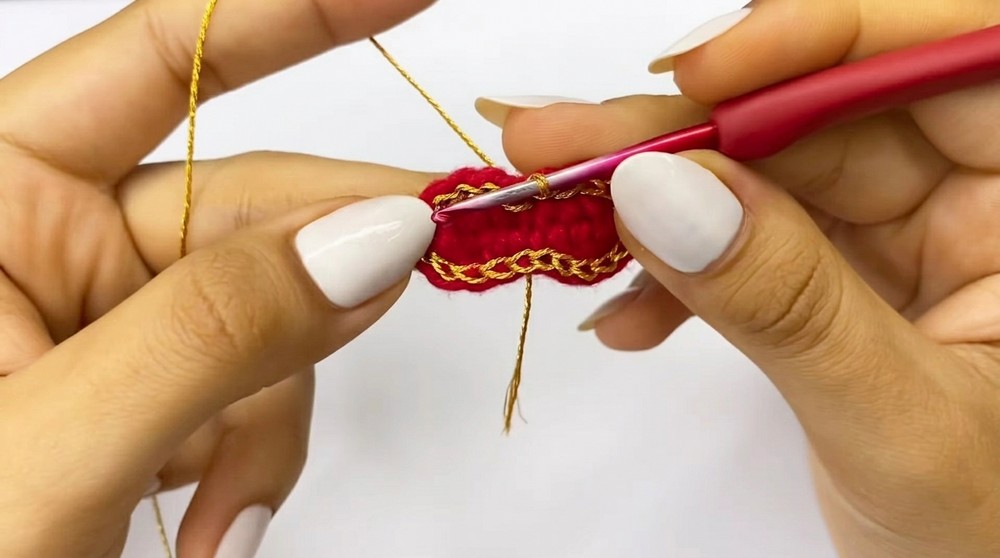
2. Gold Decorative Edge
- Attach gold thread.
- Work slip stitches (sl st) in the spaces between single crochets from Round 4.
- This creates an elegant gold outline on the ornament's edge.
- Secure and weave in ends carefully.
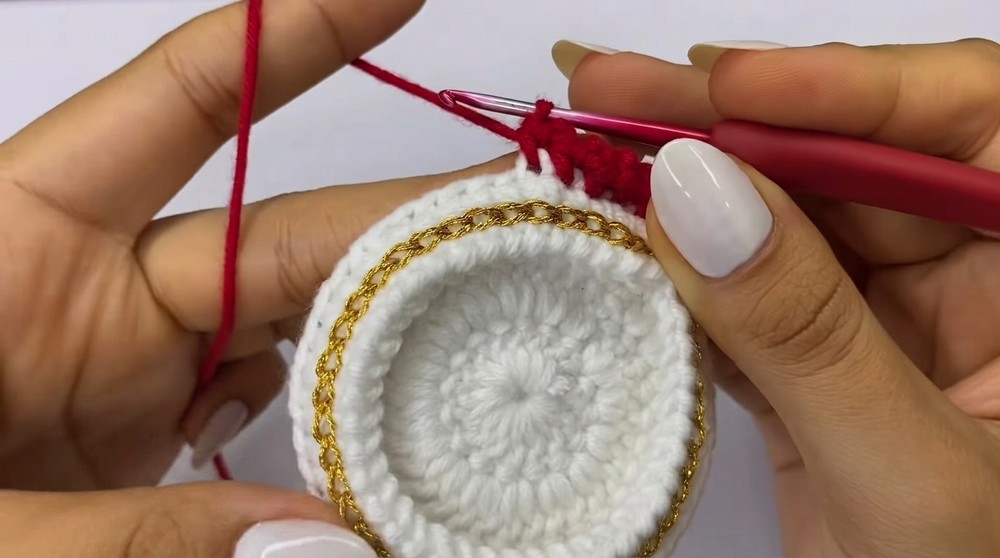
3. Ruffle (Main Color)
- Using main yarn, pick up front loops left from the back loop single crochets in Round 4.
- In each stitch, work 1 single crochet (sc) followed by 2 chains (ch 2).
- This makes a beautiful ruffled edge around the ornament.
4. Decorative Bow
- Chain 8 with main yarn.
- Turn and work the following along the chain:
- Use a mix of half-double crochet (hdc), single crochet (sc), and slip stitches (sl st) to shape the bow.
- Work evenly for smooth shaping into a bow form.
- Edge the bow with gold thread slip stitches for a polished look.
- Gather bow center tightly with red thread, creating a knot effect.
- Fasten securely.
5. Final Assembly
- Use liquid silicone glue to affix the bow on top of the ornament.
- Attach a 12 cm gold loop for hanging at the top center.
- Place your photo (approx. 5 cm diameter) into the center opening of the ornament, securing it carefully.
Assembly & Finished Size
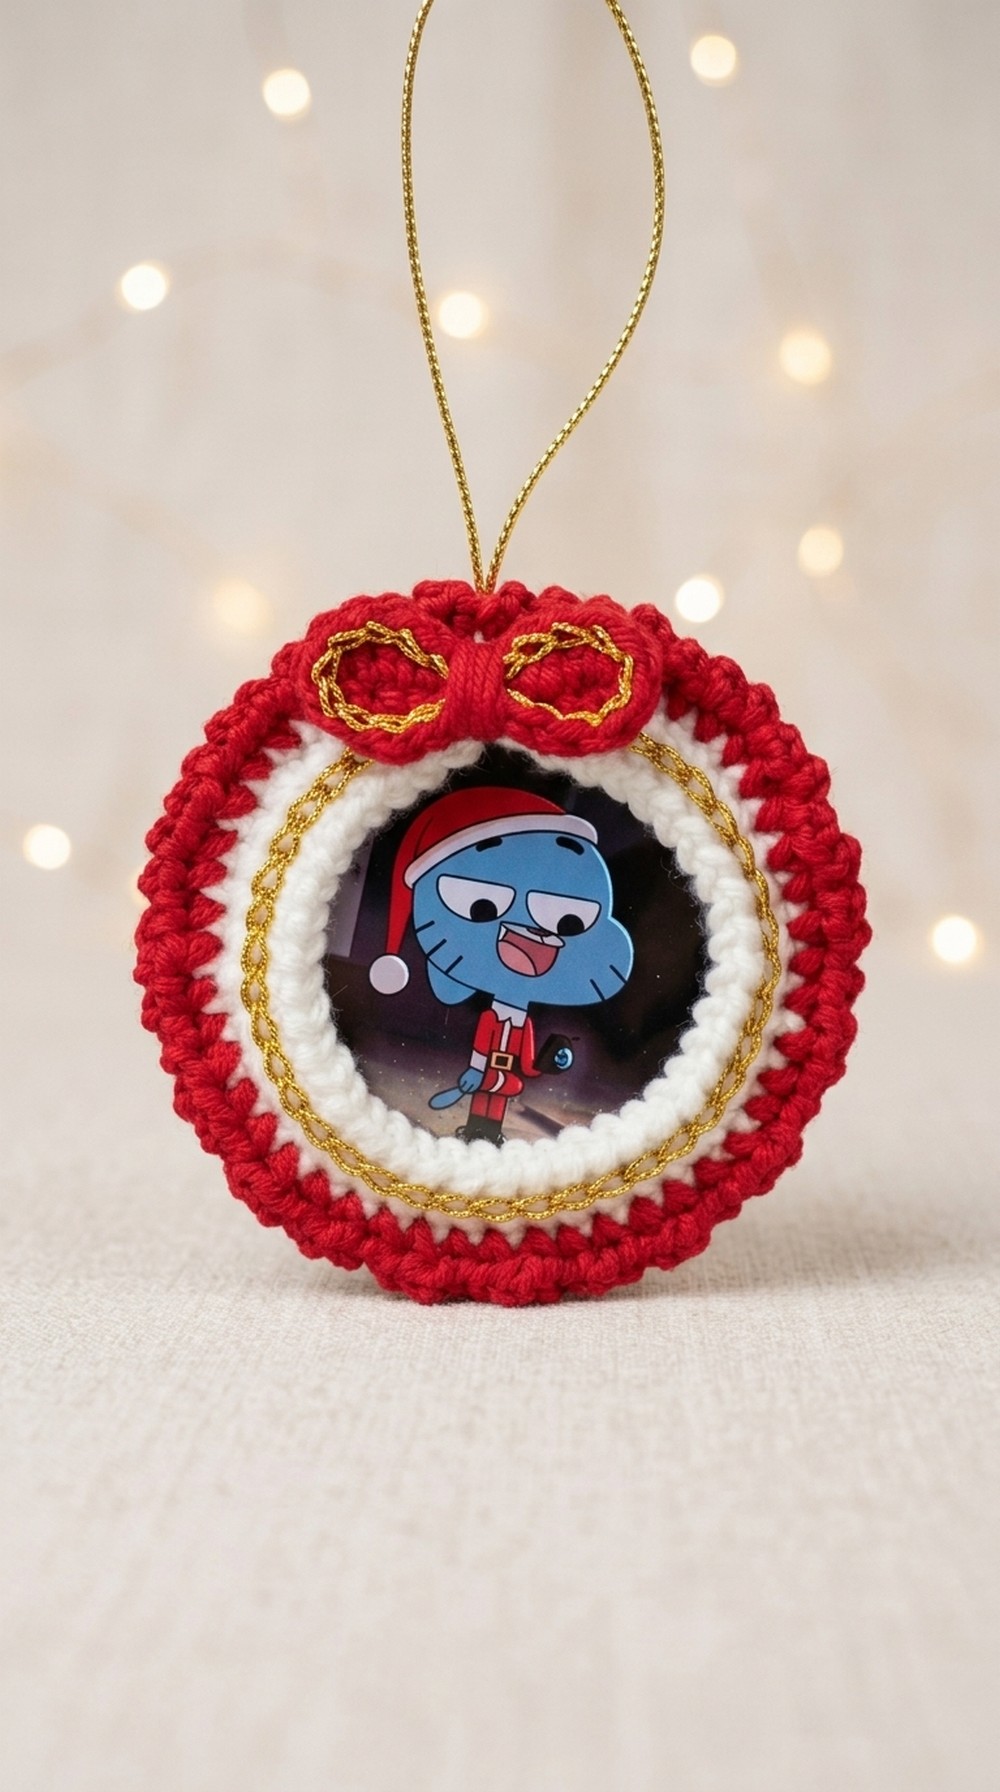
The completed ornament measures roughly 7 cm across, housing a photo approximately 5 cm wide. It showcases a neat ruffled edge, highlighted by an elegant gold-thread slip stitch outline, topped with a decorative bow. The sturdy base frame supports the photo securely and the gold hanging loop provides a convenient way to display your cherished keepsake on the Christmas tree or any special place.
Conclusion
This Christmas photo ornament project harmonizes intricate crochet skills with elegant design to deliver a personal, festive decoration that captures cherished memories in a handcrafted frame. Detailed instructions on shaping, slip stitch decoration, ruffling, and bow assembly ensure that crocheters with intermediate skills can produce a refined and durable heirloom. May your creative efforts brighten the holidays and bring joy to your celebrations with this timeless keepsake.



Leave a Reply