

Celebrate the holiday season by crocheting a charming Christmas Tree that adds warmth and a handmade touch to your festive decorations.
Add some holiday cheer with a small, cute decoration that fits well in your home. This Crochet Christmas tree is warm and charming, suitable for holiday decorations, a thoughtful gift, or a collectible for those who like festive crochets.
Free Crochet Christmas Tree Pattern to Add a Festive Touch to Your Home
The tree is the right size for tabletops, shelves, or cozy holiday corners. It has a simple cone shape with layered branches that look like a real Christmas tree. The texture from the crochet stitches and small details gives it a nice, inviting look for the holiday season.
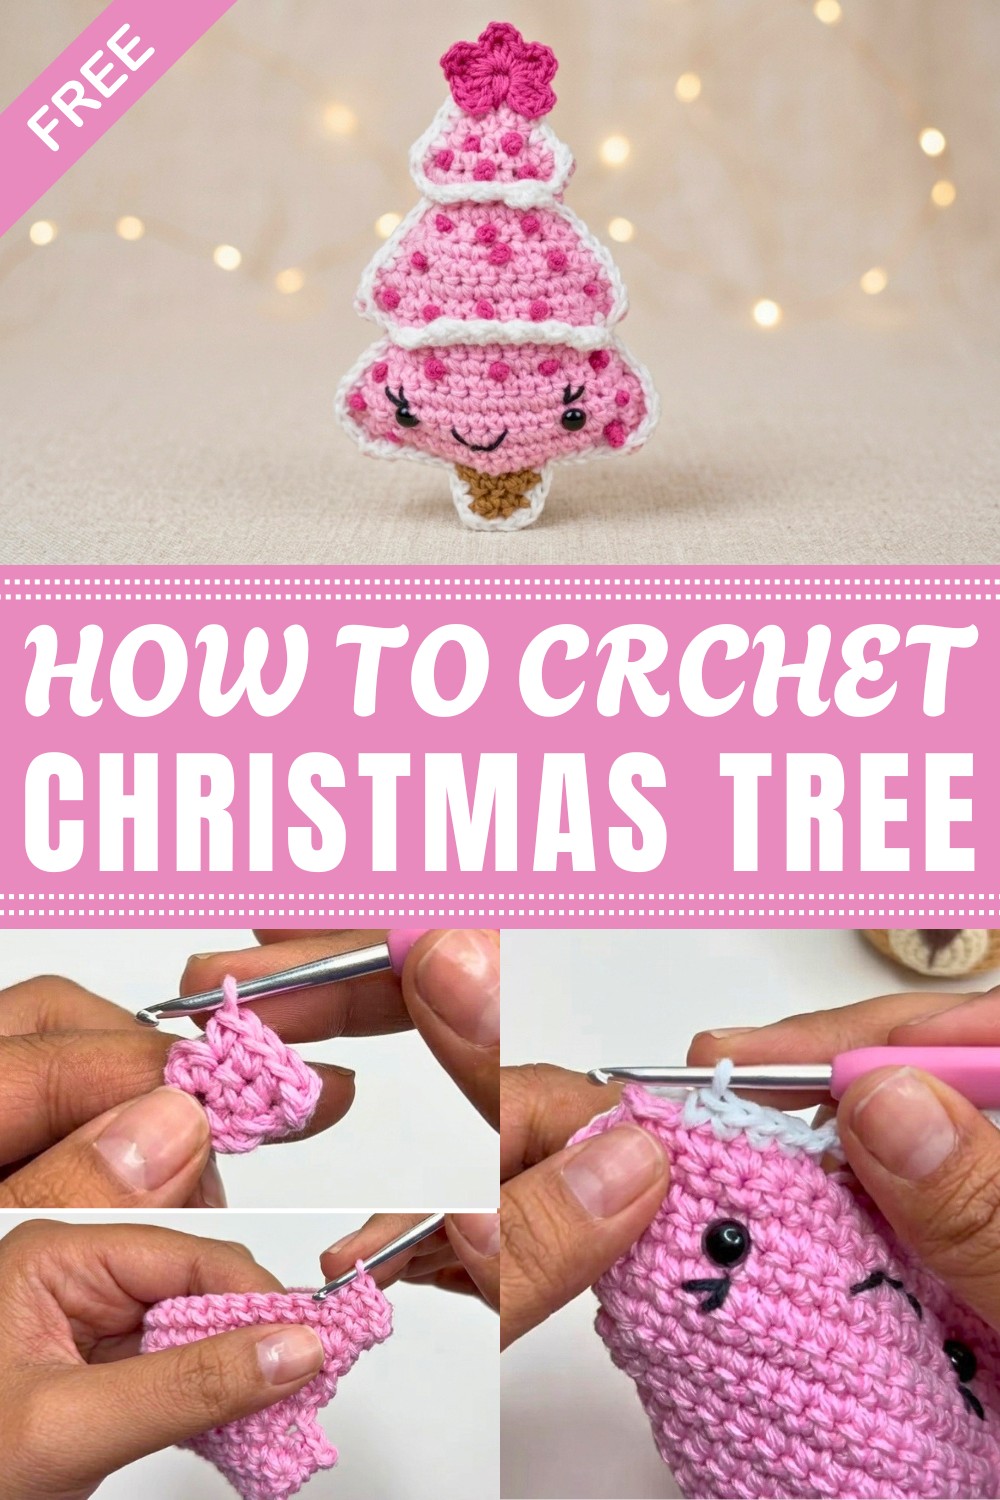
This project works well for beginners and those with some crochet experience. It uses basic stitches such as single crochet, double crochet, increases, and decreases. These stitches form the shape of the tree and add small details to keep it interesting. You can choose yarn in green, red, white, or even glittery colors. Adding small decorations like beads, tiny pom-poms, or a star on top personalizes your tree.
Because of its small size and simple design, this crochet Christmas tree fits easily into many holiday settings. It adds a pleasant, handmade touch to your decorations or makes a nice gift for friends and family. The project helps build crochet skills and offers a fun way to prepare for the holidays.
This guide includes useful tips and ideas to help you complete the project with confidence.
Little Christmas Tree Amigurumi Pattern
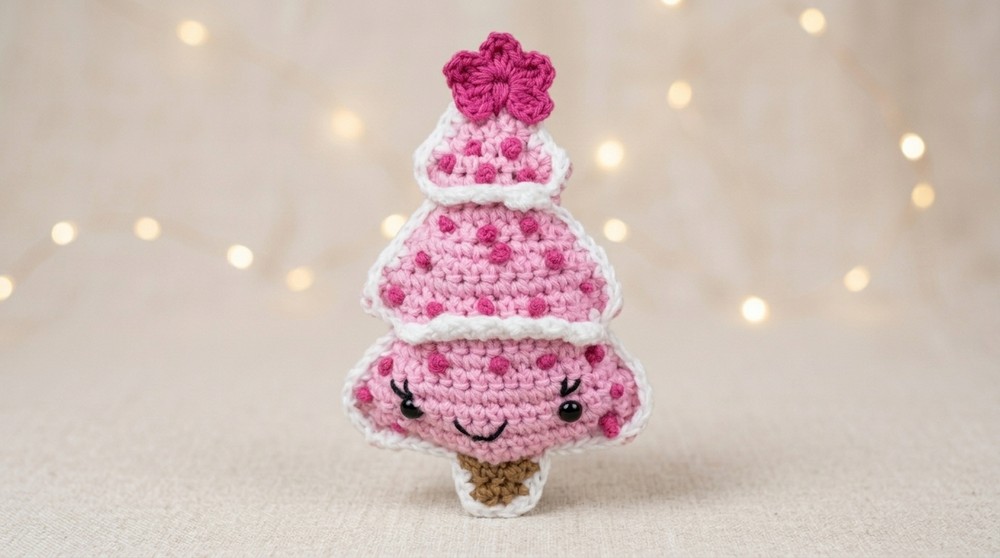
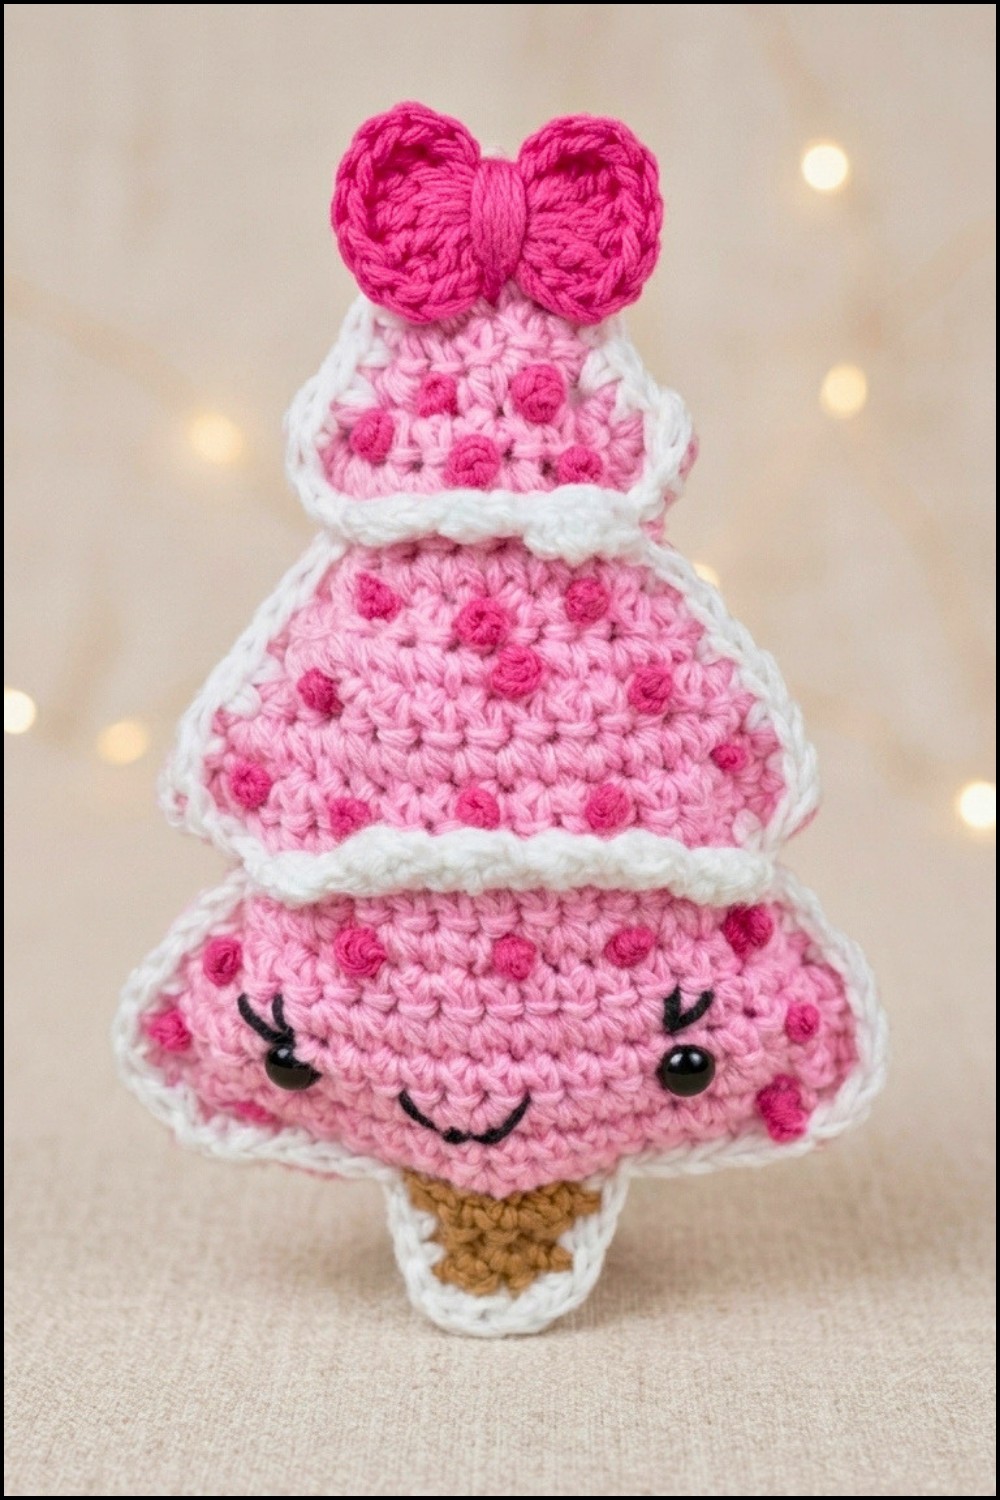
In this pattern, we’ll create an adorable little Christmas tree—perfect as a home decoration, pendant, or keychain for the holiday season. With its delightful details and easy construction, this project is suitable for crocheters of all levels. The finished tree stands at approximately 16 cm tall and 10 cm wide at its broadest.
Pattern Basic Points
Structure Overview
- The tree is worked in rows with increases to form a triangle, then a second panel is made and joined together.
- The base trunk is constructed separately at the end of one panel.
- Edges are slip stitched together, stuffed for shape, and decorated.
- Additional features include embroidered eyes, mouth, eyelashes, colored spheres (“ornaments”), and a magical bow on top.Section Summary
- Tree Panels: Built from the bottom up with increases along the sides.
- Tree Trunk: A small rectangle attached at the base, made in brown or “tobacco” yarn.
- Face Features: Safety eyes, embroidery for mouth and lashes.
- Spheres (Ornaments): Embroidered in bold colors.
- Bow: Crocheted and attached at the top.
Special Notes
- Use a stitch marker for the start/end of each row if needed.
- Adjust yarn colors for your own style—classic green, playful pink, or your favorite holiday hue.
- Add more spheres or beads for extra sparkle.
- Stuff lightly for a plush appearance, or leave flat for a more classic keychain look.
Skill Level
Beginner-Friendly:
Knowledge of chain (ch), single crochet (sc), slip stitch (sl st), double crochet (dc), increases, decreases, and basic embroidery/stitch placement.
Materials
- Yarn (Cotton No.6 or similar DK/worsted):
- Main Color: Pink (or green, red, as desired)
- Trunk: Tobacco (or brown)
- White (for snow edges)
- Small amounts: Black (face), Fuchsia (spheres)
- Hook: 3.0 mm
- Safety Eyes: Size 8 mm
- Filling: Polyfil or pillow stuffing
- Tapestry/Embroidery Needle (for features/assembly)
- Scissors
- Stitch Marker (optional)
Measurements / Sizing
- Height: ~16 cm
- Width (widest portion): ~10 cmGauge
- Not critical; ensure stitches are firm and even to hold stuffing.
Stitch Abbreviations
| Abbreviation | Term |
|---|---|
| ch | chain |
| sc | single crochet |
| inc | increase (2 sc in one st) |
| dec | decrease (sc2tog) |
| sl st | slip stitch |
| dc | double crochet |
Special Stitches
- Increase (inc): Two single crochet in same stitch.
- Decrease (dec): Insert hook into next 2 sts, pull up a loop in each, yarn over and pull through all loops.
- Magic Ring (MR): Adjustable center ring for circular bow.
Pattern
Tree Body (Make 2 panels)
Panel 1 (and repeat for Panel 2):
- Foundation:
- Ch 3 (the first turning ch does not count).
- Row 1:
- In 2nd ch from hook: 1 sc, in next ch 1 sc. (2 sts)
- Row 2:
- Ch 1, turn. Inc in first st, inc in next st. (4 sts)
- Row 3:
- Ch 1, turn. Inc, sc, sc, inc. (6 sts)
- Row 4:
- Ch 1, turn. Sc in each st across. (6 sts)
- Row 5:
- Ch 1, turn. Inc, sc x4, inc. (8 sts)
- Row 6:
- Ch 1, turn. Inc, sc x6, inc. (10 sts)
- Row 7:
- No ch, sl st in first 3 sts, ch 1, inc in 4th st, sc x4, inc in next, sl st in last 3 sts (8 sts in middle section)
- Row 8:
- Ch 1, turn. Inc, sc x6, inc. (10 sts)
- Row 9:
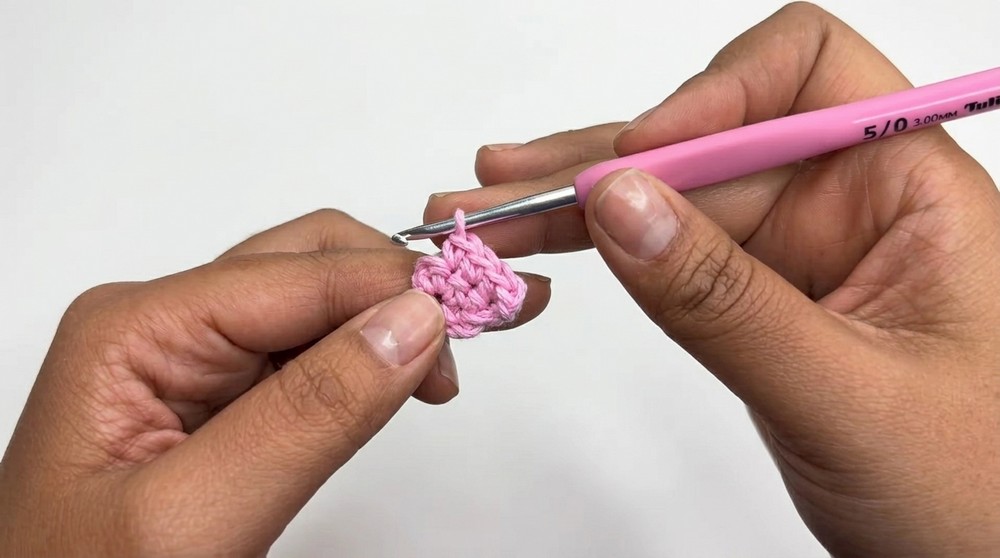
- Ch 1, turn. Inc, sc x8, inc. (12 sts)
- Row 10:
- Ch 1, turn. Sc in each st across. (12 sts)
- Row 11:
- Ch 1, turn. Inc, sc x10, inc. (14 sts)
- Row 12:
- Ch 1, turn. Inc, sc x12, inc. (16 sts)
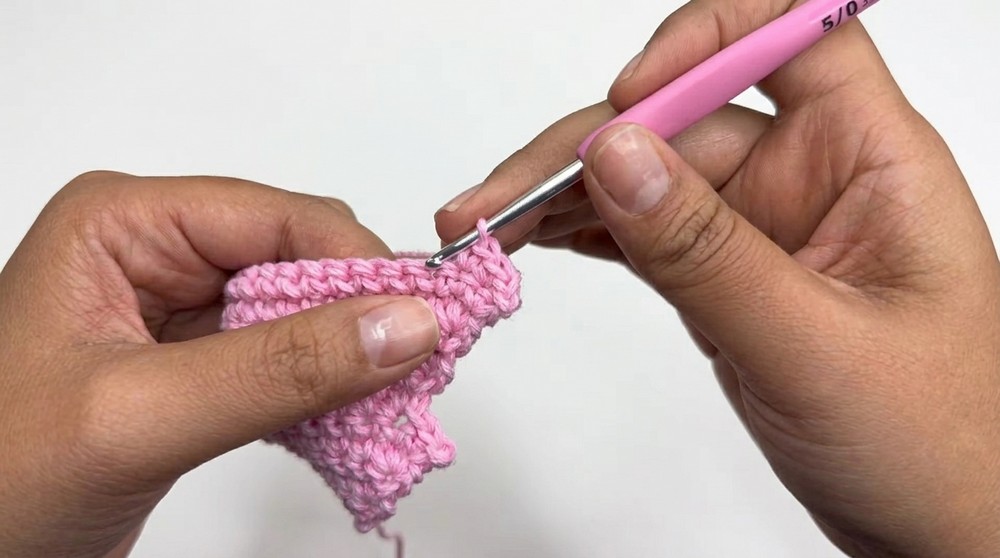
- Rows 13–14:
- Ch 1, turn. Sc in each st across. (16 sts)
- Row 15:
- No ch, sl st in first 3 sts, ch 1, inc in 4th st, sc x10, inc, sl st in last 3 sts (14 sts)
- Row 16:
- Ch 1, turn. Inc, sc x12, inc. (16 sts)
- Row 17:
- Ch 1, turn. Inc, sc x14, inc. (18 sts)
- Row 18:
- Ch 1, turn. Sc in each st across. (18 sts)
- Row 19:
- Ch 1, turn. Inc, sc x16, inc. (20 sts)
- Row 20:
- Ch 1, turn. Sc in each st across. (20 sts)
Begin Decreases for Top Flatness:
- Row 21:
- Ch 1, turn. Dec, sc x16, dec (18 sts)
- Row 22:
- Ch 1, turn. Dec, sc x12, dec (16 sts)
- Fasten off main color. Leave a long tail for joining.
Trunk (Make 1 in Brown/Tobacco)
- Skip 6 sts in bottom center of one panel.
- Attach yarn with slip knot, ch 1.
- Row 1:
- 6 sc (across next 6 sts at bottom).
- Row 2:
- Ch 1, turn. Dec, sc x2, dec (4 sts)
- Row 3:
- Ch 1, turn. Sc in each st (4 sts)
- Row 4:
- Ch 1, turn. Sc, dec, sc (3 sts)
- Fasten off, leaving tail for sewing.
Facial Features
Eyes:
- Place safety eyes between rows 3 and 4 of one panel, roughly centered horizontally (count from sides for symmetry).
Mouth:
- Use 2 strands of black thread. Embroider a small “V” between rows 3–4 for a smiling mouth.
Eyelashes:
- Embroider one stitch up and one to the side at the outer edges of each eye.
Spheres (Ornaments)
- Use fuchsia (or desired color). Thread needle with double thread.
- For each sphere:
- Insert needle through from the back, wrap the yarn 5 times around the needle, push needle through wraps into fabric to form a french knot. Secure from behind. Distribute spheres evenly over tree front.
Snow Edges
Small Edge (Top):
- With white, ch 6, sl st to start to form loop.
- Ch 1, [sc, dc, sc] in same st, skip 1 ch, sc, dc, sc in next repeat to end, sl st to close. Fasten off and sew to top tier.
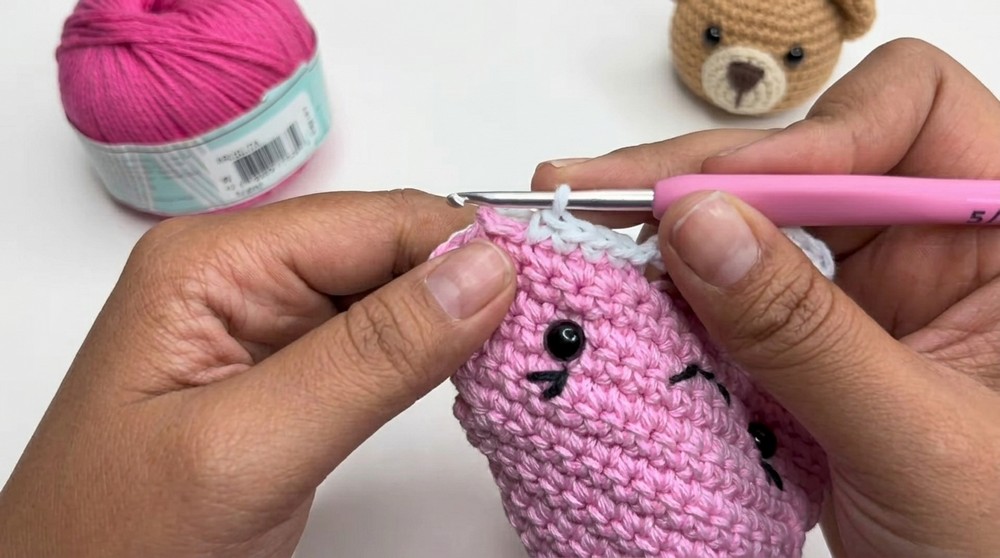
Large Edge (Bottom):
- With white, ch 12, sl st to start to form loop.
- Repeat as above for small edge, adjusting as necessary for length.
- Fasten off and sew to bottom edge.
Star Bow (Topper)
- Magic Ring, ch 3, 5 dc in ring, ch 3, sl st, repeat for 2 arms.
- Ch 3 after each set of 5 dc, sl st to ring. Repeat for three loops.
- Fasten off, leave a long tail. Pull yarn through, tie and secure on top of tree.
Assembly & Finished Size
- Lay front and back panels together, with face (and decorations) showing out.
- With white yarn, join panels across edge with sl sts, stuffing lightly as you go. Slip stitch across front and back loop of each stitch.
- At each corner or changepoint, use sl st; at base corners, make 2 sc in one st for a neat turn.
- When you reach the top, make a hanging chain of 20 ch, join back to starting point and secure. Continue joining edge.
- Stuff lightly before closing final side.
- Attach trunk to bottom, bow to top, snow edges to tree "branches."
- Weave in all yarn ends neatly inside.
Finished size: Approx. 16 cm tall by 10 cm wide.
Conclusion
Your playful, plush Christmas tree is ready for the holidays! Every detail—from the stuffed trunk to the festive spheres and snow-decked edges—brings your tree to life. Try different colorways for variety or add extra sparkle with beads and sequins.




Leave a Reply