

Cherish sweet moments with Free Crochet Teddy Bear With Flower Pattern featuring adorable bear charm lovely bloom and heartwarming display style.
There’s something truly special about a tiny teddy bear that brings comfort and joy to both kids and adults alike. This Free Crochet Teddy Bear With Flower Pattern results in an endearing little friend that combines warmth with a charming touch of floral detail. Many people enjoy making stuffed animals because they offer a satisfying mix of technique and creativity, making this project both fun and meaningful. Whether intended as a gift, a nursery decoration, or a keepsake, this teddy bear stands out as a delightful, timeless piece.
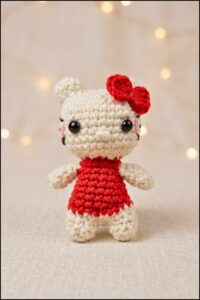
The finished bear showcases a plush, cuddly feel thanks to the close, uniform stitches that give it structure without being stiff. Its rounded head, stubby limbs, and cute facial features give the bear plenty of personality, while the small crocheted flower adds a graceful, colorful accent. The pattern allows room to personalize colors and flower styles, whether using neutrals, pastels, or even vibrant hues. This makes each bear unique and well suited for various tastes and occasions.
Easy Crochet Teddy Bear With Flower for Beginners
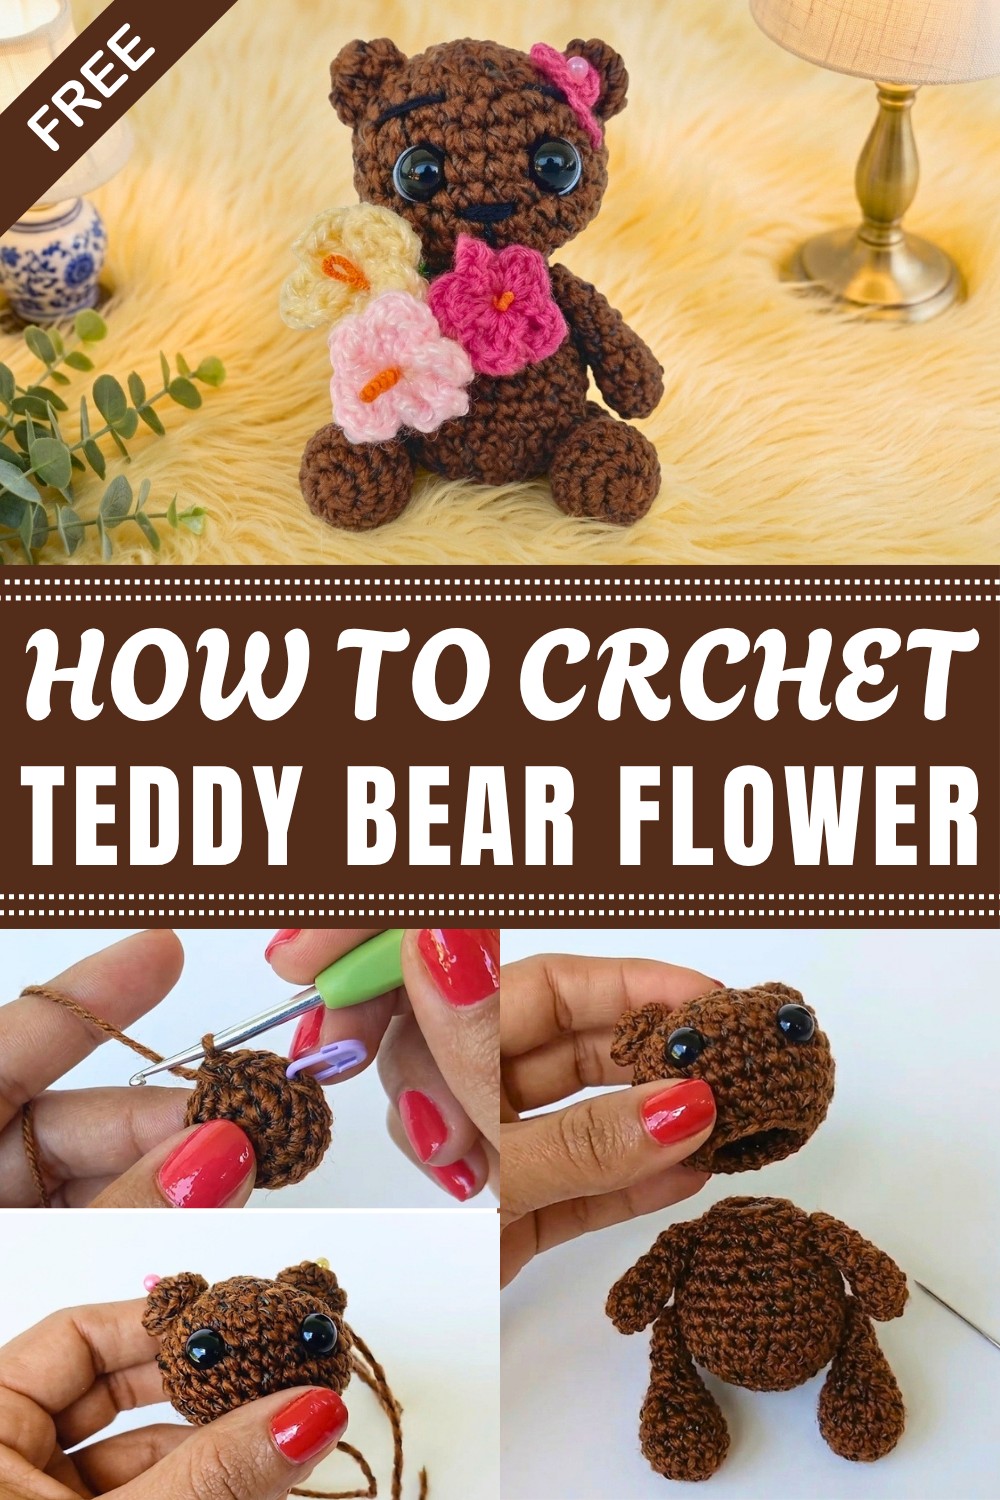
Designed with those familiar with basic amigurumi techniques in mind, this pattern offers a chance to improve skills in shaping, joining pieces smoothly, and simple embroidery for facial expressions. By following the steps, makers can expect to enhance attention to detail and develop a better understanding of working in rounds.
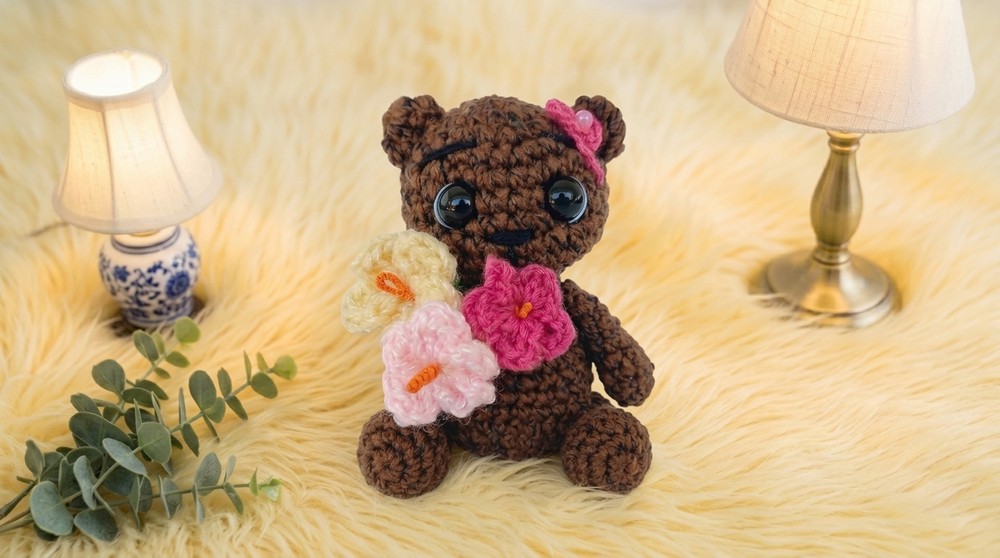
For anyone interested in making a charming toy or a heartfelt gift, this Free Crochet Teddy Bear With Flower Pattern is an excellent choice. It combines approachable stitches with lovely details, resulting in a sweet companion that is sure to be treasured.
Crochet Teddy Bear Amigurumi Pattern
Welcome to this detailed crochet pattern to create a charming teddy bear amigurumi measuring approximately 10–11 cm tall. This tutorial guides you through each part step-by-step, starting from the feet to the finishing accessories, resulting in a beautifully finished teddy bear.
Skill Level & Terminology
- Skill Level: Beginner to Intermediate
- Terminology: US crochet terms
Materials & Tools
- Acrylic yarn (colors as desired: brown for bear body, light blue for eyes detail, black for facial features, pink for accessories)
- Crochet hook size 2 mm
- Stitch marker or scoreboard for rounds
- Tapestry needle for weaving and assembly
- Safety eyes for teddy bear’s eyes
- Stuffing (toy fiberfill)
- Tweezers (optional, for stuffing small parts)
- Thin wire (0.35 mm approx., 15 cm for flower stem)
- Scissors
- (Optional) Black thread and embroidery needle for detailing eyes and facial features
Gauge
No strict gauge required as this is amigurumi, but maintain consistent tension using 2 mm hook and acrylic yarn to achieve approximate final size.
Abbreviations List
- ch = chain
- sl st = slip stitch
- sc = single crochet
- inc = increase (2 sc in the same stitch)
- dec = decrease (single crochet 2 stitches together by taking front loops)
- st(s) = stitch(es)
- Magic ring = adjustable loop to start rounds
- FO = fasten off
Special Stitch Instructions
Magic Ring: Make a loop, crochet stitches into the ring, then pull tight to close hole.
Decrease (dec): Insert hook into front loops of next two stitches, yarn over and pull through, yarn over and pull through remaining loops on hook.
Finished Size
Approximate height: 10–11 cm, adjustable slightly by yarn thickness or hook size.
The Pattern Itself
Feet (Make 2)
- Start with a magic ring.
- Chain 1 (does not count as stitch).
- Round 1: Make 6 sc into magic ring.
- Close ring by pulling short tail.
- Round 2: Increase in every stitch (inc 6 times) — 12 sts.
- Round 3: 2 sc, inc repeat around — 18 sts.
- Round 4: Work 1 sc in each stitch around — 18 sts each round.
- Round 5: Work 1 sc in each stitch around — 18 sts each round.
- Round 6: 4 sc, dec repeat 4 times — 12 sts.
- Round 7: 4 sc, 2 dec repeat 2 times + 4 sc — 10 sts.
- Round 8: 2 sc, dec repeat twice, then 2 sc — 8 sts.
- Round 9 & 10: 1 sc in each st — 8 sts each round.
- Finish by closing with sl st.
- Leave a long tail for sewing.
- Stuff firmly with fiberfill, using tweezers if needed.
- Close the opening with 3 sc, finishing securely.

Repeat for second foot.
Explanation:
You create a small rounded foot piece starting from 6 sc in a magic ring, increasing to make a round shape, then decreasing for shaping the top, finally stuffing and closing.
Hands (Make 2)
- Begin with a magic ring.
- Chain 1.
- Round 1: 6 sc into magic ring.
- Pull ring closed.
- Round 2: 1 sc, inc repeat around — 9 sts.
- Round 3: 1 sc in each st — 9 sts each.
- Round 4: 1 sc in each st — 9 sts each.
- Round 5: 3 sc, dec + 4 sc — 8 sts.
- Round 6: 2 sc, dec + 4 sc — 7 sts.
- Round 7: 1 sc in each st — 7 sts each.
- Round 8: 1 sc in each st — 7 sts each.
- Close with 3 sc, FO leaving tail for sewing.
Make 2 identical hands.
Explanation:
Hands are rounded small pieces worked similarly to feet but smaller and tapered slightly with decreases.
Ear (1)
- Start with a magic ring.
- Chain 1.
- Round 1: 8 sc in magic ring.
- Pull ring tight.
- Round 2: 1 sc in each st (8 sts).
- Close with sl st, leave a tail for sewing.
Ear (2)
- Start with a magic ring.
- Chain 1.
- Round 1: 8 sc in magic ring.
- Pull ring tight.
- Round 2: 1 sc in each st (8 sts).
- Close with sl st, leave a tail for sewing.
Explanation:
Ears are simple small rounds made from 8 stitches, intended flat for easy sewing.
Body
- Begin with magic ring, chain 1.
- Round 1: 6 sc into ring.
- Close ring.
- Round 2: inc 6 times (2 sc in each st) — 12 sts.
- Round 3: 1 sc, inc repeat — 18 sts.
- Round 4: 2 sc, inc repeat — 24 sts.
- Round 5: 3 sc, inc repeat — 30 sts.
- Round 6: 1 sc in each stitch — 30 sts.
- Round 7: Join feet with body:
- 5 sc, attach 1st foot with 3 sc, 10 sc, attach 2nd foot with 3 sc, 9 sc — total 30 sts.
- Round 8: 1 sc in each stitch — 30 sts.
- Round 9: 3 sc, dec repeat — 24 sts.
- Round 10: 1 sc in each stitch — 24 sts.
- Round 11: 2 sc, dec repeat — 18 sts.
- Round 12: Attach hands:
- 4 sc, attach 1st hand with 2 sc, 6 sc, attach 2nd hand with 2 sc, 4 sc — total 18 sts.
- Round 13: 1 sc, dec repeat — 12 sts.
- Stuff firmly now to avoid gaps.
- Round 14: 1 sc in each stitch — 12 sts.
- Finish with sl st, FO leaving long tail for sewing.

Explanation:
The body is a rounded figure attaching feet and hands in place with crochet stitches, using increases and decreases to shape.
Tail
- Start with magic ring, chain 1.
- Round 1: 6 sc into ring.
- Close ring.
- Round 2: 1 sc, inc repeat — 9 sts.
- Round 3: 1 sc in each st — 9 sts.
- Round 4: 4 dec around (dec 4 times consecutively) — 5 sts.
- Close with sl st, FO leaving tail for sewing.
- Attach tail to the back of body.
Explanation:
Small tapered tail piece shaped with decreases.
Head
- Begin magic ring, chain 1.
- Round 1: 6 sc into ring.
- Close ring.
- Round 2: inc 6 times — 12 sts.
- Round 3: 1 sc, inc — 18 sts.
- Round 4: 2 sc, inc — 24 sts.
- Round 5: 4 sc, inc repeated four times plus 3 sc, inc — 29 sts.
- Round 6: 1 sc in each stitch — 29 sts.
- Round 7: 1 sc in each stitch — 29 sts.
- Round 8: 1 sc in each stitch — 29 sts.
- Round 9: 1 sc in each stitch — 29 sts.
- Round 10: 4 sc, dec repeat 4 times + 3 sc, dec — 24 sts.
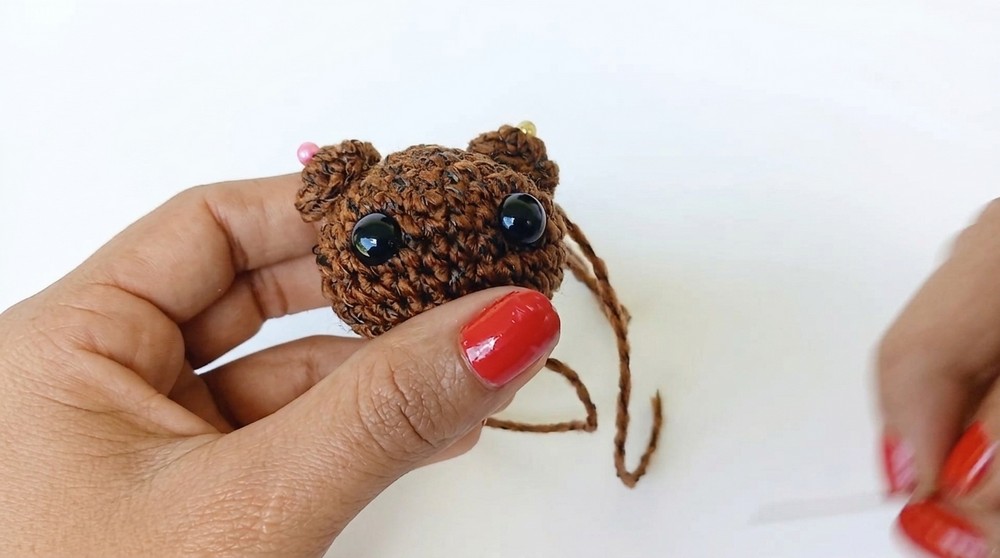
- Insert safety eyes between rounds 5 and 6, spaced 3 stitches each side of center.
- Burn fabric backing behind eyes for safety and better filling.
- Round 11: 1 sc, dec — 18 sts.
- Stuff firmly.
- Round 12: dec all around — final closing.
- Finish with sl st, FO and leave tail.
Explanation:
Head is a rounded spherical shape, made by increasing, maintaining stitches, and then decreasing, with safety eyes inserted near top and about halfway.
Attaching Ears and Embroidering Features
- Sew ears starting around round 3 of head, spaced about 4 stitches from eyes.
- For expression, embroider around eyes with black thread for depth.
- Add half-moon light blue shape below eyes with yarn using surface crochet or embroidery.
- Embroider nose and mouth below eyes using black thread.
Assembly & Finishing
- Sew head onto body securely.
- Shape all parts evenly.
- Make a pink necklace: chain 15 or desired length, wrap around neck, secure and trim ends.
- Make decorative flowers:
- Magic ring, chain 1 counts as first petal point.
- Inside ring: 2 sc, chain 2, slip stitch into ring — 1 petal.
- Repeat 4 more times to form 5 petals.
- Pull ring tight and cut yarn.
- Wrap thin wire with orange yarn approx. 3 cm for flower center; attach to flower.
- Wrap wire with green yarn for stem.
- Pin or sew flower to bear.
- Add small bow on ear with 15 chain stitches; add additional flowers for bouquet as desired.
- Secure all accessories by sewing or gluing firmly.
- Weave in all loose ends.

Summary
- This teddy bear uses basic single crochet and decrease stitches.
- The magic ring technique starts every part.
- Assembly involves securely sewing together feet, hands, ears, head, and tail.
- Embroidery details add character.
- Accessories personalize your teddy.
Final Notes
Take your time with stuffing to avoid gaps, especially in small pieces. Safety eyes ensure a child-safe finish when secured properly. This project is perfect for gifting or keeping as a cute decoration!


Leave a Reply