

Polish your artistic finesse with this crochet rose blanket pattern, perfect for adding elegance to your space and showcasing your creativity!
Soft floral designs have a way of turning yarn into something extraordinary, and this crochet rose blanket pattern brings that magic to life through graceful crochet techniques. Featuring intricate rose motifs, the blanket is not just visually striking but also wonderfully practical, offering warmth and charm that easily complements a variety of settings. From cozy family rooms to elegant bedrooms, its adaptability makes it much more than just another decor piece—it becomes a personal touch added to special spaces.
Cozy & Elegant Crochet Rose Blanket Pattern Ideas You’ll Love
The design is thoughtfully crafted to be engaging for those experienced in crochet yet approachable enough for beginners aiming to elevate their skills. Its flexibility means you can customize colors to suit your preferences or match seasonal themes, making it a true reflection of your individuality. Beyond its aesthetic value, the blanket serves as a cherished gift for loved ones, telling a story of effort, care, and artistry in every stitch.
Whether used to enrich your home or given to someone who appreciates handmade treasures, this pattern combines style and utility in an unforgettable way. It’s more than just yarn and hooks—it’s an opportunity to add beauty and meaning to your everyday surroundings while enjoying the satisfaction of creating something unique.
Introduction
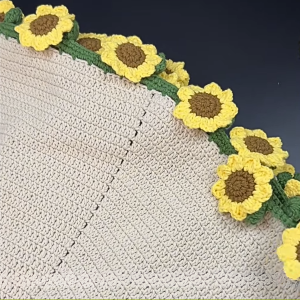
In this pattern, we'll guide you through making a stunning Crochet Rose Blanket. This project is divided into three parts: making the blanket base, adding the leaves, and finally crocheting the roses.
tools:
- 4mm Crochet hook
- 3 ply Yarn
- Scissor
- Darning needle
Step-by-Step Guide
Part 1: Creating the Blanket
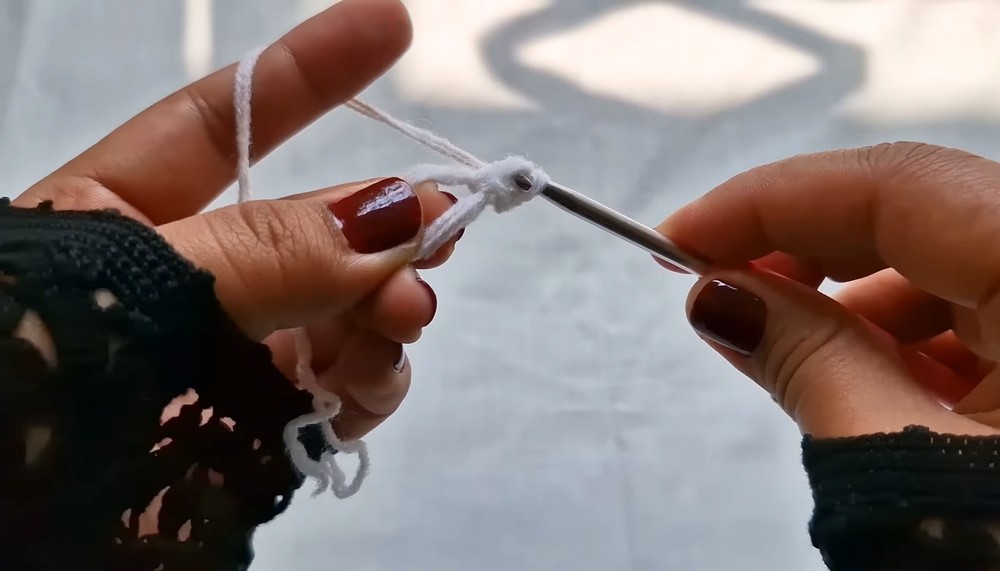
- Double Magic Ring:
- Yarn over twice.
- Chain two and make 12 double crochets.
- Pull your working yarn to close your magic ring. To do this, pull the tail, and then pull the remaining yarn to completely close the circle.
- Make a slip stitch right above the first double crochet.
- Round Two:
- Chain two.
- Make a double crochet increase into the same stitch.
- Chain one and make a double crochet increase into the next stitch followed by a chain.
- Repeat this pattern in every stitch around.
- Chain one and make a slip stitch into the first double crochet.
- Round Three:
- Chain two.
- Make one double crochet into the same stitch.
- In the next stitch, make an increasing stitch followed by a chain.
- Continue the pattern (double crochet, double crochet increase, chain) until the end of the row.
- Chain one and make a slip stitch.
- Round Four and Beyond:
- Chain two.
- Make a double crochet into the same stitch and another double crochet into the next stitch, followed by an increasing stitch and a chain.
- Repeat this pattern, always making an increasing stitch into the last stitch followed by a chain.
- Continue until you reach your desired size. For this pattern, a total of 33 rows were made.
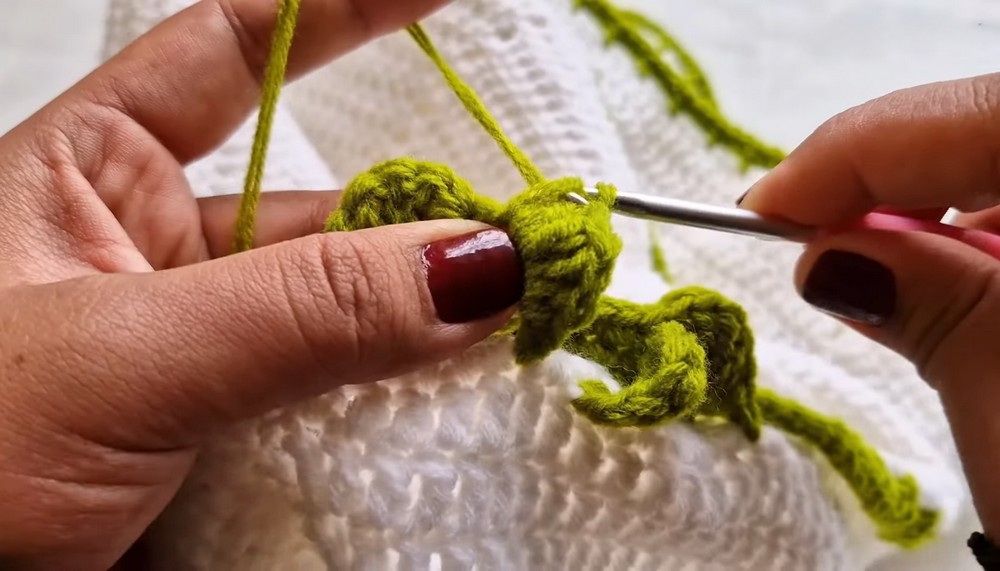
Part 2: Adding the Leaves
- Row One:
- Make a slip knot and insert it into any chain space.
- Chain one and make a single crochet into the same stitch.
- Chain two, skip two stitches, and then make a single crochet into the third stitch.
- Repeat this pattern until the end of the row.
- Make a slip stitch into the first single crochet.
- Row Two:
- Chain one and make a single crochet into the same stitch.
- Make two single crochets into each chain space.
- Continue making single crochets by repeating this pattern until the end of the row.
- Row Three:
- Chain three and work below the chain three.
- Count three stitches, insert your hook between the third and the fourth stitches, and make a single crochet.
- Turn your work and make: single crochet, half double crochet, three double crochets, half double crochet, single crochet.
- Chain three, count five stitches, and repeat the pattern.
- Make eight single crochets, chain three, and continue until the end of the row.
- Finish by inserting your hook into the first single crochet and making a slip stitch.
- Chain two, cut the yarn, and the leaf section is complete.
Part 3: Crocheting the Roses
- First Rose:
- Insert your hook into the top of the leaf and the back of the single crochet.
- Make a slip knot and chain 16.
- Skip two stitches, then make three double crochet increases into the next stitch.
- Continue making three double crochet increases in every stitch until the end of the row.
- Chain three and make a slip stitch into the same stitch.
- Roll up the rose and secure it by making a slip stitch.
- Chain two, cut the yarn, and weave in the ends with a darning needle.
- Repeat the Process:
- Repeat the rose-making process until you have enough roses to cover your blanket.
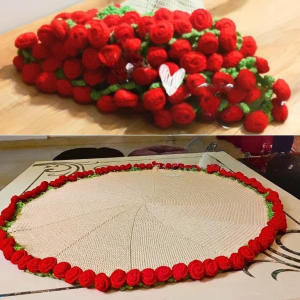
Conclusion
Congratulations! You've successfully made a beautiful Crochet Rose Blanket. This handmade creation is perfect for adding a touch of elegance to your home or gifting to someone special.

Leave a Reply