

Open up your wardrobe to breathable crochet mesh shorts offering comfort, versatility, and style for summer wear or swimsuit cover-ups.
Last summer, I found myself searching for something lightweight and fun to wear on those unbearably hot days. That’s when I came across mesh crochet shorts—they quickly became a staple in my wardrobe. The open, airy texture keeps things cool, and there’s something satisfying about seeing the mesh pattern come together as you work row by row.
Choosing the waistband style was a highlight for me. I opted for elastic because I like a quick, snug fit, but a drawstring would’ve worked just as well. The shorts are surprisingly versatile—I’ve paired them with both tank tops and swimsuits and always appreciate how they fit after a long day in the sun.
Free Crochet Mesh Shorts Pattern for Girls
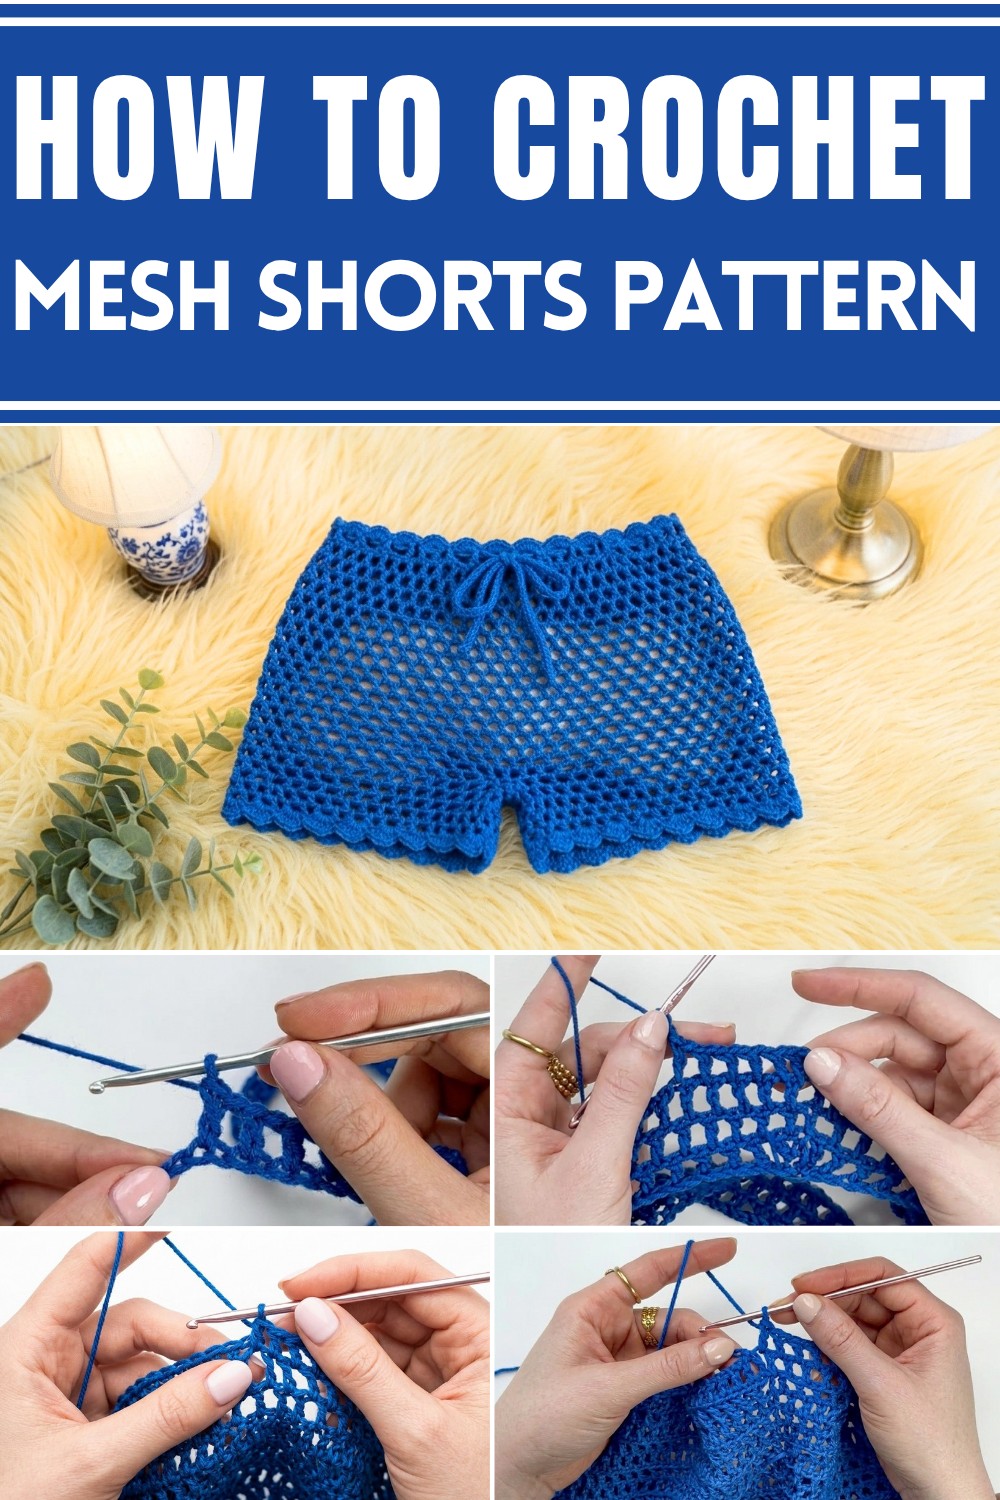
Trying out different yarns also changed the final look quite a bit. Pastel cotton gave a softer vibe, while a bright synthetic yarn popped and added a bit of edge to my wardrobe. Every pair I finished felt a little more personalized.
Honestly, making these mesh shorts felt less intimidating than I expected. The instructions I followed broke things down into manageable steps, and I ended up with shorts that felt made just for me. They’ve been my go-to for lazy afternoons, beach trips, and even as a unique handmade gift for friends.
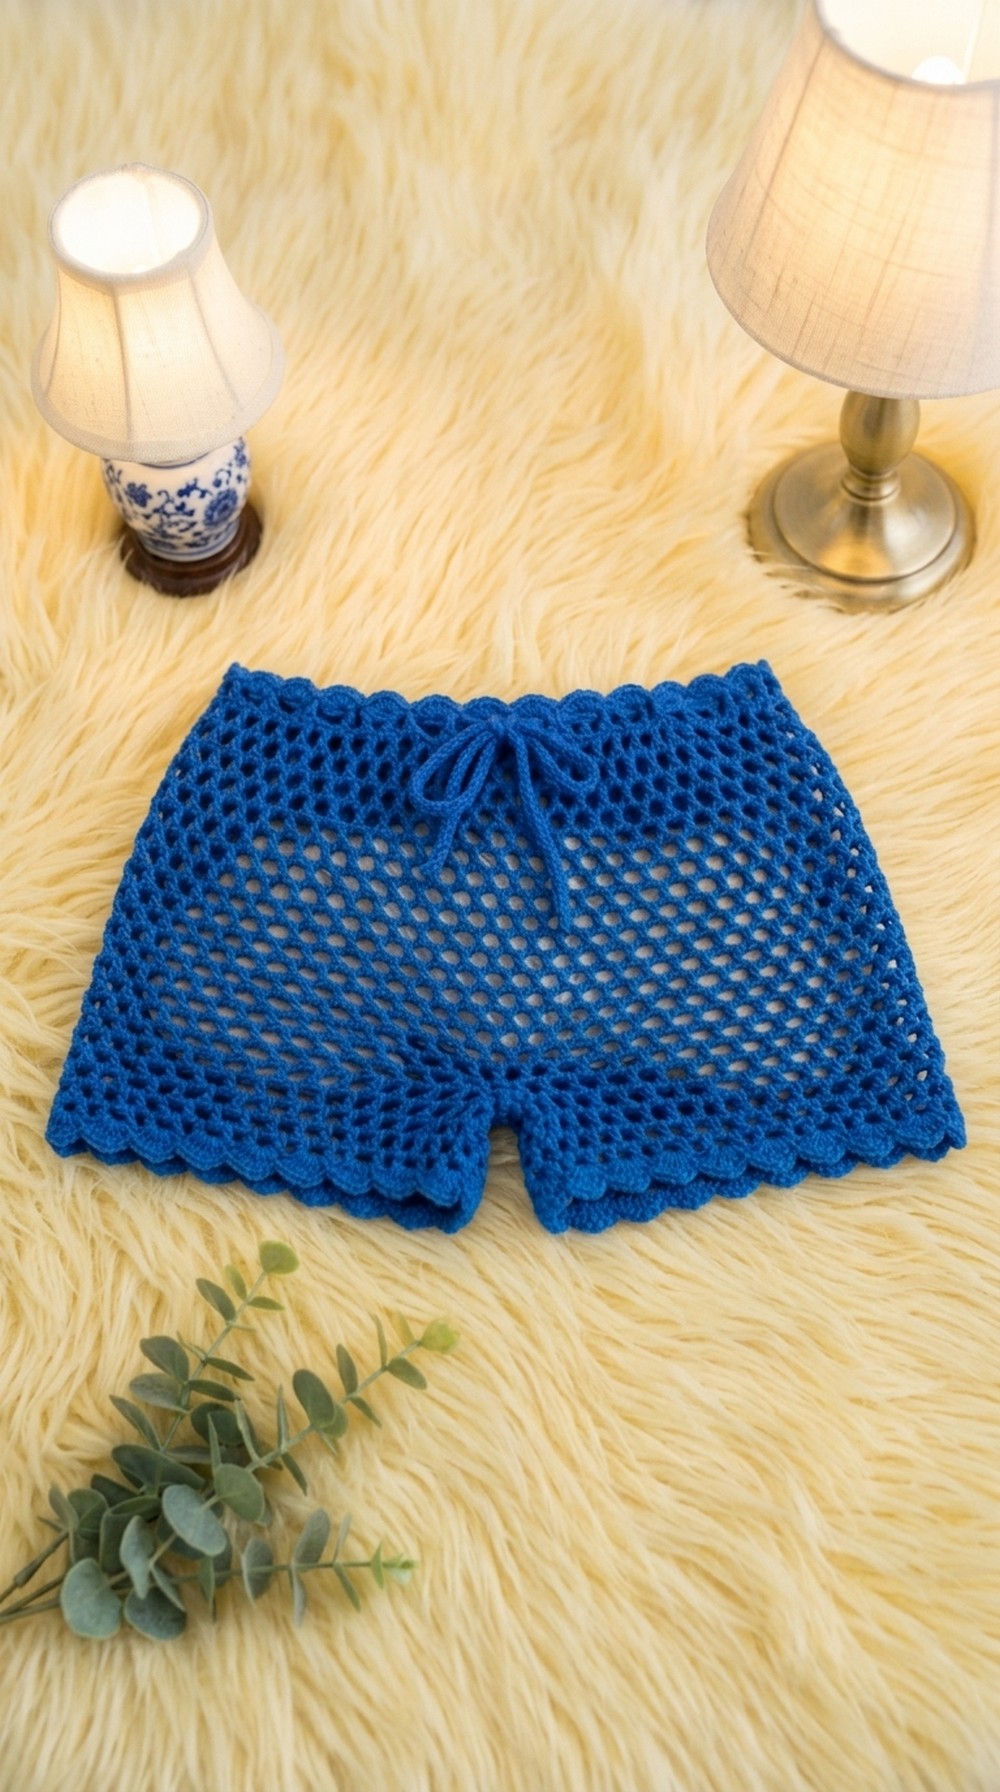
Easy Mesh Crochet Shorts Pattern
Pattern Notes
This pattern creates stylish, breezy mesh shorts perfect for summer or layering. It is written for a size small/medium, with instructions for adjusting to larger sizes. Pattern uses simple stitches, worked in repetition, and is very beginner-friendly. Please read through all details before beginning.
Skill Level
Beginner to Advanced Beginner: Requires knowledge of the chain (ch), double crochet (dc), slip stitch (sl st), and single crochet (sc).
Finished Size
Pattern fits a hip measurement around 32 inches / 81 cm for Small/Medium. For Medium/Large, increase the starting chain as instructed. Both length and width are easily adjusted.
Materials
- 3 balls (50g each; 150g total) DK weight cotton yarn (sample uses Bluef)
- 3.5 mm crochet hook
- Tape measure
- Scissors
- Yarn needle for weaving in ends
- Optional: stitch marker
Measurements / Sizing
- Waistband circumference: adjustable to preference (sample is for 32" / 81cm hip)
- Body of shorts from waistband to crotch: 9" / 23cm (adjustable in rows)
- Each inseam: length is customizable, sample fits "bum short" (about 5 rounds/rows per leg)
- Crotch foundation chain: 18 ch (or 20 ch for large)
- Schematic: Shorts are constructed first as a mesh tube, then divided for each leg with an added chain for the crotch.
Gauge
Not crucial for this project. For reference, 10 rows of mesh squares = 4” / 10 cm. Check your first few rows to ensure anticipated size.
Stitch Abbreviations
ch = chain
dc = double crochet
sc = single crochet
sl st = slip stitch
sp = space
rep = repeat
st(s) = stitch(es)
Special Stitches
Mesh: Double crochet (dc), chain 1, skip a stitch, double crochet in next stitch.
The Pattern!
1. Waistband Foundation
- Make a slip knot.
- Chain 140 for S/M, or 150/160 for M/L, adjusting for hip measurement.
- Add 2 more chains.
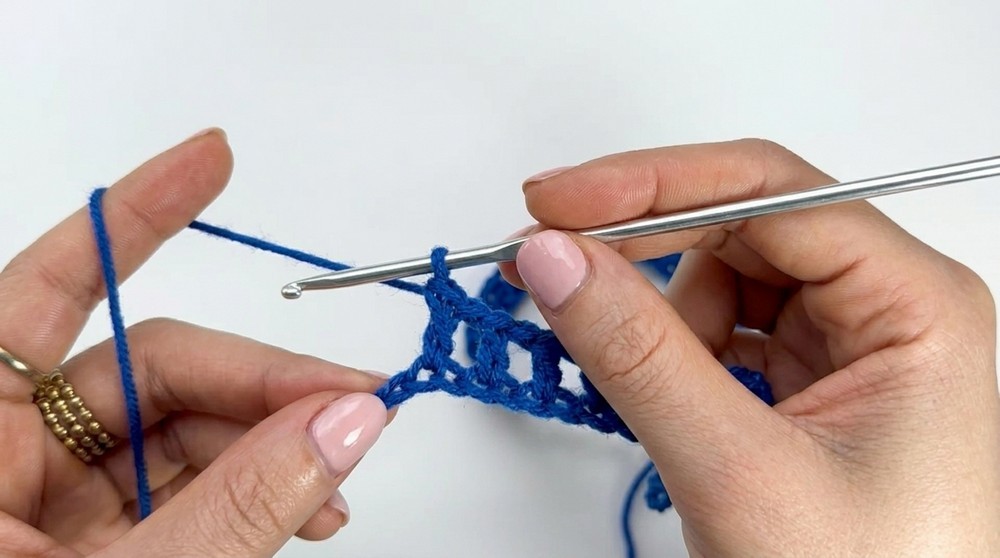
For those who need plain instructions: Start your project by making a slip knot and chaining as many as needed to go comfortably around your hips. Add two more chains at the end for height.
2. Set Up First Mesh Row (Foundation Round)
- Skip 3 chains (counts as first double crochet and chain 1).
- Double crochet in the 4th chain from your hook.
- Chain 1, skip a chain, double crochet in next chain.
- Repeat previous step across the foundation chain.
- Finish with a double crochet in the last chain.
- Join in the round: Carefully check your strip isn’t twisted, then slip stitch into the top chain of your starting stitch to create a circle.
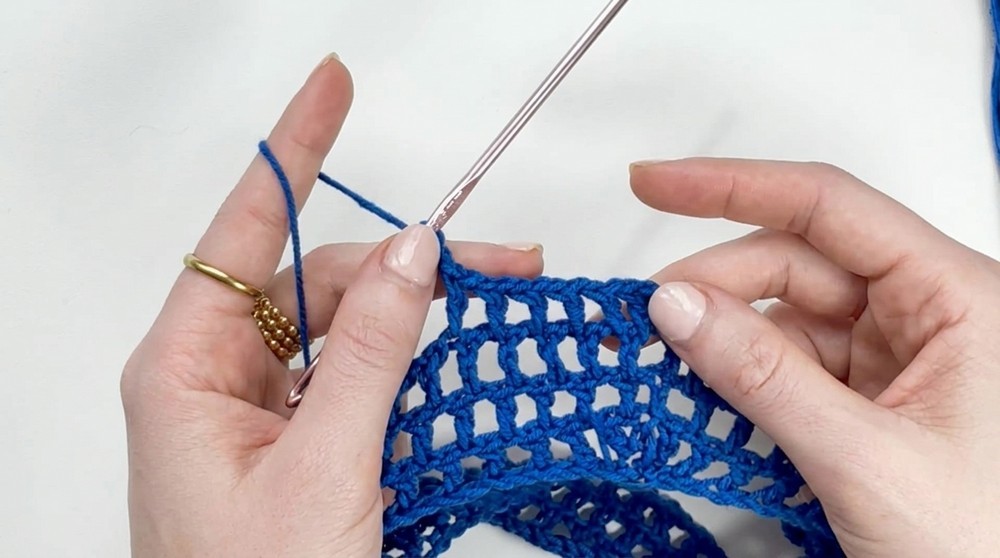
For plain instruction readers: Create a mesh row by skipping a chain, chaining one, and making a double crochet in the next chain. Keep going to the end, double crochet in the last chain, and join ends to form a ring. Don’t let your chain twist!
3. Work the Mesh Body (Shorts Tube)
- Chain 3 or 4 (counts as dc plus chain-1 space).
- Turn your work.
- Double crochet into first chain-1 space, chain 1.
- Double crochet into next chain-1 space, chain 1.
- Repeat step 13 all the way around the ring.
- At the end, chain 1 and slip stitch to join at top of starting chain.
- Turn your work before beginning the next round for a straight seam.
- Repeat steps 10–16 for 18 rounds (for S/M). Do 19–20 rounds for larger sizes.
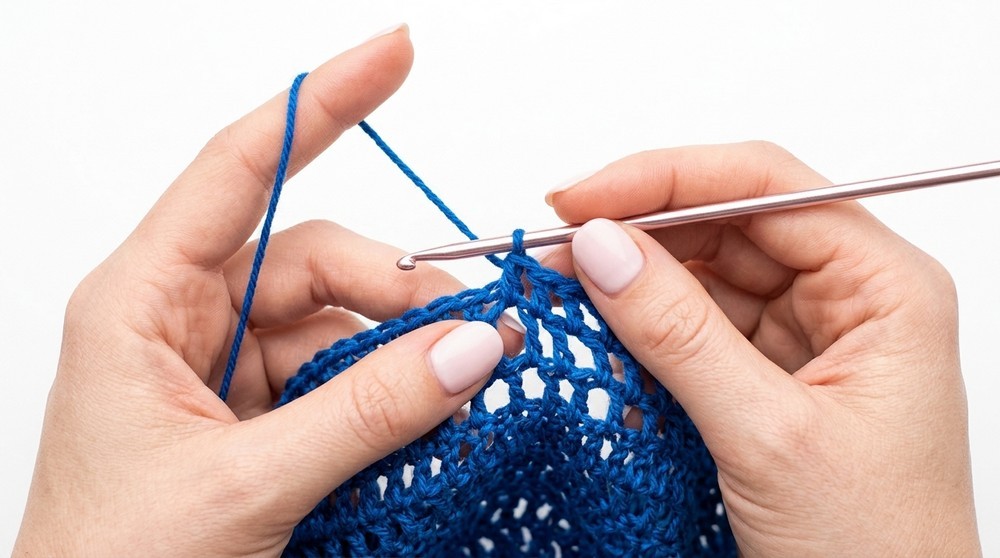
In plain language: Each row, you are making a double crochet in each chain-1 space from the previous round, always chaining one in between. Finish each round by joining with a slip stitch, then turn your work for the next row. Continue until your shorts are the height you want from waist to crotch.
4. Make the Crotch Foundation
- From your joining point, chain 18 for S/M (20 for L).
- Fold your mesh tube in half. Find the opposite side to your hook and slip stitch your chain to that side – dividing your tube into two leg openings.
Plainly: You’re now going to create a place to split the tube into two legs by adding a chain and connecting it to the other side. This forms your crotch seam.
5. First Leg
- Attach yarn at the first stitch of the crotch chain.
- Chain 3 or 4, turn your work.
- Double crochet in first chain-1 space, chain 1.
- Repeat double crochet, chain 1 in each chain-1 space around the leg (including across crotch chain, and mesh body).
- At the end of round, chain 1, slip stitch to join.
- Repeat steps 21–24 for 5 rounds (for "bum shorts"). Add more rounds if you want longer shorts or pants.
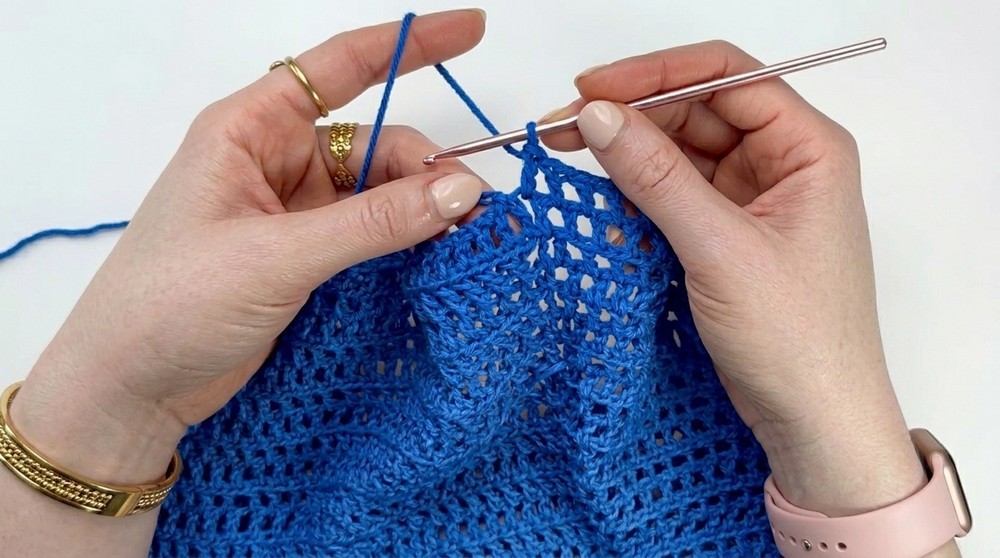
For the reader: Now you’re working one leg at a time. Begin by attaching yarn to your split crotch, then crochet in pattern around. Do five rows for short shorts, or keep going for longer length.
6. Ruffle/Bodice Edging (Optional)
- Attach yarn in any chain-1 space at hem.
- Skip one chain-1 space, single crochet in next chain-1 space.
- In the same space: chain 4, then work 4 double crochets.
- Skip next chain-1 space, single crochet, chain 4, 4 double crochets in the following chain-1 space.
- Repeat around the hem.
- Slip stitch into first single crochet, fasten off.
After your leg is finished, if you want a pretty ruffled effect, use this step to add a frill at the hem, skipping a mesh space each time for an even shell border.
7. Second Leg
- Attach yarn to the foundation chain on the opposite crotch split.
- Repeat First Leg instructions (steps 21–25) for same length and shape (5 rounds or as desired).
- (Optional) Add ruffle/bodice edging as for the first leg.
Repeat the steps above for the other leg, ensuring both match. Add the decorative edging if you used it on the first leg for neatness.
8. Waist Cord / Drawstring
- Chain a long, sturdy cord (about 70–80 inches/180–200 cm, or as desired).
- Weave the cord in and out of the waistband mesh around the waist to form a drawstring.
- Tie securely and adjust for fit.
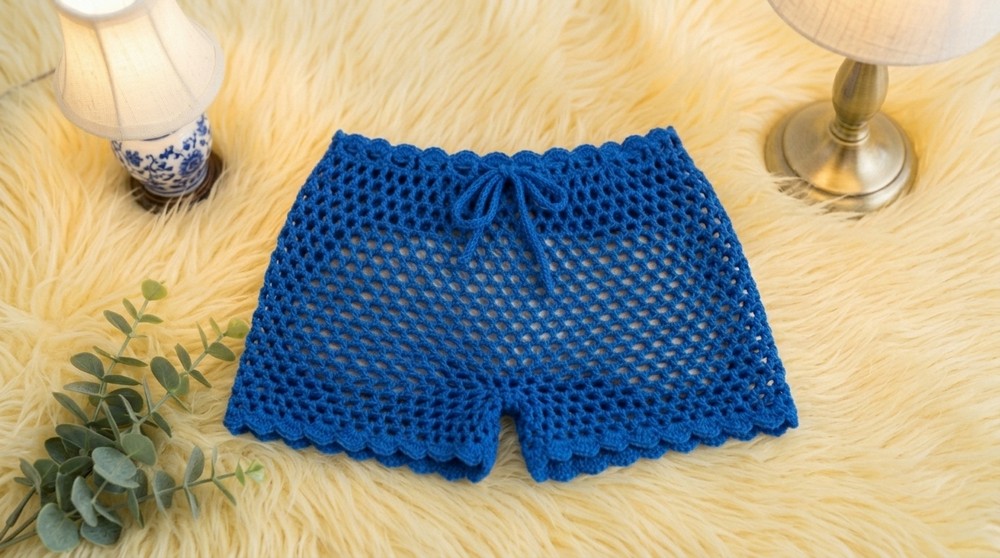
To adjust the fit, make a simple chain long enough to go around the waist with extra for tying. Use this as a belt by threading it through the mesh spaces at the waistband.
Assembly & Finishing
- Weave in all yarn ends with your needle.
- Block shorts gently if needed to even the mesh and smooth edges.
- Try on and adjust the drawstring for comfort and best fit.
Weaving in the ends and gently shaping your crochet will make your shorts look and feel their best. Use the drawstring to customize your fit perfectly.
Project Summary for Plain Readers
You will begin with a long chain to fit your hips, then form a circle. Work mesh rows straight to your desired length, then split for the legs with a chain through the crotch. Work each leg in the same mesh pattern, and add an optional ruffle edging if you like. Crochet a simple drawstring for the waistband to give you a flexible, comfy fit. Finishing is just weaving in your ends and gentle blocking. In a few hours, you will have your new handmade mesh shorts ready for summer.


Leave a Reply