

Consider crafting a crochet bandana to elevate your wardrobe with a unique, handmade accessory that blends style, functionality, and personal creativity.
Not all accessories manage to balance practicality and personal style, but crochet bandanas are a refreshing exception. These versatile items, made using free patterns, are both functional and fashionable, proving that handmade creations can be powerful additions to everyday wear. A crochet bandana isn't just an accessory it serves various purposes, from keeping hair in place during outdoor activities to providing lightweight warmth on breezy days.
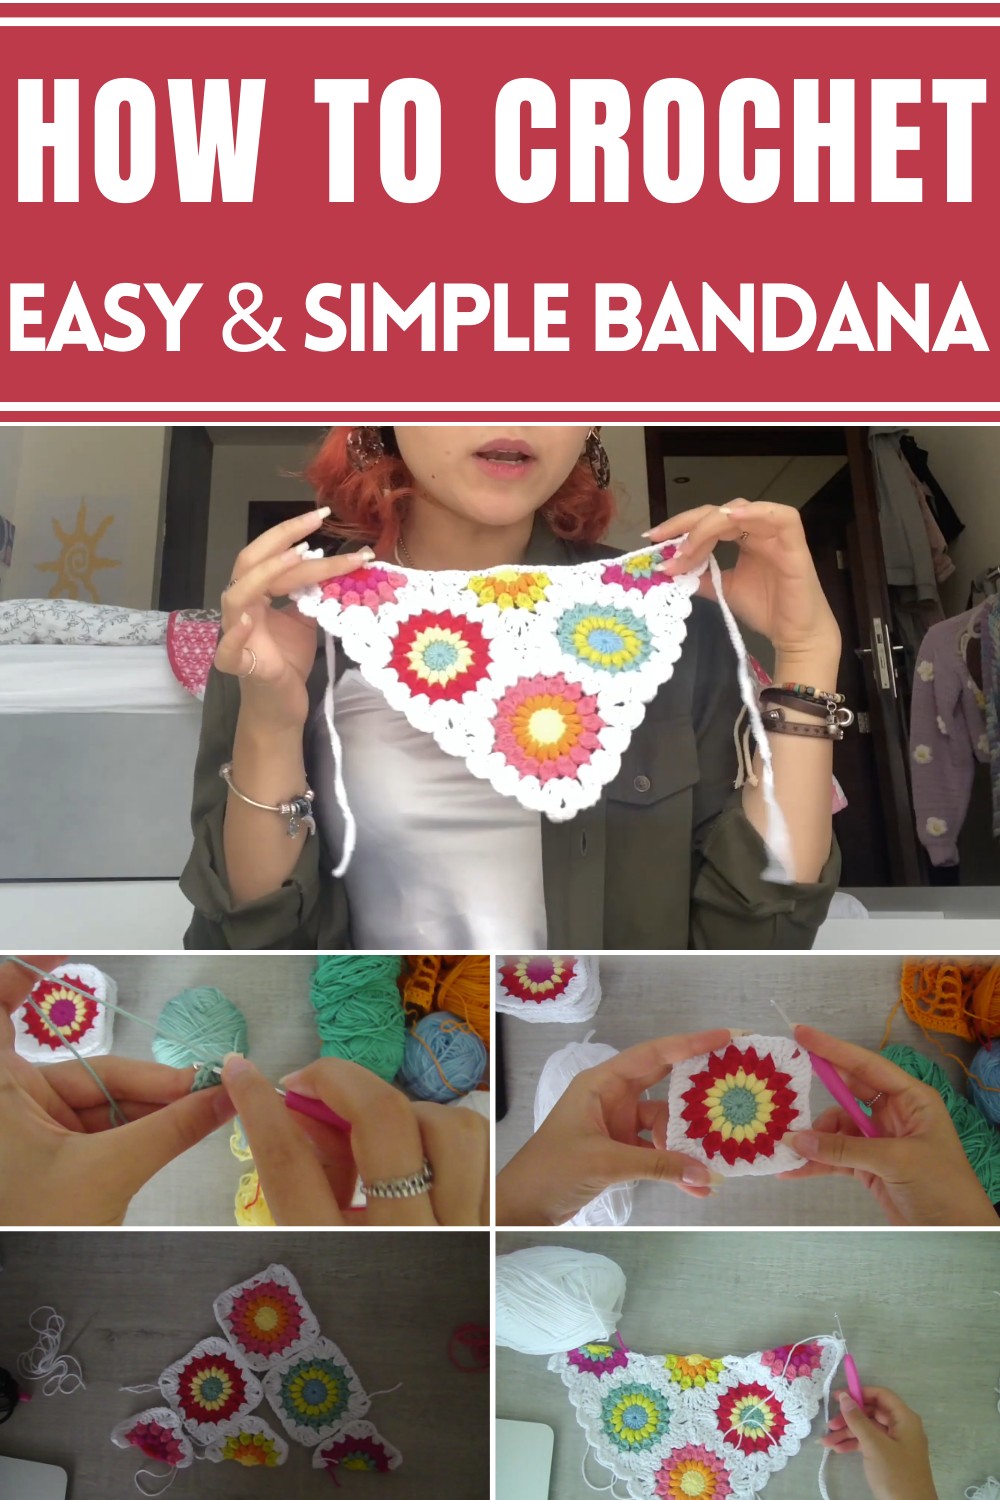
how to - crochet bandanas in all sizes tutorial
Its adaptable design lets you wear it as a headscarf, necktie, or even a bag accent, offering plenty of options to suit different occasions and outfits. The complimentary patterns open the door to endless customization, allowing everyone to select colors and stitches that reflect their personality and taste.
The handmade nature of a crochet bandana brings durability, ensuring it remains a dependable item for long-term use. Whether you’re after a quick project to sharpen your skills or a thoughtful gift for a loved one, the crochet bandana provides a fulfilling way to blend purpose with creativity. It offers more than fashion it embodies the essence of usability, affordability, and timeless charm in one small yet impactful piece.
Introduction
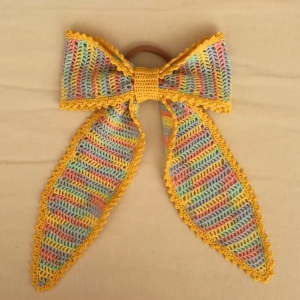
The video tutorial demonstrates how to crochet bandanas in three sizes: small, medium, and large. The central design is based on colorful Starburst granny squares, making the pattern perfect for using scrap yarn. The bandanas incorporate a creative approach to weaving in yarn ends efficiently, minimizing the tedious task of weaving in multiple colors. Additionally, details on creating ruffles and attaching ties are included to complete the project. This guide summarizes the steps and materials used.
Materials Needed
- Hook Size: 3mm crochet hook.
- You can use a larger hook for thicker yarn, but it may result in larger, less delicate squares.
- Yarn: Elise Cotton Gold (or similar).
- Soft yarn is recommended for comfort and to ensure the bandana drapes nicely.
- Scissors: To cut yarn ends.
- Needle: For sewing squares together.

Steps for Crocheting Starburst Granny Squares
1. Create the Magic Circle
- Start with your first color (e.g., green) and create a magic circle.
- Chain 1, then chain an additional stitch (total of 2 chains).
- Double Crochet 16 times into the circle.
- Pull the circle closed and slip stitch into the top of the first double crochet.
- After slip-stitching, chain 1, cut the yarn, and pull through tightly.

2. Add Second Color (Yellow)
- Slip stitch the second color into any of the stitches from the first round.
- Chain 2 to begin the round.
- Create a puff stitch:
- Yarn over, pull through the stitch, repeat three times to create 7 loops on the hook.
- Pull through all loops and chain 1.
- Repeat puff stitches in each stitch around (16 total puff stitches).
- At the end of the round, slip stitch into the top of the puff stitch, chain 1, cut off the yarn, and pull tight.
3. Add Third Color (Red)
- Attach the third color with a slip stitch into any chain-1 space from the previous round.
- Chain 2 and work a cluster stitch:
- Yarn over, insert into the space, pull through two loops, repeat until you have 5 loops on the hook.
- Pull through all loops and chain 2.
- Continue creating clusters around the round (16 total).
- Slip stitch into the top of the first cluster, chain 1, cut the yarn, and pull through.
4. Square Off the Granny Square
- Use your base color (e.g., white) and slip stitch into any chain-2 space.
- Create the edge pattern:
- Triple Crochet (TC) in the space three times, chain 2, and Triple Crochet three more times to form the corner.
- Make 3 Double Crochets (DC) in the next space.
- Make 3 Half Double Crochets (HDC) in the next space.
- Return to 3 DC, and repeat the corner pattern.
- Continue this pattern around the square to create edges.
- Slip stitch to finish, chain 1, and cut off the yarn.
Steps for Crocheting Smaller Squares
1. First Round
- Start with a magic circle and Double Crochet 6 times into the ring.
- Pull the circle closed, chain 1, and cut the yarn.
2. Add Second Color
- Slip stitch the second color into the first stitch of the previous round.
- Chain 2 and make a puff stitch into each stitch (6 total puff stitches).
- Cut off the yarn and pull through.
3. Add Third Color
- Slip stitch the third color into the first puff stitch.
- Chain 2 and make cluster stitches in each puff stitch space (6 total).
- At the last stitch, add one additional DC to even out the edge.
4. Square Off the Smaller Square
- Use the base color to slip stitch into the first stitch of the previous round.
- Chain 3 and work Triple Crochets and Double Crochets along the edge, ending with corners as done for the larger squares.
- Slip stitch to finish and trim off excess yarn.

Assembling the Bandana
1. Choose Size Configuration
- Small Size: 1 big square + 2 smaller squares.
- Medium Size: 2 large squares + 2 small squares.
- Large Size: 3 large squares + 4 small squares.
2. Sew Squares Together
- Use a needle and thread the base color yarn.
- Line up squares and sew into place, keeping yarn ends inside to weave them through the stitches.
- Alternatively, you can use slip stitches for a visible seam.

Adding Ruffles
- Attach yarn at the edge of the bandana.
- Create ruffles:
- 5 DC into one stitch, skip the next stitch, slip stitch into the second stitch, skip one stitch, and repeat.
- Continue ruffles along the edges.
Adding Strings
- Slip stitch into the edge just after the last ruffle.
- Chain desired length for the tie string (e.g., 70 chains).
- Slip stitch back into the second chain from the hook and work slip stitches along the entire string.
- Attach the second string using the same method at the opposite edge.

Conclusion
Creating these handmade Starburst granny square bandanas is a fun and creative project ideal for using scrap yarn. The intricate pattern, combined with strategic color choices, results in a unique accessory that can be customized for any size or design preference.
Leave a Reply