

Spread holiday cheer with Free Crochet Santa Claus Pattern, featuring jolly smile, fluffy beard, festive spirit, and charming seasonal decor.
There’s something truly magical about creating festive decor that instantly lifts your holiday spirit, and a handmade Santa Claus is just the perfect way to bring that cheer into your home. The Free Crochet Santa Claus Pattern is an inviting project that allows you to crochet a charming, classic figure of jolly old Saint Nick. Many crocheters find joy in making this piece because it not only adds a cozy, whimsical touch to holiday decorations but also offers a welcome opportunity to slow down and embrace the warmth of the season through creativity.
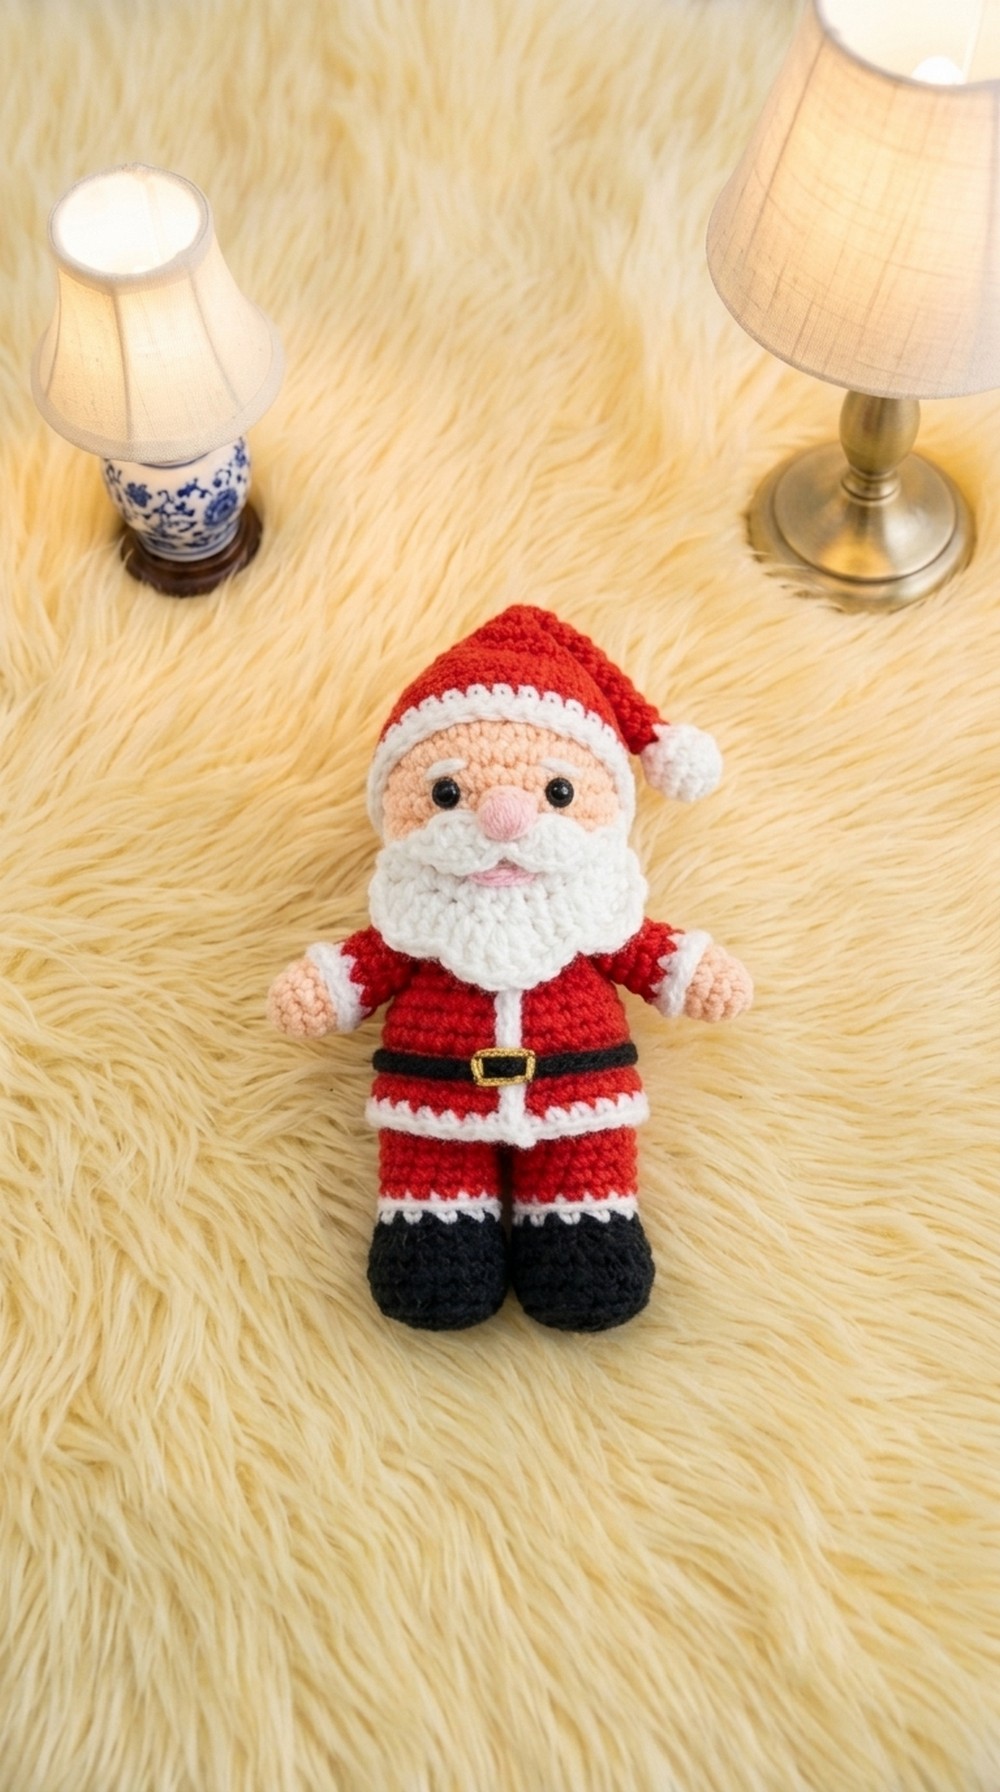
This Santa Claus boasts a richly detailed design, featuring his signature red suit trimmed with fluffy white accents that mimic the texture of his iconic fur. His rounded belly, rosy cheeks, and twinkling embroidered eyes give him a friendly, approachable look. The tight stitches create a sturdy yet soft texture, making this Santa perfect as a tabletop decoration, a stocking stuffer, or even a thoughtful handmade gift. The shape is well-balanced, with a wide base for stability and enough dimension to be admired from every angle.
Handmade Free Crochet Santa Claus Pattern for Festive Fun
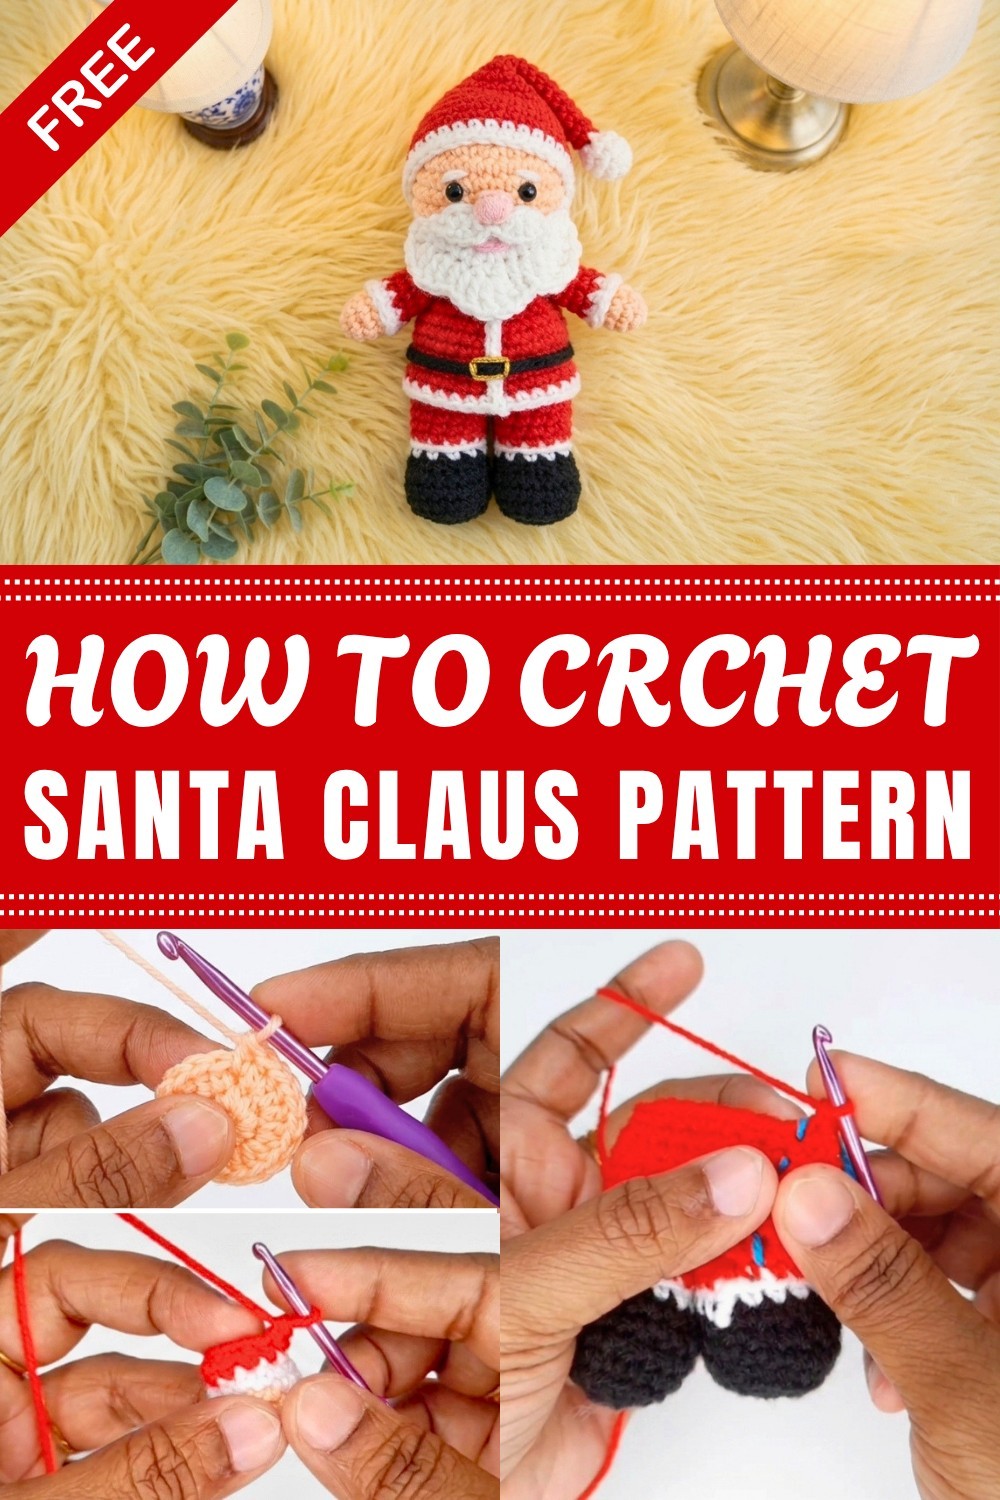
Customization is part of the fun—you can choose traditional colors or play with shades like burgundy or cream for a modern twist. Adding small details like a tiny belt buckle or a pom-pom on his hat lets you personalize your Santa to suit your style. This pattern welcomes intermediate crocheters who are comfortable with shaping and detailing, but confident beginners willing to try new techniques will also find it manageable.
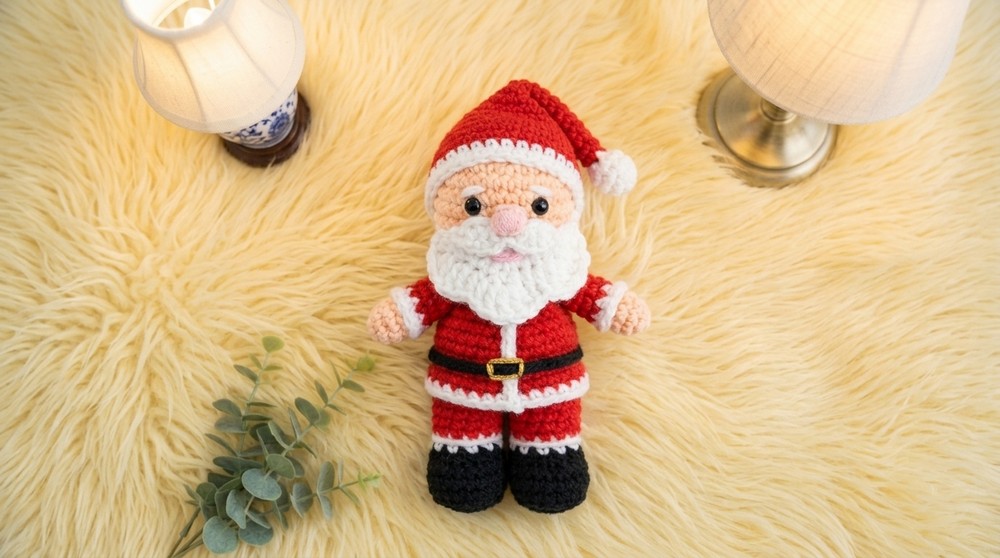
As you bring this Free Crochet Santa Claus Pattern to life, you’ll get hands-on practice with working in the round, color changes, and attaching pieces seamlessly. It’s a perfect way to build your skills while creating a festive treasure that captures the joy of the holidays. Ready to spread some crochet cheer? This Santa is waiting to be crocheted and cherished!
Santa Claus Amigurumi Crochet Pattern
Certainly! Below is a detailed, step-by-step crochet pattern for a Santa Claus amigurumi keychain, based on the video you provided. The pattern follows a beginner to intermediate skill level, uses US crochet terms and includes all details necessary to create your own festive Santa figure.
Skill Level
Beginner to Intermediate
This pattern uses basic stitches such as single crochet, increases, decreases, and magic rings. Some assembly and color changes are required.
Materials
- Worsted weight yarn in red, white, pink/skin tone, black, and yellow
- Crochet hook size 4 mm (or size suitable for your yarn)
- Polyester fiberfill (for stuffing)
- Yarn needle
- Safety eyes (approx. 4 mm) or embroidery thread for eyes
- Stitch marker
Stitch Abbreviations (US Terms)
- ch: chain
- sc: single crochet
- inc: increase (2 sc in one stitch)
- tog: decrease (single crochet two stitches together)
- sl st: slip stitch
- dc: double crochet
- BLO: back loop only
- MR: magic ring
Notes
- Work in continuous rounds unless otherwise indicated.
- Use stitch markers to mark the beginning of rounds for easy counting.
- Use tight tension so stuffing does not show through.
- Attach safety eyes or embroider eyes before closing the head for best placement.
- Stuff parts firmly unless otherwise noted.
Optional Measurements
Approximate finished size: 10–12 cm tall, perfect for hanging as a keychain or ornament.
Pattern Instructions
Head
- Magic ring: 6 sc.
- Rnd 2: 2 sc in each st (12 sts).
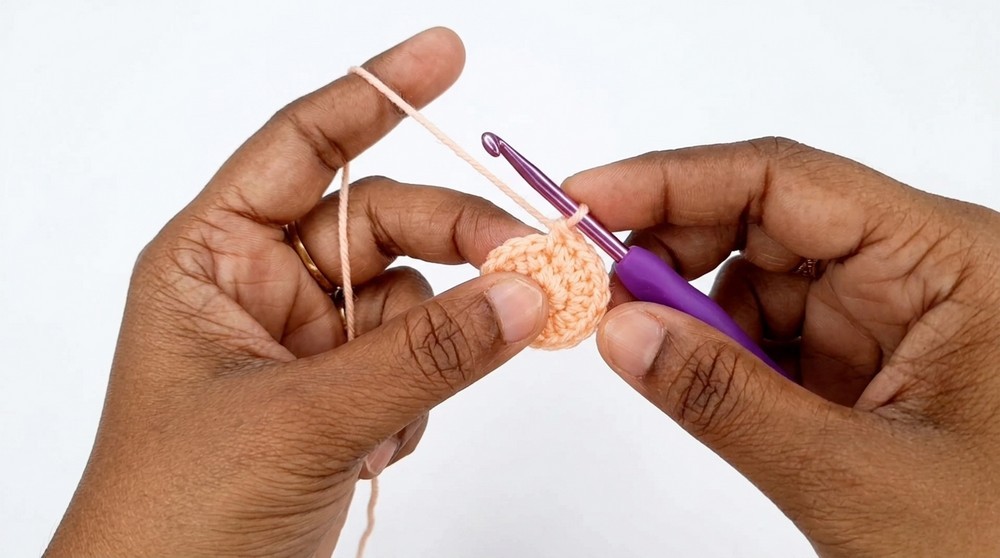
Begin your Santa Claus amigurumi by carefully crafting the head using a magic ring and strategic increases. This foundation shapes the character's adorable face, setting the tone for detailed features. Paying attention to tight stitches ensures a smooth surface ready for expressive eyes and facial accents.
If you'd like, I can help incorporate these into the full pattern text.
- Rnd 3: (1 sc, inc) repeat around (18 sts).
- Rnd 4: (2 sc, inc) repeat around (24 sts).
- Rnds 5-9: 1 sc in each st (24 sts).
- Rnd 10: (1 sc, tog) repeat around (16 sts).
- Rnd 11: 8 tog (8 sts).
Stuff firmly before closing. Fasten off with long tail for sewing.
Arms (Make 2)
- Magic ring: 6 sc.
- Rnd 2: (1 inc, 2 sc) repeat twice (8 sts).
- Rnd 3: 1 sc each st (8 sts).
- Rnd 4 (White): 1 sc in each st (8 sts).
- Rnd 5 (Red): 8 sc in BLO.
- Rnds 6-9: 1 sc in each st (8 sts).
Stuff lightly and sew closed.
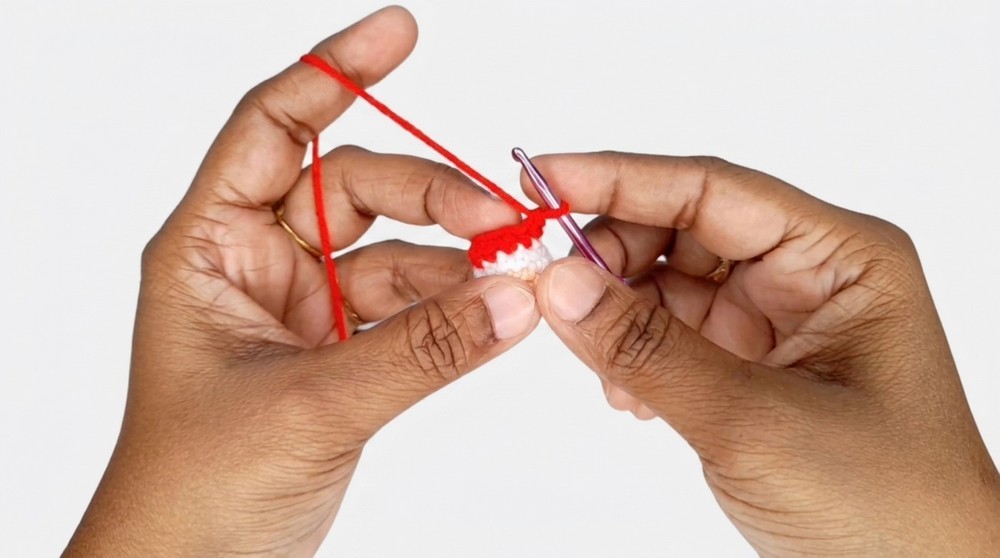
Legs (Make 2)
- Magic ring: 8 sc.
- Rnd 2: 1 inc, 2 sc, 3 inc, 2 sc, 1 inc (16 sts).
- Rnd 3: 16 sc in BLO.
- Rnds 4-5: 16 sc each st.
- Rnd 6: 4 sc, 4 tog, 4 sc (12 sts).
- Rnd 7 (White): 12 sc.
- Rnd 8 (Red): 12 sc in BLO.
- Rnds 9-10: 12 sc each st.
Body (Joining Legs)
- Join legs by crocheting into both, continue for 12 sc around each leg (30 sts total).
- Rnd 12: (1 inc, 3 sc) repeat around (30 sts).
- Rnd 13: 1 sc each st (30 sts).
- Rnd 14: 30 sc in BLO.
- Rnd 15: (3 sc, tog) repeat around (24 sts).
- Rnd 16: 24 sc.
- Rnd 17: (2 sc, tog) repeat around (18 sts).
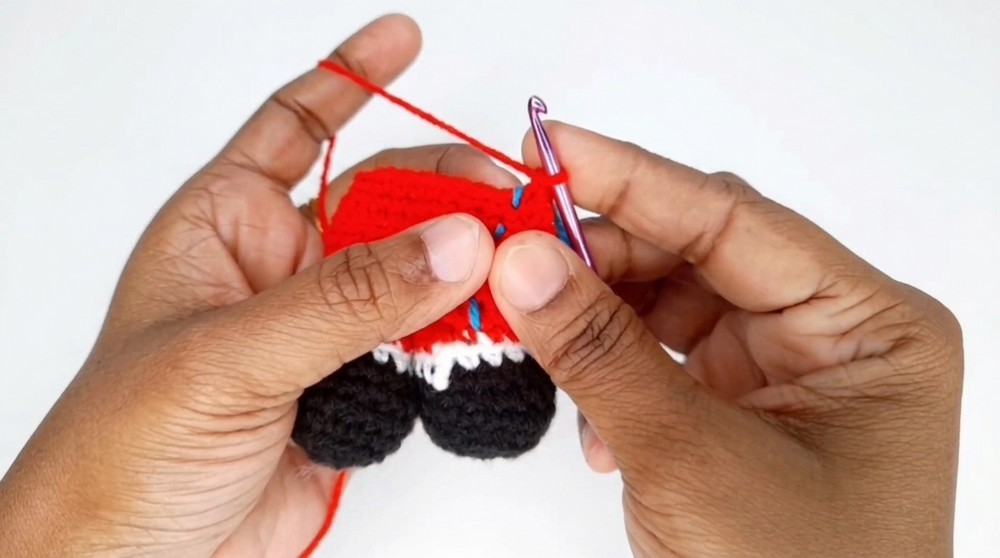
The body and limbs form the heart of your Santa figure, combining color changes and shaping to bring the classic suit to life. Joining the legs seamlessly into the body creates a sturdy base.
- Rnd 18: 18 sc.
- Rnd 19: (1 sc, tog) repeat around (12 sts).
- Rnd 20: 12 sc.
Stuff as you go. Fasten off.
Thoughtful stuffing at this stage maintains stability while enhancing the finished piece’s charm and character.
Santa Suit Trim & Details
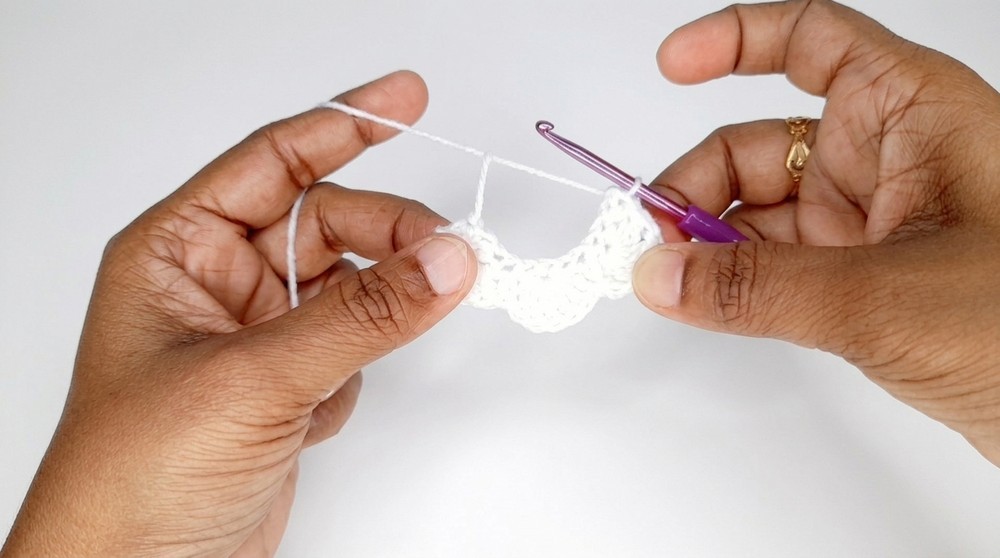
- Skirt: Work in the front loops left from Round 14. 1 row sc red, 1 row sc white (30 sts each).
- Hat: Increase pattern to 24 sts, finish with a white row. Add a puff stitch pom-pom on top.
- Beard: Chain 12, work 3 sc, inc, repeat for texture with dc clusters.
Assembly & Finishing
- Sew head onto body.
- Attach arms to sides of body.
- Sew or glue beard, mustache, and nose on face.
- Add black chain belt with yellow stitch buckle.
- Embroider eyebrows above eyes for character.
Final assembly and embellishments transform your work into a festive icon. Attaching the beard, hat, and facial details—like eyebrows and belt buckle—adds personality and holiday spirit. Securely sewing all parts and weaving ends completes a durable, polished amigurumi perfect for gifting or seasonal décor.
Final Touches
- Weave in all ends.
- Adjust stuffing if necessary to keep shape.
- Attach a keychain loop or hanging cord if desired.
Additional Tips
- Keeping stitches tight is essential for a neat amigurumi.
- When changing yarn color (e.g., arms or skirt), do so at the end of a round for a clean transition.
- Use a yarn needle to sew parts securely to ensure durability.
- If you don’t want to use safety eyes, embroider eyes with black yarn or floss for a safer toy.
Summary in Bullets
- Beginner to Intermediate level crochet Santa Claus amigurumi.
- Uses 5 colors: Red, White, Pink/Skin, Black, Yellow.
- Primary stitches: single crochet, increases, decreases, puff stitch pom-pom.
- Includes detailed head, arms, legs, joined body, skirt trim, hat, and textured beard.
- Stuff parts firmly; maintain tight tension for clean look.
- Assemble with sewing; add facial details last (eyes, eyebrows, nose, beard).
- Finished size approx. 10–12 cm tall, ideal as a festive keychain or ornament.
- Optional: attach keyring at top of hat for hanging.



Leave a Reply