

Bring festive cheer to your creations with this Free Crochet Santa Claus Chibi Pattern, perfect for making a cute and tiny holiday keepsake or gift.
Adding festive cheer to your crochet collection is easy with the Free Crochet Santa Claus Chibi pattern. This charming amigurumi project captures the beloved holiday figure in a cute, chibi-style form—characterized by its oversized head and small body—that immediately brings a smile. The texture is soft and plush, created through tight, small stitches that give Santa a cuddly feel while maintaining his iconic outfit details like the fluffy beard and classic red suit.
Free Crochet Santa Claus Chibi Pattern for Holiday Fun
This pattern is great for crochet enthusiasts of all levels who want a quick holiday-themed make. You can stick to the suggested size, which is perfect for ornaments or shelf décor, or personalize it by using thicker yarn and bigger hooks to make a larger version. Changing colors and adding accessories like a tiny sack or glasses makes it easy to customize and add your own spin.

Constructed mainly with single crochet stitches worked in continuous rounds, this chibi Santa is built piece by piece before being carefully assembled. A useful tip is to use a soft acrylic or cotton blend yarn; these fibers hold shape well and make the texture smooth and consistent, ideal for amigurumi detail work.
This little Santa makes a delightful gift, a festive decoration, or a thoughtful handmade touch to Christmas stockings. I love seeing how makers put their personal flair into it—maybe by experimenting with different color palettes or adding embroidered facial expressions.
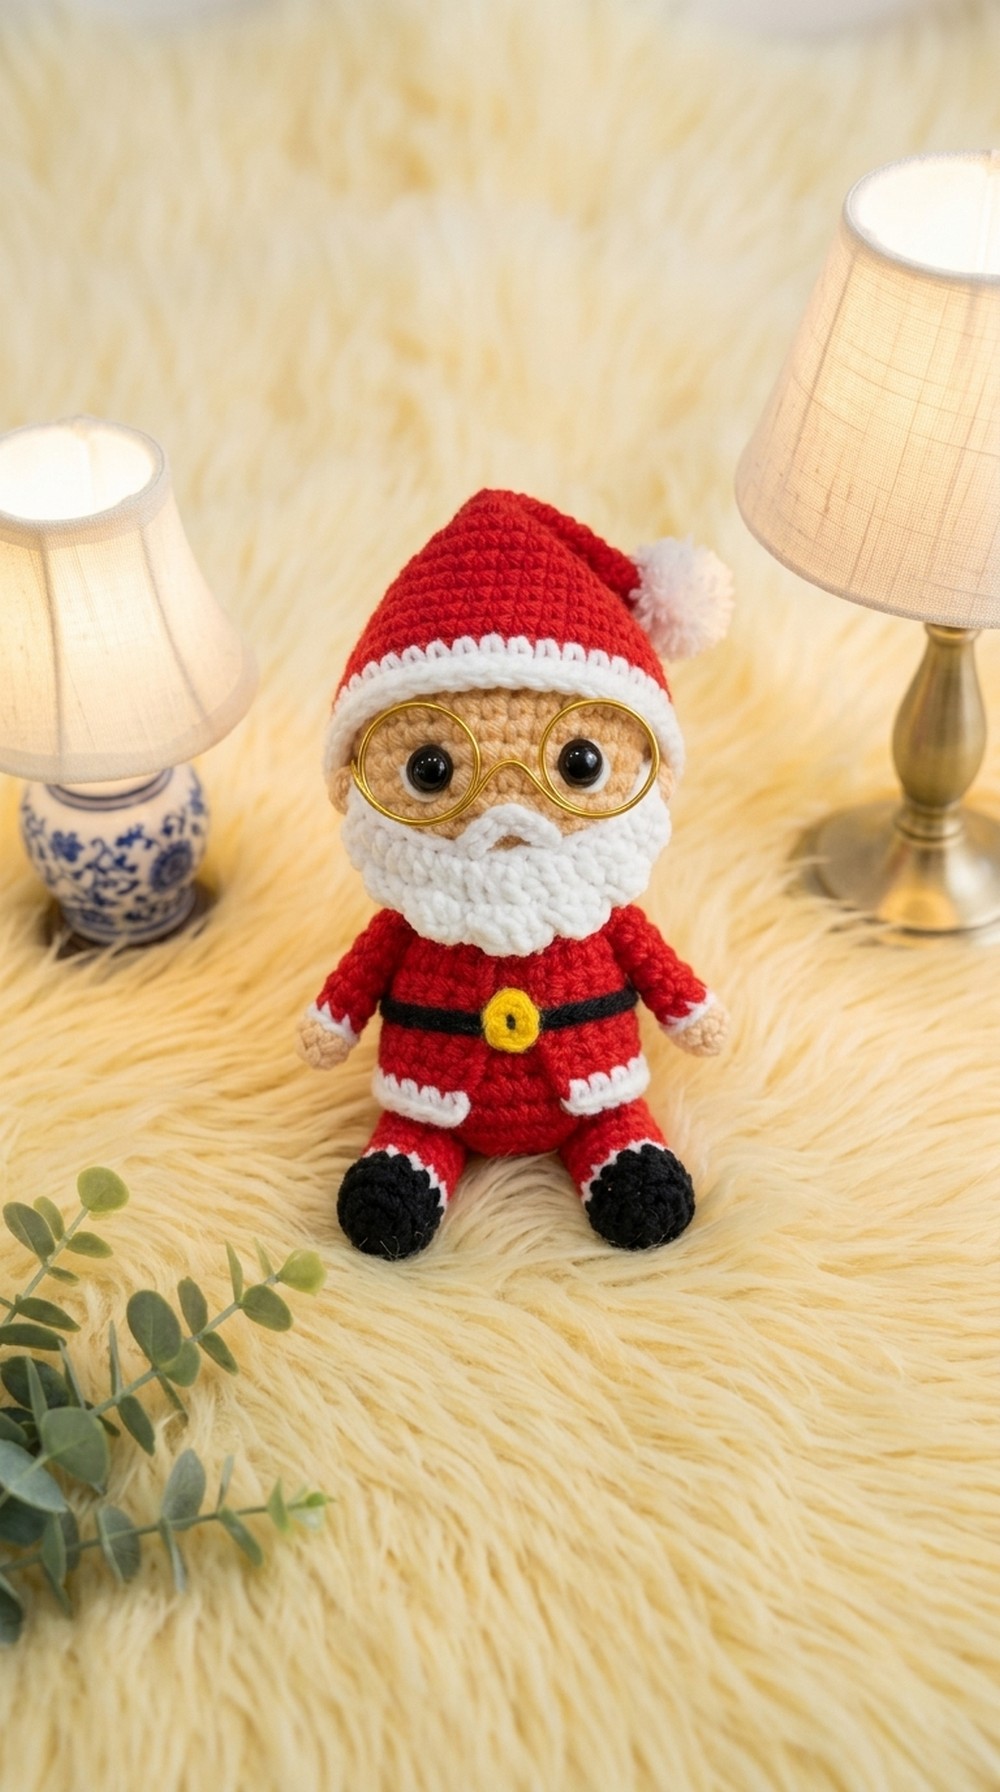
Chibi Santa Claus Amigurumi Crochet Pattern
Celebrate Christmas with this adorable chibi-style Santa Claus amigurumi! At approximately 10–11 cm tall, this small doll is perfect for festive decorations, gifts, or as a holiday keepsake. The pattern is worked in spirals with basic shapes, clever color changes, and charming details such as facial hair, glasses, and belt. This approachable project uses amigurumi techniques, simple embroidery, and practical assembly steps, and is great for advanced beginners wanting to create a classic character.
Pattern Notes
- Work all rounds as spirals unless otherwise stated; use a stitch marker for round beginnings.
- Color changes are made by switching yarn at the last step of the last stitch of the round.
- Pieces are stuffed as you progress; fill firmly but not overstuffed.
- Leave long tails for sewing parts together.
- Embroider or attach safety eyes before sewing head to body.
- When joining legs, leave a tail for sewing to the crotch.
- Glasses are made from aluminum wire; skip if desired.
Skill Level
Advanced Beginner (Amigurumi & Colorwork)
Skills needed:
- Magic ring, single crochet, increases/decreases
- Color changing in rounds
- Embroidery for facial features
- Amigurumi shaping and assembly
Materials
- DK or worsted yarn: Red, beige (skin), white, black, yellow
- Crochet hook: 3 mm
- 6 mm safety eyes
- Polyester fiberfill stuffing
- Tapestry needle
- Scissors
- Aluminum wire (for glasses, optional)
- Pins for marking
- Stitch marker

Measurements / Sizing
- Height: 10–11 cm (4–4.5 in)
- Width: 5–6 cm (2–2.5 in)
- Hat: ~5 cm tall (2 in)
- Arms: ~4 cm (1.5 in)
- Legs: ~4 cm (1.5 in)
Gauge
- Not critical: stitches should be tight so stuffing will not show. Adjust hook size as needed.
Stitch Abbreviations
| Abbreviation | Meaning |
|---|---|
| ch | chain |
| sc | single crochet |
| inc | increase (2 sc in 1 st) |
| dec | decrease (sc2tog) |
| sl st | slip stitch |
| st(s) | stitch(es) |
| BLO | back loop only |
| MR | magic ring |
Special Stitches
- Magic Ring (MR): Make an adjustable loop, crochet into center, pull tight.
- Color Change: On the final pull-through of last stitch, use new yarn.
- BLO: Work stitch into back loop only for ribbed effect.
The Crochet Pattern
1. Head
With beige yarn:
- MR, 6 sc in ring (6)
- inc in each st (12)
- [sc 1, inc] x6 (18)
- [sc 2, inc] x6 (24)
- [sc 3, inc] x6 (30)
- [sc 4, inc] x6 (36)
- [sc 5, inc] x6 (42)
- Rounds 8–12: sc in each st around (42), 5 rounds
- [sc 5, dec] x6 (36)
- [sc 4, dec] x6 (30)
- [sc 3, dec] x6 (24)
- [sc 2, dec] x6 (18)
- [sc 1, dec] x6 (12)
Stuff head firmly as you progress. - dec x6 (6)
Fasten off, leave a tail for sewing.
2. Body
With red yarn:
- MR, 6 sc (6)
- inc in each st (12)
- [sc 1, inc] x6 (18)
- [sc 2, inc] x6 (24)
- Rounds 5–8: sc in each st (24), 4 rounds
Change to blue yarn at last stitch of round 8. - Rounds 9: sc in each st (24)
- [sc 2, dec] x6 (18)
Fasten off, leave a tail for sewing. Stuff body.

3. Legs (Make 2)
With black yarn:
- Insert hook into first st of round 29 from body. MR or join, 10 sc (10)
- Rounds 30: sc around (10)
- Round 31: Change color for boots: red for half st, finish stitch in white. Repeat for full round.
- Close round with sl st in black.
- Round 32: BLO, skip first st, sc 9 (9)
- Round 33: sc 1, dec, sc 2, dec, sc 2 (7)
Stuff leg, leave tail for sewing.
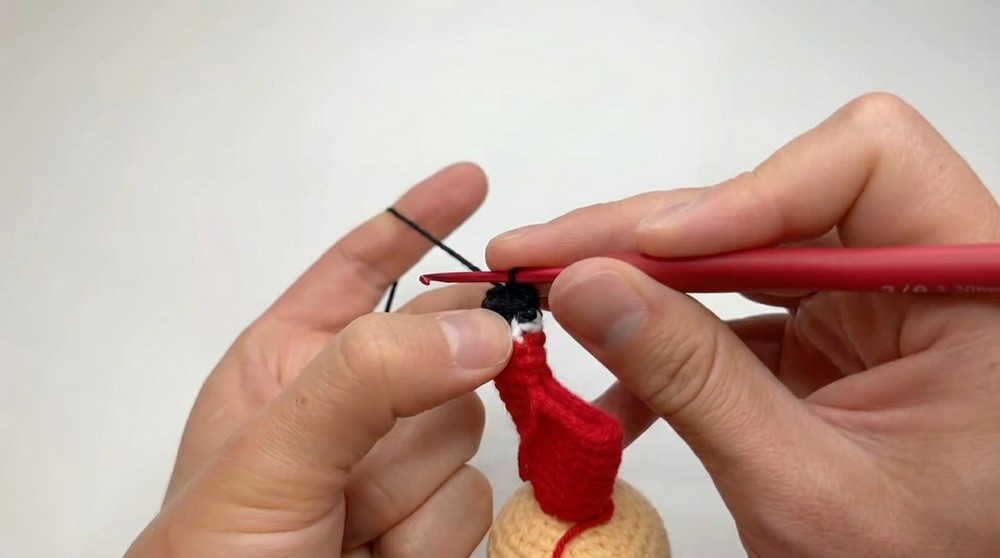
4. Arms (Make 2)
With beige yarn:
- MR, 6 sc (6)
- Add white yarn, 6 sc (6)
- sl st in red
- Round 3: BLO, sc 6 (6)
- Rounds 4–6: sc in each st (6), 3 rounds
- Round 7 (arm 1): sc, inc, sc x4
- Round 8 (arm 1): sc, dec, sc x4
- Round 7 (arm 2): 4 sc, inc, sc
- Round 8 (arm 2): sc x4, dec, sc
Stuff, leave tail for sewing.
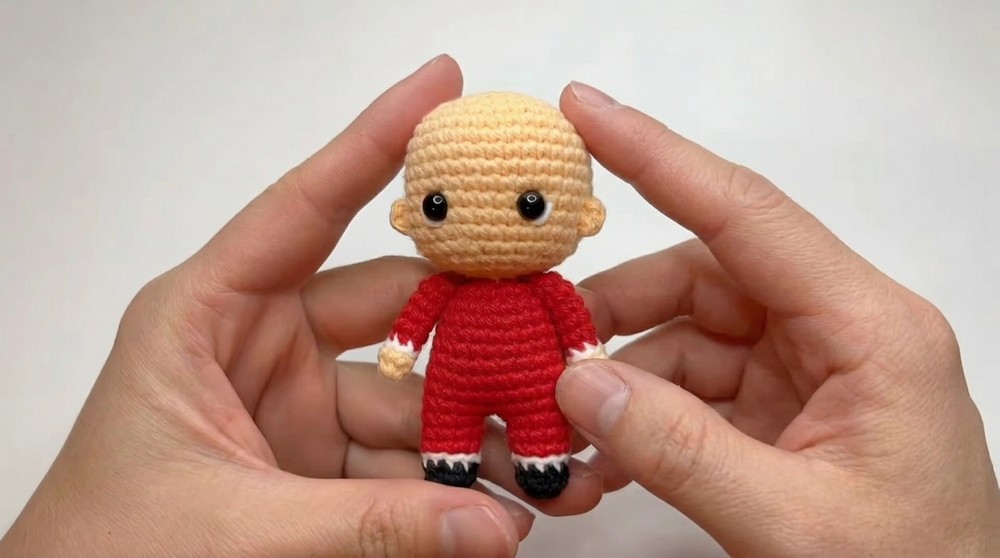
5. Ears (Make 2)
With beige yarn:
- MR, 4 sc
Leave long tails for sewing.
6. Hat
With red yarn:
- MR, 3 sc (3)
- Round 2: 3 inc (6)
- [sc 1, inc] x3 (9)
- [sc 2, inc] x3 (12)
- [sc 3, inc] x3 (15)
- [sc 4, inc] x3 (18)
- [sc 5, inc] x3 (21)
- [sc 6, inc] x3 (24)
- Rounds 9–11: sc in each st (24), 3 rounds
- Round 12: 12 sc (regular), 12 sc FLO (outer strand)
- Round 13: [sc 3, inc] (30)
- Round 14: sc 2, inc, sc 2, repeat around
- Round 15: [sc 5, inc] (42)
- Rounds 16–21: sc in each st (42), 6 rounds
- Change to white, rounds 22 and 23: sc in each st (42)
Finish with pom-pom sewn to tip.
7. Bag (Optional Sack)
With red yarn:
- Ch 25, turn, sc in each ch (25)
- Repeat for 5 more rows.
- Row 7: 4 sc, ch 6, skip 4 sts, 9 sc, ch 6, skip 4 sts, 4 sc
- Row 8: Attach white. sc 3, skip 2, sc 4, skip 2, sc 7, skip 2, sc 4, skip 2, sc 2.
Fasten off, hide ends.
8. Beard & Mustache
- Beard: With white yarn, ch 25. Stitch in place under nose, following face contour.
- Mustache: With white yarn, ch 6, attach between rounds 13–14, centered under nose.
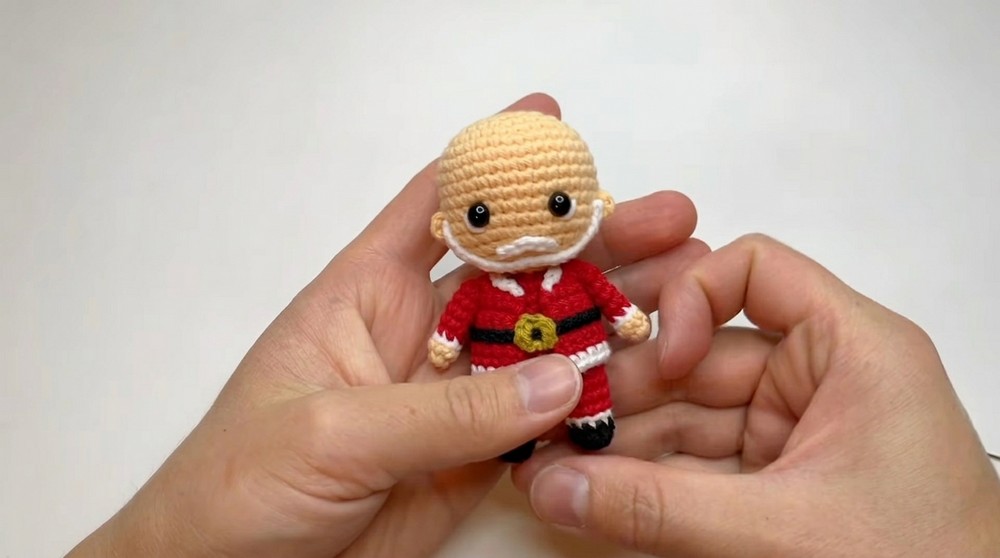
9. Belt & Buckle
- Belt: With black yarn, ch 25–30. Stitch around waist.
- Buckle: With yellow yarn, ch 6. Sew to center front.
10. Glasses
- Use thin aluminum wire, shape into round glasses. Attach behind ears.
Assembly & Finished Size
- Attach ears to top sides of head.
- Sew head to body, aligning rounds.
- Attach safety eyes between rounds 10 and 11, spaced ~6 sts apart.
- Sew arms and legs symmetrically to body.
- Attach hat to head, add pom-pom.
- Embroider mouth and eyebrows if desired.
- Sew beard, mustache, belt, and buckle to appropriate positions, referencing pins for symmetry.
- Attach glasses carefully.
- Final size: ~10–11 cm tall.
Quick Overview for Beginners
- Crochet head, body, arms, legs, ears, hat.
- Stuff and close each part as you go.
- Assemble: sew head, ears, arms, legs to body.
- Decorate: add hat, beard, mustache, belt, buckle, glasses.
- Pin and sew parts for symmetry, hide all yarn tails.
Tips for Success
- Use stitch markers and pins for exact placement.
- Stuff parts firmly but without bulging.
- Change yarn colors on last step for smooth transitions.
- Hide all yarn ends inside pieces.
- Shape glasses with wire cutters and pliers.
- Adjust beard and mustache placement for personal touch.




Leave a Reply