

Style your keys less boring and more adorable with a funny crochet pumpkin keychain that adds cozy fall vibes and works as a gift, decoration, or collectible.
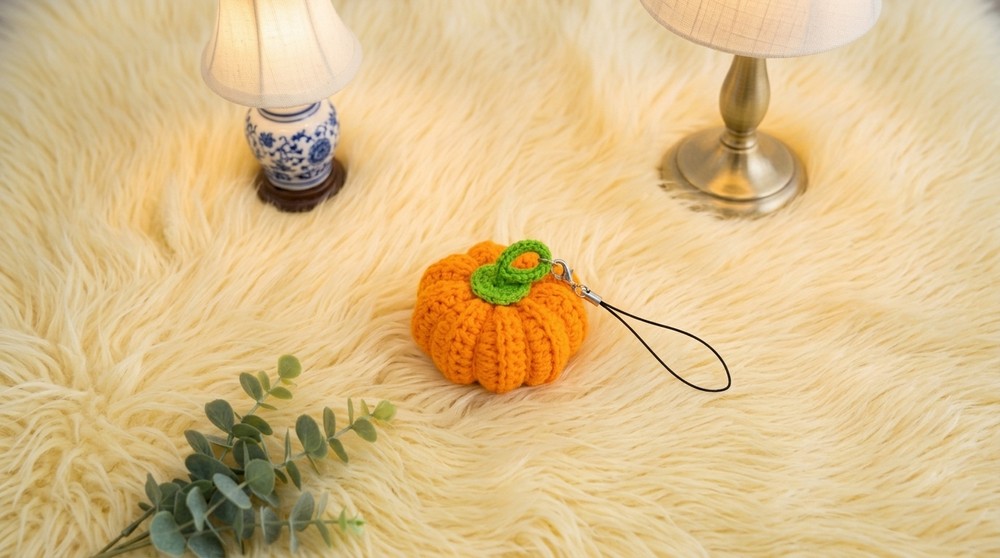
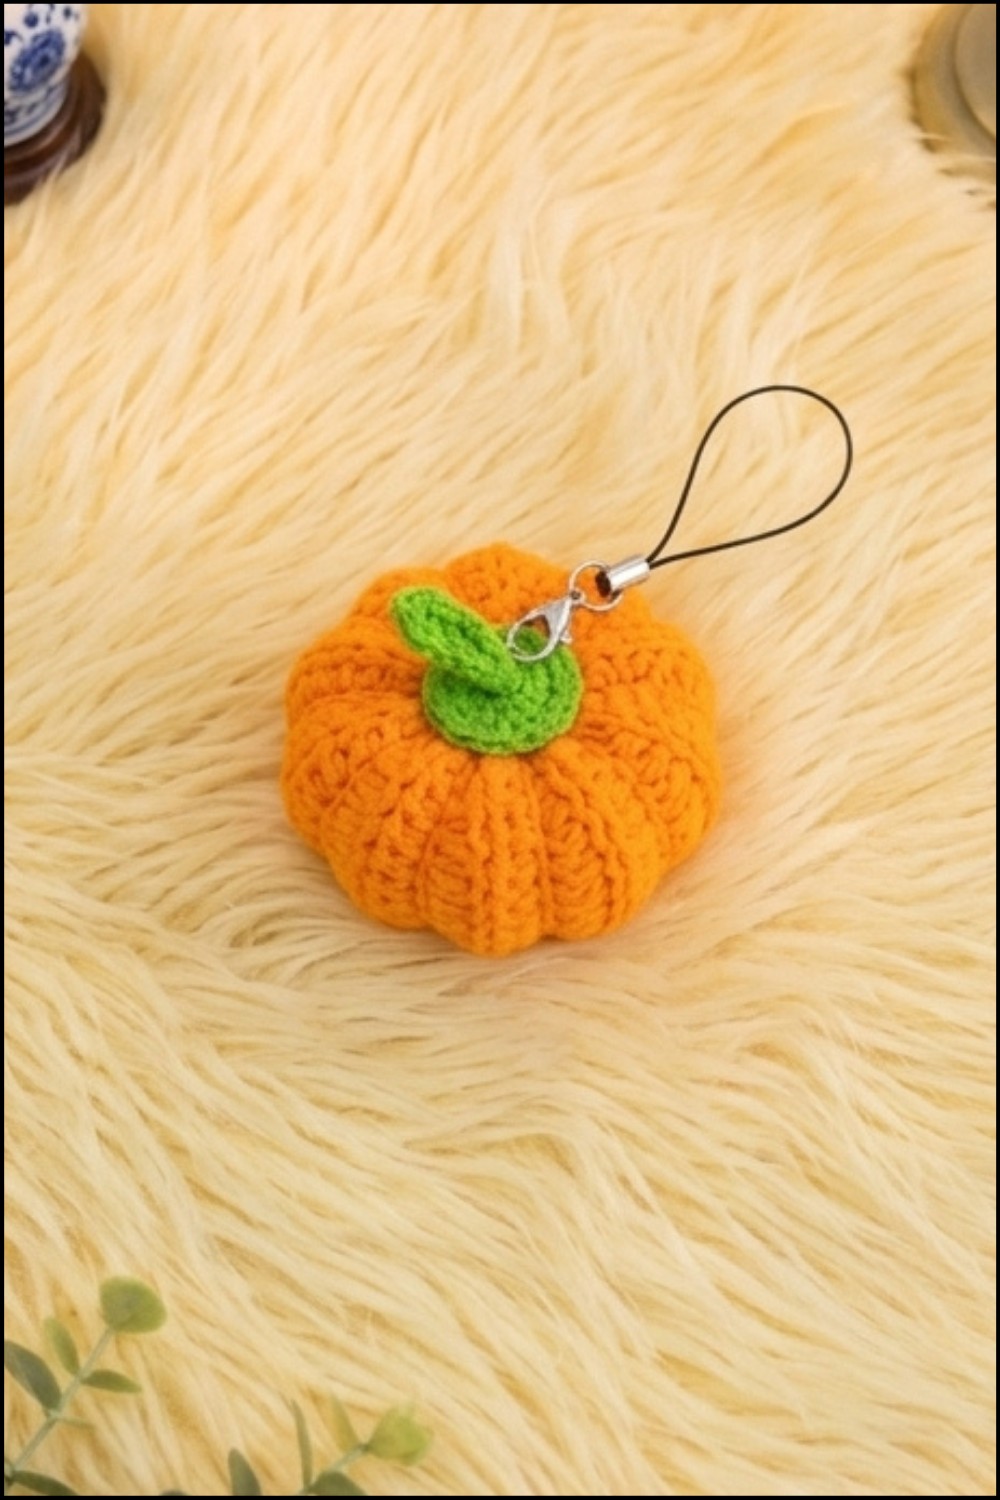
Are you looking for a fun and simple way to add some autumn charm to your day? A crochet pumpkin keychain is just perfect for that. This little item looks like a tiny pumpkin made from yarn. It usually has a round shape with soft ridges to mimic a real pumpkin’s texture. On top, you’ll find a small green stem that adds a cute, natural touch.
Festive Crochet Pumpkin Keychain Free Pattern Ideal for Halloween Accessories
The colors are bright and cheerful, mostly orange for the pumpkin body and green for the stem. These colors make the keychain noticeable and festive. Also, the yarn used is soft but strong, which means the keychain will last for a long time without losing its shape or color. This makes it a great option for everyday use.
Besides looking great, a crochet pumpkin keychain is easy to carry around. You can hang it on your keys, bags, or even use it as a decoration around your home during fall. It can also be a small gift that shows you care without being too big or expensive.
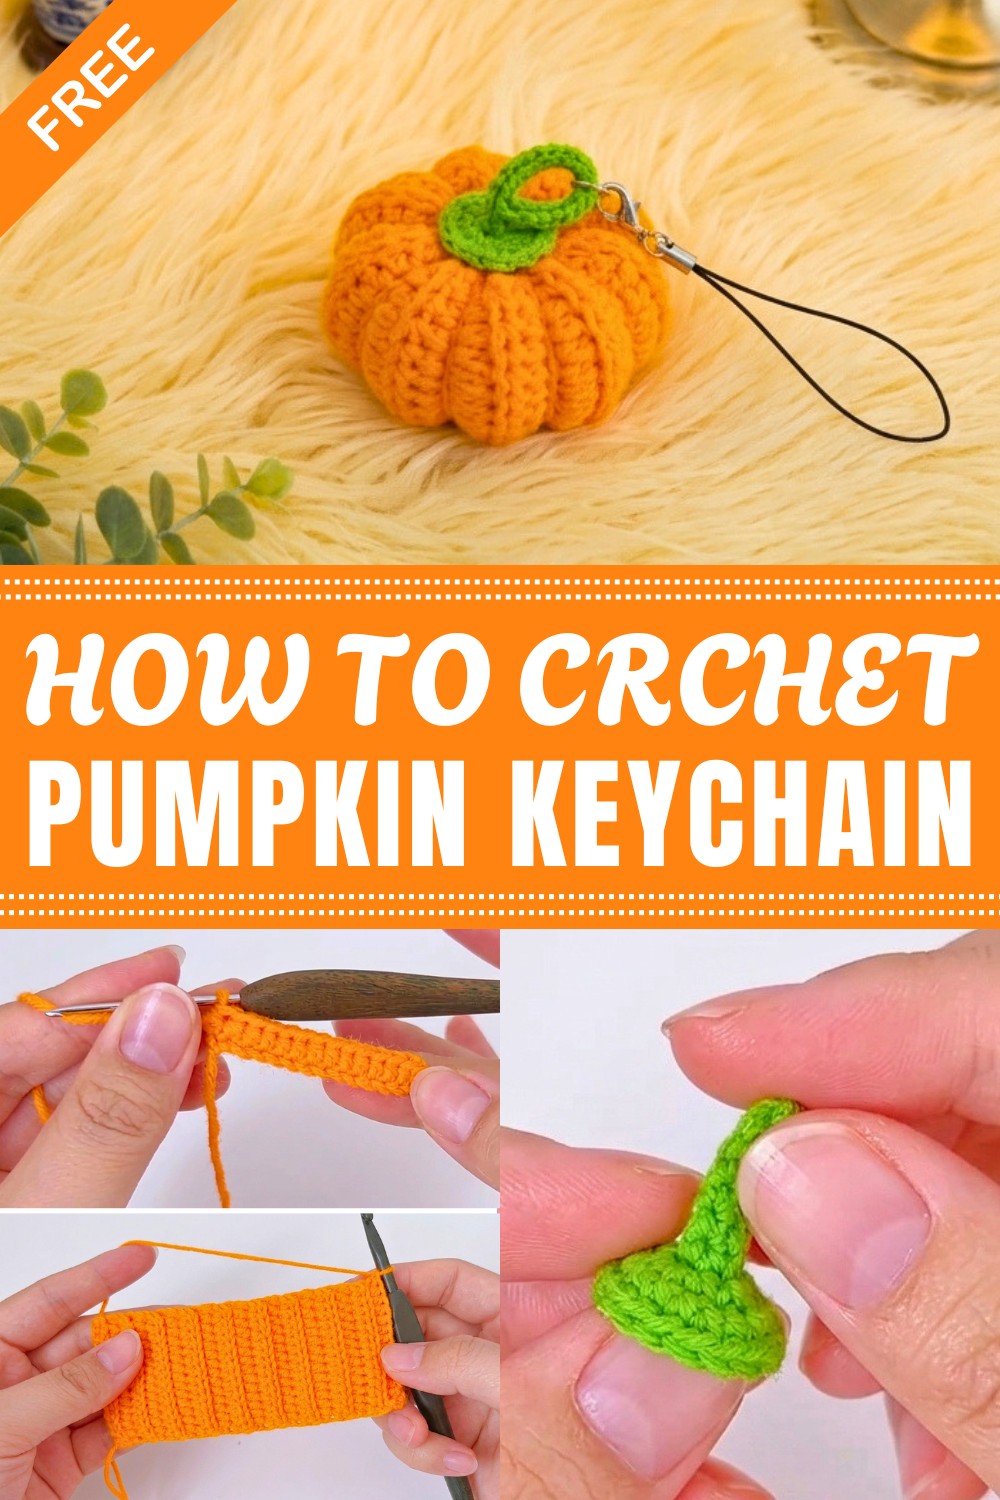
What’s nice about making one yourself is that it doesn’t require advanced skills. You only need a few basic crochet steps, and soon you will have a charming accessory in your hands. Plus, it feels great to hold something cozy and cute that you made yourself.
In short, the crochet pumpkin keychain combines charm, durability, and simple beauty. It’s a small but delightful way to bring fall vibes into your daily life.
The Perfect Patch Pumpkin Keychain
This beginner-friendly project is quick, adorable, and perfect for adding a touch of harvest charm to your everyday accessories. With a plush pumpkin worked in clever back-loop-only (BLO) rows and a sweet stem detail, this keychain makes a wonderful handmade gift for fall lovers, teachers, friends, or yourself. The finished pumpkin is sized to fit cozily in your palm and brings a happy pop of color to every bag or set of keys.
Quick Overview Of Pattern
- Project Type: Plush pumpkin keychain
- Construction: Pumpkin body worked flat in rows, seamed and cinched; stem and base worked in rounds.
- Features: Fun ridges and natural segments for realistic pumpkin charm; easy assembly; customizable in color.
- Finish: Attach to keychain hardware for a functional accessory.
Notes
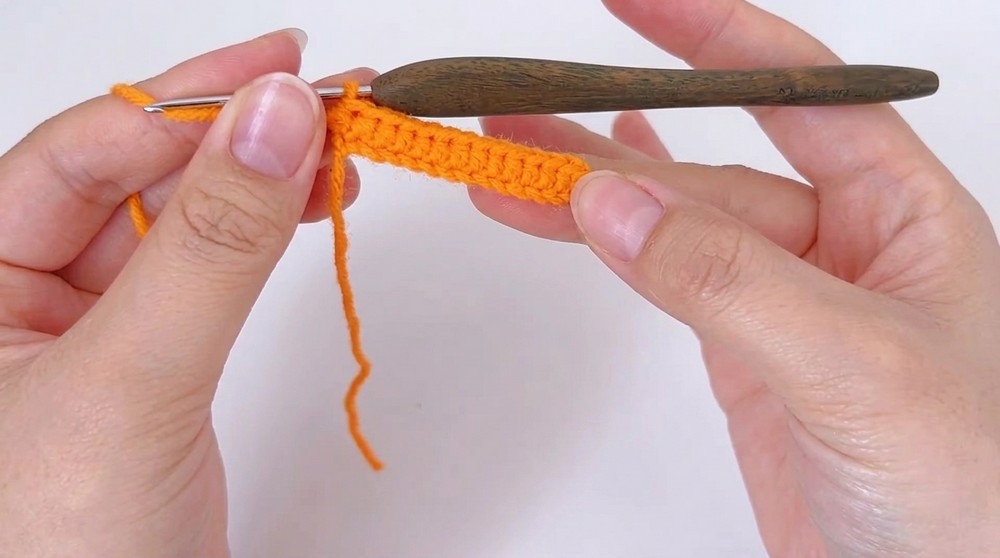
- The main body is worked flat in rows with stitches in the back loop only (BLO) for extra defined ridges.
- Segments are created by wrapping yarn around the pumpkin following the natural ridges.
- Stuff firmly, but don’t overfill to ensure nice cinching and shaping.
- Leave long tails for all pieces for easier assembly.
- Tight, consistent stitches will give the best result, keeping stuffing inside.
Skill Level
Beginner. If you know how to work basic stitches (sl st, sc, hdc, inc) and can sew pieces together, you’ll have no trouble with this pattern.
Materials
- Yarn: DK Weight (3) yarn
- Color A: Pumpkin Orange
- Color B: Stem Green
- Crochet Hook: 3.5 mm (E/4) crochet hook
- Fiberfill for stuffing
- Tapestry needle
- Scissors
- Stitch marker (optional, for rounds)
- Keychain hardware (split ring or lobster clasp)
- Hot glue (optional, for extra security)
Measurements / Sizing
- Finished Size: Approximates 2 inches (5 cm) wide (not including stem)
Gauge
- Gauge is not critical for this project. The goal is firm stitches so stuffing does not show.
Stitch Abbreviations (US Terms)
| Abbreviation | Stitch Name |
|---|---|
| MR | Magic ring |
| ch | chain |
| sl st | slip stitch |
| sc | single crochet |
| hdc | half double crochet |
| inc | increase (2 sc in same st) |
| st(s) | stitch(es) |
| BLO | back loop only |
| FO | fasten off |
Special Stitches
- There are no special stitches required for this pattern.
The Crochet Pattern
🎃 Pumpkin Body (Make 1 in Color A)
Worked flat in rows.
- Foundation:
Ch 15. - Row 1:
Starting in the 2nd ch from the hook, hdc in BLO of each ch across.
(14 hdc)
Ch 1, turn. - Rows 2–18:
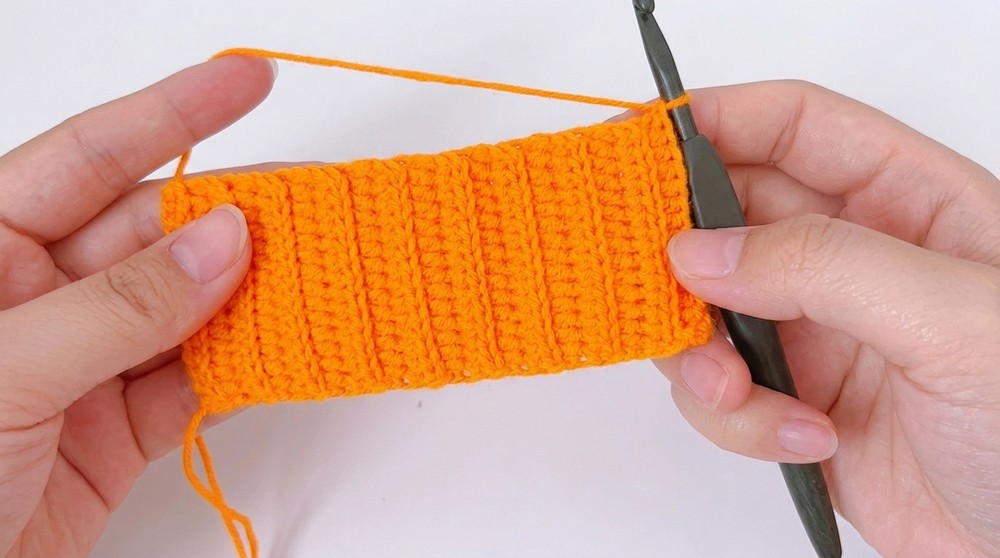
Hdc in BLO of each st across, ch 1, turn. (14 hdc per row)
After Row 18, do not ch 1. Fasten off, leaving an extra-long tail (approx. 24"/60 cm) for sewing and segmenting later.
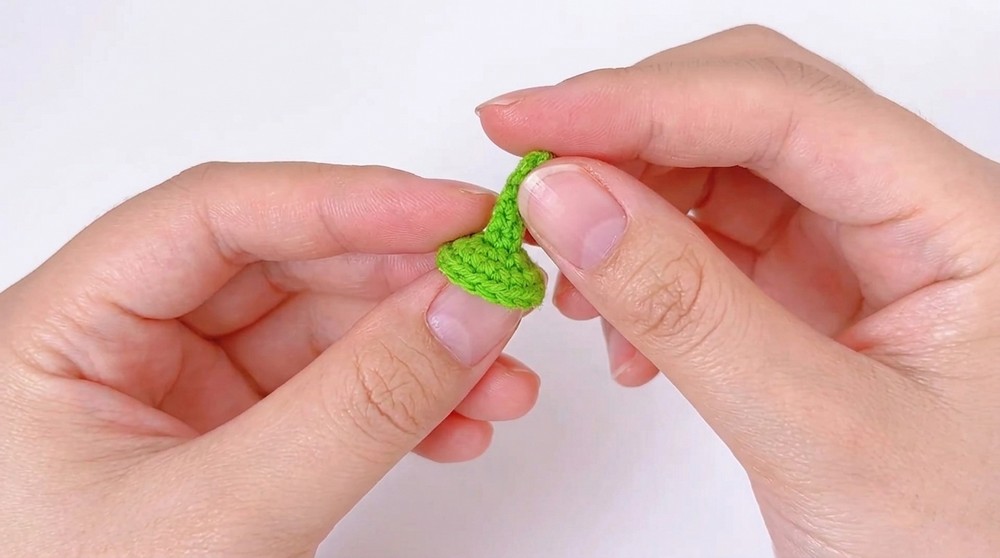
🌿 Stem & Base (Make 1 each in Color B)
Stem Base: (worked in joined rounds)
- Round 1:
6 sc in MR.
Join with sl st to first sc. (6 sc) - Round 2:
Ch 1, inc in each st around. (2 sc in each st) (12 sc)
Join with sl st to first sc.
FO, leaving a long tail for sewing.
Stem: (worked flat)
- Ch 6.
- Row 1:
Starting in the 2nd ch from the hook, sl st in BLO of each ch across. (5 sl st)
FO, leaving a long tail for sewing.
Assembly & Finished Size
1. Form the Pumpkin Body
- Lay your orange rectangle flat.
- Fold in half so Row 1 and Row 18 meet.
- Using your long tail and tapestry needle, whip stitch the short ends together to form a tube.
- (Optional: Secure and weave in the tail from your slip knot start.)
- With the same tail, weave your needle in and out through one open end of the tube. Pull tight to gather the opening closed. Secure with a few locking stitches; push the yarn tail inside.
- Stuff your pumpkin firmly with fiberfill.
- With the other (final) long tail, weave in/out through the other end, cinching tightly. Do not cut this yarn yet.
2. Create Pumpkin Segments
- Using the remaining long tail and needle, insert the needle through the center from top to bottom.
- Wrap the tail around the outside, over one BLO “ridge,” then re-insert the needle top-to-bottom through the center.
- Pull snug to create an indent and segment.
- Repeat 5–6 times, spacing wraps evenly around the “pumpkin” to create deep, natural grooves.
- Once happy with the shape, knot and weave in the yarn to hide.
3. Attach Stem and Base
- Using the tail from your stem, sew the thin stem piece to the center of the stem base (the 12-sc circle).
- Position the stem assembly in the center top of your pumpkin and sew securely in place with the tail from the base. For extra security, add a small amount of hot glue under the base before sewing.
- Ensure your stem is sturdy and upright.
4. Add Keychain Hardware
- Attach your chosen hardware (split ring or lobster clasp) to the very top of the stem or sew/loop through the top of the pumpkin.
- Make sure all attachments are firm and tails are neatly woven in.
Finished Size
- Your finished pumpkin will measure approx. 2" (5 cm) in diameter, not including stem and hardware.
Conclusion and Ending Words
Congratulations—your adorable Perfect Patch Pumpkin Keychain is finished! This beginner-friendly project is ideal for last-minute gifts, market stalls, or just adding an autumn touch to your daily life. Don’t hesitate to experiment with other colors, sizes, or even add a little face! Thank you for choosing this pattern and happy crocheting!
Leave a Reply