

Try this crochet sombrero hat keychain free pattern with clear and easy guidance, adding playful charm to your everyday accessories.
There’s something truly special about small, charming accessories that carry a burst of personality and culture. Recently, I find a delightful little project that instantly caught my attention—a Crochet Sombrero Hat Keychain. This tiny hat is more than just a cute accessory; it’s a miniature homage to traditional Mexican style, perfect for adding a splash of color and charm to your keys, bags, or even as a thoughtful gift.
Pretty Crochet Sombrero Hat Keychain Free Pattern With A Playful Touch
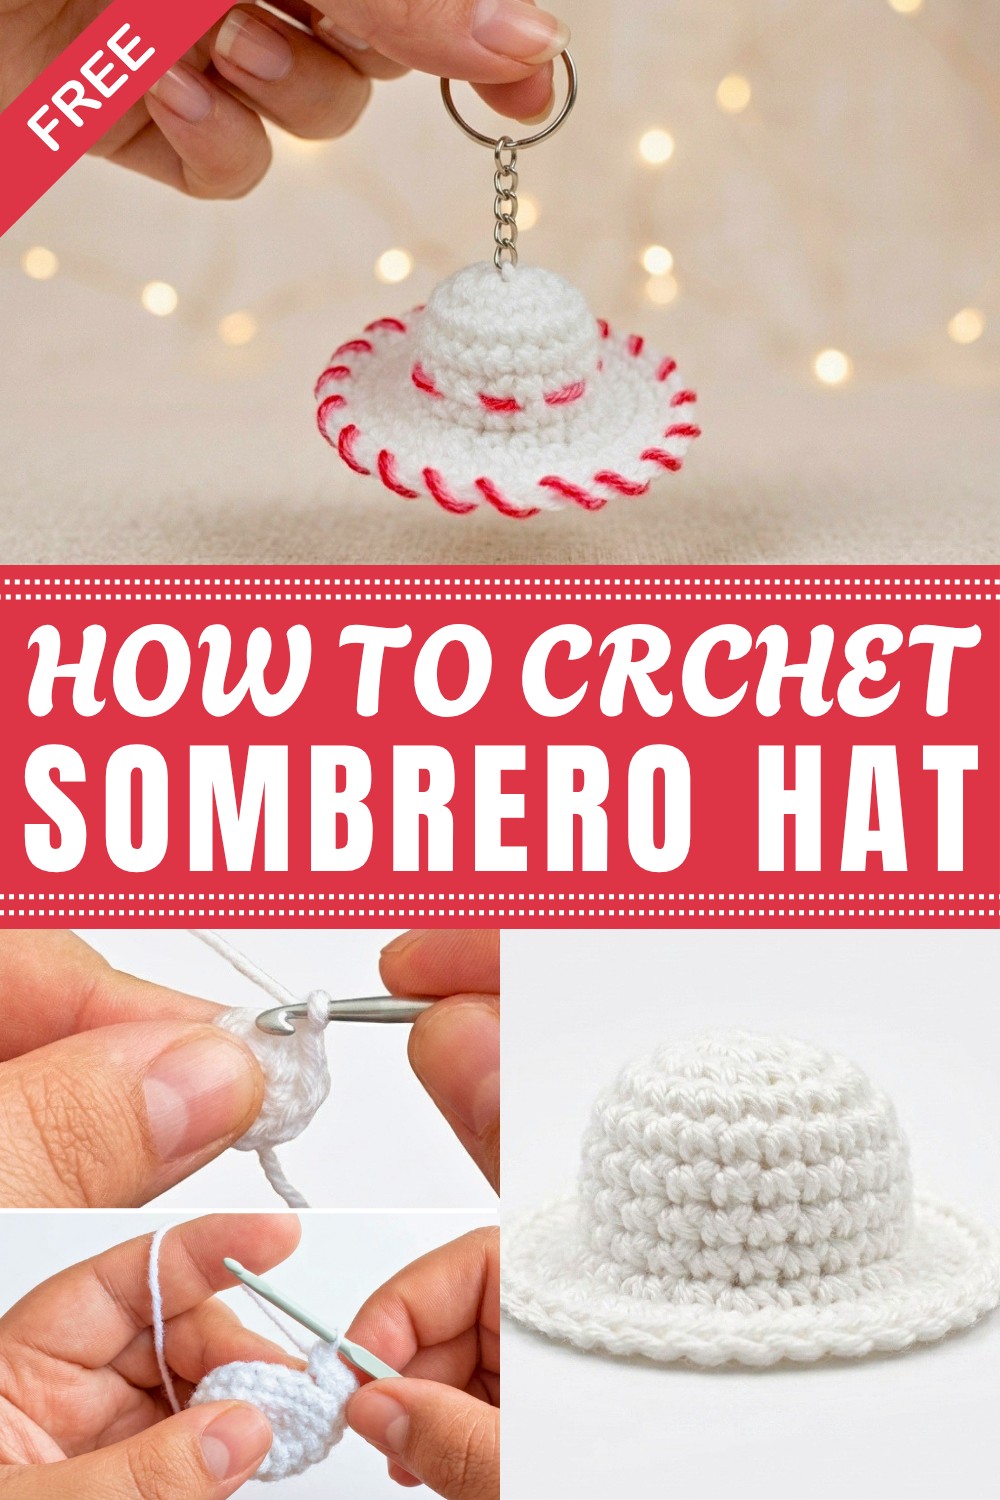
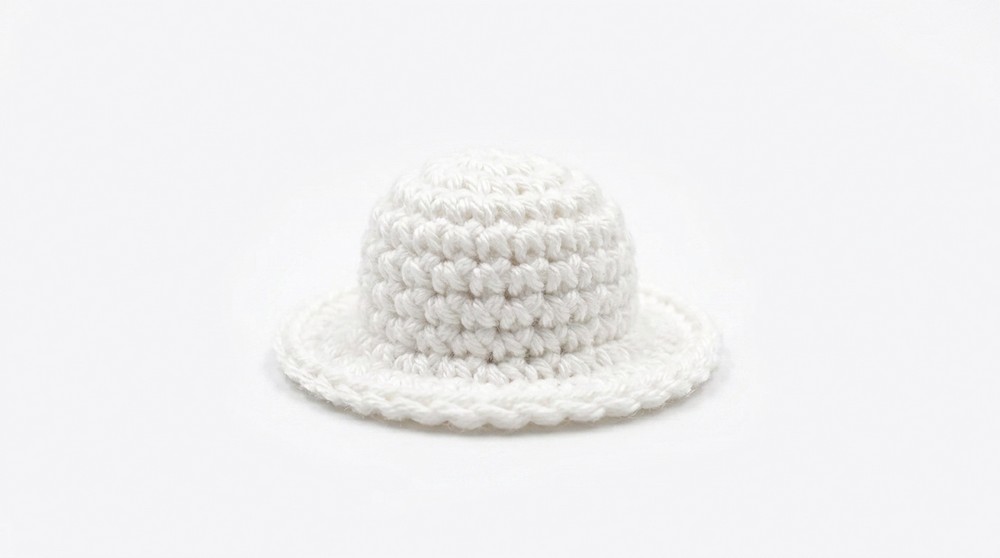
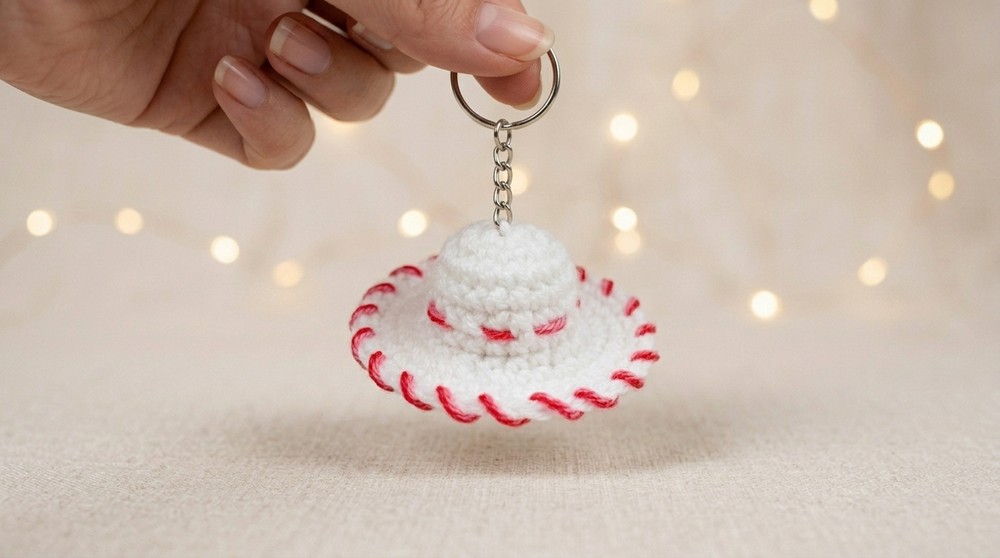
This project results in a petite sombrero-shaped keychain that’s both playful and visually appealing. The pattern beautifully combines form and function, featuring the classic wide brim and a gently rounded crown, capturing the iconic silhouette of a traditional sombrero. What really stands out is the clever use of different stitches that create a lovely texture, making the tiny hat look cozy yet sturdy. You can almost imagine it sitting on a small doll’s head or dangling proudly from a backpack zipper.
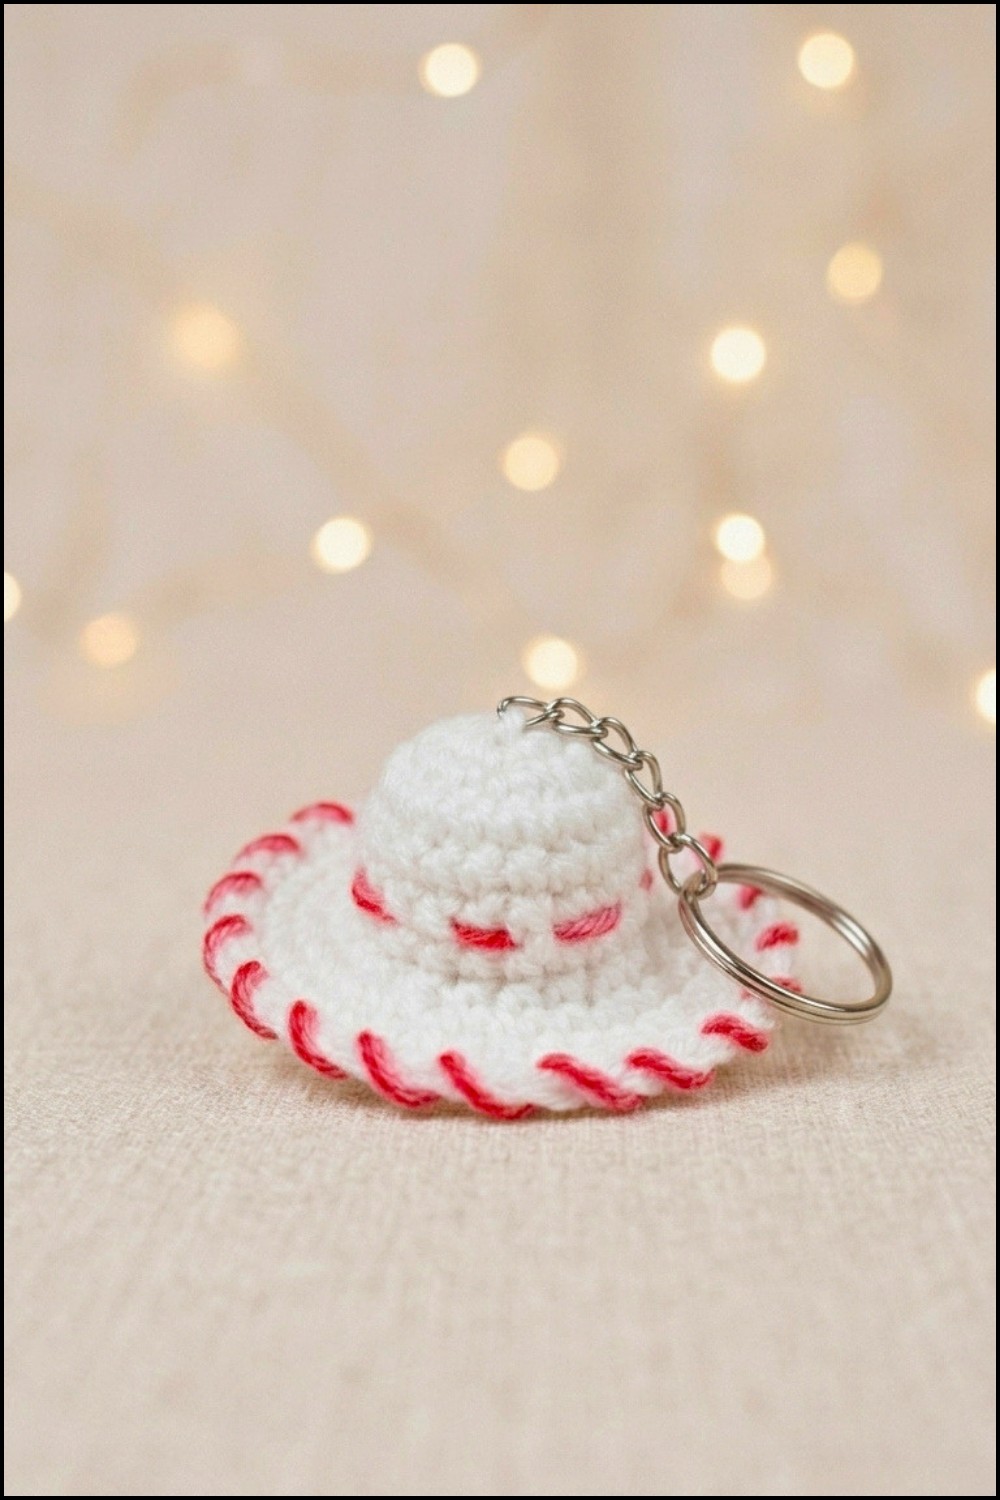
The style is vibrant and festive, often incorporating bright, cheerful colors that echo the lively spirit of cute design. Its size and lightweight nature make it incredibly practical—no bulk, just a splash of personality wherever you go. The project is simple enough for beginners but offers enough detail to keep you engaged as you bring this small treasure to life.
Beyond its decorative appeal, this little keychain holds gifting potential. Imagine surprising a friend with a handmade sombrero keychain—it’s a unique keepsake that’s both personal and useful. Plus, creating such a distinctive trinket offers a satisfying way to spend a relaxing afternoon, ending with a charming accessory that’s sure to turn heads.
Crochet Sombrero Hat Keychain Free Pattern
Showcase your creative talent with this charming crochet hat keychain pattern. This project offers a delightful opportunity to practice essential techniques like magic rings, rounds, and decorative accents. Using just a small amount of yarn and simple stitches, you can assemble a miniature hat that stands out as a unique accessory. The concise instructions ensure a straightforward experience, so each step flows smoothly and results in a well-structured, durable piece. For those seeking a quick and versatile project, this keychain pattern combines functionality and whimsy, allowing you to personalize it with colors, bands, or brooch pins as you prefer.
Quick Overview of Pattern
- Start with a Magic Ring and basic increase rounds
- Work several rounds for the hat body, with the option for color variation
- Use back loop stitches to create a distinct brim foundation
- Finish with a crisp brim edge and complete assembly
- Personalize with decorative bands, ribbons, or use as a brooch or keychain
Notes
- The pattern uses American crochet terminology.
- Adjust the yarn thickness and hook size for different final heights, but ensure the stitches remain tight for a sturdy mini hat structure.
- Optional steps offer custom flair for the brim color, hat band, or embellishments.
- Weaving in yarn ends securely is vital for a polished miniature outcome that withstands everyday handling as a keychain.
Skill Level
Beginner-Friendly: No advanced crochet skills required, perfect for those comfortable with basic stitches and simple increases.
Materials
- Yarn/Wool: Main color (small amount); optional contrasting color for brim or band
- Crochet Hook: Size suited for yarn gauge (commonly 2mm–3.5mm for amigurumi yarns)
- Yarn Needle/Tapestry Needle
- Scissors
- Keychain Hardware or Brooch Pin (optional for finishing)
- Optional: Ribbon, bead, or small flower for decoration
Measurements / Sizing
- Finished Size: Approximately 1.5–2 inches (4–5 cm) in diameter at brim, adjustable by yarn weight and hook size
- Optional Schematic: Simple circle for crown, short tube for body, slight flaring brim
Gauge
Tightness is preferred over a precise gauge; however, average gauge for amigurumi is about 8 hdc = 2cm. Ensure your stitches are snug and not loose to maintain the keychain’s structure.
Stitch Abbreviations
| Abbreviation | Stitch |
|---|---|
| MR | Magic Ring |
| ch | chain |
| hdc | half double crochet |
| sc | single crochet |
| sl st | slip stitch |
| st(s) | stitch(es) |
| BLO | back loop only |
Special Stitches
- Magic Ring (MR): Begin by forming an adjustable ring to crochet into, allowing for a tight closed center.
- Back Loop Only (BLO): Insert the hook into the back loop only of each stitch—typically used to create ridged texture or shape transition in your work.
The Crochet Pattern
Round 1: Crown Base
- Start with a Magic Ring (MR).
- Work 8 half double crochets (hdc) directly into the ring.
- Pull the yarn tail tight to close the center completely.
- Join with a slip stitch (sl st) into the first stitch to complete the round.
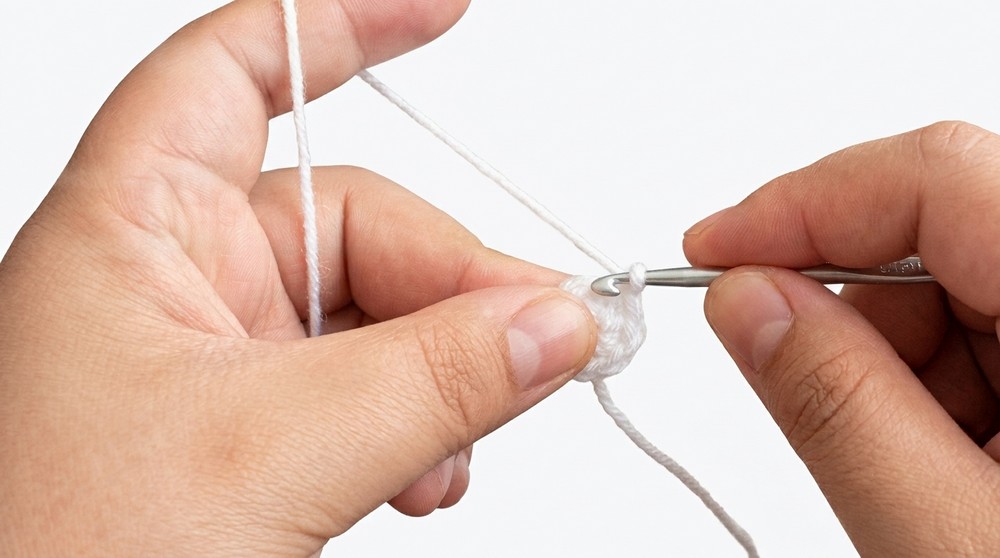
- Stitch total: 8.
Round 2: Increase Round
- Chain 1 (ch 1) to start the round.
- Work 2 hdc into the same stitch as the chain 1.
- Continue to place 2 hdc in every stitch around—you are increasing in each stitch.
- Join with a sl st in the top of the initial stitch.
- Stitch total: 16.
Round 3: Standard Crown Height
- Ch 1.
- Work 1 hdc in each stitch around (no increases this round).
- Keep stitches tight and even to support the hat’s structure.
- Join with a sl st to close the round.
- Stitch total: remains at 16.
Rounds 4 & 5: Hat Body
- For each round:
- Ch 1 to begin.
- Work 1 hdc in every stitch around (no increases).
- Join with a sl st at the end of each round.
- Repeat for two rounds (Rounds 4 and 5).
- Optional: At end of Round 5, fasten off main color and attach contrasting color if you wish to add a decorative stripe or accent round.
- Work 1 additional round of hdc in the new color if making a stripe.
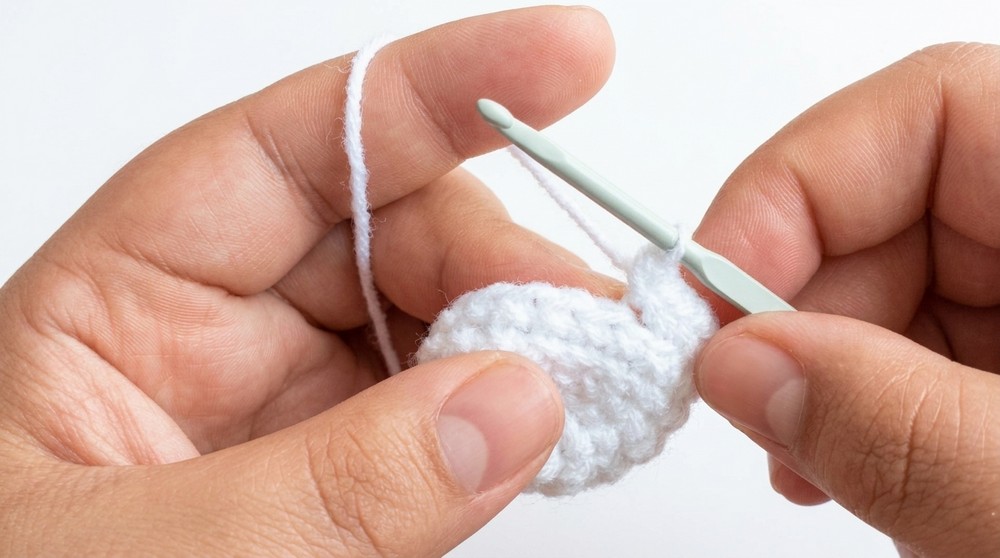
Round 6: Hat Brim Foundation (Back Loop Only)
- Ch 1 to start.
- Work around by inserting the hook into only the back loop (BLO) of each stitch.
- In each BLO, work 2 hdc (brim increases).
- Join with a sl st to complete this round, forming the base flare of the brim.
- This technique forms a crisp, defined edge for the brim.
Round 7: Brim Edge & Finish
- Ch 1.
- Insert the hook under both loops (returning to standard crochet).
- Work 1 sc (or hdc for a slightly thicker brim) in each stitch around to finish the brim edge.
- Join with a sl st.
- Cut yarn, pull through, and fasten off securely.
Assembly & Finished Size
Hiding Yarn Ends
- Thread loose ends onto a tapestry needle.
- Weave ends into the inside/underside of hat in a secure zigzag motion.
- Trim excess yarn as close to the fabric as possible for a neat finish.
Optional Decorative Band or Embellishment
- Thread a contrasting yarn on a needle.
- Enter the hat from the inside, and work small surface stitches around the crown to make a clean accent stripe.
- Do not pull too tightly to avoid puckering.
- Knot and trim excess thread on the inside for a tidy finish.
- Alternatively, glue or sew a small ribbon, bow, flower, or bead to enhance personality.
Keychain or Pin Attachment
- Attach a metal keychain ring through the center top of the hat for a practical and cute mobile keychain.
- If preferred, sew a brooch pin to the back—turning your hat into a wearable decorative pin.
Finished Size
- The completed hat will typically be 1.5 to 2 inches (4–5 cm) across the brim, proportional height depending on yarn and hook size.
Conclusion and Ending Words
Display your completed crochet hat keychain on backpacks, purses, or key rings to infuse your everyday items with a hint of handmade charm. Personalize each hat with contrasting stripes, decorative bands, or embellishments to reflect your style and creativity. The sturdy structure is ideal for regular use, and the small size makes it easy to add to bags or keys for a touch of character. By following the detailed instructions, you will consistently achieve wonderful results, making each hat a memorable accessory or thoughtful item for family and friends. Keep experimenting with color combinations for endless variety.


Leave a Reply