

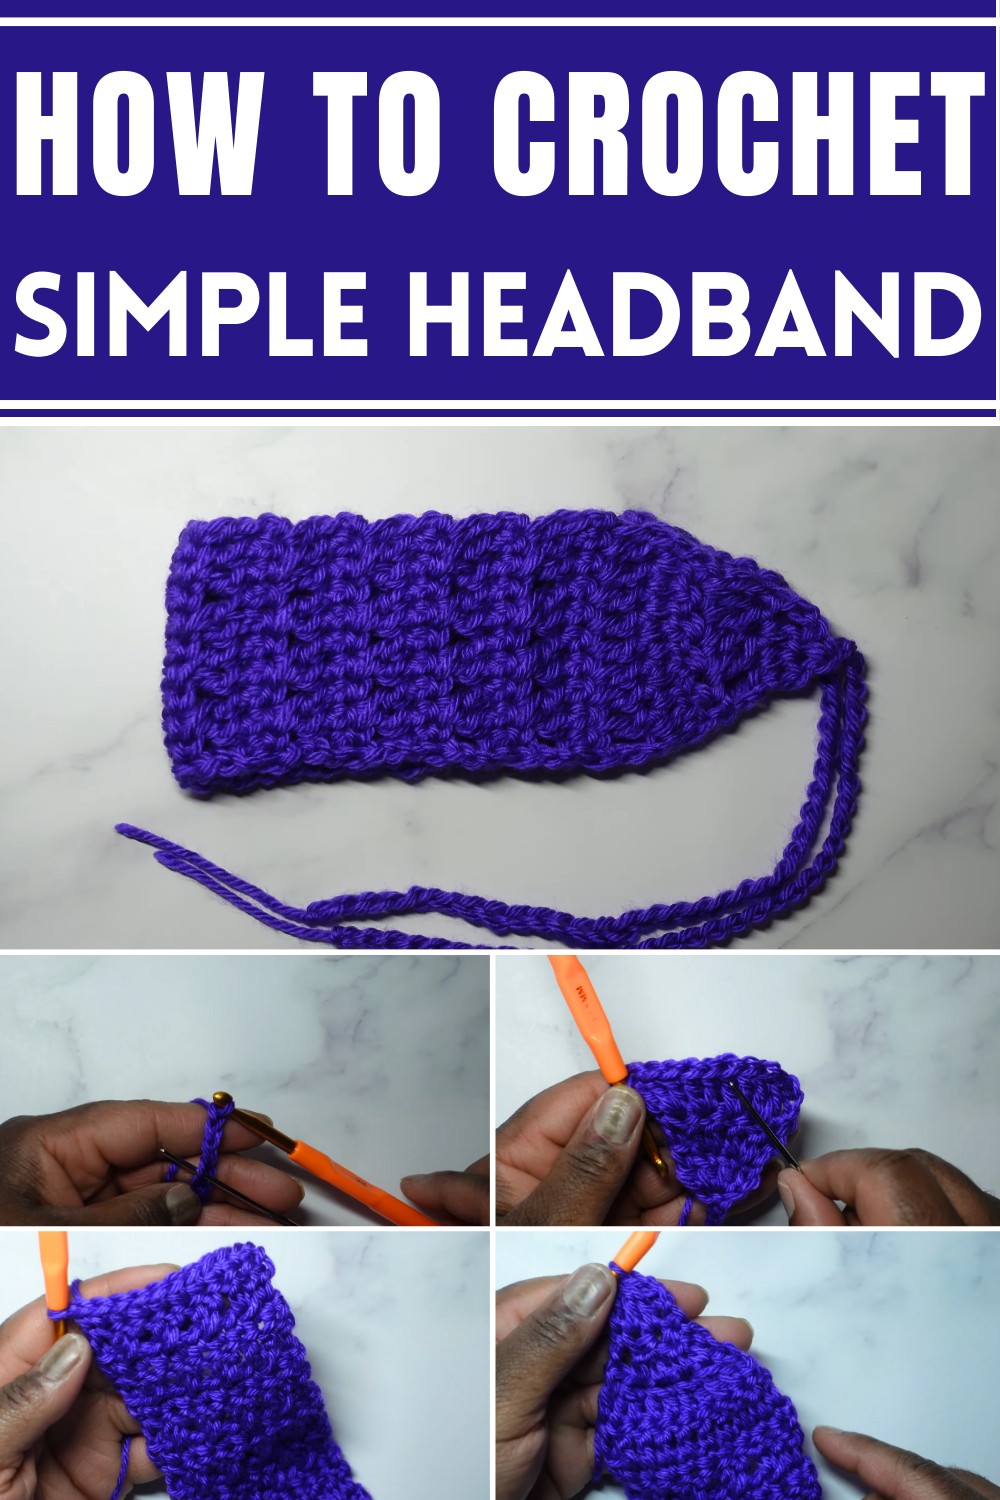
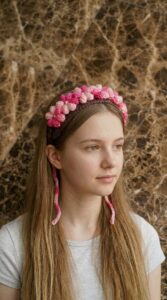
Lift your style effortlessly with our trendy crochet headband pattern, tailored for all abilities and charming throughout every season.
Soft loops of yarn can be transformed into something both functional and stylish making crochet headbands a popular choice for many. These accessories are not only pleasing to the eye but serve practical purposes as well. They help keep your hair in check during active days and provide a touch of warmth on chilly mornings. Lightweight and versatile, they’re suitable for all ages and can complement any wardrobe, be it casual or formal.
Step-By-Step Guide to Crochet Headband Pattern
Following detailed pattern offers endless design possibilities, ranging from minimalistic styles to intricate textures. This creative project is perfect for anyone wanting to try their hand at an engaging hobby or expand their crochet skills. With a crochet hook in hand and a little patience, you can create something that reflects your personality or matches a specific outfit.
Crochet headband also make meaningful gifts, blending practicality and a personal touch. They carry a sense of care and effort that store-bought products often lack. Additionally, they align with sustainable practices by using natural or eco-friendly yarns, promoting a greener lifestyle. Whether for yourself or a loved one, this headband seamlessly marry fashion and function while encouraging mindful choices.
Introduction
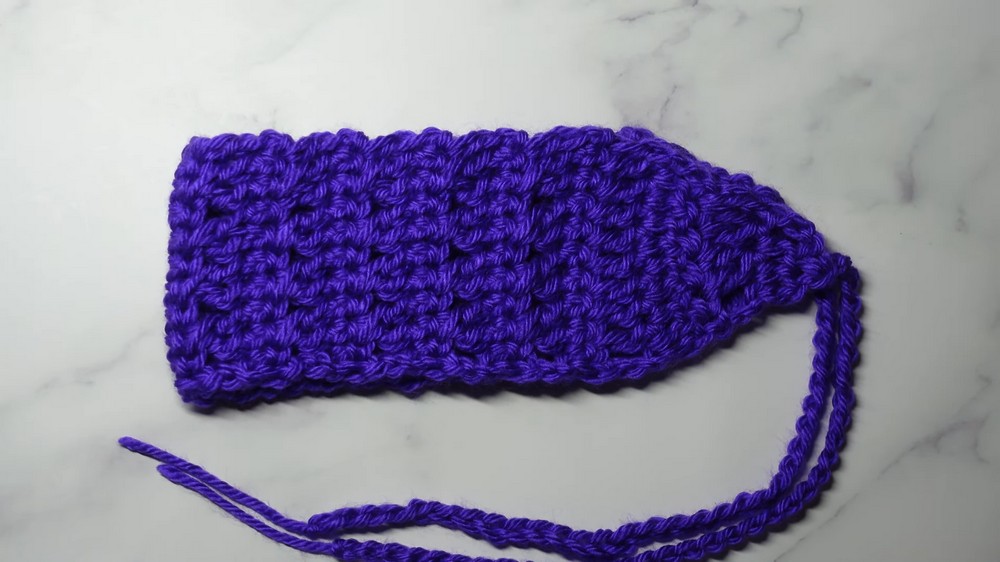
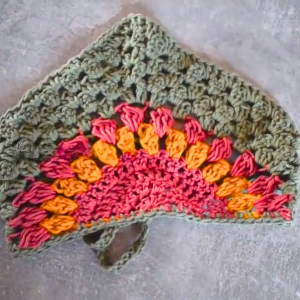
In this pattern, you’ll learn how to create a beginner-friendly crochet headband with a beautiful criss-cross design. This project is simple yet stylish, making it perfect for all skill levels. With basic materials and straightforward instructions, you can crochet a headband that's both functional and fashionable.
Materials Needed
Gather the following supplies:
- Leftover yarn (any yarn of your choice)
- A crochet hook (appropriate size for your chosen yarn)
- Tape measure
- Scissors
Step-by-Step Guide
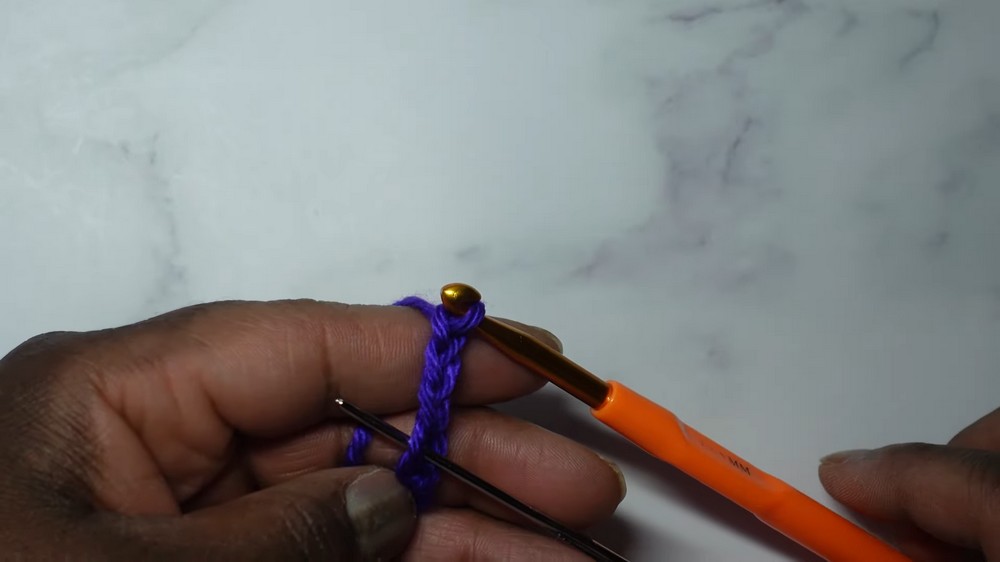
Step 1: Start with a Slip Knot and Chain
- Create a slip knot:
- Wrap the yarn around your finger, twist it, and pull one end through to create a loop.
- Insert your crochet hook into the loop and pull to tighten.
- Chain 35 stitches for the foundation of your headband. This will measure approximately 24 cm (9.5 inches).
- Add 3 more chains for turning.
Step 2: Create the First Row (Building the Base)
- In the fourth chain from the hook, make three double crochets (DC).
- Yarn over, insert the hook into the fourth chain, yarn over again, and pull through (three loops on the hook).
- Yarn over, pull through two loops, yarn over again, and pull through the remaining two loops.
- Repeat this process to make a total of three double crochets in the same chain.
- This forms the tail at one end of your headband.
Step 3: Continue Building Rows
- Row 2: Chain 3 (this counts as your first DC) and turn your work.
- In the next stitch, make two double crochets.
- Repeat this step in every stitch across the row until you reach the final chain. Place one DC in the top of the chain.
- This row increases your stitch count to 6 stitches.
- Row 3:
- Chain 3, turn your work, and add two double crochets in each stitch across (except the final chain).
- In the top chain, just add one DC. This will increase the total stitch count to 10 stitches.
- Keep increasing stitches in this manner until the width of the headband matches your desired size.
Step 4: Introduce the Pattern (2-Row Repeat)
Now that the headband is as wide as you want, it’s time to start the decorative pattern. This involves a two-row repeat:
- Row 1 (Single Crochet Row):
- Chain 1 (does not count as a stitch) and turn your work.
- Make a single crochet (SC) in the first stitch and every stitch across the row (maintaining 10 stitches).
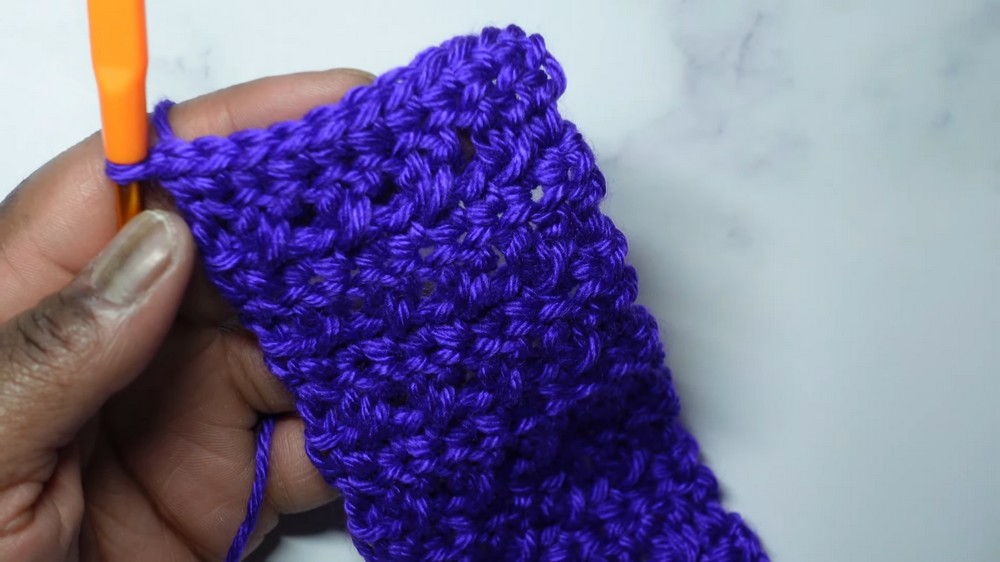
- Row 2 (Criss-Cross Row):
- Chain 3 (counts as your first DC) and turn your work.
- Skip the first stitch, then work a double crochet in the third stitch.
- Go back to the skipped stitch and work a double crochet to create a criss-cross.
- Repeat the criss-cross pattern all the way across, and finish with a DC in the last stitch.
- Alternate between the single crochet row (Row 1) and the criss-cross row (Row 2) until the headband reaches your desired length.
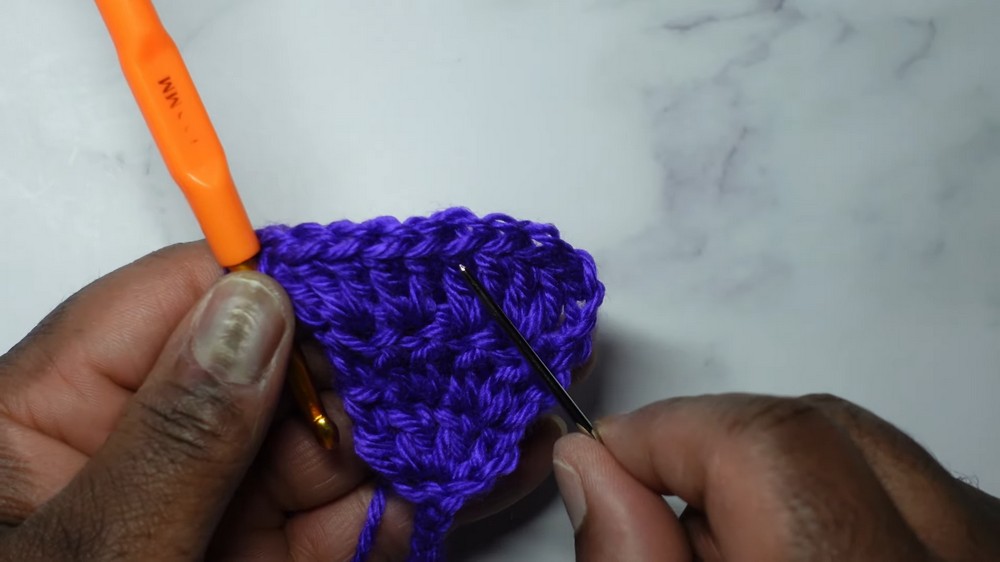
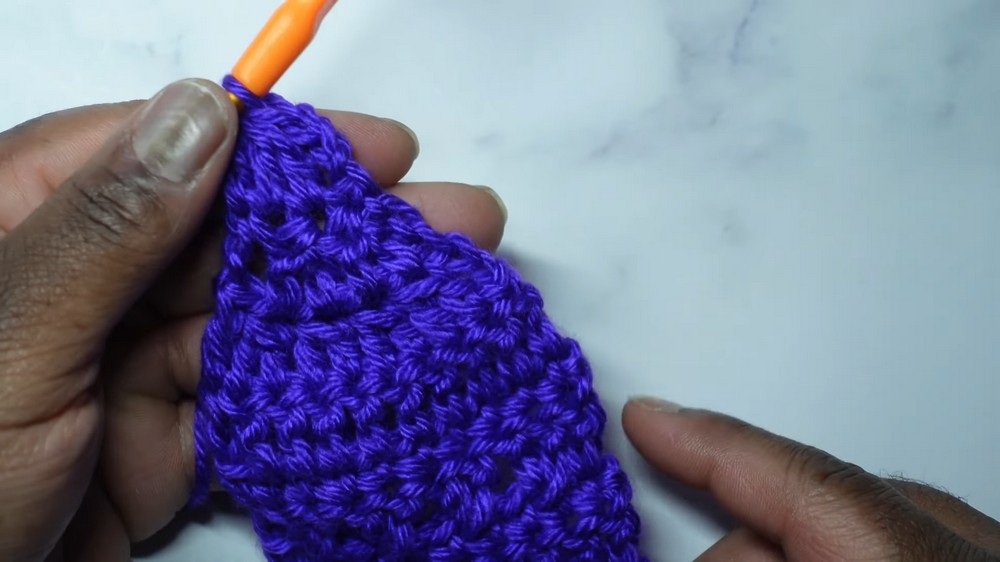
Step 5: Decreasing for the Other End
To mirror the tapered tail at the beginning of the headband, decrease stitches as follows:
- Row 1: Chain 3, turn your work, and make 1 DC in each stitch across.
- Row 2: Decrease by crocheting two double crochets together (DC2TOG) over two stitches.
- Yarn over, insert the hook into the first stitch, pull through, yarn over and go through two loops.
- Yarn over, insert the hook into the next stitch, pull through, yarn over, go through two loops, and finally yarn over to go through three loops.
- Repeat this step across the row, and finish with 1 DC in the top chain.
- Continue decreasing rows until you have 4 stitches remaining.
- To finish, work a DC3TOG over the last three stitches to create a pointed end.
Step 6: Add the Ties and Finish
- Chain 35 stitches to create one side of the tie.
- Cut the yarn, leaving a tail, and fasten it off securely.
- Repeat on the other side to create the second tie.
Conclusion
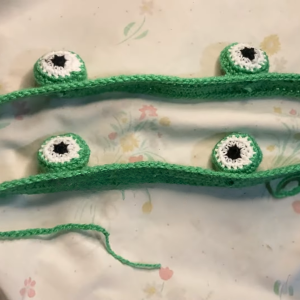
Congratulations! You’ve successfully made a beautiful and easy crochet headband. This versatile accessory can be customized in length, width, and colors to match your preferences. The criss-cross stitch adds an elegant touch that pairs perfectly with matching hats and scarves.
Leave a Reply