

Turn your headphones with free crochet apple cover pattern add style, protection, and personality to your tech with endless customization options.
Looking for a way to give your headphones some personality while adding a layer of protection? Crochet apple headphone covers could be the perfect solution. These handmade accessories combine practicality with charm, turning your ordinary headphones into delightful works of art. Designed to fit snugly over Apple headphones, these covers help guard against scratches, reduce wear and tear, and keep dust away, all while adding a fun twist to your tech gear.
Crochet Apple Headphone Cover For Snugly Fit
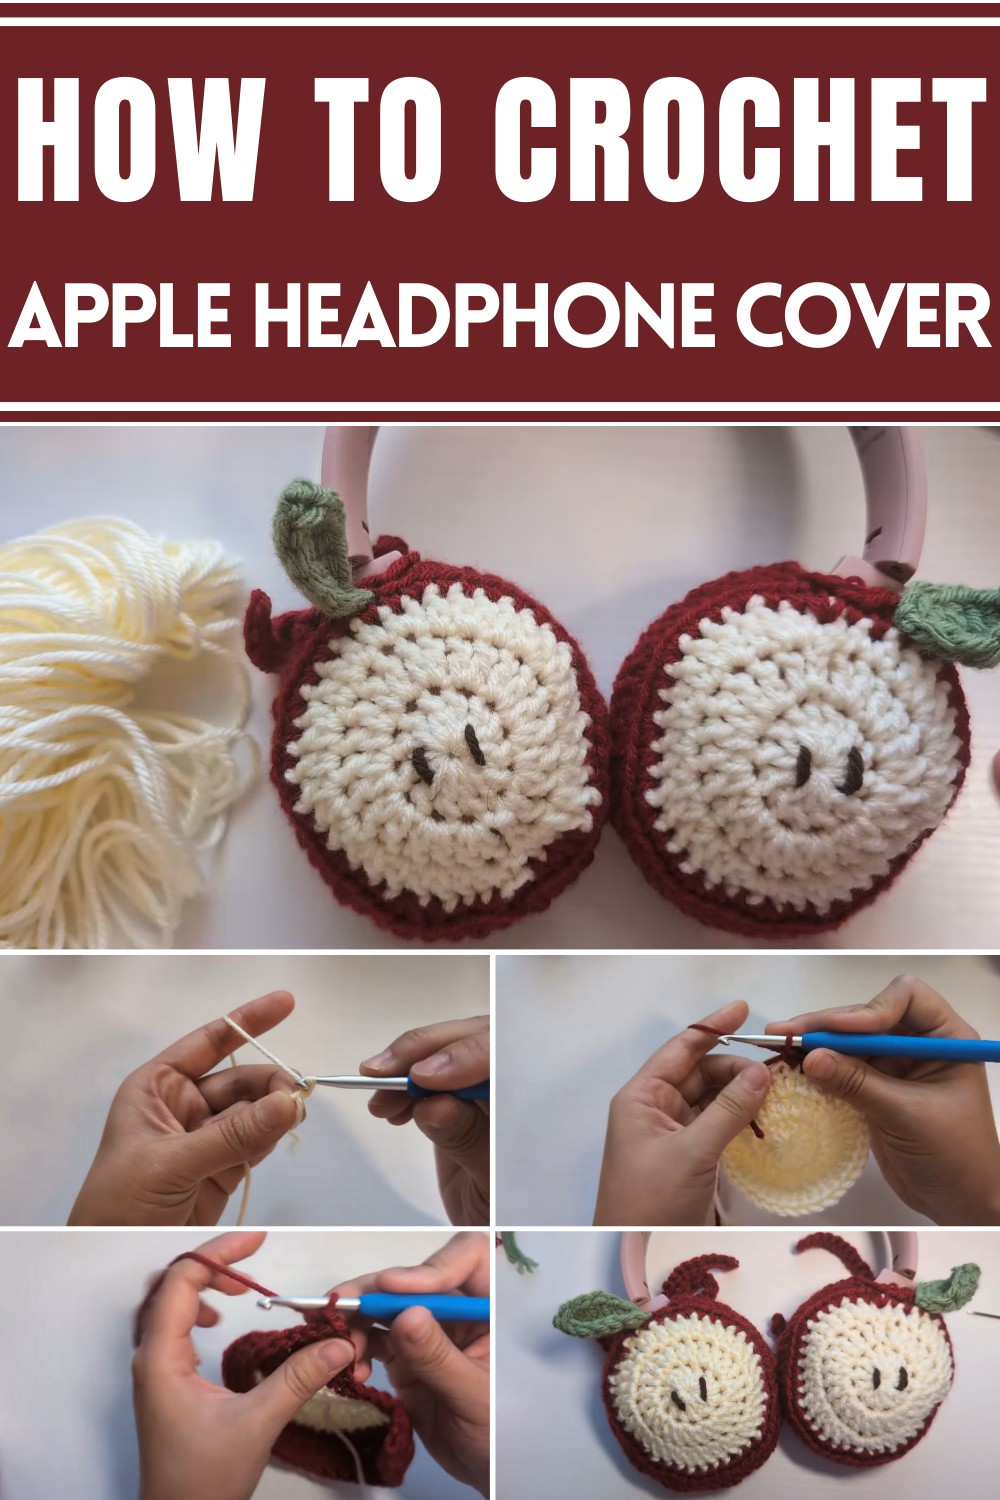
The versatility of crochet covers is remarkable. With countless patterns and color options, you can customize them to suit your style, reflect your mood, or celebrate a seasonal theme. Beyond their visual appeal, these covers improve functionality by providing a soft, textured grip, making it less likely for your headphones to slip or fall. The crochet texture adds a comforting, cozy feel, transforming everyday tech use into a more pleasing experience.
Ideal as unique handmade gifts or as projects for personal enjoyment, these covers also offer an eco-friendly way to infuse life into your gadgets. They effectively blend functionality with flair, enhancing every listening experience while adding protection. Perfect for tech lovers, crochet apple headphone covers are a simple yet creative upgrade to personalize and secure your devices.
Introduction
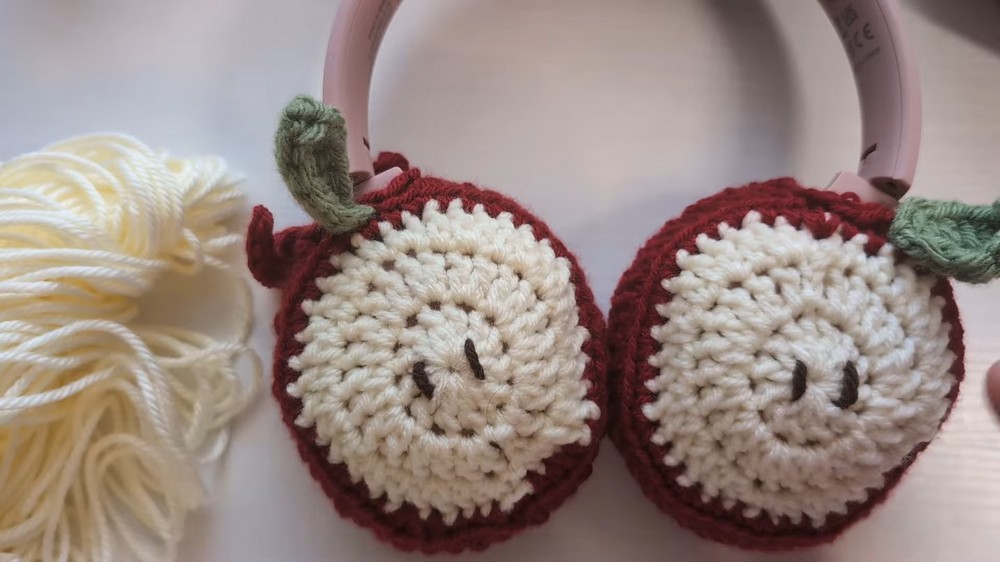
Crocheting Apple headset covers is a fun and creative way to protect and style your earcups. This pattern involves simple crochet techniques like magic rings, single crochets, double crochets, and various decreases, ensuring a snug and stretching fit for your device. By incorporating green leaves and brown "seeds," you end up with a design resembling an authentic apple. Ideal for beginners or experienced crocheters, this project allows you to customize your accessories with charm and creativity.
Step 1: Gathering Materials and Preparing Measurements
- Required Materials:
- Medium-weight yarn in red, white, brown, and green.
- A 5mm crochet hook.
- Scissors.
- Stitch markers.
- A darning needle.
- Measurements:
- Apple covers: 10 cm width and 10 cm length.
- Earcups: 8 cm wide, 10 cm long.
Step 2: Creating the Bottom Base
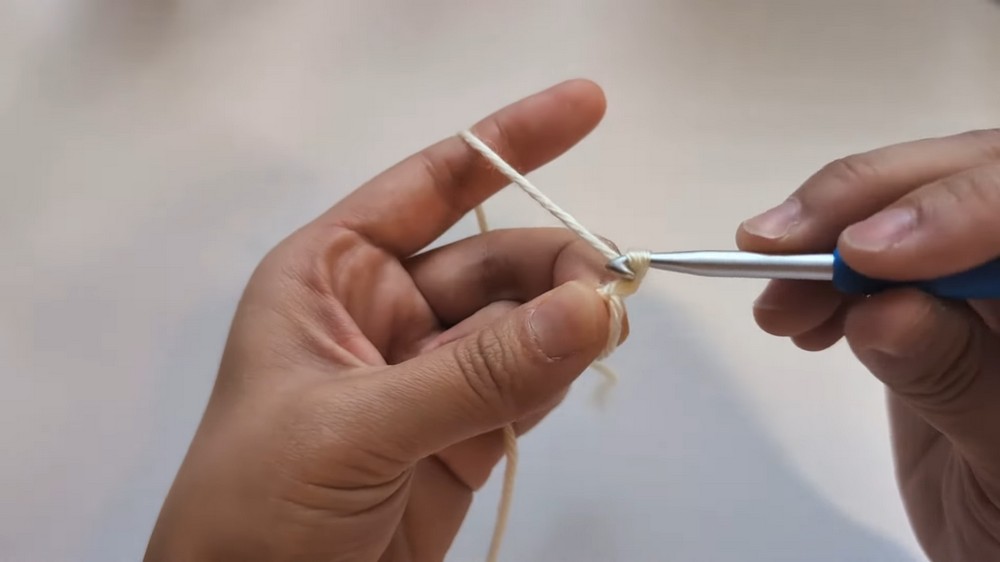
- Start with a magic ring.
- Chain 2 (these do NOT count as a stitch).
- Make 12 double crochets into the ring.
- Pull the tail to close the ring and slip stitch into the first double crochet.
Step 3: Increasing the Circle (Rounds 2 and 3)
- Round 2:
- Chain 2 (counts as a stitch).
- Double crochet in the same stitch.
- Make 2 double crochets in each stitch all around.
- Slip stitch into the second chain to close the round.
- Round 3:
- Chain 2 (counts as a stitch).
- Alternate between 1 double crochet and 2 double crochets in the next stitch (1, 2, 1, 2 pattern).
- Continue until the end of the round and slip stitch into the second chain.
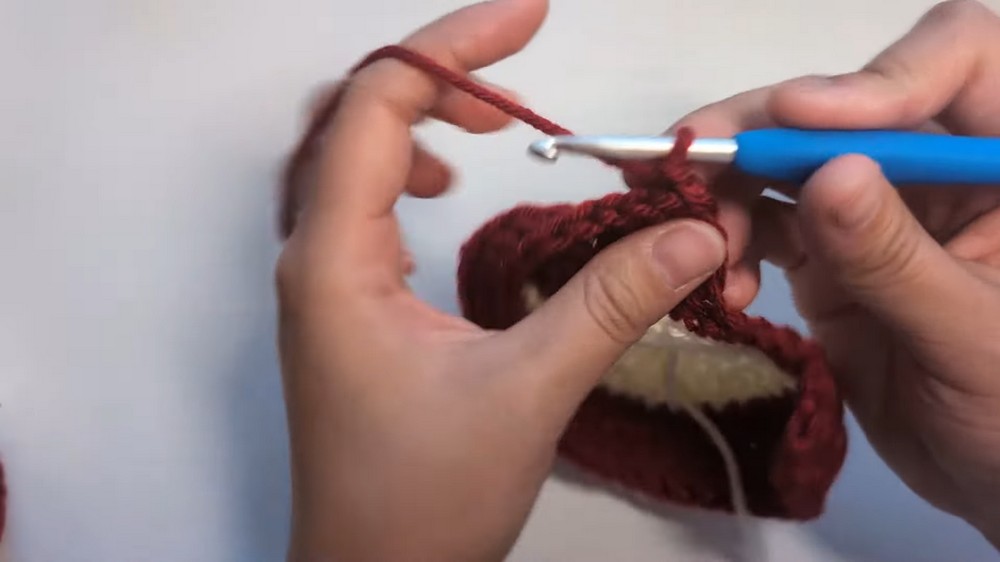
Step 4: Adding "Apple Skin" with Red Yarn
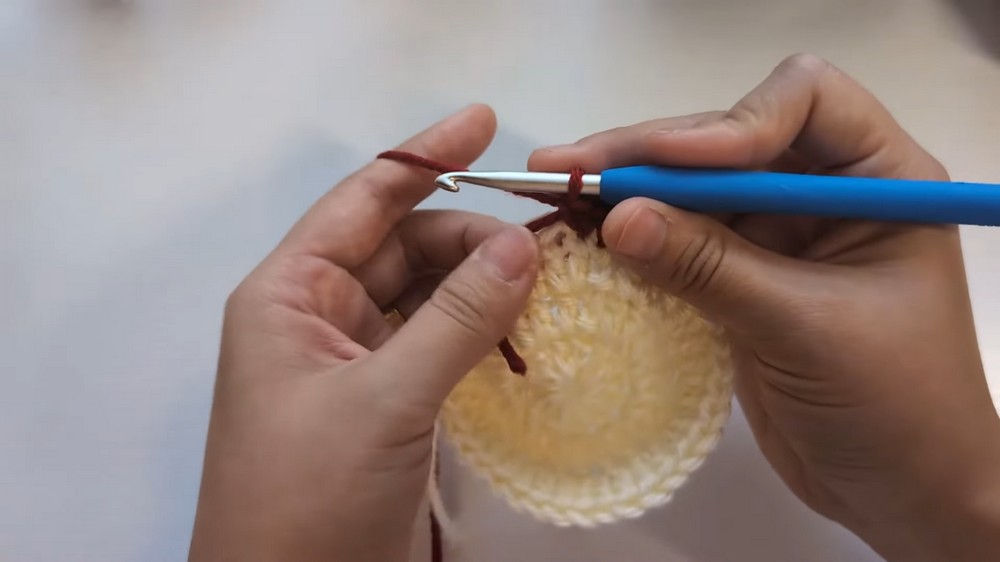
- Tie red yarn onto the base near the last slip stitch.
- Make a single crochet in each stitch around, using the pattern:
- 1 single crochet, 1 single crochet, 2 single crochets.
- Slip stitch into the first single crochet to close.
Step 5: Creating the Decreases (Rounds 5+)
- Round 5:
- Chain 2 and make half double crochets into the back loop only.
- Continue without increasing, and stop at the stitch marker.
- Decreasing Rounds:
- Chain 1 and turn.
- Perform the following pattern:
- 3 half double crochets.
- 1 half double crochet decrease.
- Repeat 3:1 until the end of the row.
- Repeat as needed until the fit is snug.
Step 6: Creating the Ties
- Chain 26 stitches.
- Work slip stitches back down the chain (total 25 slip stitches).
- Repeat slip stitching into each stitch within the current round.
- Chain another 26 stitches, slip stitch back down, and secure.
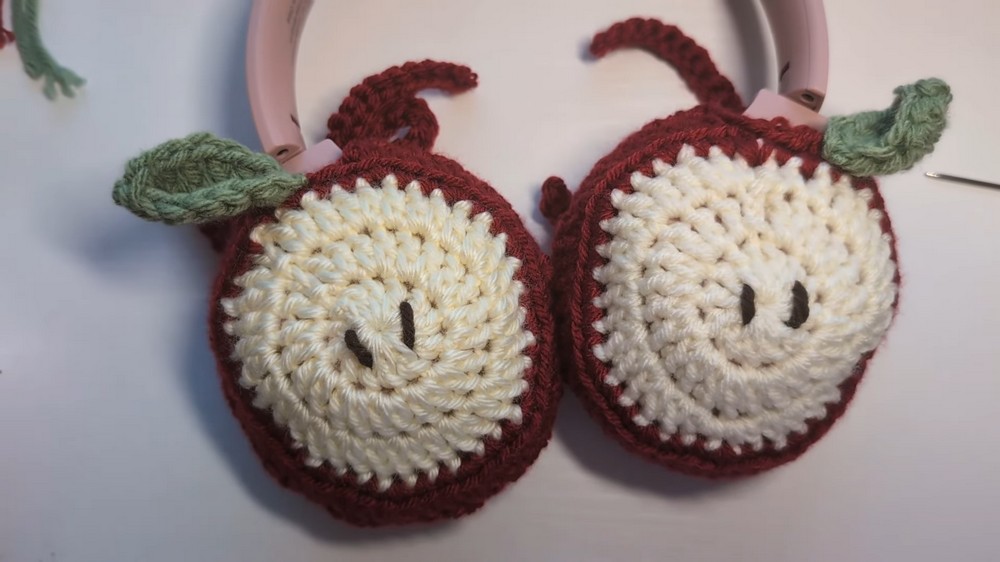
Step 7: Adding the Apple Seed Details
- Use brown yarn to create the seeds:
- Thread the yarn through the darning needle.
- Sew small back-and-forth stitches into the base to resemble seeds.
- Tie the yarn securely and weave in the ends.
Step 8: Crocheting the Leaf
- Use green yarn to crochet the leaf:
- Start with a slip knot.
- Chain 7 stitches.
- Work the following stitches into consecutive chain spaces:
- 1 single crochet.
- 1 half double crochet.
- 2 double crochets.
- 1 half double crochet.
- 1 single crochet.
- Slip stitch into the first single crochet.
- Leave a small tail to sew the leaf onto the apple cover.
- Secure with stitching on the red portion of the cover and weave in ends.
Step 9: Final Finishing Touches
- Weave in all ends using the darning needle to ensure a clean finish.
- Tie the two ends of the headset cover using a butterfly bow.
- Adjust and secure the fit on your ear cups.
Conclusion
This Apple headset cover is a fun and functional project that adds a playful touch to your tech accessories. Featuring apple-inspired elements like seeds and leaves, the design is a charming addition to your headset. By following this step-by-step guide, you can crochet personalized covers using simple crochet techniques. Perfect for gifting or personal use, these covers are versatile in style and practicality.


Leave a Reply