

Show your festive spirit with this colorful Crochet Easter Egg Cover pattern, offering simple instructions for adding charm to your seasonal decor.
Easter is the perfect time to add a splash of handmade charm to your seasonal decor, and nothing captures the spirit quite like a Crochet Easter Egg Cover Pattern. These charming little covers fit snugly over eggs, turning them into colorful, textured gems that brighten up any basket or table setting. Creating these covers is a joyful way to celebrate spring—a simple project that brings warmth and character to your holiday celebrations while offering a delightful canvas for your creativity.
Fun Crochet Easter Egg Cover Free Pattern with Colorful Decorative Details
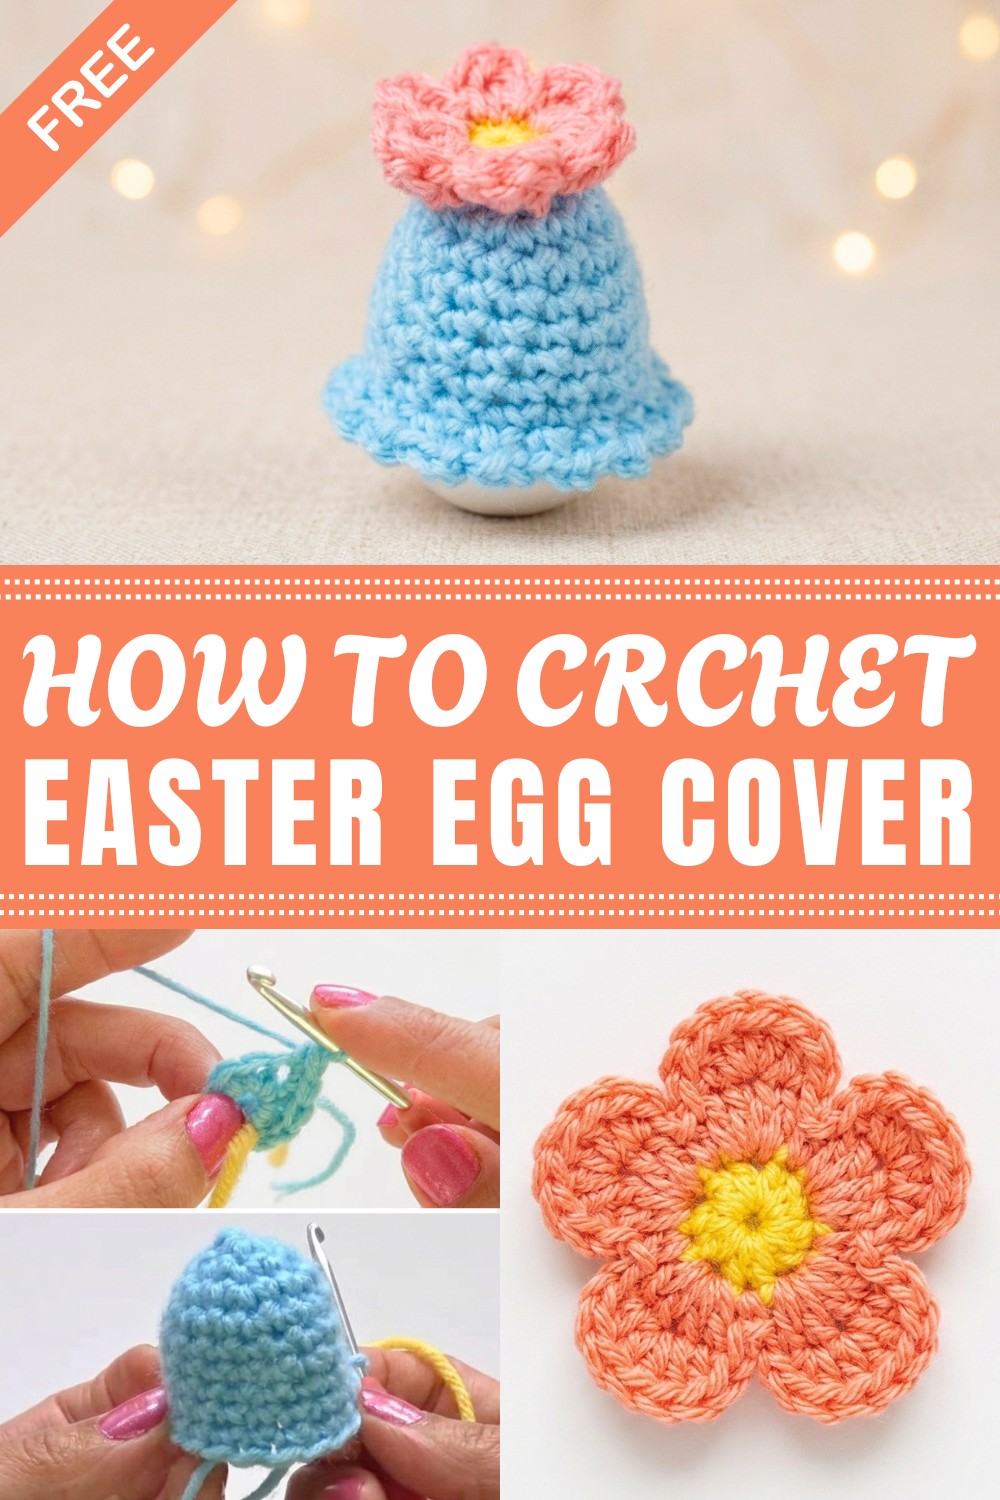
The finished crochet Easter egg covers are small treasures that showcase delicate stitches and cheerful details. Typically designed to fit snugly over eggs of various sizes, their round, slightly tapered shape mirrors the natural curve of an egg, adding a soft, textured layer that’s both eye-catching and tactile. The patterns invite a blend of colors and small embellishments, allowing you to customize each cover to your mood or the season’s palette. Whether you prefer pastel hues or bold, vibrant shades, these covers can make your eggs stand out beautifully.
Beyond their charming look, the covers offer a bit of practicality—protecting decorated eggs and making it easier to display them in a creative way. They’re a fun weekend project for all levels of yarn lovers. Beginners will enjoy practicing stitches and shaping, while more experienced folks can experiment with stitch combinations or add unique design flourishes.
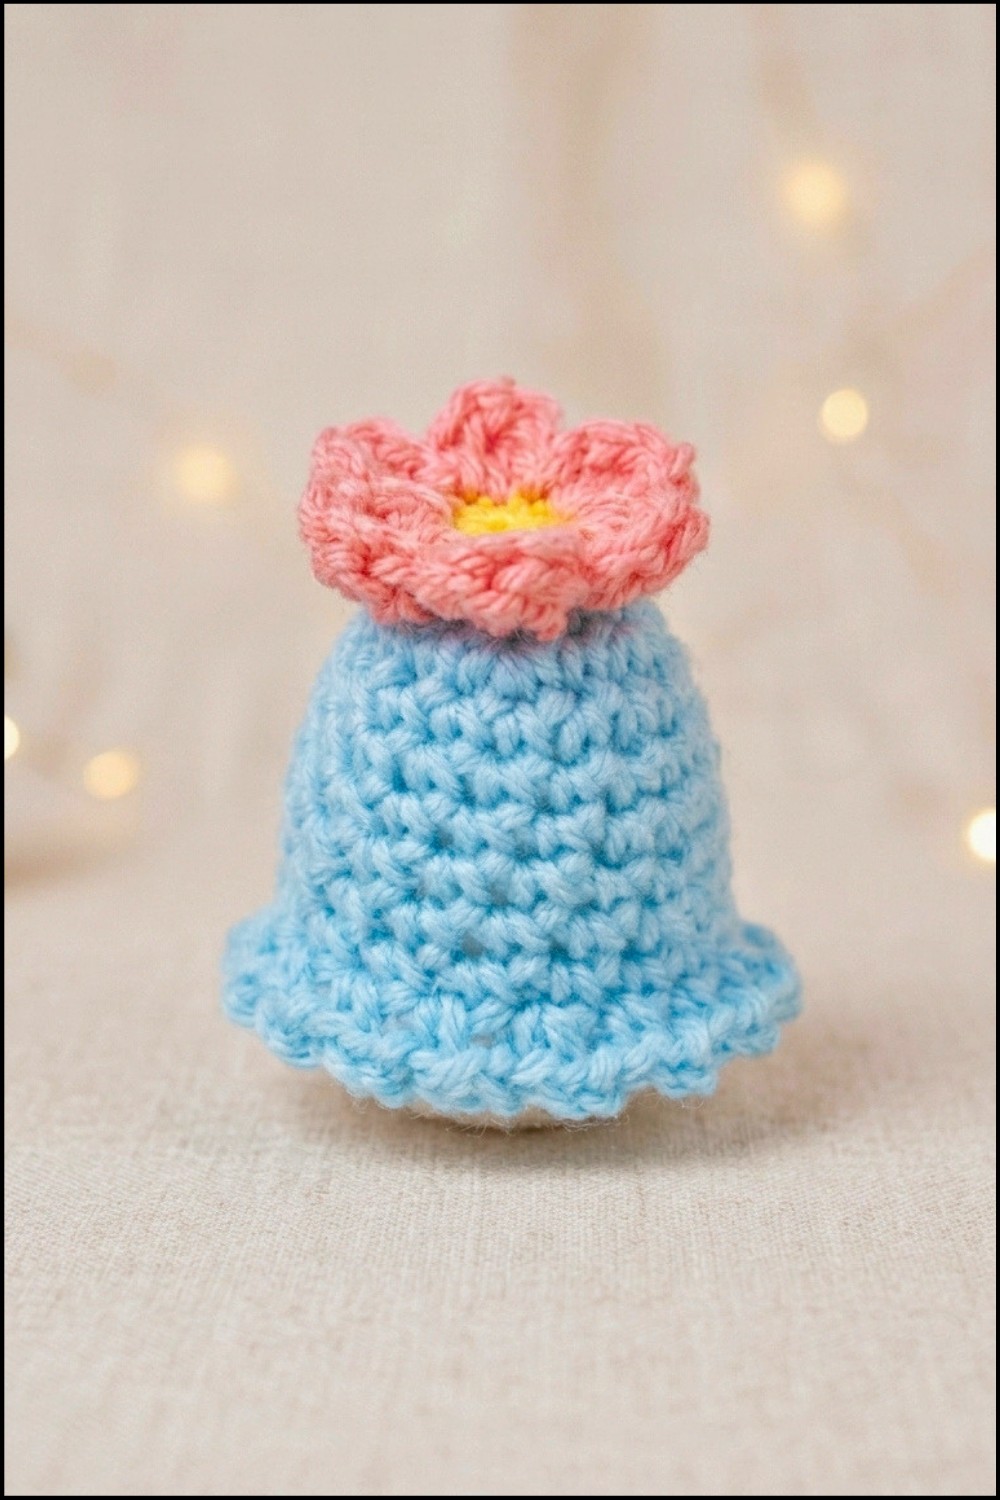
When you dive into a project like this, you’ll gain confidence in working with small, curved shapes and learn how simple stitches can come together to create delightful details. It’s a soothing, satisfying way to prepare for the holiday without any rush. If you’re ready to brighten up your Easter with this lovely addition, be sure to check out the free Crochet Easter Egg Cover Pattern and let your spring creativity bloom.
Crochet Easter Egg Cover with Flower
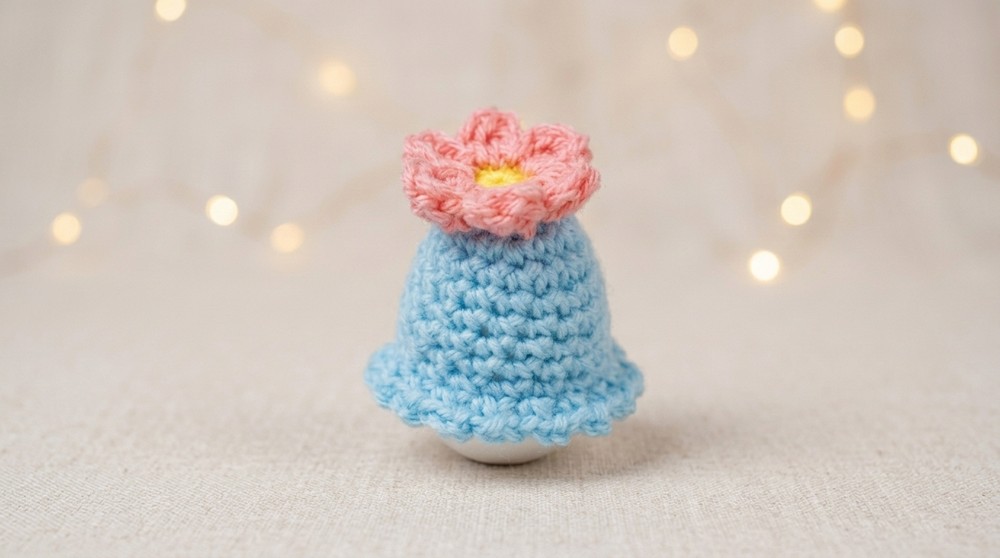
In this guide, the steps for making a charming crochet Easter egg cover topped with a delicate flower are presented in a straightforward, easy-to-follow format. Using small amounts of yarn and a few basic supplies, this project results in a playful and practical accessory for eggs during seasonal celebrations or as a small decorative accent. The entire process is explained with clear transitions between each procedure, just as demonstrated in the original reference, ensuring each part is approachable even for those with minimal crochet experience.
Quick Overview of Pattern
- Uses minimal yarn: suitable for scrap yarn projects.
- Egg cover is worked in continuous rounds, starting with a magic ring.
- Embellished with a simple two-part flower attached to the top.
- Ideal for small gifts, decorations, or festive table settings.
- Minimal sewing required; flower may be glued or stitched in place.
Notes
- Work in continuous rounds unless otherwise specified.
- A stitch marker (or scrap yarn) is helpful to indicate each round's start.
- The magic ring provides a seamless, closed beginning.
- When attaching parts, ensure all tails are woven securely for durability.
- The pattern accommodates both medium (size 4) or light (size 3) yarns.
Skill Level
Beginner — Basic crochet stitches are all that are needed (single crochet, double crochet, slip stitch, and magic ring). This pattern is especially friendly for advanced beginners or anyone ready to try their first in-the-round project.
Materials
- Yarn: Medium weight (size 4) or light weight (size 3) in small amounts (acrylic or preferred fiber)
- Crochet Hook: 4.0 mm
- Notions:
- Stitch marker (or scrap yarn)
- Yarn needle
- Scissors
- Hot glue gun (optional, for attaching the flower)
Measurements / Sizing
- Fits a standard plastic or chocolate egg (approx. 6 cm tall)
- Finished cover will be roughly 5–6 cm tall and 3–4 cm wide at the broadest point
- Size may vary slightly based on yarn thickness and individual tension
Gauge
- Exact gauge is not critical, but use a hook and tension that yields a snug fit around your chosen egg so the cover does not slide off.
- Recommended gauge:
Roughly 8–9 single crochets per 2.5 cm (1 inch) - Stitch pattern:
Worked in single crochet in continuous rounds.
Stitch Abbreviations
- MR – Magic Ring
- sc – single crochet
- dc – double crochet
- sl st – slip stitch
- ch – chain
- st(s) – stitch(es)
- rep – repeat
Special Stitches
- Magic Ring (MR): Form a loop, work indicated stitches into center, pull tightly closed.
- Invisible Join: Not used in this project, but always finish by slip stitching to create a neat edge.
- Petal Cluster: (For flower):
The Petal Cluster is essential for shaping the signature look of a crochet flower. This sequence—chain 1, work three double crochets into the same stitch, and then slip stitch back into that stitch—creates a neat, rounded petal. Repeating this cluster in adjacent stitches forms a series of symmetrical, textured petals radiating from the center. Each cluster builds visible height and soft curves, mimicking the natural appearance of flower petals. The slip stitch not only secures the petal but also brings the working yarn to the right spot for the next petal, ensuring smooth transitions and a well-defined floral silhouette.
The Crochet Pattern
Part 1: Egg Cover
Begin with main color yarn. Work in spiral rounds unless instructed otherwise.
Round 1:
- Form a magic ring and ch 1 (or ch 2 and work into the first chain if you prefer).
- 6 sc into the ring.
- Pull the yarn tail firmly to close the center tightly. (Total: 6 sts)
Round 2:
- Mark the first stitch with a stitch marker.
- In each st around, work 2 sc in each st.
- (Total: 12 sts)
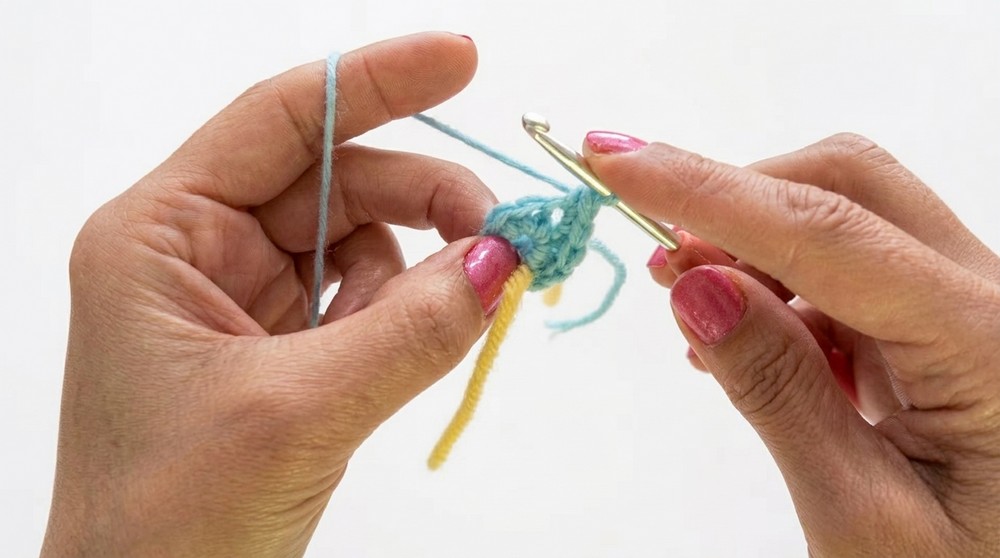
Round 3:
- Work 1 sc in the next st, then 2 sc in the following st.
- Rep from to around.
- (Total: 18 sts)
Rounds 4–9:
- For each of the next 6 rounds, work 1 sc in each st around.
- Maintain your stitch count carefully. (18 sts per round)
- After Round 9, your cover should be cup-shaped and start to fit your egg.
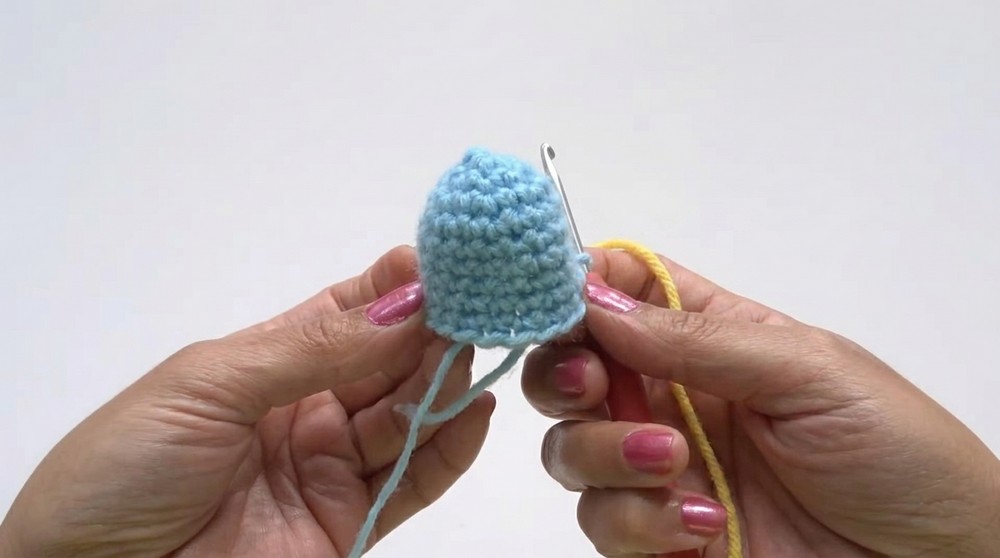
Round 10:
Switch to final decorative round:
- Work 1 sc in the next st, then ch 2.
- Rep from to around.
- At the end of the round: ch 2, sl st into the first sc to close.
- Fasten off and cut yarn.
- Pull yarn through last stitch to secure.
Part 2: Crochet Flower
Flower Center:
With center color (e.g., yellow):
Round 1:
- Form a magic ring with ch 1.
- 6 sc into the ring.
- Pull the yarn tail tightly to close the center.
- sl st into the first sc to join.
- Fasten off and trim yarn tail.
Flower Petals:
Join petal yarn (e.g., pink) in any sc of flower center:
Each Petal (repeat 6 times, one per stitch):
- Join yarn, ch 1.
- Into the same st: 3 dc, sl st.
- Move to the next st, sl st, ch 1, 3 dc in same st, sl st.
- Continue working sl st, ch 1, 3 dc, sl st in each subsequent stitch.
- At the end, you should have 6 petals.
- To finish, sl st into the starting chain space, ch 1, and fasten off.
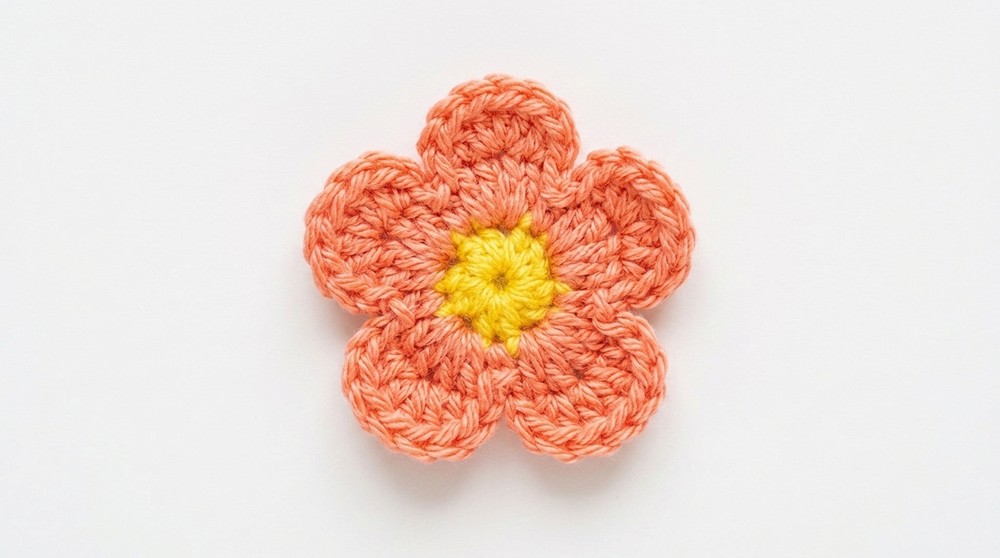
Assembly & Finished Size
Finishing the Flower:
- Pull flower yarn ends to the back using your hook.
- Tie both yarn tails together (make 3 tight knots).
- Trim the ends close to knots for a neat finish.
Attaching the Flower:
- Position the completed flower over the closed magic ring at the center top of the egg cover.
- Secure with a small drop of hot glue, or sew with a threaded needle for a more durable bond.
Weaving in Tails (Egg Cover):
- Turn egg cover inside-out.
- Using a yarn needle, weave the remaining tail through inner back loops towards the center.
- Pass yarn back and forth several times to anchor it, then cut off any excess.
Conclusion and Ending Words
From foundation to finishing touches, this egg cover project combines basic in-the-round crochet techniques with a straightforward approach to embellishment, all aiming for clear results. The magic ring start and counted increases provide a round, form-fitting design, while the easy flower brings an extra pop of cheer. Whether utilizing leftover yarn or favorite colors, each step is constructed with continuity for a satisfying finish. Attention to little details, such as weaving in tails securely and tying firm knots, ensures lasting quality. This adaptable project adds a special touch to holiday traditions and small gifts, serving as a beautiful display or a practical accessory for springtime eggs.



Leave a Reply