

Brighten your autumn décor with this free crochet pumpkin pattern that brings cozy charm and festive warmth to any seasonal display or project.
As the crisp air of fall settles in, there's nothing quite like the charm of a handmade pumpkin to bring warmth and seasonal cheer to your home. A Free Crochet Pumpkin Pattern offers a delightful way to create these cozy, soft pumpkins that perfectly capture the essence of autumn. These little crochet creations aren’t just adorable—they’re incredibly versatile, adding a touch of handmade beauty to your décor, whether perched on a shelf, arranged in a centerpiece, or nestled among your favorite fall treasures.
The finished pumpkin boasts a plump, rounded shape with gentle ridges that mimic the natural grooves of a real pumpkin. Crocheted with soft yarn, its texture is both inviting and tactile, making it a joy to hold or display. The crocheted stem on top gives a charming finishing detail, tying the whole piece together. Because you can easily adjust the size by changing your yarn weight and hook size, these pumpkins offer endless possibilities—from tiny accents to larger statement pieces that brighten up any room.
Free Pumpkin Crochet Pattern with Cute Decorative Finish
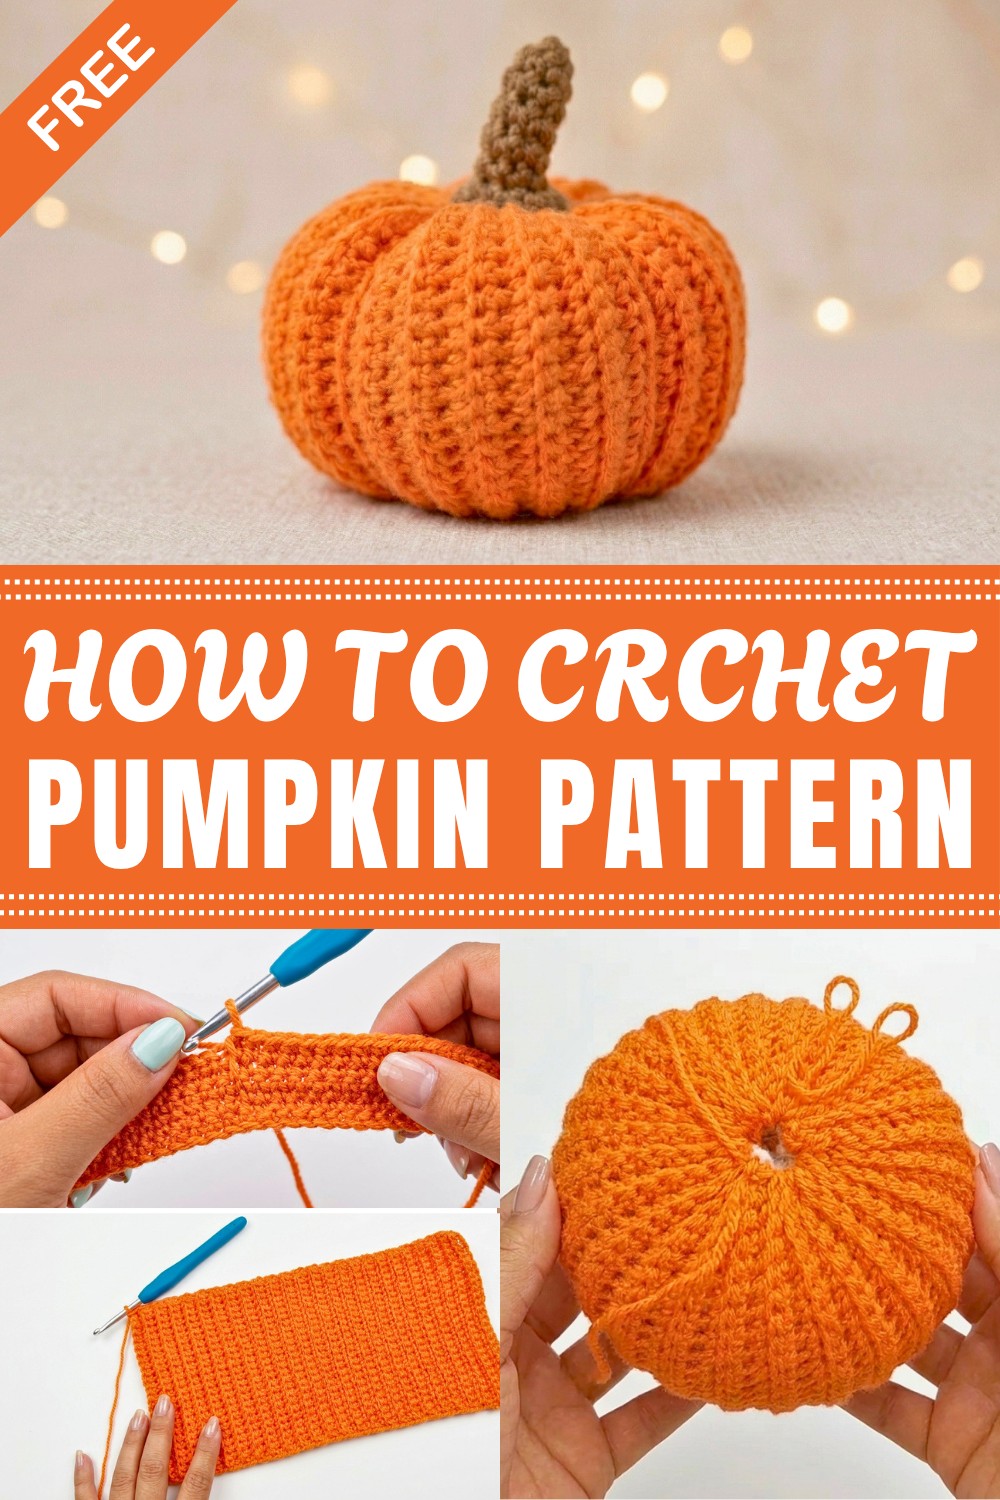
One of the best parts about this crochet project is its accessibility. Whether you’re a beginner eager to try shaping techniques through simple increases and decreases or an experienced crocheter looking to experiment with colors and embellishments like leaves or embroidery, this pattern fits the bill. Through making this pumpkin, you’ll develop better control over working in the round and practice sculpting three-dimensional shapes with yarn—a satisfying skill to add to your crochet toolkit.
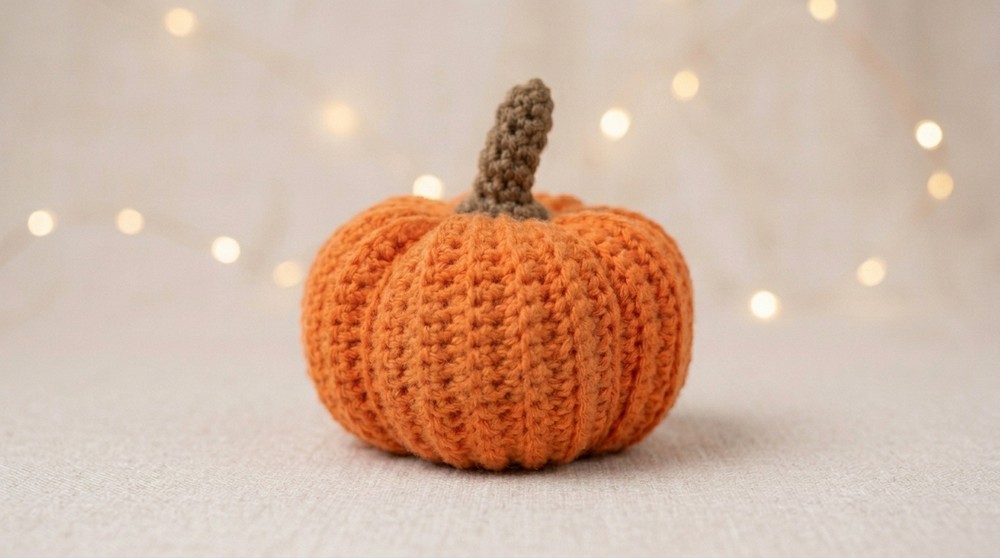
In the end, creating a crochet pumpkin is more than just crocheting a pretty object—it’s about welcoming the spirit of the season into your home with something you made by hand. Cozy up with your hook and yarn, and enjoy the process of stitching this charming Free Crochet Pumpkin Pattern into your autumn traditions.
Crochet Pumpkin Pattern for Beginners
This beginner-friendly crochet pumpkin pattern offers a simple and customizable way to create charming pumpkins in any size you desire. The pattern uses basic single crochet stitches worked in the back loops to create a ribbed texture reminiscent of pumpkin segments or “gajitos.” The pumpkin is made in a rectangular piece folded and seamed into a rounded shape, stuffed firmly, and finished with a cozy stem (peduncle). Optional leaves can be added for embellishment. This guide includes detailed instructions from foundation to assembly, designed to gradually build your confidence in amigurumi and crochet shaping.
Quick Overview of Pattern
The pumpkin body starts with a foundation chain of adjustable length corresponding to your desired pumpkin height. Single crochet stitches are worked row by row while only crocheting in the back loops to establish the characteristic ribbed segments. The stem is crocheted separately in a spiral from a magic ring, increasing in the final round for stability. The body rectangle is folded and sewn to form the round pumpkin shape, then stuffed with fiberfill. The edges are closed with a technique of weaving yarn in a zig-zag pattern and pulling tight to shape and finish both top and bottom. Finally, the center is manipulated to resemble natural pumpkin segments, and the stem is securely sewn on top.
Notes
- This pattern is adjustable — changing the foundation chain length modifies pumpkin height and overall size.
- Working only in the back loops creates a beautiful ridged texture ideal for pumpkins.
- Stuff the pumpkin firmly to hold shape.
- The zig-zag sewing technique at the edges is crucial for shaping and closing the round form.
- The stem’s increased base ensures a neat attachment and balanced look.
- Optional decorations like leaves can be added using green yarn and simple crochet shapes.
Skill Level
Suitable for beginners with basic knowledge of:
- Chain stitches (ch)
- Single crochet (sc)
- Magic ring (MR)
- Working in rows and rounds
- Basic sewing and shaping techniques
Materials
- Orange yarn for pumpkin body
- Brown yarn for stem (peduncle)
- Optional green yarn for leaves
- 4 mm crochet hook
- Yarn needle with a large eye to accommodate yarn thickness
- Scissors
- Fiberfill stuffing for shaping pumpkin
Measurements / Sizing
- Pumpkin size varies based on foundation chain length.
- Typical example: 26 cm wide and 13 cm tall pumpkin body rectangle before shaping.
- Stem length approximately 3.5 cm, adjustable per preference.
Gauge and Stitch Pattern
- Gauge is flexible; consistency is key to neat ribbing and shaping.
- Single crochet in back loops only forms the ribbed segments.
- Stem is crocheted in rounds using single crochet stitches in the spiral.
Stitch Abbreviations
- ch: chain
- sc: single crochet
- MR: magic ring
- sl st: slip stitch
Special Stitches
- Back Loop Only (BLO): Insert hook into the back loop only (the loop farthest from you) of each stitch during single crochet. This creates a ribbed surface ideal for segmenting.
- Zig-Zag Weaving: Technique using the yarn needle to weave in and out around the edge stitches alternating sides to tighten and close circular or rounded shapes.
The Crochet Pattern
1. The Pumpkin Body
Foundation
- Create a reinforced chain of your desired length, depending on pumpkin size.
- Suggested chain counts: 15, 20, or 25 chains to vary height.
Row 1
- Skip the first chain from the hook (turning chain).
- Work 1 single crochet (sc) in each chain across. This forms the base row.
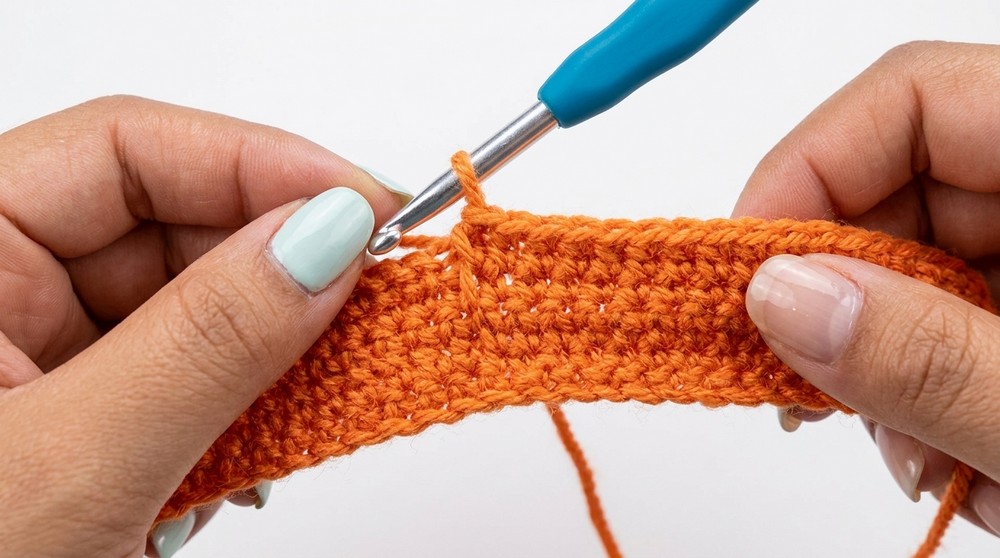
Subsequent Rows (Back Loop Only)
- Chain 1 and turn your work.
- Work 1 single crochet in the back loop only (BLO) of each stitch across the entire row.
- Repeat this row until the piece reaches your desired width — typical example measures approximately 26 cm wide and 13 cm tall. This length will form the circumference of the pumpkin when folded.
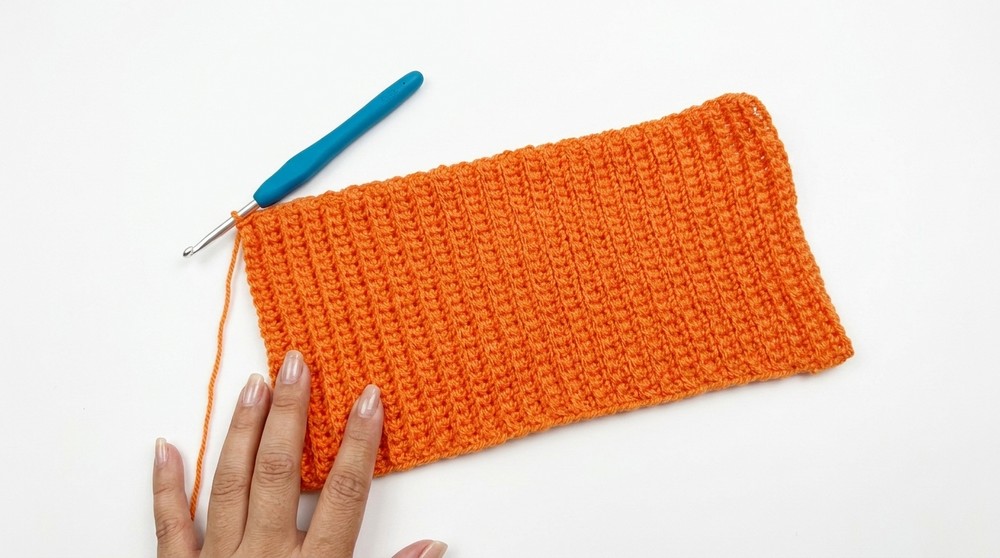
Finishing Body Piece
- Once desired length is achieved, fasten off yarn, leaving a long tail for sewing.
2. The Stem (Peduncle)
Magic Ring
- With brown yarn, form a magic ring (MR).
- Crochet 6 single crochets (sc) inside the ring.
Spiral Body of Stem
- Continue working in a spiral, placing 1 sc in each stitch around for multiple rounds until the stem reaches the desired length, approximately 3.5 cm in the example.
Increase Base
- In the final round, work 2 sc in each stitch to widen the base of the stem.
- Finish with a slip stitch (sl st) to close the round neatly.
- Fasten off and leave a tail for attachment.
3. Assembly
Sewing Up Pumpkin Body
- Fold the rectangular pumpkin body piece bringing the two short edges together to form a circular tube.
- Using the yarn needle and the long tail, sew the sides together securely.
Closing the Bottom
- Weave the yarn around the bottom edge in a zig-zag pattern, alternating in and out between adjacent stitches around the circle.
- Pull the yarn tight to close the bottom into a rounded shape forming the pumpkin base.
- Secure the yarn tail with a knot.
Stuffing
- Firmly fill the pumpkin with fiberfill stuffing to hold its shape well.
Closing the Top
- Repeat the zig-zag weaving technique used on the bottom edge around the top edge of the pumpkin.
- Pull tightly to close the opening.
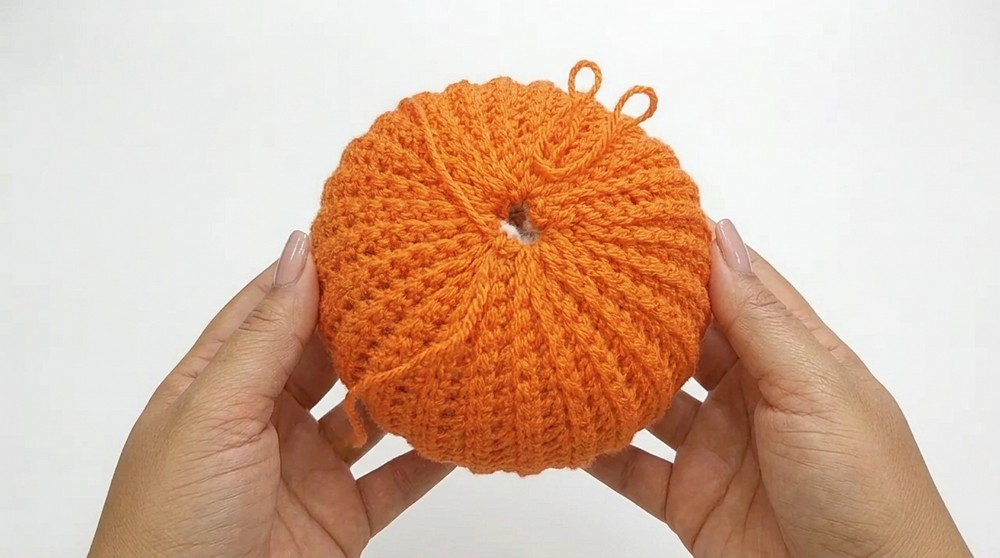
Forming the Ribs (Segment Lines)
- Pass the yarn through the center of the pumpkin from top to bottom several times, pulling gently to create indentations that mimic natural pumpkin segments, also known as "gajitos".
- Adjust tension until segments appear evenly formed. Secure yarn tail inside the pumpkin.
Attaching the Stem
- Sew the brown stem (peduncle) to the top center of the pumpkin securely using yarn needle and yarn tail.
- Weave in ends and trim excess yarn.
- If desired, add optional crochet leaves or embellishments sewn near the stem for added charm.
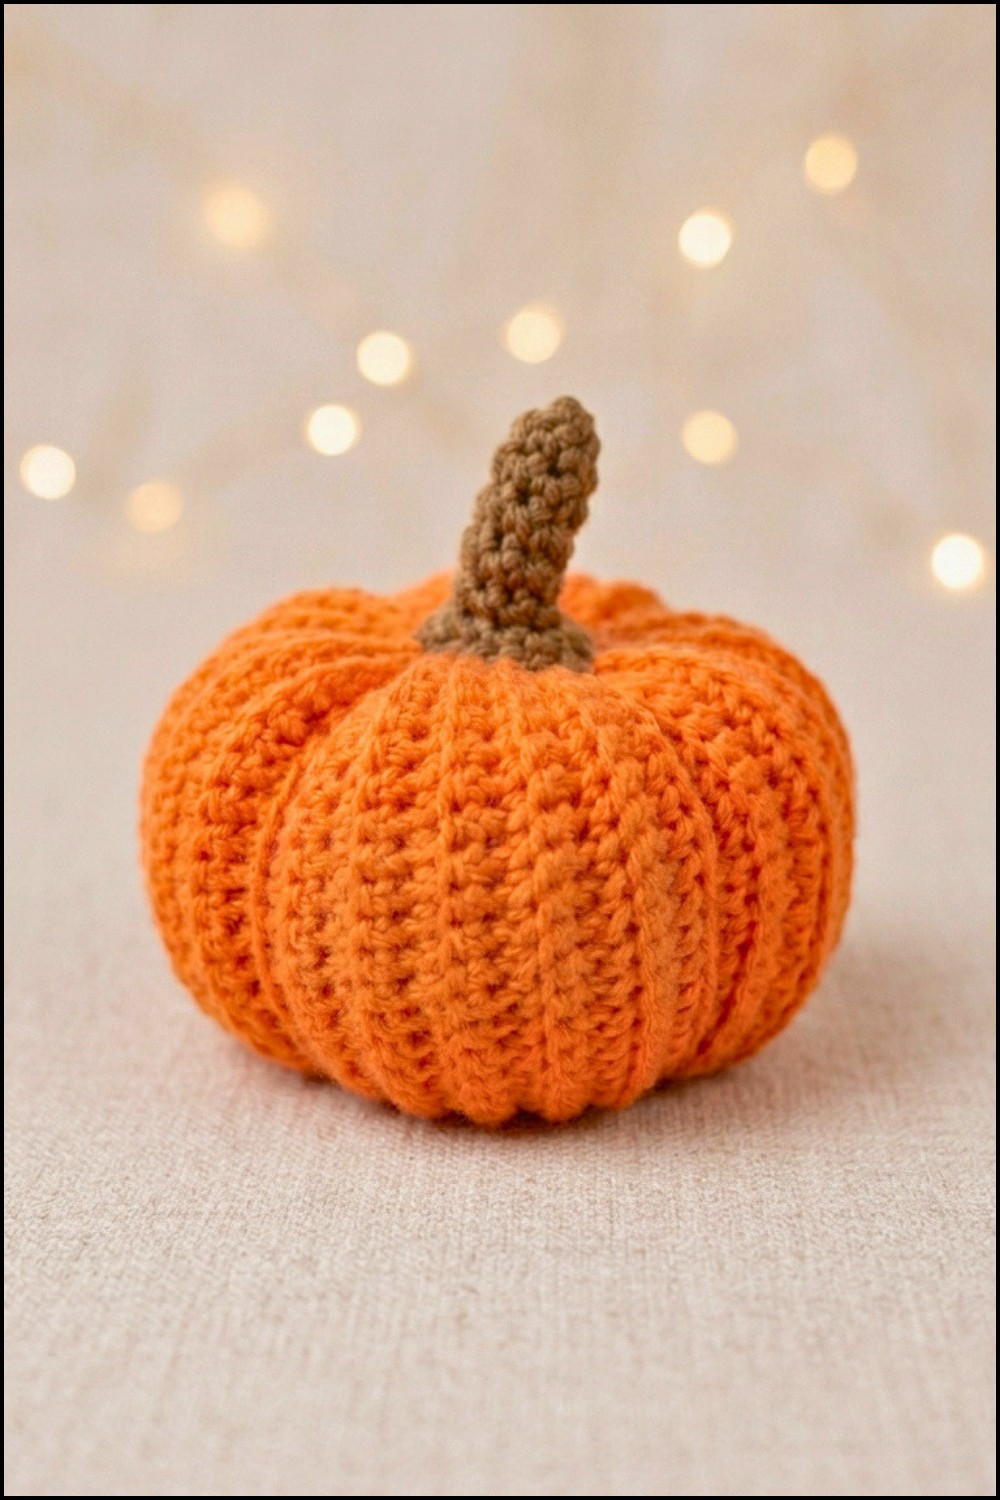
Assembly
Your finished pumpkin’s size depends on your initial foundation chain length; generally, they measure around 26 cm in circumference and 13 cm tall, standing nicely on any flat surface with a charming ribbed texture. The sturdy stem adds roughly 3.5 cm to the height and completes the look perfectly.
Conclusion
This simple crochet pumpkin pattern is elegant in its approach to beginner-friendly techniques while producing a visually striking piece. The ribbed stitch created by working in the back loops highlights the pumpkin’s natural segments beautifully. With minimal materials and straightforward shaping, you can easily customize the pumpkin’s size to fit your decor or gifting plans. Whether it becomes a fall centerpiece, a festive accessory, or a gift, enjoy the process and the festive charm it brings to your crochet repertoire.
Leave a Reply