

Try to make a charming crochet heart pillow with this easy-to-follow pattern that's perfect for cozy home decor and handmade gifts.
I had so much fun designing a cozy and charming free crochet heart pillow pattern that I’m excited to share with fellow crochet lovers. This project is a soft, decorative pillow shaped like a classic heart, perfect for adding a touch of love to any room. The pillow’s style is simple yet sweet, with gently rounded edges and a puffed, plush texture that makes it both comfy and eye-catching. What really makes it stand out is the subtle stitch pattern that adds a bit of depth and softness, turning a basic heart shape into something special.
Free Crochet Heart Pillow Pattern For Home Decor
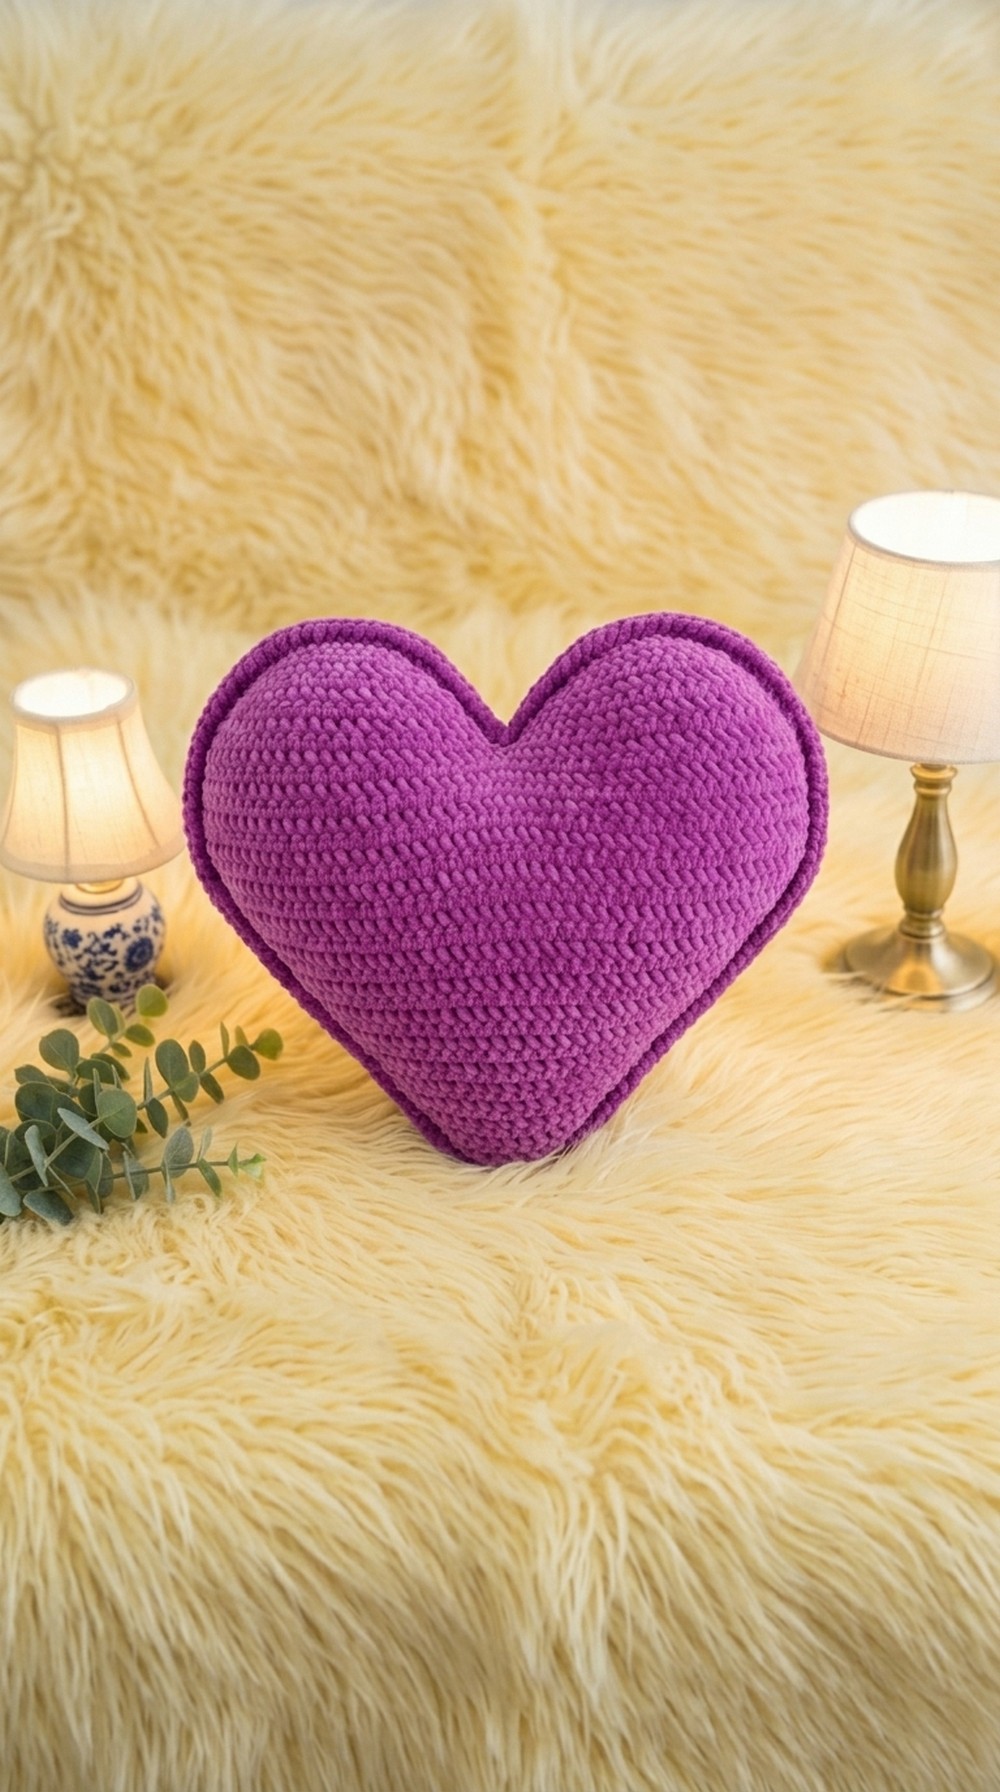
This heart pillow suits anyone looking to create a heartfelt gift or a lovely accent for their own home. It’s available in multiple sizes, so you can customize it to fit a couch, bed, or even as a cute travel companion. The construction mainly involves working in the round, which keeps things smooth and helps maintain the shape. A handy tip I’ve learned is to choose a yarn that’s soft but has some body—this helps your stitches pop and the pillow keep its shape without being too stiff or too floppy.
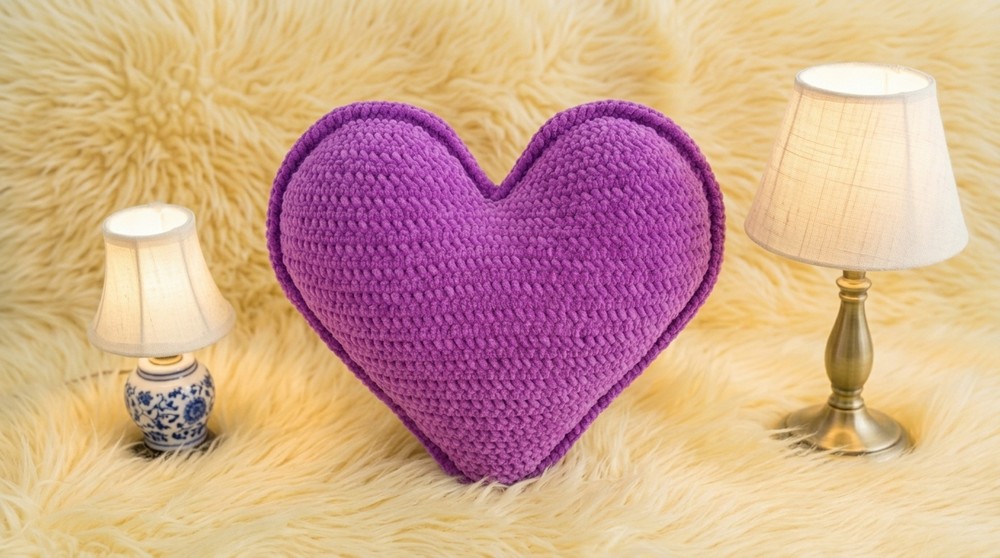
The inspiration behind this design came from wanting to create something that feels like a warm hug, both visually and physically. Using a yarn with a bit of texture really complements the stitches, giving the pillow a lovely, tactile quality. Whether it’s for Valentine’s Day, a birthday, or just because, this heart pillow makes a thoughtful and creative gift. Don’t be afraid to play with colors and yarn types to make it truly your own!
Crochet Heart-Shaped Pillow Pattern
Pattern Notes
- The pillow is made by crocheting two identical heart-shaped pieces.
- Uses single crochet stitches worked in rows with increases and decreases to form the heart shape.
- Velvet yarn requires careful stitch marking as stitches are less visible.
- Stitch markers are highly recommended for tracking.
- The pillow includes a generous fiber stuffing between the two panels for softness and volume.
- The pattern allows size adjustments by adding or subtracting rows and stitches in increments of two.
- Assembly is done by joining the two panels and stitching around the edges with fiber filling inside.
Skill Level
Intermediate – familiarity with single crochet, working in rows, increases, decreases, and basic assembly required.
Materials
- Velvet yarn (Himalaya brand recommended or any soft velvet yarn suitable for 4 mm hook)
- Crochet hook 4 mm
- Stitch markers (3 or more recommended)
- Scissors
- Fiber stuffing (polyester or similar) – generous quantity needed
- Yarn needle for sewing and finishing
Measurements / Sizing
- Height: Approximately 36 to 38 cm depending on individual adjustments
- Width: Approximately 39 cm at the widest part
- Thickness: Dependent on fiber stuffing amount, enough for a comfortable pillow
- The pattern can be scaled larger or smaller by increasing or decreasing the number of rows and stitches.
Gauge
Gauge is flexible for this project but consistent single crochet tension will produce the best results.
Stitch Abbreviations
- ch = chain
- sc = single crochet
- st(s) = stitch(es)
- sl st = slip stitch
- inc = increase (2 sc worked in same stitch)
- dec = decrease (single crochet two stitches together)
Special Stitches
- Decrease (dec): Insert hook into the next stitch, pull up a loop, do the same for the next stitch, yarn over and pull through all loops on hook to decrease 1 stitch.
The Crochet Pattern
Panel 1 and Panel 2 (Make 2)
Foundation Chain:
- Begin by chaining 4.
Row 1:
- Starting in 2nd chain from hook, work 1 sc in each of the next 3 chains (total of 3 sc).
- This is your base row.
Row 2:
- Chain 1, turn work.
- Work 1 sc in each stitch across (3 sc).
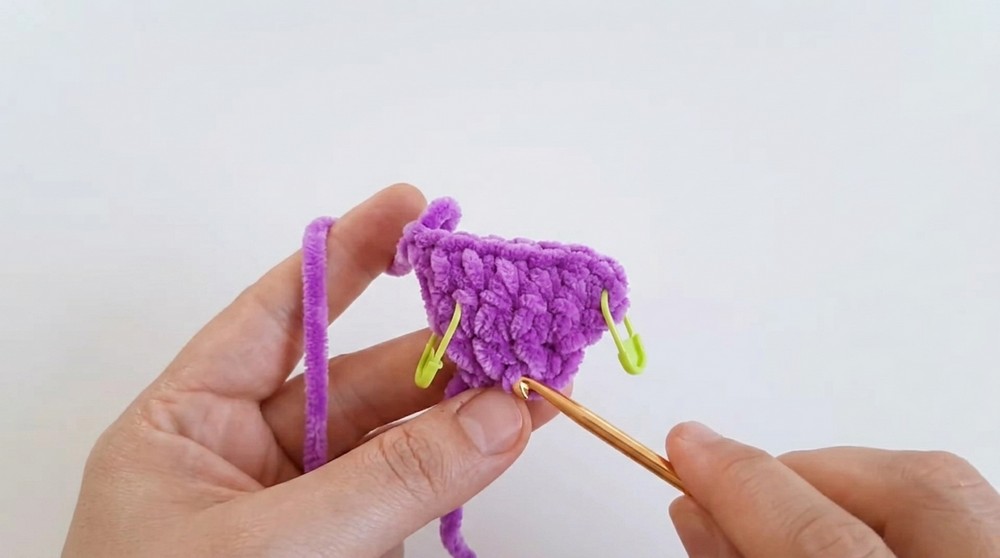
- Place stitch marker in first sc to help track edges.
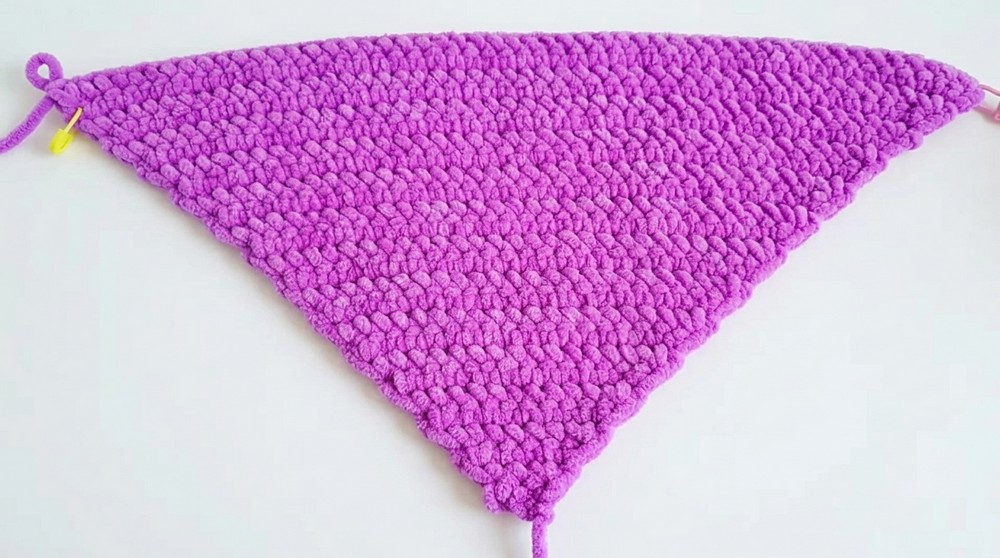
Row 3 to Row 26 (Increasing Rows):
- From Row 3 onward, you will increase stitches by 2 every row until Row 26:
- Increase is done by making 2 sc in the first and last stitch of the row.
- For example, Row 3: 1 sc inc, sc in remaining stitches, 1 sc inc.
- This will create rows of 3, 5, 7, 9 … up to 53 stitches in Row 26.
- Mark the start and end of rows with stitch markers as needed (velvet yarn reduces stitch visibility).
- Continue working single crochet across each row with increments by 2 stitches at the edges.
Note:
- You will have a total of 53 stitches at the end of Row 26.
- Measure height approximately 25-26 cm at this stage.
Rows 27 to 36 (Straight Rows):
- Work 10 rows in straight single crochet without increases or decreases.
- This forms the flat top of the heart shape.
- Maintain 53 stitches per row throughout this section
Shaping the Heart (Decreasing Rows 37 to 44)
Row 37 (Start Decreases):
- Begin decreasing on edges to shape the heart top lobes.
- At beginning of row: dec (single crochet two stitches together), sc to last 2 stitches, dec at end.
- Total stitches reduce by 2.
Continue Rows 38 to 44:
- Repeat decrease pattern at the beginning and end of each row, removing 2 stitches per row.
- This gradually rounds the top lobes of the heart.
By Row 44:
- You will have approximately 37 stitches left, forming the curved top sections.
Final Rows and Finishing Panel Shape
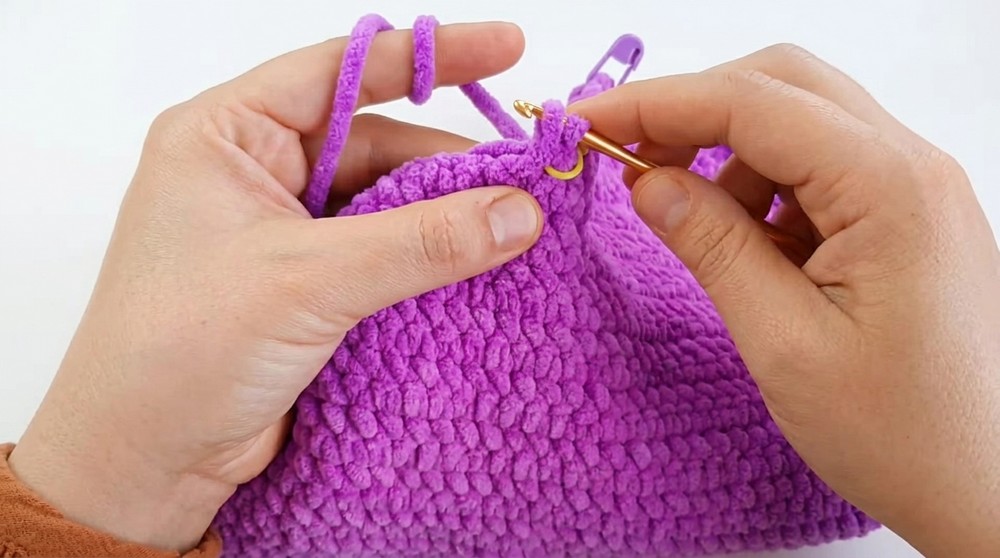
Rows 45 to 52:
- Crochet 8 rows continuing decrease as before in pairs around edges wherever gaps occur.
- Add occasional double crochets to fill gaps between stitch clusters if visible.
- Work single crochet stitches with careful decreases to maintain smooth shaping.
End of Panel:
- After Row 52, cut yarn leaving a long tail for sewing.
- Weave ends securely.
Assembly of Pillow
Join Panels:
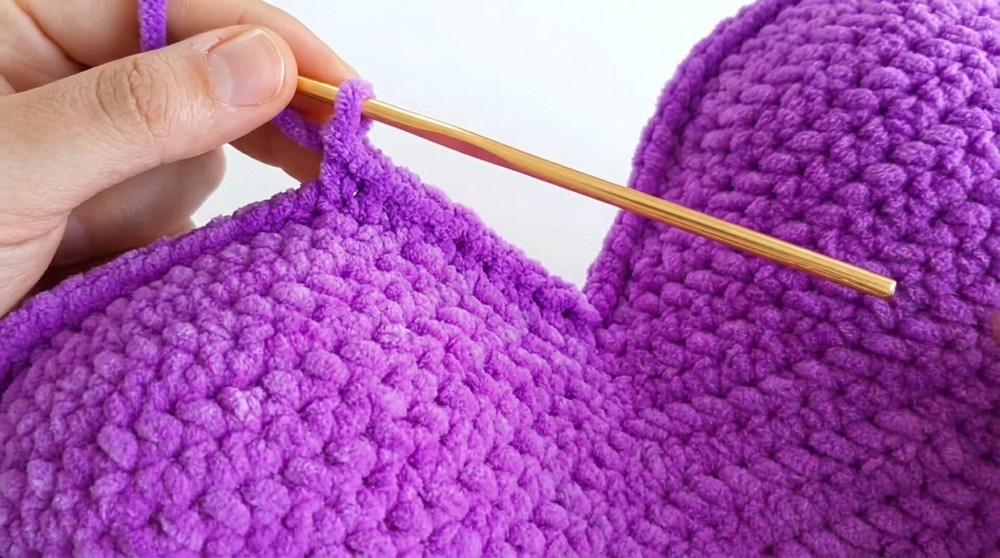
- Lay the two heart panels on top of each other with right sides facing out.
- Align edges carefully, matching stitch counts.
Crochet Edge Seam:
- Using yarn needle and leftover yarn tail, sew around the perimeter of the pillow with single crochet or whip stitch.
- Leave an opening about 7-8 cm wide for stuffing.
Stuffing:
- Fill pillow generously with fiber stuffing through opening, ensuring even distribution for softness and shape.
- Close opening with tight stitches.
Top Stitching Finish:
- Crochet or sew all edges cleanly for a finished look
- Add extra stitches as needed to close securely without puckering.
Assembly & Finished Size
- Both panels measure approximately 36-38 cm tall and 39 cm wide.
- Finished pillow thickness depends on fiber used, typically soft and plush.
- Pillow edges are joined with single crochet or whip stitch to create a neat seam.
- Fiber stuffing should be ample to keep pillow plump and heart shape well defined.
- Velvet yarn's softness gives a cozy texture suitable for decorative or gift use.
Create a lovely heart-shaped crochet pillow featuring textured single crochet stitches and shaping by strategic increases and decreases. This project is ideal for gifting or home décor, worked with velvet yarn for a soft and cozy finish. The pillow consists of two identical heart-shaped panels crocheted separately and then joined with fiber filling in between. The pattern details step-by-step instructions including stitch counts, shaping techniques, and assembly guidance.

Leave a Reply