

Personalize your hair clips with this Crochet Bow Free Pattern and use cheerful yarn colors to give simple hairstyles a lovely finishing touch.
The original YouTube tutorial by Yanet Pupo Crochet offers a wonderful guide to making a charming Crochet Bow, and full credit goes to her for sharing this creative project. This simple yet beautiful accessory is perfect for adding a cute, handmade touch to your outfits or gifts.
Simple Crochet Bow Free Pattern To Try At Home
The Crochet Bow is a small, decorative piece that can be used in many ways—attach it to headband, hats, bags, or even as a lovely gift topper. Its main features include a neatly textured bow shape with clean edges, which gives it a delicate and elegant look. The beauty of this project lies in its simplicity and versatility, making it suitable for crafters of all skill levels.
One unique aspect of this Crochet Bow is how easily it can be customized. You can choose from different yarn colors, add beads, or experiment with various yarn textures to make each bow truly your own. The tutorial walks you through a few basic crochet steps, such as creating a foundation chain, working single crochet stitches, and folding and stitching the bow together.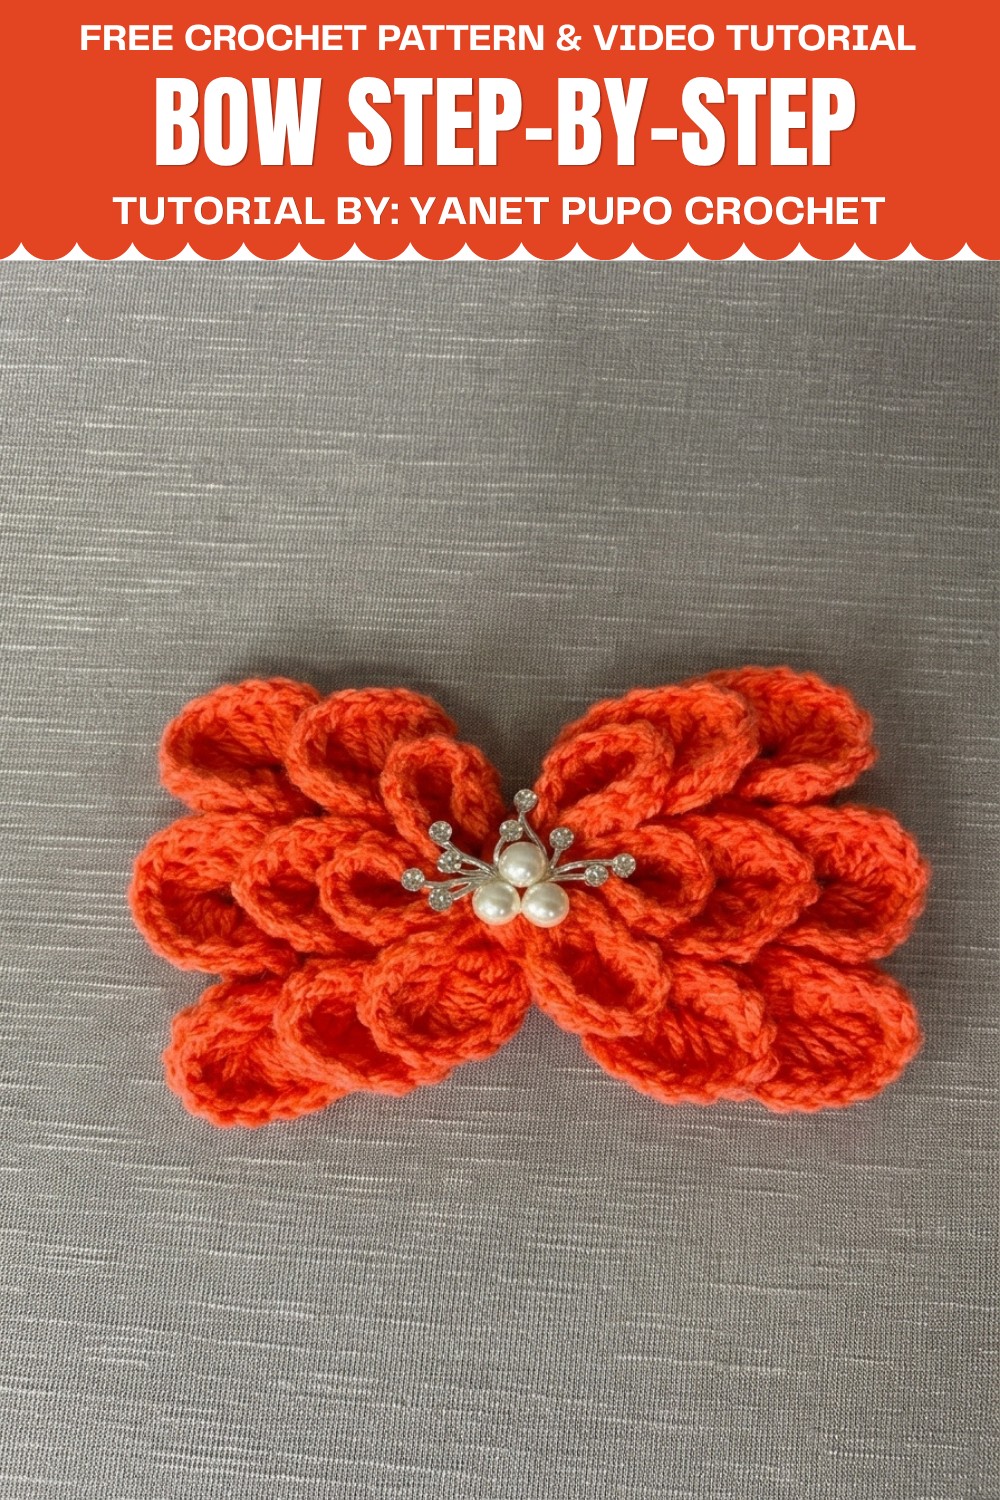
This quick and enjoyable project is perfect for anyone wanting to add a splash of handmade charm to everyday items. Plus, it’s a great way to practice basic crochet stitches while creating something delightful!
Give it a try and brighten your accessories with this lovely Crochet Bow!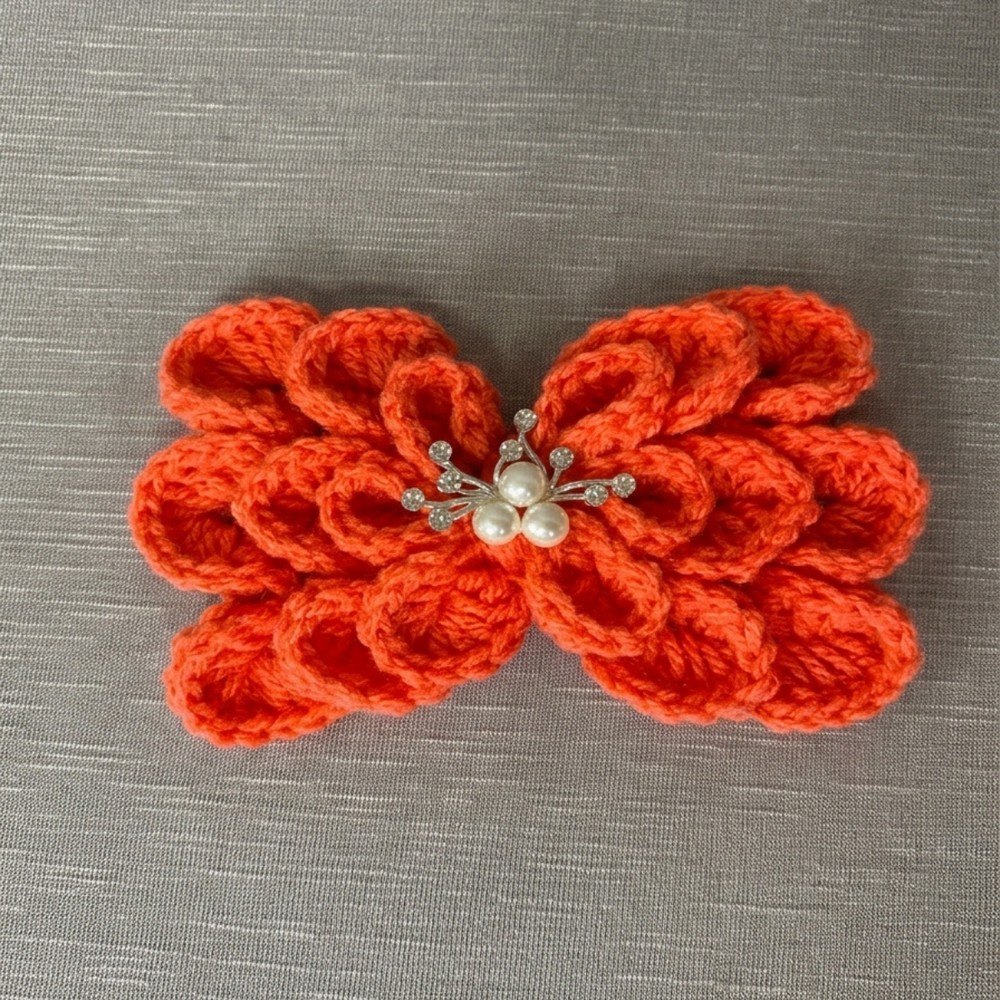
Pattern Overview
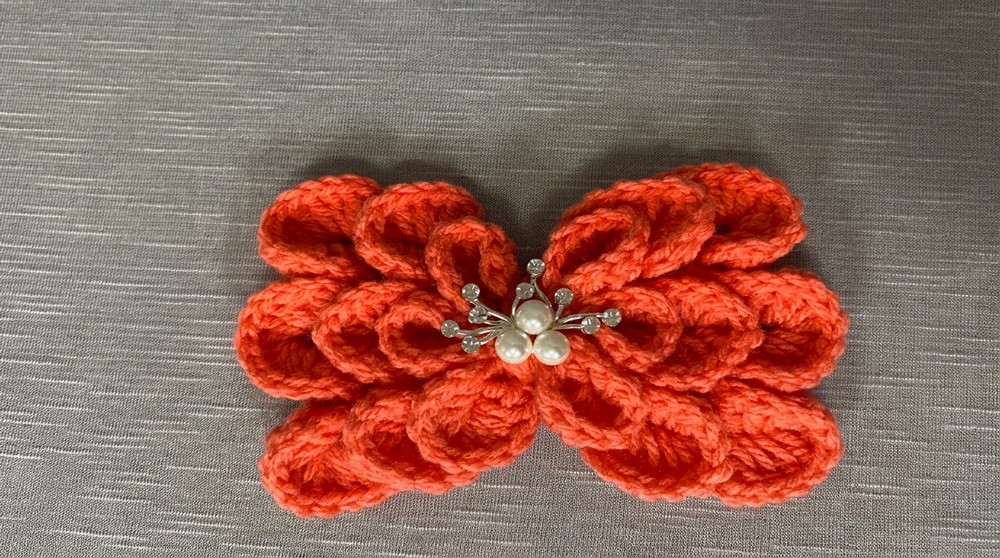
This crochet bow pattern creates a decorative piece that is quick and simple to make with a small amount of thin yarn. The finished bow can be used for a range of applications, such as hair accessories, dress embellishments, shoe decorations, or any creative purpose. The design is worked in scales (shell motifs), with rounds alternating between V-stitch formations and filled scales, producing a classic, layered bow effect. The transcript guides through every step, including forming the bow and attaching the center for a neat finish.
Quick Details
- Bow is worked in scales/shells created by double crochet (dc/high points)
- Scales are joined and shaped to form the classic bow structure
- Uses thin yarn and a small hook for a delicate look
- Customizable size by changing the number of scales
Important Tips
- Maintain an even tension throughout to keep the bow uniform
- Carefully count stitches and chains to ensure symmetry
- Leave a longer tail after finishing to gather and shape the bow at the center
- Take time when joining and gathering for a neat finish
Skill Level
Beginner
This pattern uses basic crochet stitches (chains, double crochets, slip stitches) and simple shaping, making it accessible for those new to crochet and easy for experienced crafters.
Materials
- Thin wool yarn (approx. 3 mm thick), about 5 grams
- Steel crochet hook, recommended size: 2.75 mm (or 3 mm/4 mm as desired)
- Scissors
- Needle for assembly (black tapestry needle or regular sewing needle, or use the crochet hook if needed)
- Optional: pearl, button, or other decoration for center
Measurements
- Length: The foundation chain (13 chains) determines the width of the bow scale
- Finished bow consists of 3 scales (or shells) for standard size; increase for a larger bow (up to four scales), decrease for a smaller one (two scales)
- Leave a yarn tail approximately 1 meter for gathering and sewing
Gauge
Gauge is not specified for this project; a close fit is not critical as bow size is customized by scale count and foundation chain.
Abbreviations
- ch: chain
- dc: double crochet (high point)
- sl st: slip stitch
- st(s): stitch(es)
- sc: single crochet (stitch referenced as "one stitch" or "single loop")
- lp: loop
Special Stitches
- Double crochet (dc): Yarn over, insert hook into stitch, yarn over and pull up a loop (three loops on hook), yarn over and pull through first two loops, yarn over and pull through remaining two loops.
- V-stitch: dc, ch 1, dc in same space (creates the shape for the scale opening).
Step-by-Step Instructions
Foundation
- Make a slip knot and tighten.
- Chain 13. (ch 13) This forms the base for the bow strip.
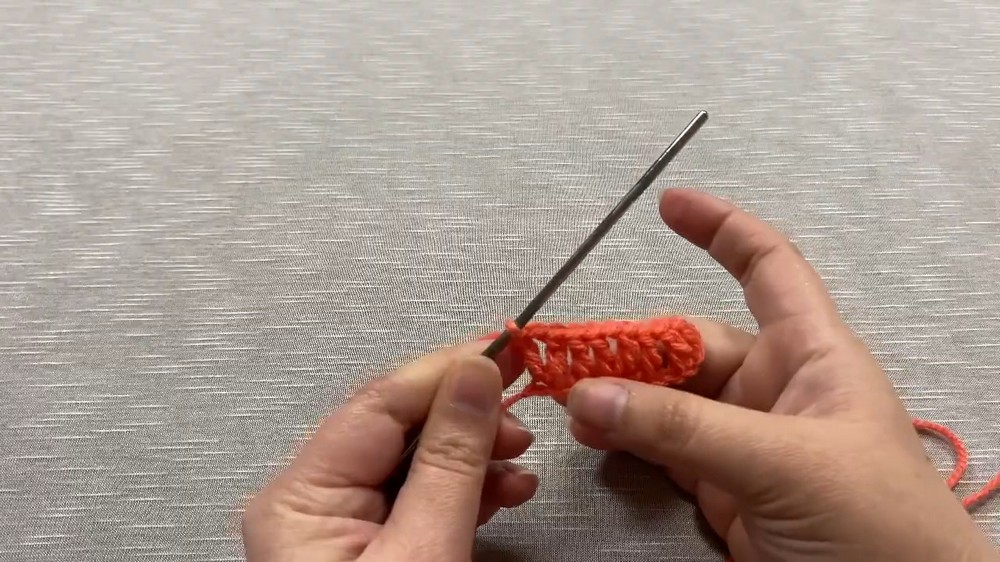
Round 1: V-Stitch Row
- Make a loop (yarn over).
- Count 1, 2, 3, 4; insert hook into chain number 5.
- Work a double crochet (dc) in chain 5.
- Continue: Loop, skip 1 chain, work dc in next chain.
- Work a separation chain (ch 1) in the same place.
- Repeat double crochet (dc) in the same chain to form the V-stitch.
- Loop, skip one stitch; work dc in the next.
- In the following, skip one, and work another V-stitch: dc, ch 1, dc.
- There should be a total of three V-stitches across the foundation, including the starting one, with two single dc stitches in between the V-stitches.
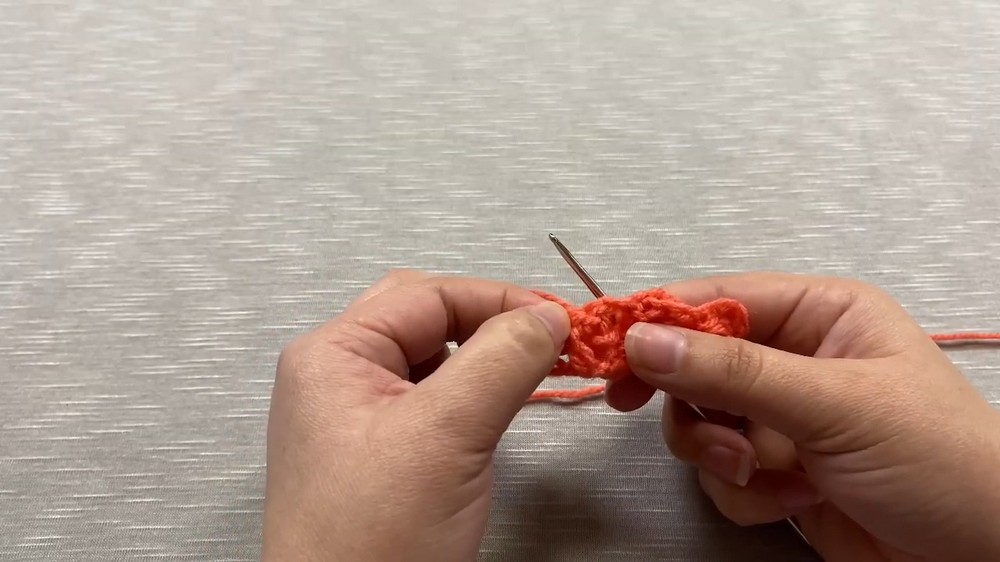
Round 2: Scale Row
- From where you finished, chain 3 (ch 3, counts as dc).
- Loop. In the base of the V-stitch, work a total of five dc, making six in all (including chain 3).
- Work into the shell/V-stitch, pulling loops through and closing each dc.
- Complete six dc for the first scale.
- Loop, turn the work upward to the other side.
- In the next part (the next V-stitch), insert hook underneath and work six dc.
- Finish the six dc; this forms the second scale.
- Turn to the back where the point is; make a slip stitch (sl st) to close the scale.
- Slide the hook into the width and join with a sl st.
- Turn forward, insert into the first part, slide in, and make chain 3 (ch 3) for the next scale.
- Again, work five dc in this part, to total six dc.
- Repeat until you complete six dc for the scale.
- For the upper part, loop and start working upward for the next scale, inserting from below.
- Make six dc for this scale.
- Turn to the back and join with a sl st.
- Turn to the front, work in the last scale, repeating as before.
- Complete a total of three scales in this round.
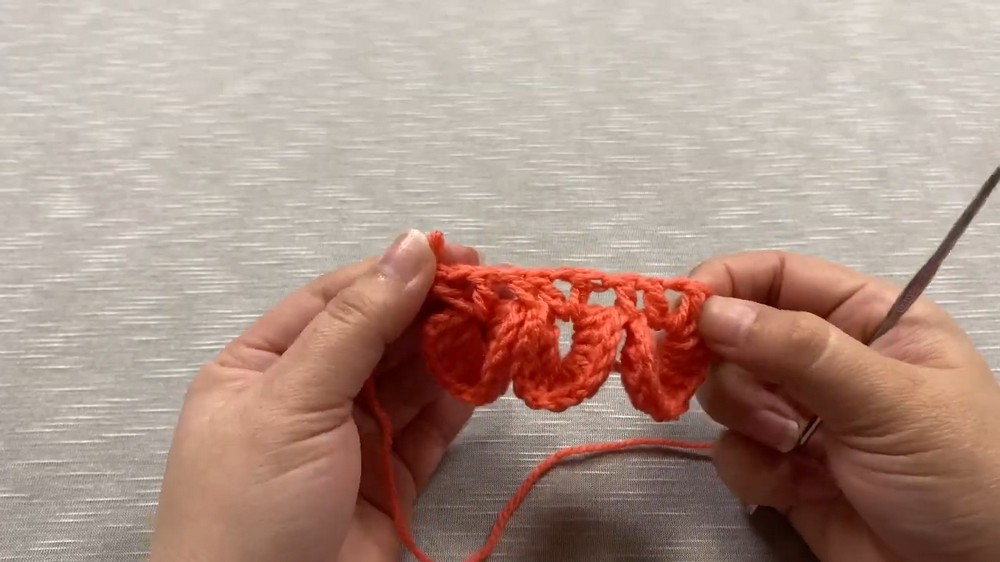
Round 3: V-Stitch Row
- After finishing three scales, loop and work in the center; make dc, a separation chain (ch 1), and another dc in the same place to form the V-stitch.
- Loop in the center, separate the two scales, work dc in the center.
- Next, in center of the scale, work dc, ch 1, dc to form the V-stitch.
- Separate again in the center, work dc.
- In center of the last scale, work dc, ch 1, dc.
- The row should alternate between single dc and V-stitch across the three scales.
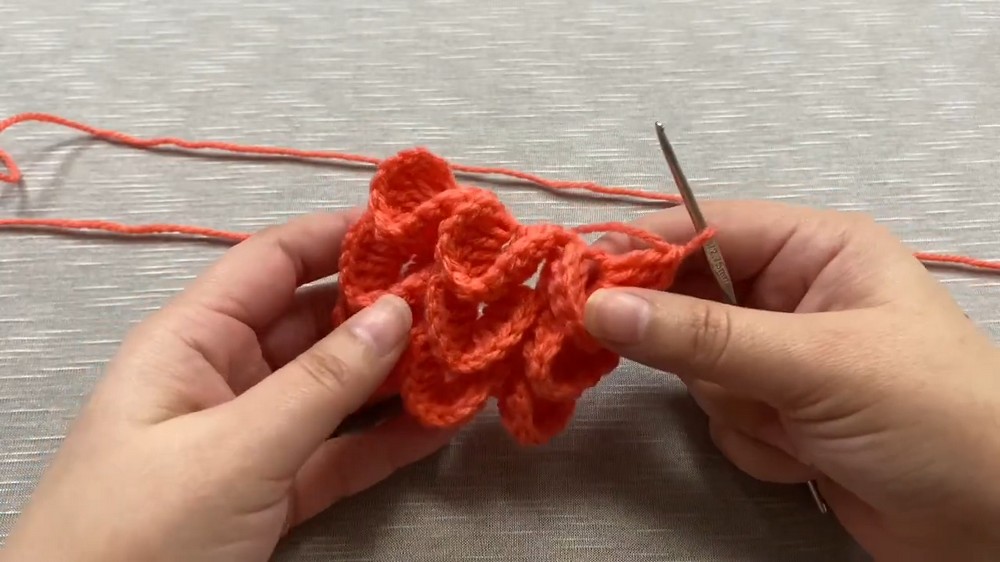
Round 4: Scale Row
- At starting point, make chain 3 (ch 3), loop, and begin to weave five more dc into the first scale (total six).
- Once half is done, turn and work upward for next scale, making six dc from the back.
- Join with a sl st at the point, then turn to the front.
- Work the next scale as before: ch 3, five dc (total six dc).
- Repeat until all three scales are completed.
Repeat for Desired Bow Size
- Standard bow size is three scales; for a larger bow, work four scales; for a smaller, work only two.
- Complete three turns (shell/scales rows and V-stitch rows), then finish.
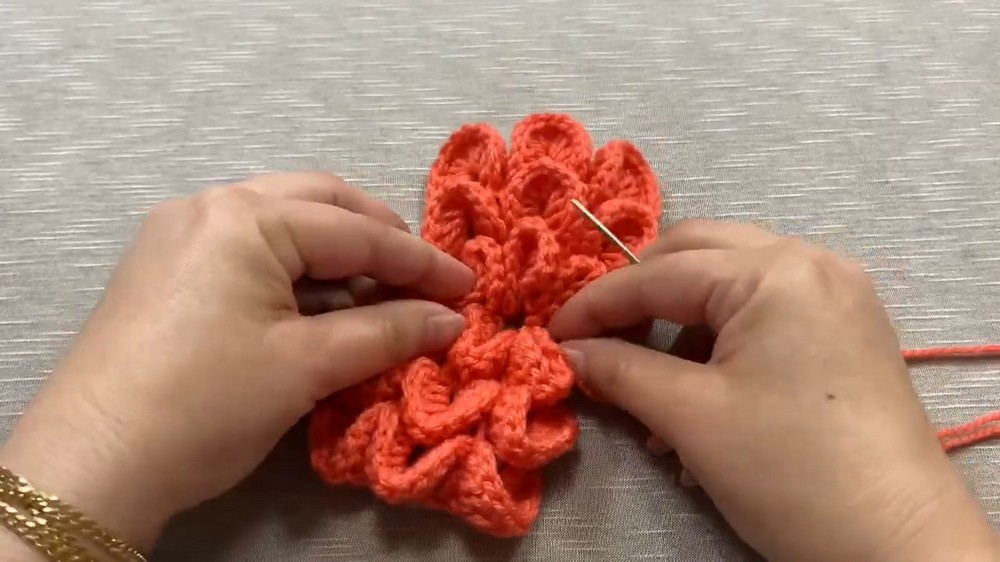
Finishing
- Tie a knot and cut the yarn, leaving about one meter of yarn to sew/join the bow.
- Place scales one in front of the other with points facing outward.
- With the needle and leftover yarn, join the scales by stitching in a zigzag pattern until reaching the end.
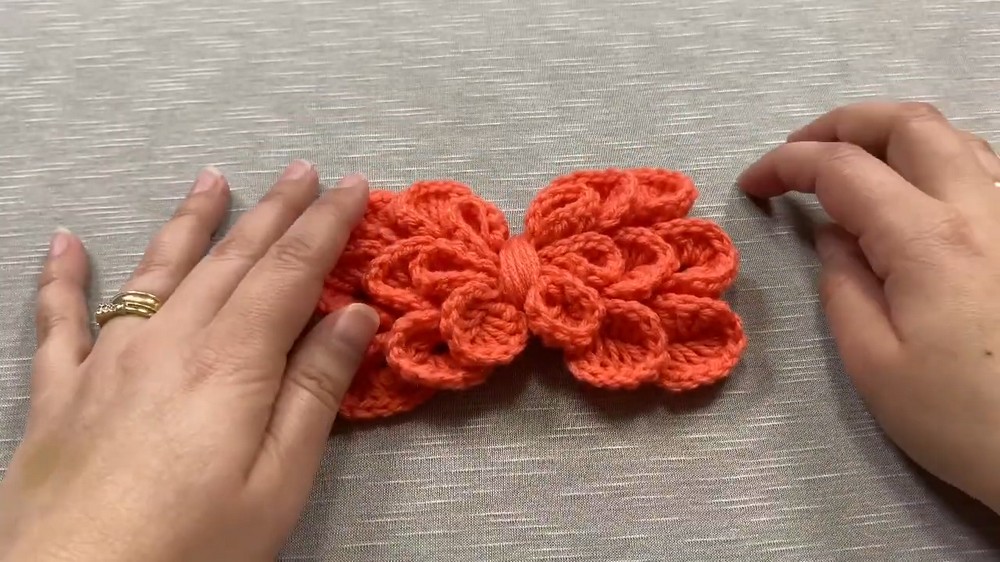
- Pull on the thread and gather the scales to close and shape the bow center.
- Wrap remaining yarn tail around the center for a finished look.
Assembly
- Use the leftover yarn to gather and shape the bow center.
- Secure and arrange the shape by wrapping and turning the yarn tightly around the center.
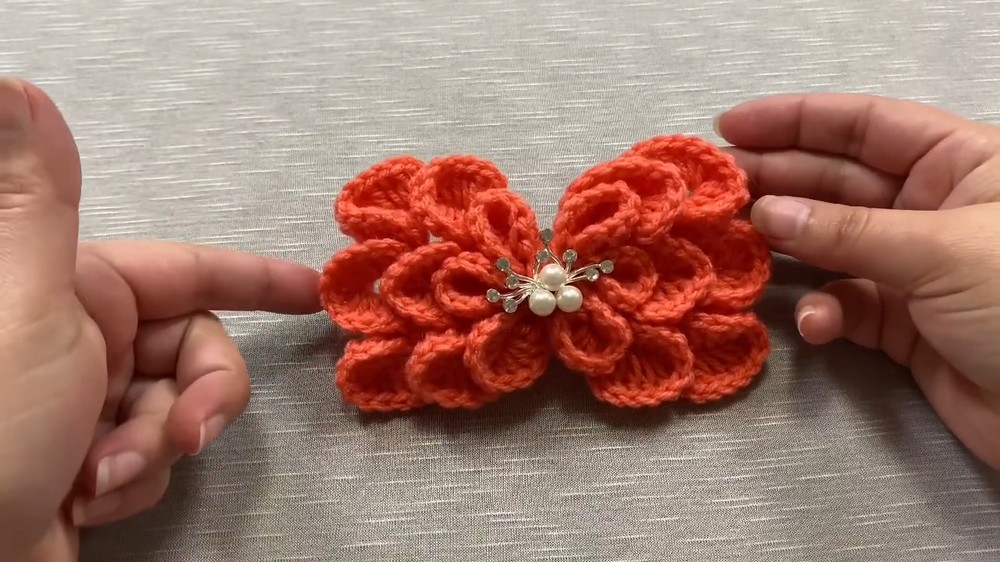
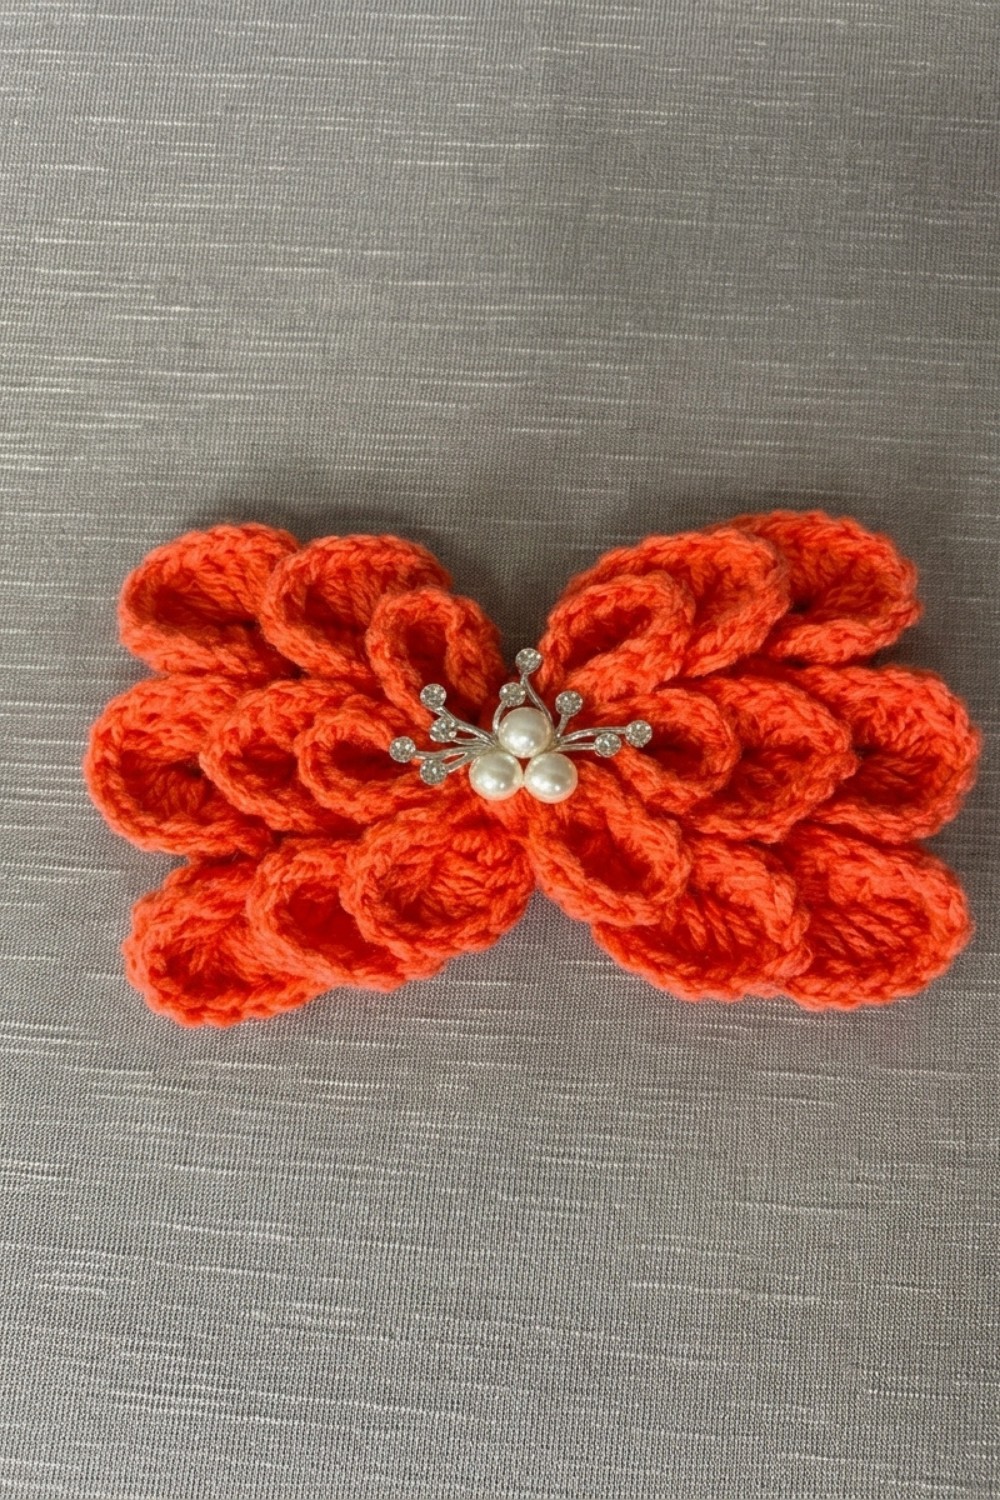
- Add decoration to the center (pearl, button, etc.) if desired.
- You may attach a hook on the back for hair placement or use the bow for decorative purposes on dresses, shoes, hats, or other items.
Final Notes
The bow is suitable for children, adults, and a variety of crafts. Size is easily customizable; simply add or reduce the number of scale repeats. The foundation chain can also be lengthened or shortened as needed. For assembly, thread options are versatile; use a tapestry needle, crochet hook, or sewing needle based on preference or availability. The finished bow offers flexibility in decoration—the center can be styled with buttons, pearls, or left simple. The completed piece has a delicate, layered look and can be used for different projects, including hair accessories, dress and shoe embellishments, or as creative decor.
Leave a Reply