

Bring a charm to your style with a unique crochet hair bow made using simple techniques for beautiful and personalized accessories anyone can enjoy.
Want to add a simple yet charming touch to your hairstyle? A crochet hair bow could be the perfect choice. This accessory is soft and light, making it comfortable to wear throughout the day. Its yarn texture feels gentle on your hair, avoiding the roughness some materials cause.
Beautiful Free Crochet Hair Bow Pattern For Hair Accessories
When it comes to looks, crochet hair bows come in a wide variety of colors. Whether you prefer soft pastels, bold hues, or neutral shades, there’s an option to suit your style. Plus, the yarn holds color well, so the bow stays bright even after multiple uses. This means you can enjoy its beauty for a long time.
Besides looking great, these bows offer practical benefits. They are flexible and easy to adjust, which helps keep hair in place without pulling or causing damage. Their lightweight design means no discomfort or headaches, even if you wear them for hours. Also, the bow's stretchiness allows it to fit different hair types and thicknesses comfortably.
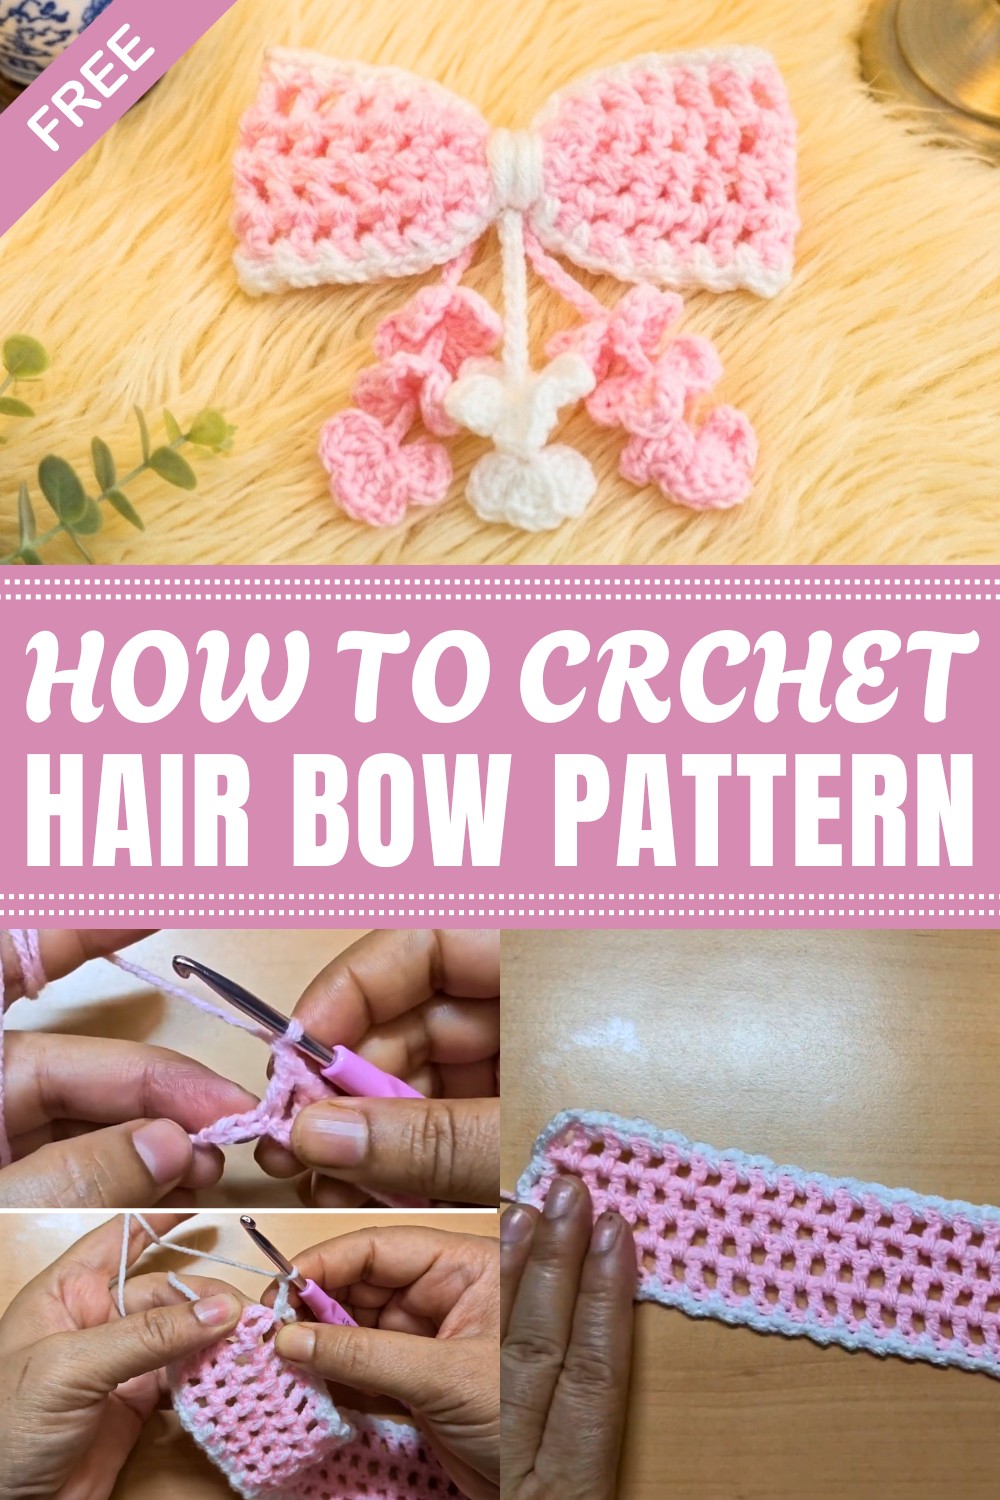
You can use a crochet hair bow in many ways. It works well for everyday wear, adding a little flair to casual outfits. It can also be a sweet detail for special events like parties or family gatherings. Additionally, it makes a thoughtful gift or a fun DIY project for those who like to personalize their accessories.
In conclusion, crochet hair bows are a friendly and stylish accessory that adds a gentle, personal touch to any look. They provide a soft alternative to metal or plastic clips, perfect if you want something cozy and kind to your hair.
Crochet Hair Bow Step-by-Step Pattern
In today’s tutorial, you’ll learn how to make a beautiful and versatile crochet hair bow, perfect for alligator clips, key rings, bag charms, or even as a decorative charger. This bow is quick, beginner-friendly, and can be easily adjusted for any size.
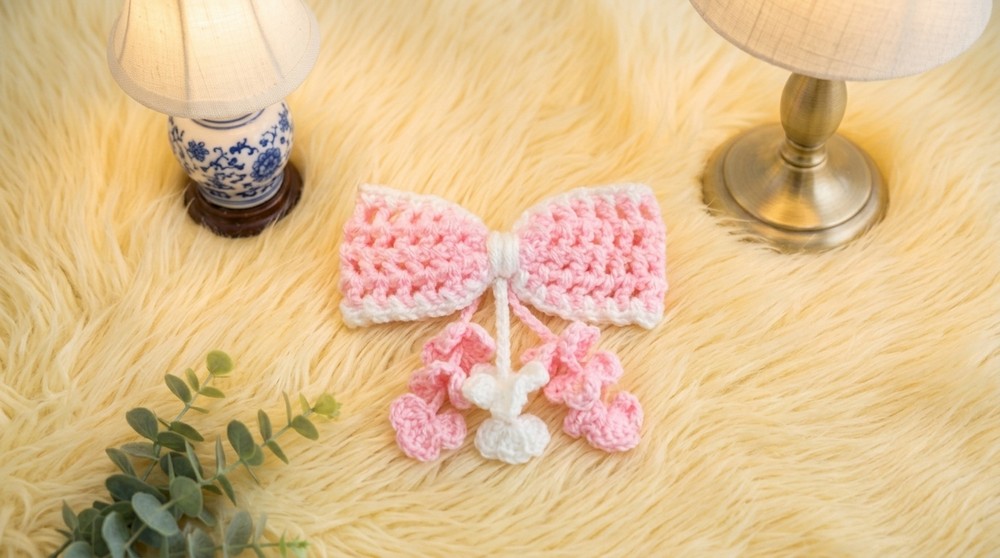
Quick Overview Of Pattern
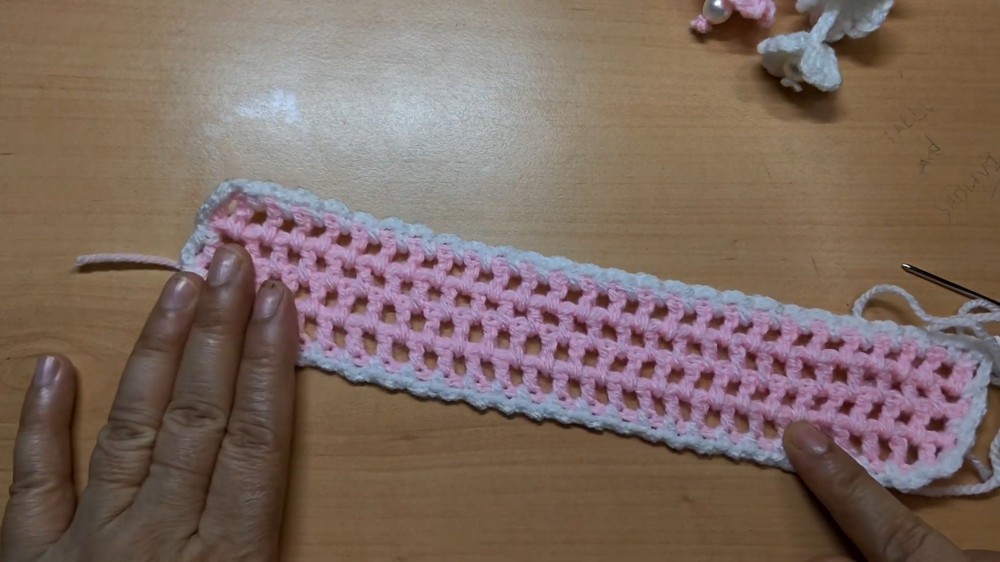
- Crocheted base in mesh double crochet pattern.
- Decorative border worked in contrasting color with gentle scallops.
- Magic ring flowers for embellishment.
- Assembled and wrapped to form bow shape.
- Finished with a secure attachment to an alligator clip.
Notes
- Suitable for any size: simply adjust the starting chain.
- Colors can be personalized according to preference.
- A neat finish is achieved by hiding yarn ends and trimming excess.
Skill Level
Beginner
Basic skills needed: chaining, double crochet, single crochet, working in the round/magic ring, sewing pieces together.
Materials
- 4-ply acrylic yarn (pink and white)
- 4mm crochet hook
- Scissors
- Yarn needle
- Alligator clip (for finishing)
Measurements / Sizing
- Approximate size: 55 chains wide—final bow will fit an alligator clip or keyring.
- Size can be increased or decreased by adjusting chain length and rows.
Gauge and Stitch Pattern
- Not critical for this accessory.
- Main body: Double crochet mesh pattern (dc, ch 1, skip 1).
- Border: Single crochet and chains for scallops.
- Flowers: Magic ring with petals.
Stitch Abbreviations
- ch = chain
- sc = single crochet
- dc = double crochet
- sl st = slip stitch
- MR = magic ring
Special Stitches
- Magic Ring: Form a loop, hold tail, insert hook into ring, yarn over, draw up a loop, continue pattern as indicated.
The Crochet Pattern
1. Base of the Bow
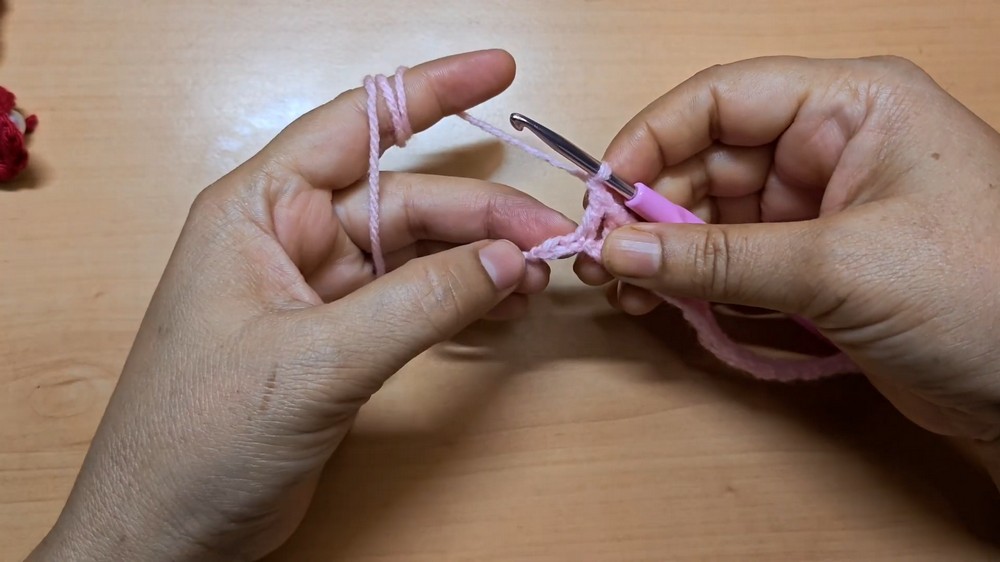
- Foundation Row:
- Make a slip knot as preferred.
- Ch 55 (adjust if you wish for a different size).
- Row 1:
- Skip 5 chains (3 for dc, 2 for ch-spaces).
- Dc in next chain, ch 1, skip 1 chain; repeat to last st.
- Rows 2 to 4:
- Ch 4 (turn; 3 for dc, 1 for space).
- Dc in next dc, ch 1, skip ch-1 space; repeat across row.
- Repeat until you have 4 rows.
- Fasten off pink yarn.
2. Border and Decorative Edging
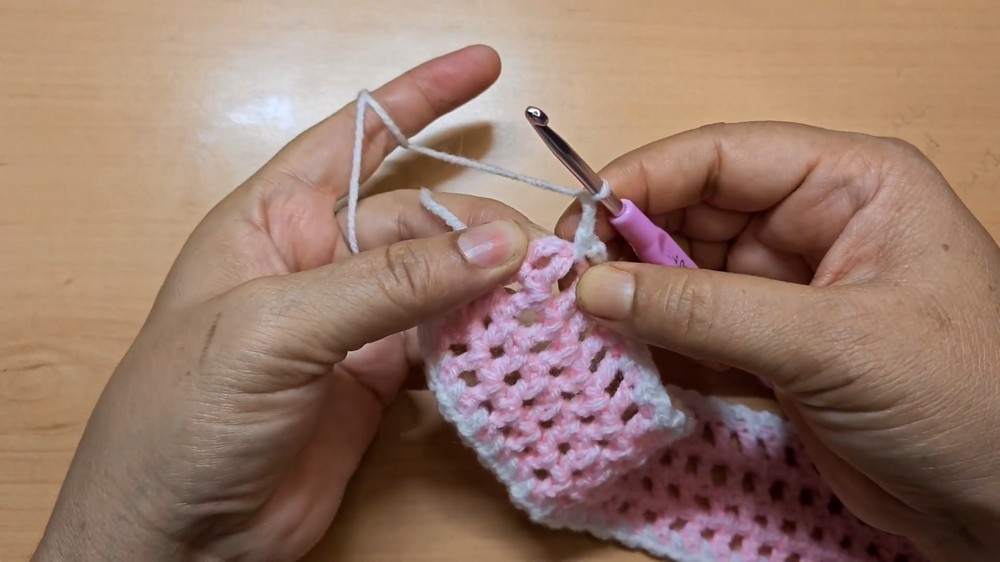
- Attach white yarn at end of bow.
- First Side Border:
- Ch 2, sc in next st, ch 2; repeat across long sides.
- Curved Corners:
- At the curved (short) ends, sc, ch 3 in next st; repeat for scalloped effect.
- Continue sc and ch-2 across remaining sides.
- End with sl st, leave a slightly longer tail and trim excess.
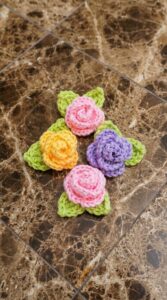
3. Flower Petals (Make 6: 3 Pink + 3 White)
- Magic Ring:
- Form a magic ring.
- First Petal:
- Ch 3, 2 dc in ring, ch 3, sc in ring.
- Next Petals:
- Repeat [ch 3, 2 dc, ch 3, sc] into ring for a total of 4 petals per flower.
- Tighten ring and knot ends securely.
- Hide/yarn needle weave ends, trim excess.
- Make 6 flowers (example: 3 in pink, 3 in white).
4. Decorative Ties
- Pink Tie:
- Ch 40, fasten off, pull end through, tie secure knot.
- White Tie:
- Ch 20, fasten off, tie knot.
- Finishing Ties:
- Attach both ties to the center of the bow using a needle, making a few firm knots.
5. Assembly & Shaping
- Fold the Bow:
- Carefully fold the bow piece into its shape, ensuring the white border stays symmetrically on top.
- Wrap the Center:
- Using leftover yarn or one of the decorative ties, tightly wrap the center of the bow, securing with needle and knotting for firmness.
- Sew and Attach Flowers:
- Arrange flowers on the center and secure by stitching or tying them in place using a needle.
- Attach to Alligator Clip:
- Secure the bow to the clip with several stitches or by wrapping yarn tightly, ensuring the bow will not come loose.
Assembly & Finished Size
- Finished bow: approximately 4.5–5” wide, dependent on yarn and tension.
- Attachment: Firmly stitched to an alligator clip for hair, or use as a bag or keychain accessory as desired.
Conclusion
Your crochet hair bow is now complete—stylish, sturdy, and ready to use or gift! We hope this step-by-step method made your process clear and simple. Thank you for joining Crocetic today; your support inspires us to share more creative crochet ideas. See you in our next tutorial, and until then, happy crocheting and take very good care!
Leave a Reply