

Design a trendy crochet bikini top with lightweight yarn, placing the keyword at the center, and complete it with adjustable ties for comfort and style.
Summer calls for bright and fun clothes, and this Free Crochet Bikini Top Pattern is a lovely way to add a handmade touch to your wardrobe! This project lets you make a cute bikini top that feels just right for sunny days by the pool or on the beach. You can choose your favorite colors to make it truly yours, and adjust the size to fit perfectly. With a little creativity, this pattern can also be used to create other items like a crop top or a stylish bralette for hotter days.
Free Crochet Bikini Top Pattern With Steps
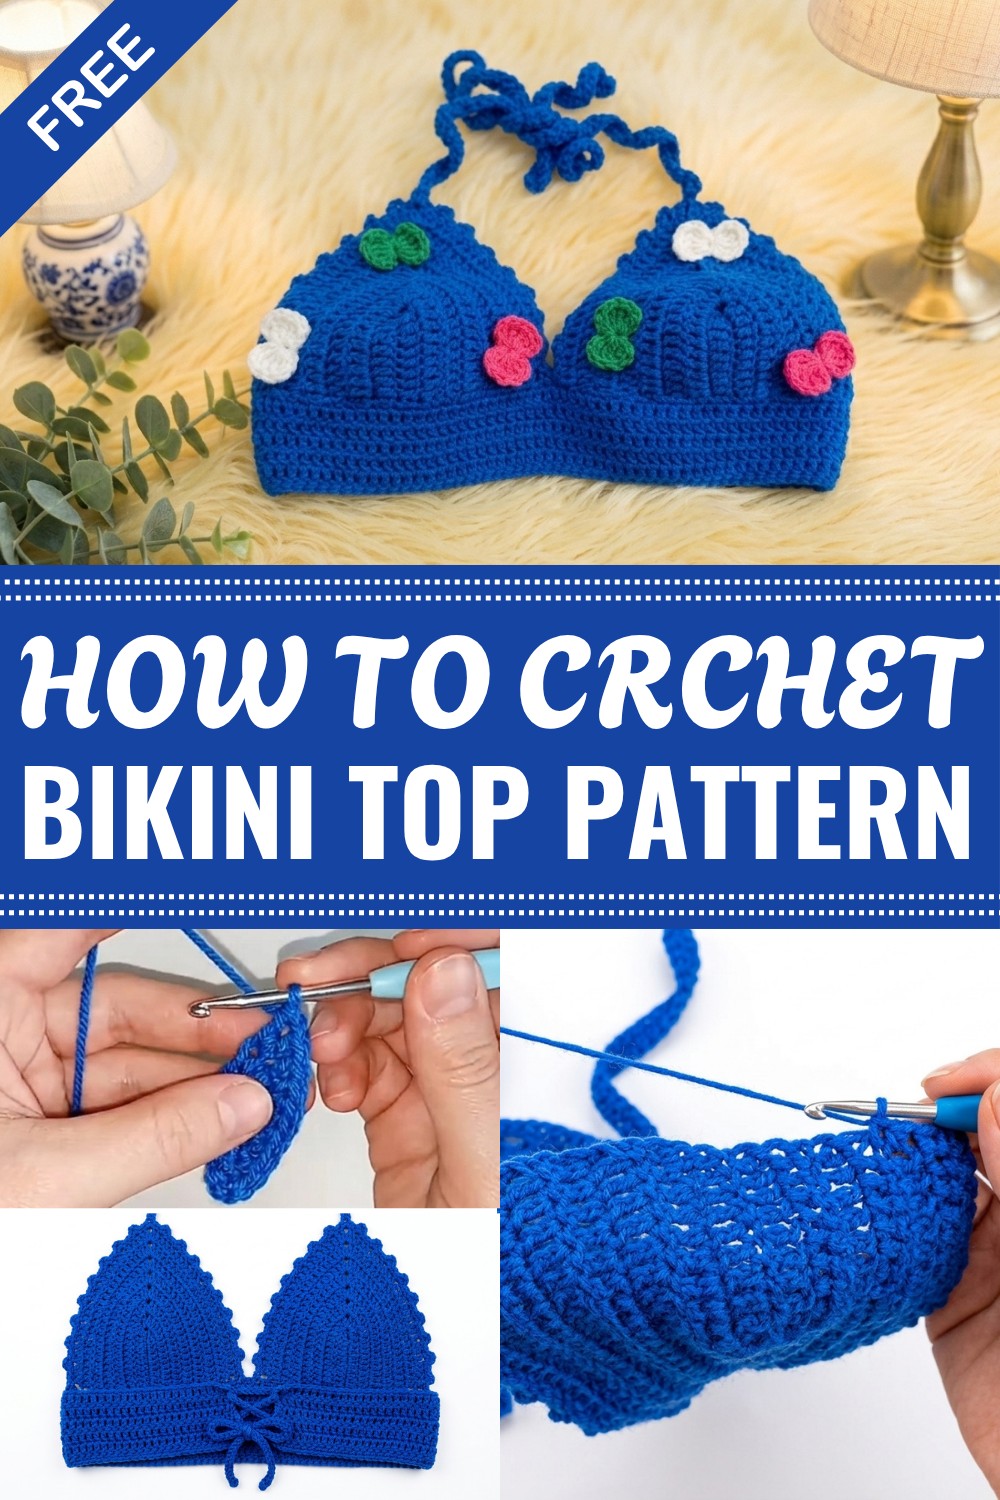
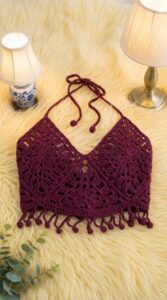
The beauty of this bikini top comes from its simple and fresh design. It has a soft, curved shape that fits nicely and looks great on many body types. The open, airy texture helps you stay cool and comfortable, while the bright or soft colors make it fun and eye-catching. The small details, like tiny decorative edges or straps, add charm and personality, making it stand out as a handmade treasure.
This pattern focuses on creating a balance between style and comfort, making it a wonderful project for anyone interested in crochet fashion. The size can be customized to fit exactly what you need, from a small to a larger fit, so it feels just right. The top’s look is timeless and can easily match other summer outfits for a complete look.
This Free Crochet Bikini Top Pattern makes an excellent gift for friends or family who love unique, handcrafted clothes. It also works great as a personal project to wear yourself or add to your handmade clothing collection. Enjoy making this beautiful piece and wear it with pride during warm, sunny days.
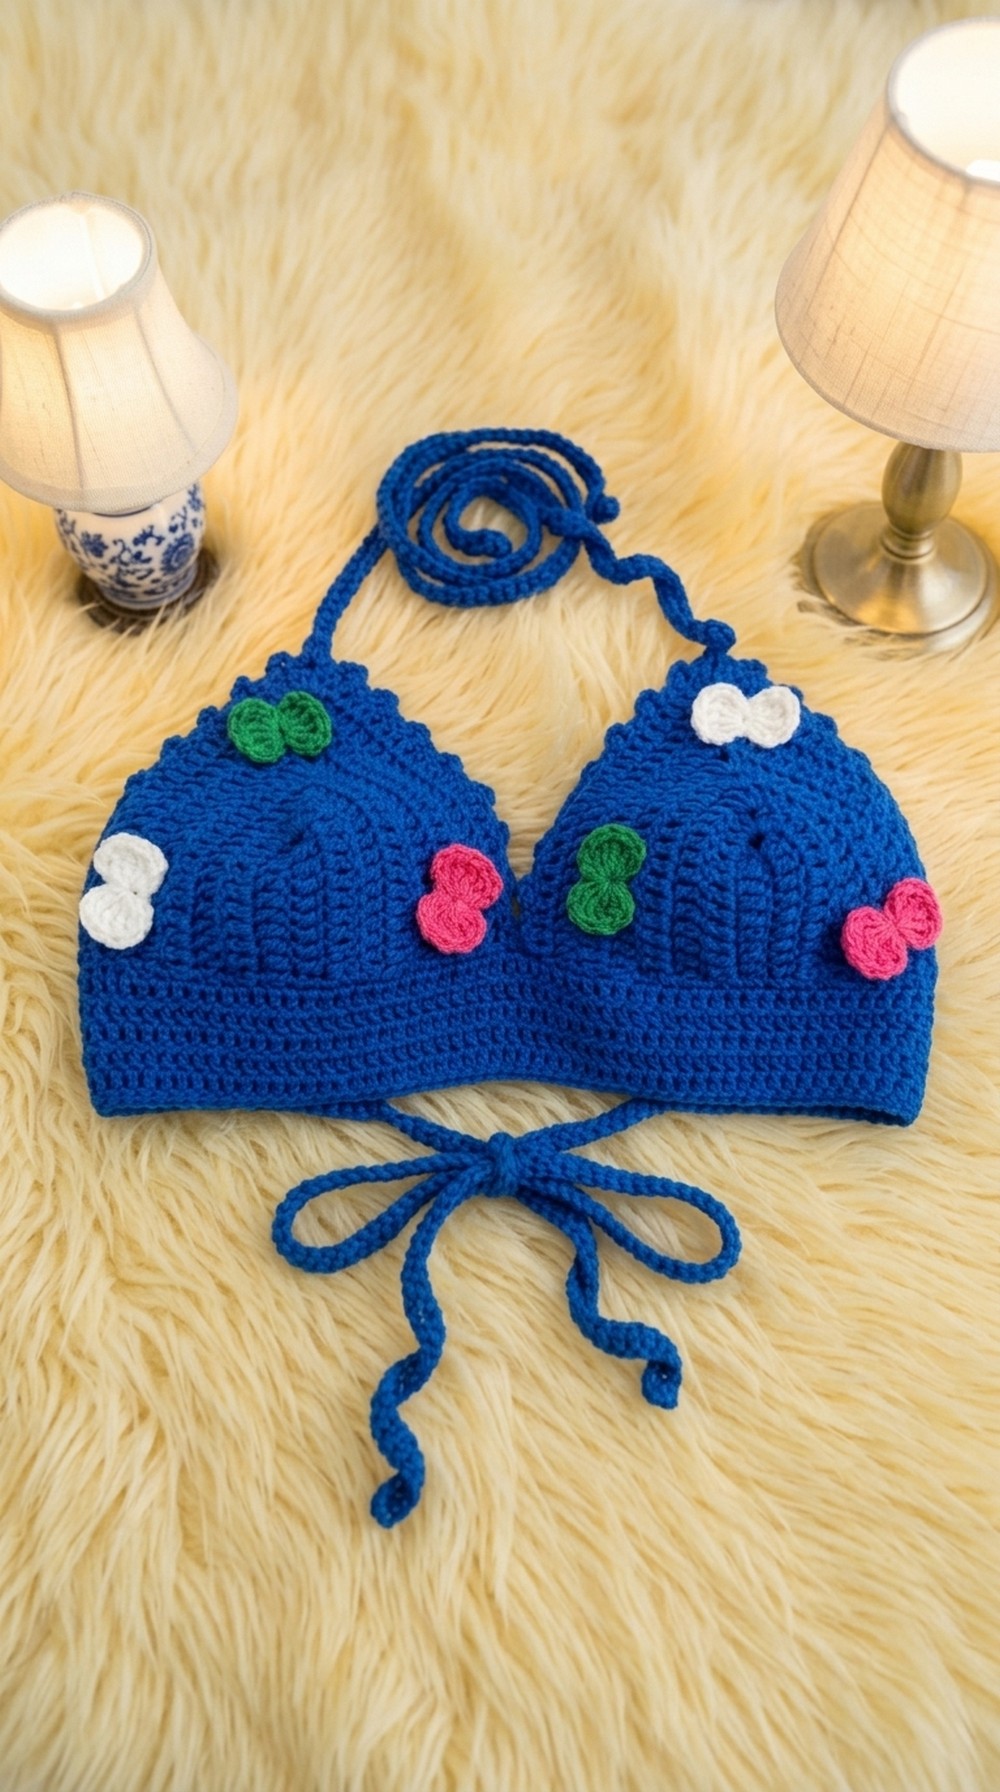
Crochet Bikini Top with Cute Decorative Balls
Before You Start
- This pattern creates a beautiful and trendy crochet bikini top, suitable for small to medium sizes.
- The design features simple double crochet cups, decorative slip stitch edging, and playful yarn "balls" as appliqués.
- Customizable: adjust size, rows, straps, and decoration to fit your preference.
- Knowledge of joining, chaining, and working around edges is helpful for construction.
Pattern Notes
- All main cup rows are worked in double crochet (US terms).
- Work starts from the cup foundation chain, progressing in rows with shaping at the tip by working increased stitches in the same space.
- Cups are joined at the band with single crochet; straps are long chains reinforced with single crochets back.
- The slip stitch and chain pattern at the cup edges forms a subtle, decorative scallop.
- Yarn balls/appliqués are tied on after assembly; these require a separate tutorial/video (not included here).
How I made the Crochet Pattern?
- Watched and transcripted the video instructions step by step for accurate row counts and shaping.
- Summarized the increases, edging, and joining method.
- Tested to ensure the final bikini maintains good coverage and appearance for S/M sizes.
Skill Level
Adventurous Beginner to Intermediate
Familiarity with double crochet (dc), chain, slip stitch, and basic seaming required.
Finished Size
- Intended for S/M adult cup sizes (A–B, small C).
- Approximate cup width: 6.5–7 inches wide by 6–7 inches tall (can adjust rows/starting chain as desired).
- Band and straps are adjustable to personal fit.
Materials
- Worsted weight cotton or acrylic yarn (medium/4) in preferred main color.
- Small amounts of contrasting yarn for decorative balls.
- 4.0 mm crochet hook.
- Yarn needle.
- Scissors.
- Stitch markers (optional).
Measurements / Sizing
- Each finished cup: approx. 6–7" (15–18 cm) wide and tall after 8 rows (as demonstrated).
- Try on as you go to adjust fit or coverage—add/remove rows as needed for your bust size.
- Straps and band can be lengthened or shortened during assembly.
Gauge
- Approx. 4 dc = 1" / 2.5 cm
- Gauge is not critical if you adjust row and chain counts for proper coverage.
Stitch Abbreviations
- ch = chain
- dc = double crochet
- sc = single crochet
- sl st = slip stitch
- st(s) = stitch(es)
- sp = space
Special Stitches
- Cup tip increase: On each tip, always [2 dc, ch 1, 2 dc] in the same sp to create an even triangle.
- Decorative edge: Alternating sl st and ch-3 in cup edge creates a tiny "picot"/bobble look.
The Pattern!
Cup (Make 2)
Foundation:
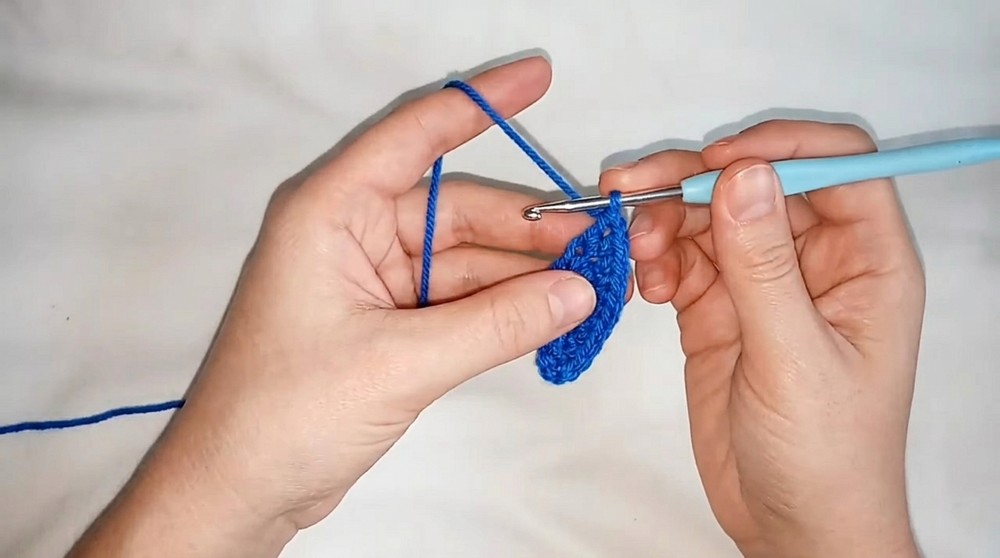
- Ch 11.
Row 1:
- Dc in 3rd ch from hook and in each ch across (last ch is tip): in last ch, work (2 dc, ch 1, 2 dc) in same ch (cup tip made).
- Continue along OTHER side of chain, dc in each ch across. (Total: 20 dc + 1 ch-1 tip at end)
Row 2:
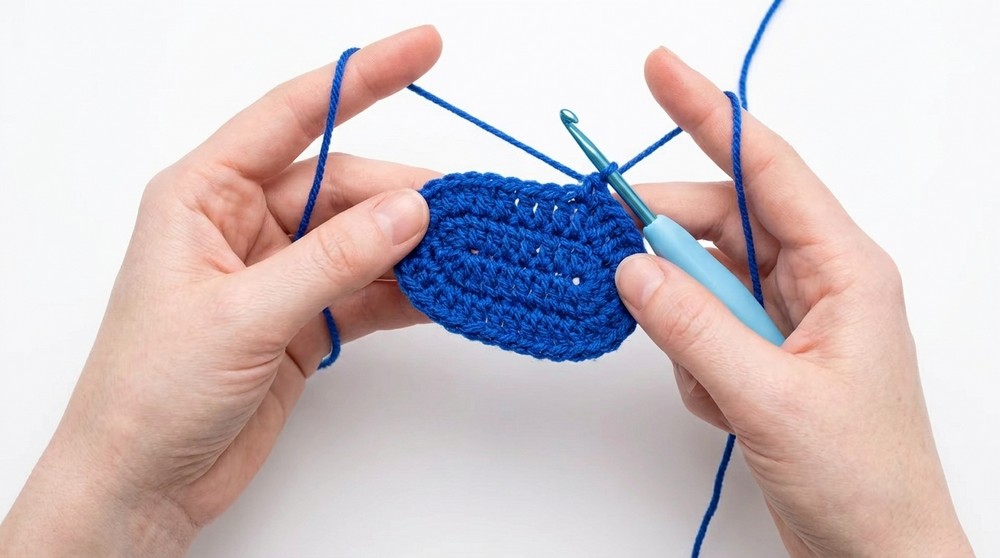
- Ch 2 (counts as dc), turn.
- Dc in each dc along to ch-1 tip, in ch-1 sp: (2 dc, ch 1, 2 dc).
- Dc in each dc to end.
Rows 3–8:
- Repeat Row 2.
- (Each row, the number of dc before and after the tip increases by 2.)
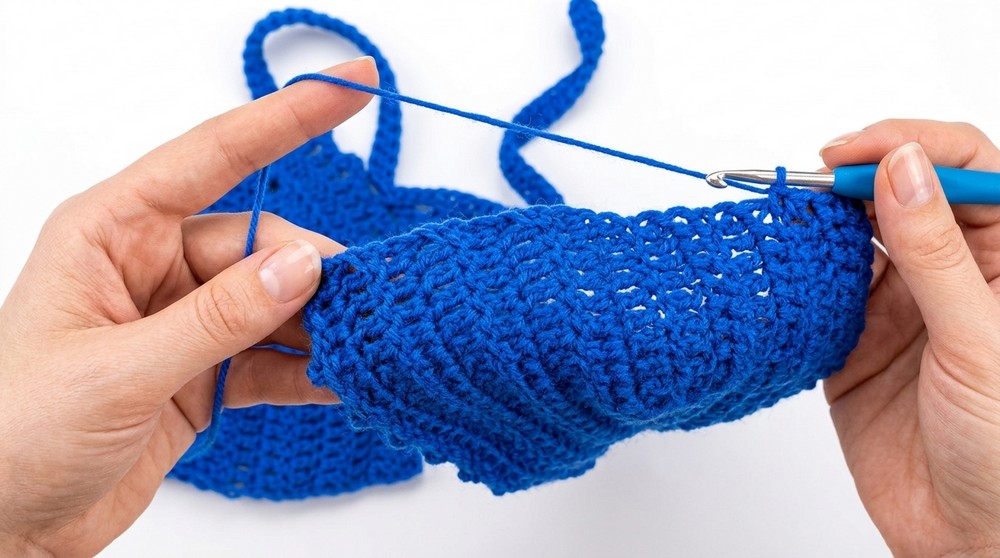
Sizing note:
- Add or subtract rows to increase cup height/coverage if needed.
Edging & Strap (Per each cup):
- Ch 1, turn.
- Sl st in first st and next 4 sts.
- *Ch 3, sl st in same st, sl st in next 3 sts, repeat from * across side of cup till you reach tip.
- At tip (ch-1 sp), ch 70 for the neck strap, then sc back down each ch to the tip.
- Continue working sl st, ch 3, sl st in same st, sl st in next 3 sts around other side of cup.
- Fasten off and weave in ends.
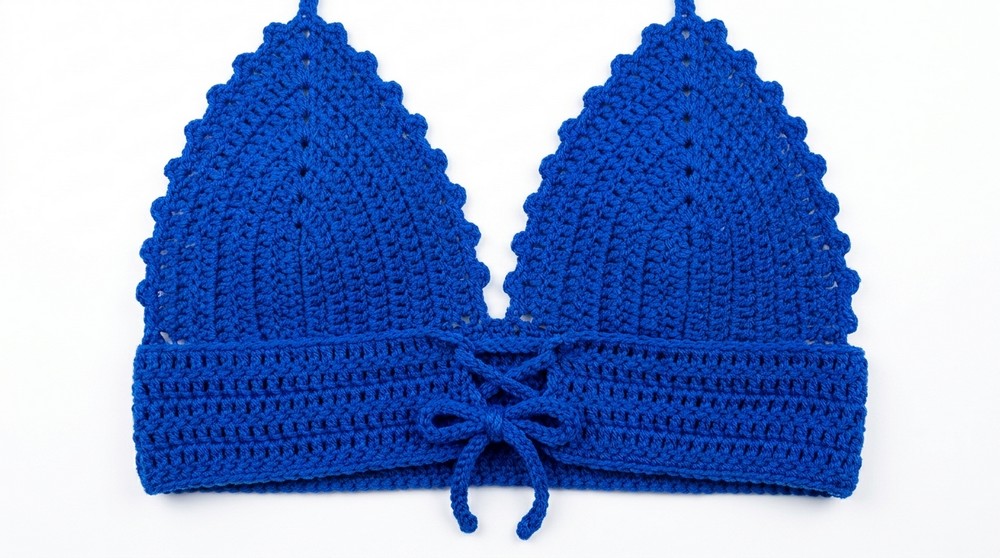
If you’re new to bikini cups: You are making a triangle, starting flat, then always increasing at the tip (the peak) with a small ch-1 space in every row. The edging and straps are simply slip stitches and chains, made as you go, finishing with a sturdy strap for tying.
Assembly & Band
- Lay cups with wrong sides facing each other, tips up, so sides to be joined are aligned.
- Ch 20 for the band starter; sc across the lower edge of the first cup.
- Immediately continue to second cup (no ch between), and sc across its lower edge.
- Finish with ch 20 (for the other band tail).
- At this point, both cups are joined at the bottom with a sc row and band ties at both ends.
- For more coverage, you can:
- Work additional rows of dc band (as in video; up to 5 more).
- After each band row, ch 2, turn, and dc across, maintaining same stitch count.
The bottom joining of both cups is simply worked with single crochets (sc) all the way across both cup bases. This creates a neat and flexible join. Optional: add more dc rows for a deeper band if you prefer more support or coverage.
Final Steps & Appliqués
- Attach yarn balls/bobbles as per your separate pattern/video, OR use charms, beads, or other decorations.
- Secure appliqués by tying from the wrong (inside) of the cup and trimming excess.
- All other loose ends are woven in neatly.
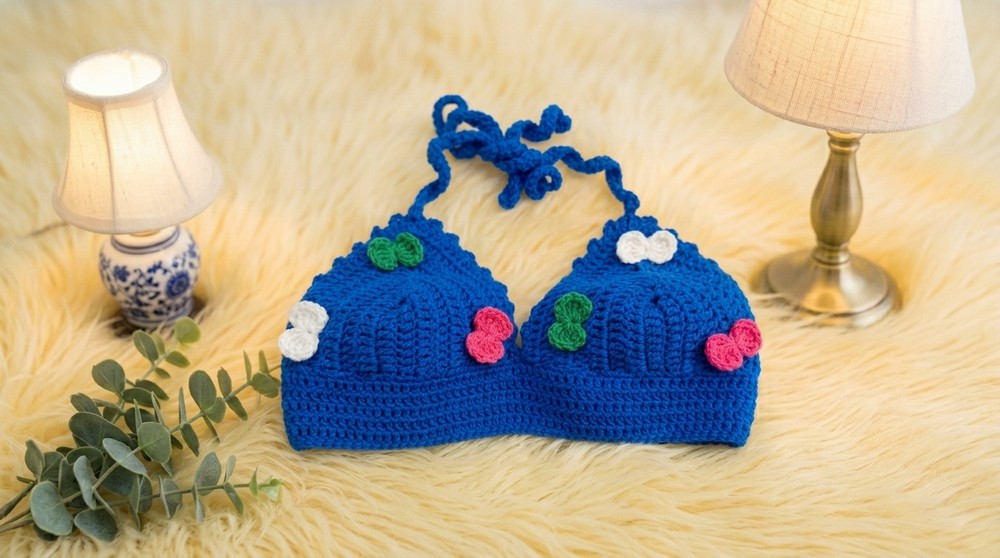
Assembly & Finishing
- Double-check strap and band lengths for your own fit; adjust as needed.
- Attach cpus evenly along the band—no gaps.
- Try on the bikini top and ensure cup coverage; add or subtract rows at your discretion.
- Tie on balls/appliqués firmly; trim excess yarn.
- Gently block cups if necessary for a crisp, even shape.
Solution of Problem
- Cups too small/big: Adjust starting chain or add/remove rows.
- Band too short/long: Add or subtract starting/ending chain or dc band rows.
- Stretched or floppy straps: Use sc on chains to reinforce; try cotton for less stretch.
What you can make by using these stitches
- Any classic crochet bralette or crop top.
- Retro halter tops or swimwear.
- Matching bikinis or accessories (bags, hats) with "ball" accents.
- Edging/picot methods for shawls, blankets, or cardigans.


Leave a Reply