

keep fresh your summer by crochet this mesh top pattern for hot days, featuring a breathable and lightweight design to create a stylish top for warm weather.
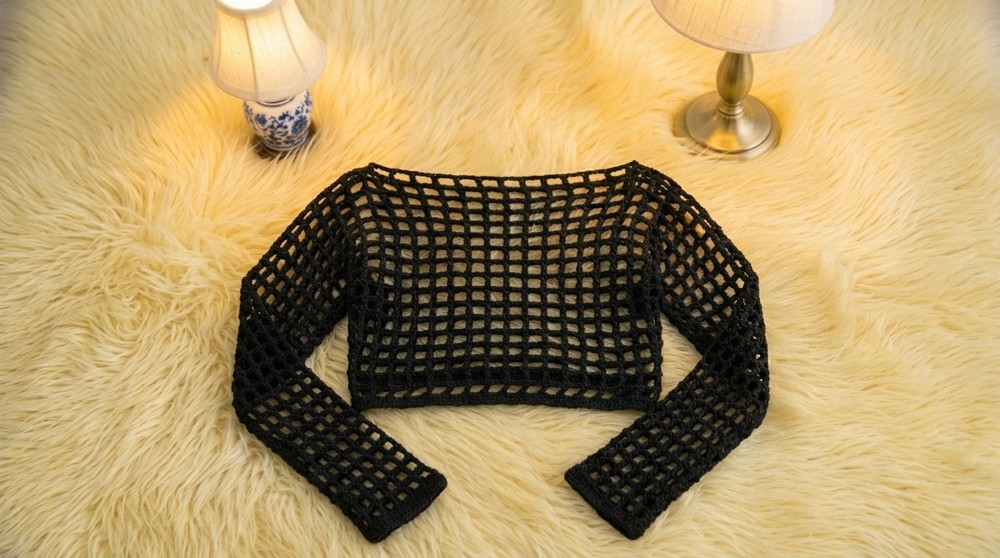
Sometimes finding a trendy top pattern can be a bit challenging, but the Free Crochet Mesh Top Pattern is a real gem. This pattern lets you make a stylish, lightweight top that’s perfect for warmer weather. The open, lacy design is its main charm, those mesh stitches look fresh and modern, and they allow the top to breathe nicely, keeping you comfortable when it’s hot outside.
What’s really lovely about this mesh top is how simple the look is. With repeating rows and easy triple crochet stitches, you get a neat, airy texture that stands out in all the right ways. The pattern forms gentle geometric shapes that catch the light and feel good against the skin. It’s a design that looks great over a tank, a swimsuit, or even a simple dress.
Simple & Free Crochet Mesh Top Pattern
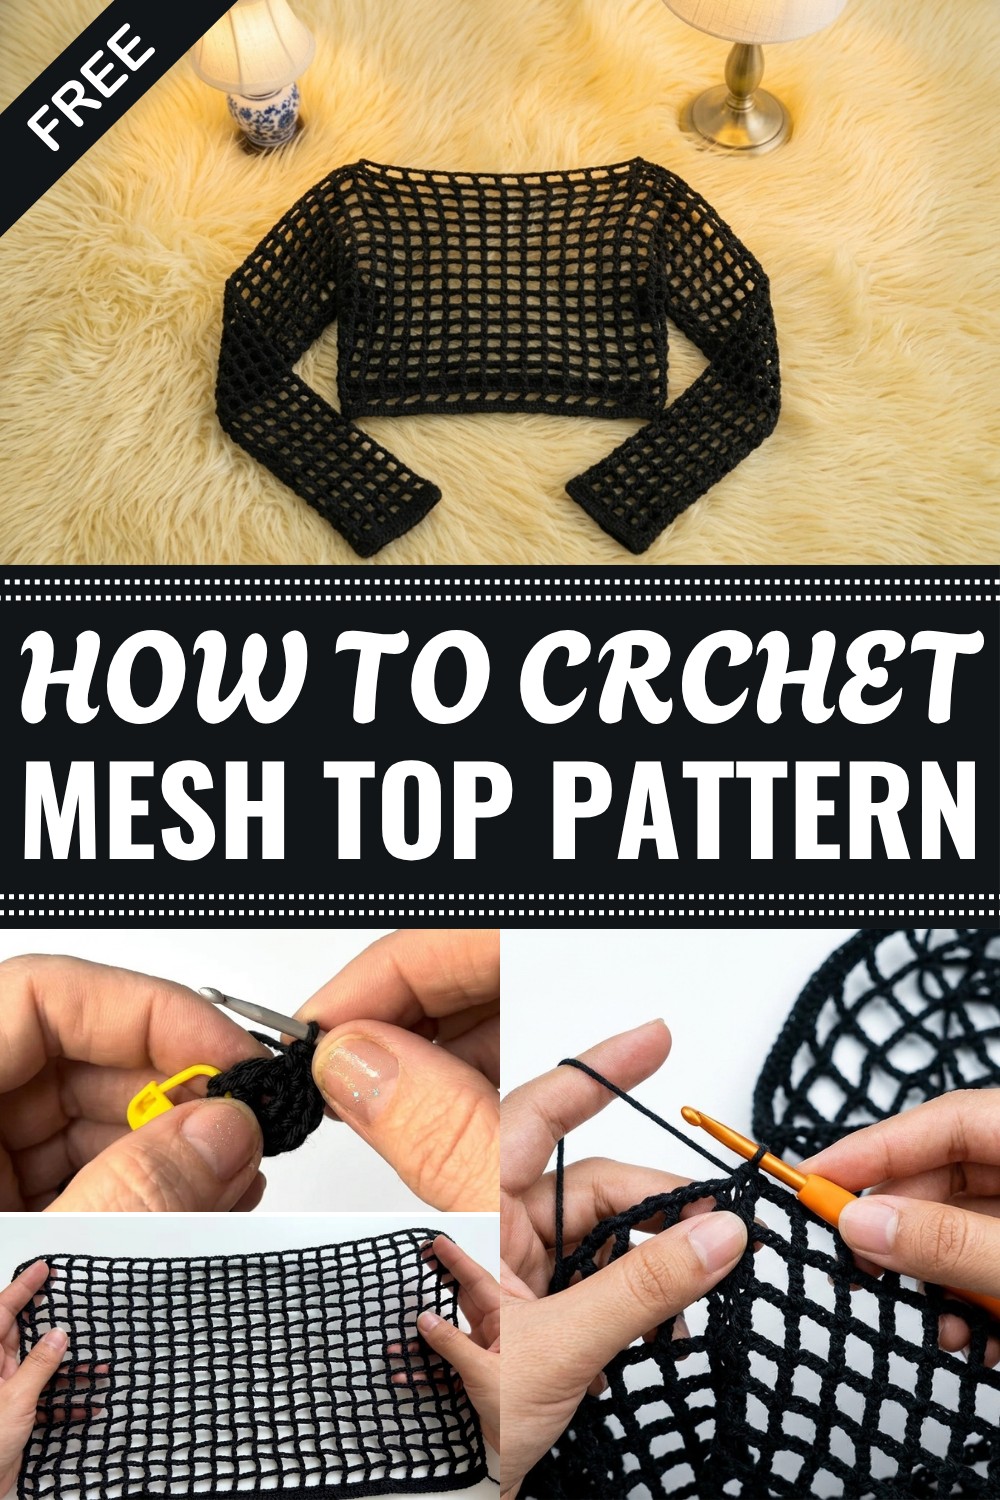
This crochet top usually sits loose on the body, giving it a relaxed shape that flatters different sizes. The length and width can be adjusted easily by changing your starting chain and the number of rows, so you can make it cropped or longer, just how you like. The mesh structure also means the top pairs well with casual outfits or can even add a touch of style to a more dressed-up look.
Even beginners will find this pattern friendly. The repeating stitches are easy to learn, so you can quickly see your progress row-by-row. You get a chance to play with colors, too; soft pastels look gentle and pretty, while bold brights make a statement.
The Free Crochet Mesh Top Pattern is a wonderful way to add handmade fashion to your wardrobe. It’s eye-catching, comfortable, and versatile, perfect for those who want something beautiful they can wear and show off proudly.
Lacy Crochet Tote Bag with Strap – Step-by-Step Pattern
This pretty tote bag project uses easy mesh stitches and customizable straps, making it perfect for beginners who want to practice double and triple crochet. The result is a lightweight, elegant bag you can resize and finish to your liking.
Before You Start
- Review how to make chains, double crochet (dc), triple (treble) crochet (tr), and single crochet (sc).
- Decide how big you want your finished bag—length is determined by adjusting your starting chain and number of rows.
- Prepare a flat space for assembly and measuring.
- If desired, add a lining or closure at the end.
Pattern Notes
- The bag is worked in two identical mesh panels, which are then joined and edged.
- You’ll make the bag body with a foundation of double crochet, followed by repeating mesh (chain and triple crochet) rows.
- The straps/handles are made separately, worked in a different mesh pattern for strength and style.
- All measurements are fully customizable—just adjust starting chains and rows!
How I Made the Crochet Pattern
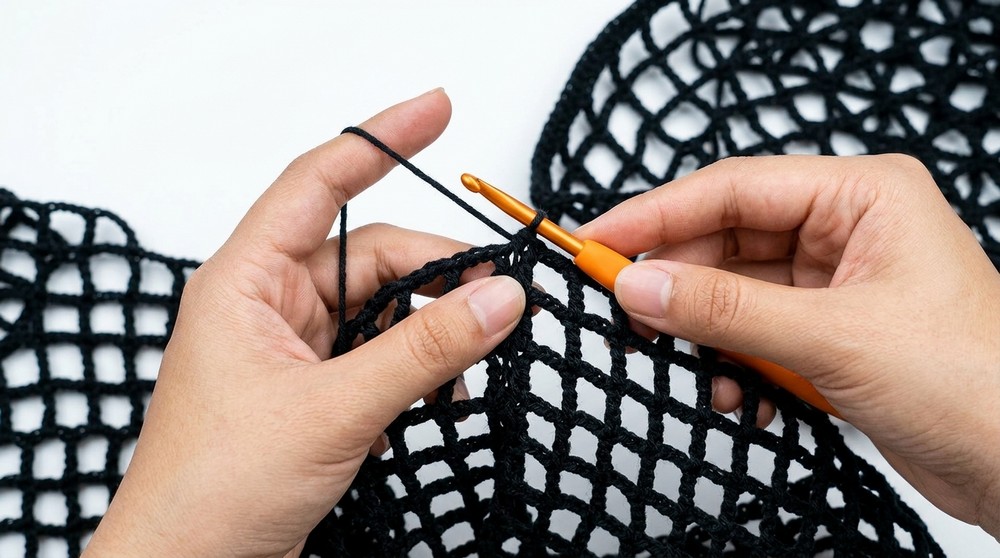
- Started the bag body with a foundation chain and a row of double crochet.
- Built up a lacy mesh using chain and triple crochet repeats.
- Made two panels and joined them.
- Crocheted separate long handled straps, then attached them securely.
- Completed the bag with an optional neat single crochet border.
Skill Level
Beginner/Easy
Focuses on openwork mesh and basic tall stitches. All steps are simple and repetitive.
Finished Size
- Example size (shown): About 33 cm wide and 34 cm tall when panels are joined (measurement before assembly: one panel is 33 cm x 17 cm)
- Handles/straps: Custom length, often 40–60 cm for shoulder carry
Materials
- Worsted or DK weight acrylic/cotton yarn (about 200–250g)
- 3.5-4 mm crochet hook (check yarn label and required drape)
- Stitch marker
- Yarn needle
- Scissors
- Measuring tape
Measurements / Sizing (Optional Schematic)
- One panel before joining: 113 chains/~33 cm wide, 15 rows/~17 cm high
- Finished bag (2 panels joined): 33 x 34 cm
- Straps: Adjustable—measure across shoulder or desired length
Gauge and Stitch Pattern
- Not critical, but for reference: 5 dc = 2.5 cm
- Mesh stitch: [ch 5, tr] repeated across, gives airy, lacy pattern
Stitch Abbreviations
| Abbreviation | Explanation |
|---|---|
| ch | chain |
| sc | single crochet |
| dc | double crochet |
| tr | triple (treble) crochet |
| sl st | slip stitch |
| st | stitch |
| rep | repeat |
Special Stitches
- Triple (Treble) Crochet (tr): Yarn over twice, insert hook, yarn over and pull up loop (4 loops), (yarn over, pull through 2) three times.
- Mesh Pattern: Alternating chain spaces and tr.
The Pattern!
Make 2 Panels for Bag Body
1. Foundation Chain & First Row
- Ch 113 (or multiple of 5 + 3 for custom width).
- Row 1:
- Sk first 3 ch (counts as first dc), dc in 4th ch from hook.
- Dc in each ch to the end (you have 111 dc, including initial 3 ch as first dc).
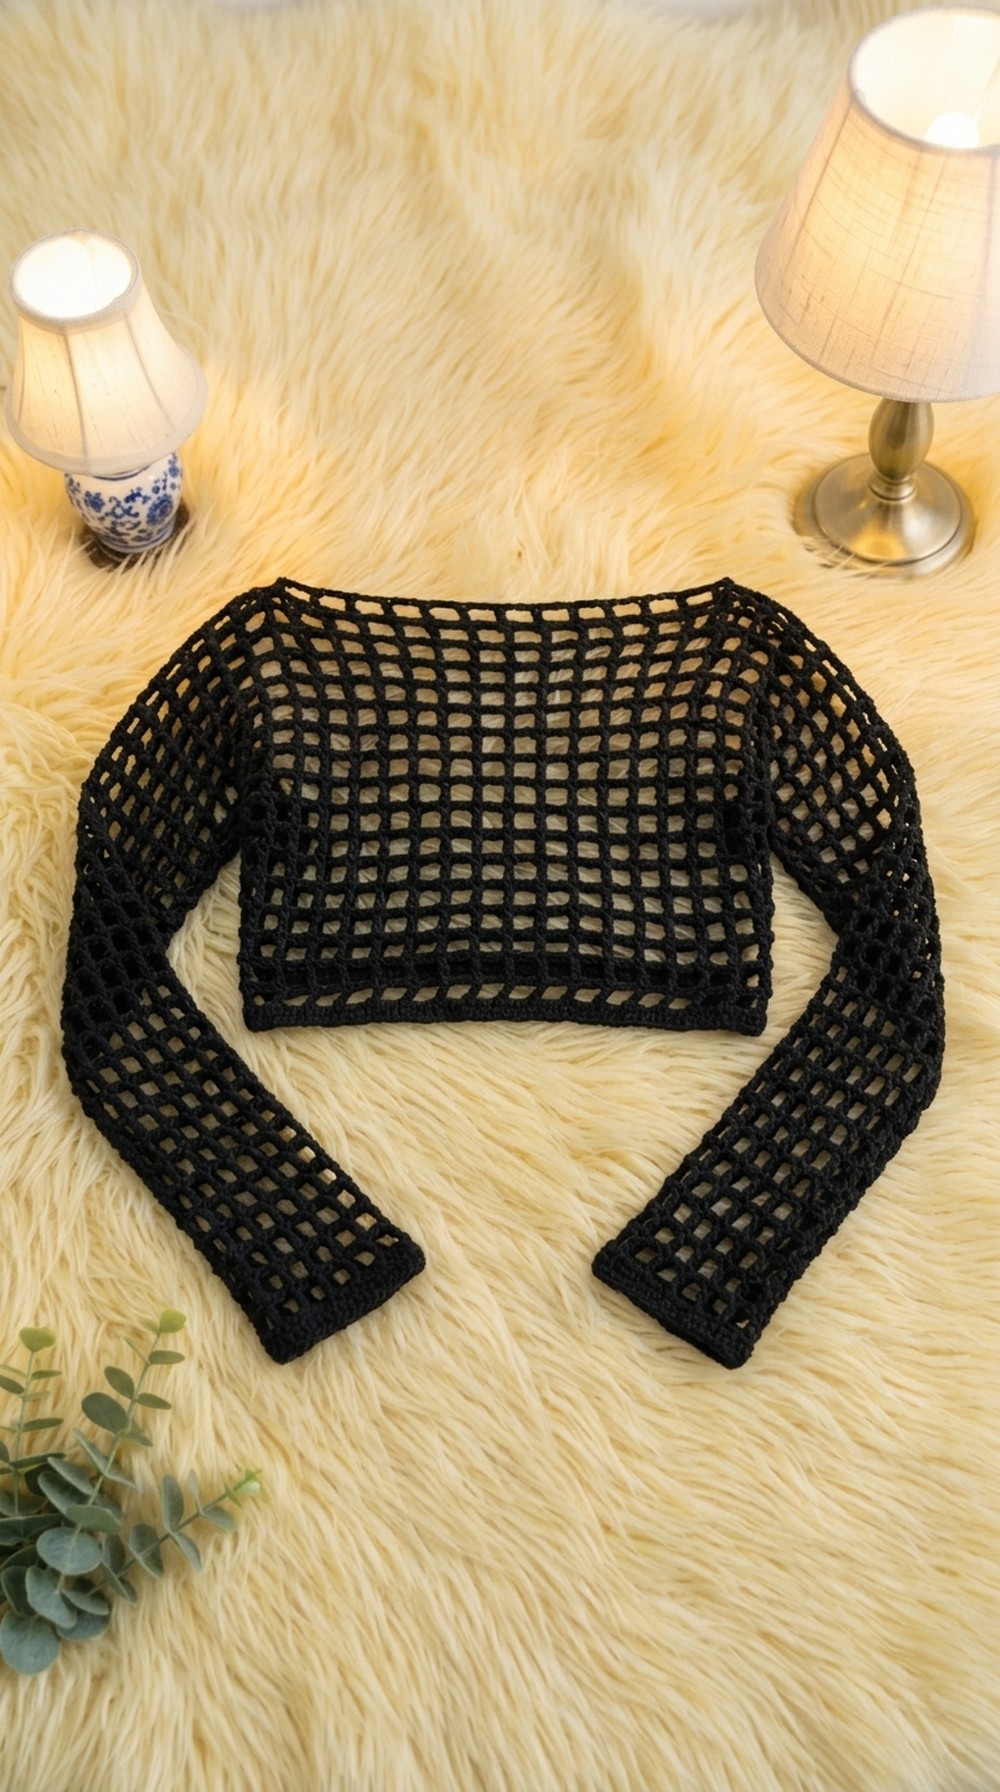
Plain instructions:
Start your chain as wide as you want your bag and work double crochet into every chain for a solid first row.
2. Start Mesh Pattern
- Ch 10 at end of Row 1, turn.
- Row 2:
- Sk 1st ch, sk next 4 ch, tr in the 5th ch.
- Ch 5, sk 4 ch, tr in 5th ch, rep across row to end.
- On last ch, end with tr.
- If your row is a bit off due to stitch count, just ensure you finish with tr at the end and adjust stitch count in next row as needed.

Plain instructions:
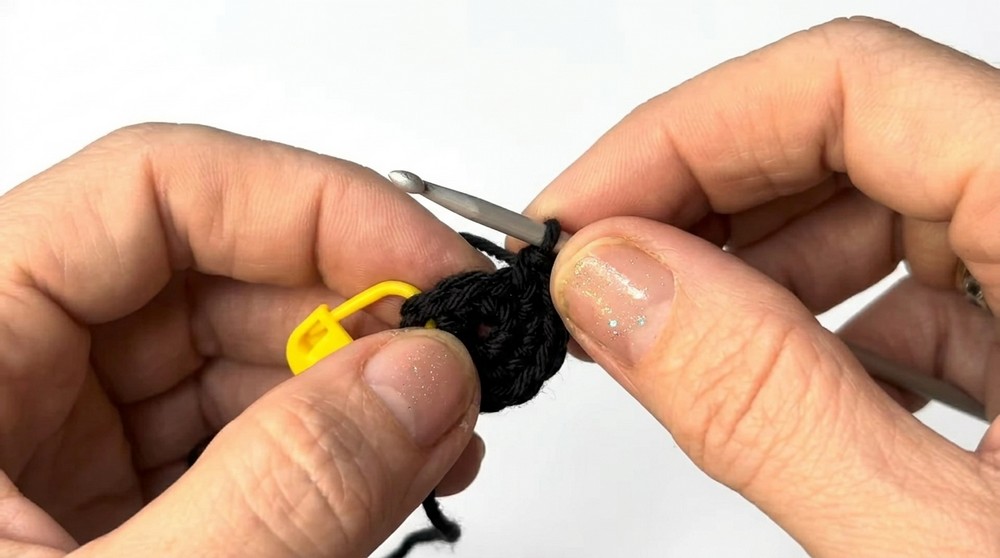
After your solid row, work mesh pattern: chain 5, skip 4, and triple crochet, over and over, making a lacy mesh. On each row, begin and end with a long chain and tr.
3. Continue Mesh Pattern Rows
- Ch 10 at the end of each mesh row, turn.
- Continue: Just as Row 2, keep repeating [ch 5, tr in gap/chain space] mesh rows until you reach about 15–18 rows total, or desired height.
Plain instructions:
Keep repeating the ch 5, tr pattern for the body’s height. Make two same-size panels for front and back of the bag.
4. Secure Bag Height and Shape
- You can make it taller or shorter by simply adding more (or fewer) mesh rows.
Bag Handles (Make 2 Strap Panels)
1. Make Straps in Mesh Pattern
- Foundation ch:
- Ch 40–60 (or desired handle length plus seam allowance).
- Row 1:
- Work the mesh: [ch 4, sk 3, tr in next]: from the base chain to the end.
- Repeat Row 1 for 2–3 rows for a wider, sturdier strap.
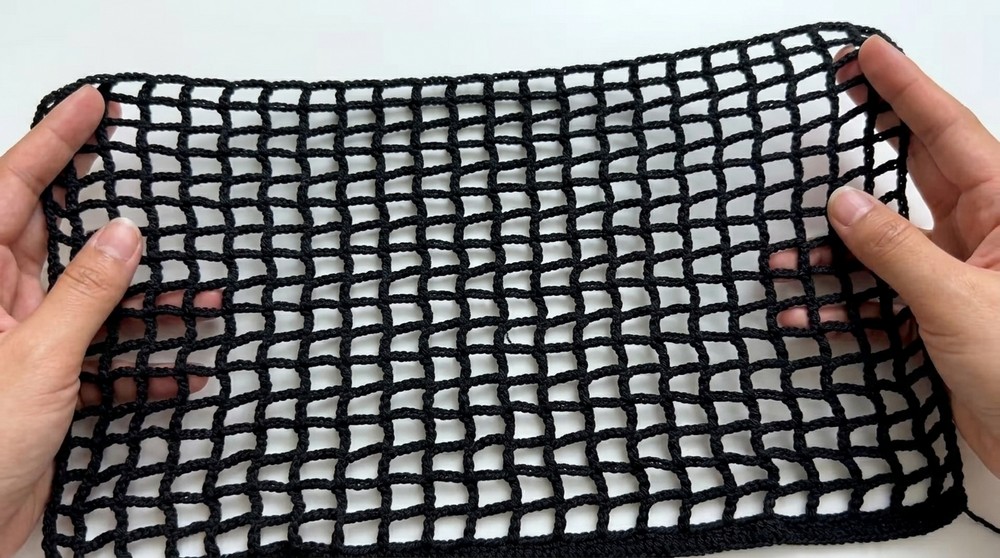
Plain instructions:
The straps are made as narrow versions of the mesh panel. Make to your desired length and thickness.
2. Edge and Attach Straps
- After last row, cut yarn with tail, thread yarn needle, then sew both ends of each strap to the top edge of bag panels (measure to ensure symmetrical placement).
Joining Bag Panels
- Place panels right sides together.
- With new yarn, use sc or whipstitch to seam the sides and bottom.
- Optional: Work a round of sc or sl st around entire top edge for neatness and support.
Plain instructions:
After both panels are ready, sew them together along the sides and bottom. Attach the handles and finish the edges for firmness.
Assembly & Finishing
- Weave in all loose ends and trim.
- Optionally, add a round of single crochet or slip stitch to the top edge for durability.
- Add button, snap, or zipper if desired.
- Block or steam your bag for neatness.
Solution of Problem
Problem: Edges or mesh are uneven, or straps twist.
Solution:
Count stitches carefully on each row, blocking lightly after assembly helps even edges. When attaching straps, lay flat and evenly measure before sewing to avoid twisting or unevenness.
What You Can Make with These Stitches
- Lacy market or beach bags
- Chic shoulder tote
- Handy produce bag
- Light summer purse
- Gift bags (custom sized)
For readers who don’t follow patterns:
Create two big rectangles using a simple airy mesh of chains and triple crochet. Sew them up on the sides and bottom, add long mesh straps, and finish with a neat border. Your elegant crochet tote is ready to show off.



Leave a Reply