

Create a Crochet Christmas sweater keychain pattern for making festive accessories perfect for holiday gifts and adding charm to your keys.
There’s something magical about small, thoughtful details that brighten the holiday season. This charming accessory brings that magic to life with a cozy, festive feel that instantly warms your heart. The free crochet Christmas sweater keychain pattern is a delightful project that combines style and comfort, perfect for celebrating winter festivities.
Holiday Craft Ideas Crochet Christmas Sweater Keychain Pattern
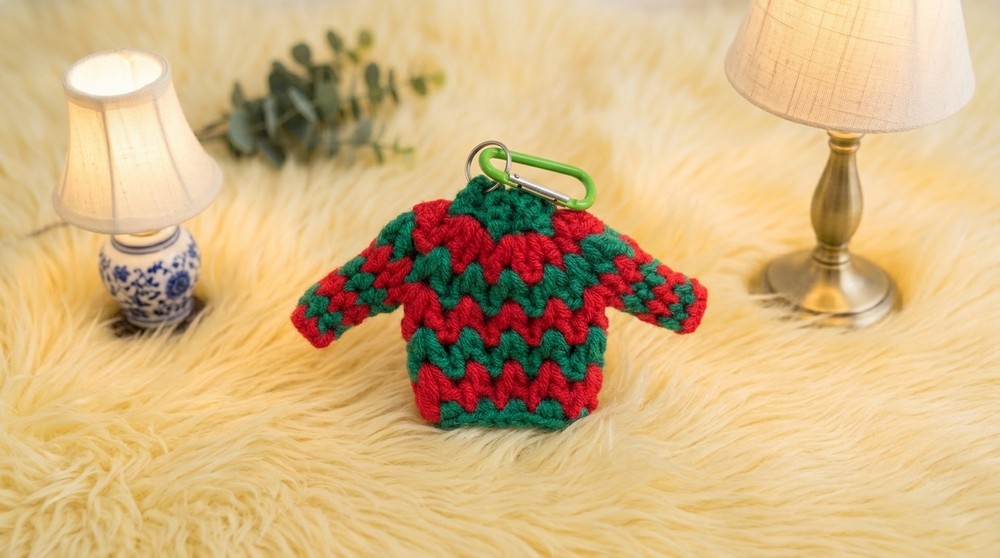
Designed to capture the essence of a classic Christmas sweater, this tiny ornament offers both beauty and versatility. Hang it on your Christmas tree, attach it to your gift wrap as a special touch, or carry it on your keys to spread holiday cheer wherever you go. Its compact size and cheerful design make it an ideal seasonal accessory that pairs wonderfully with other festive decorations.
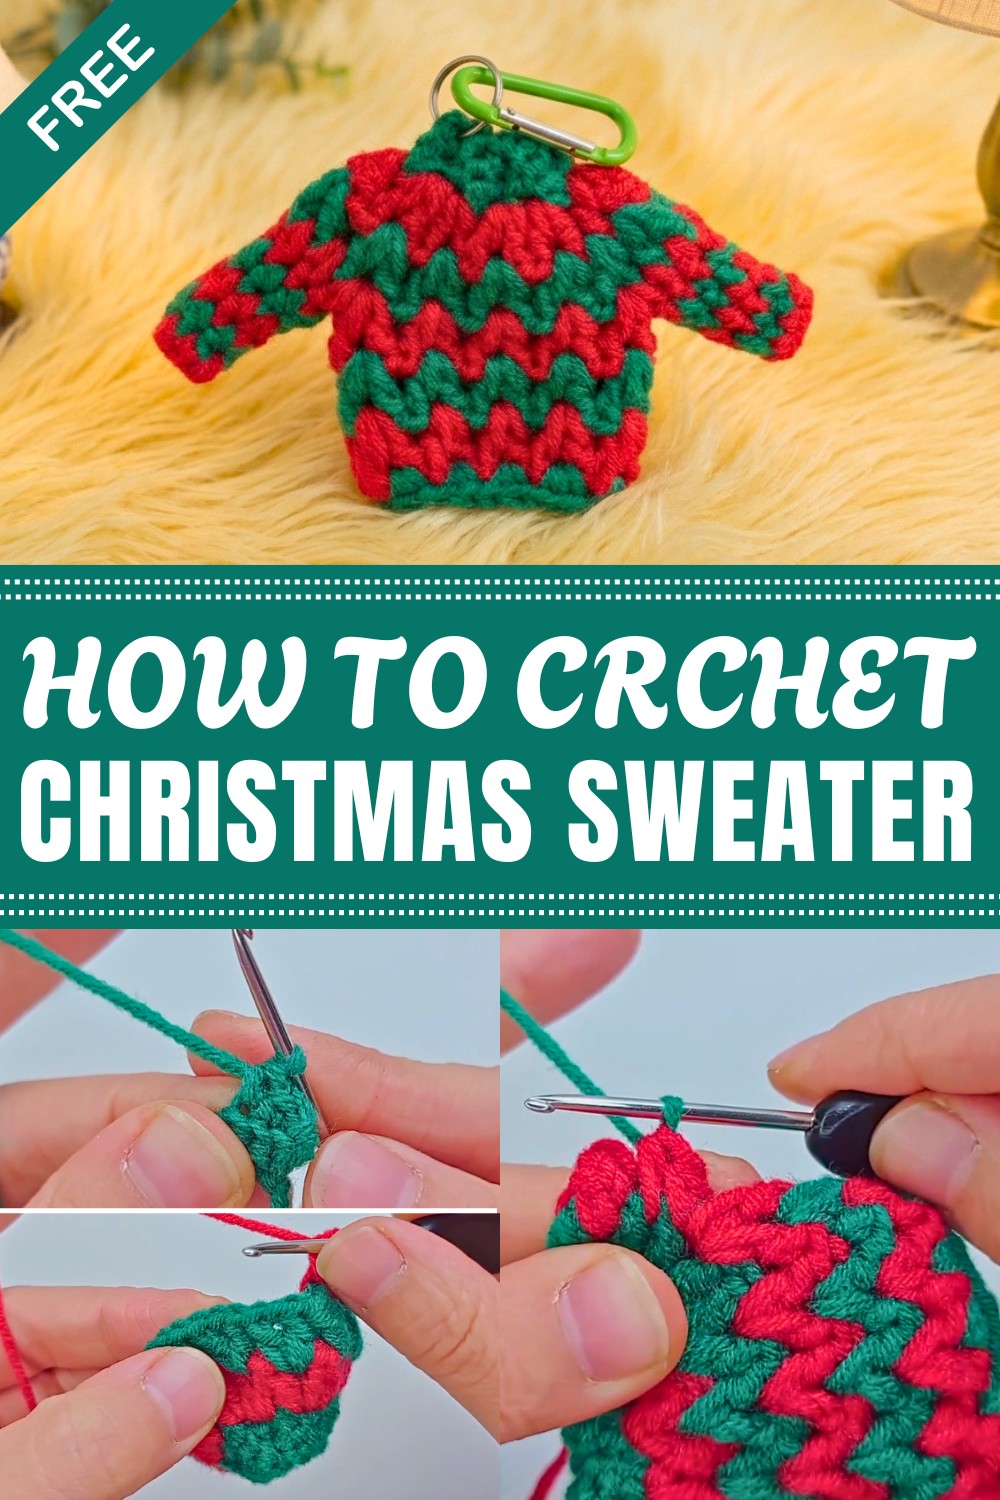
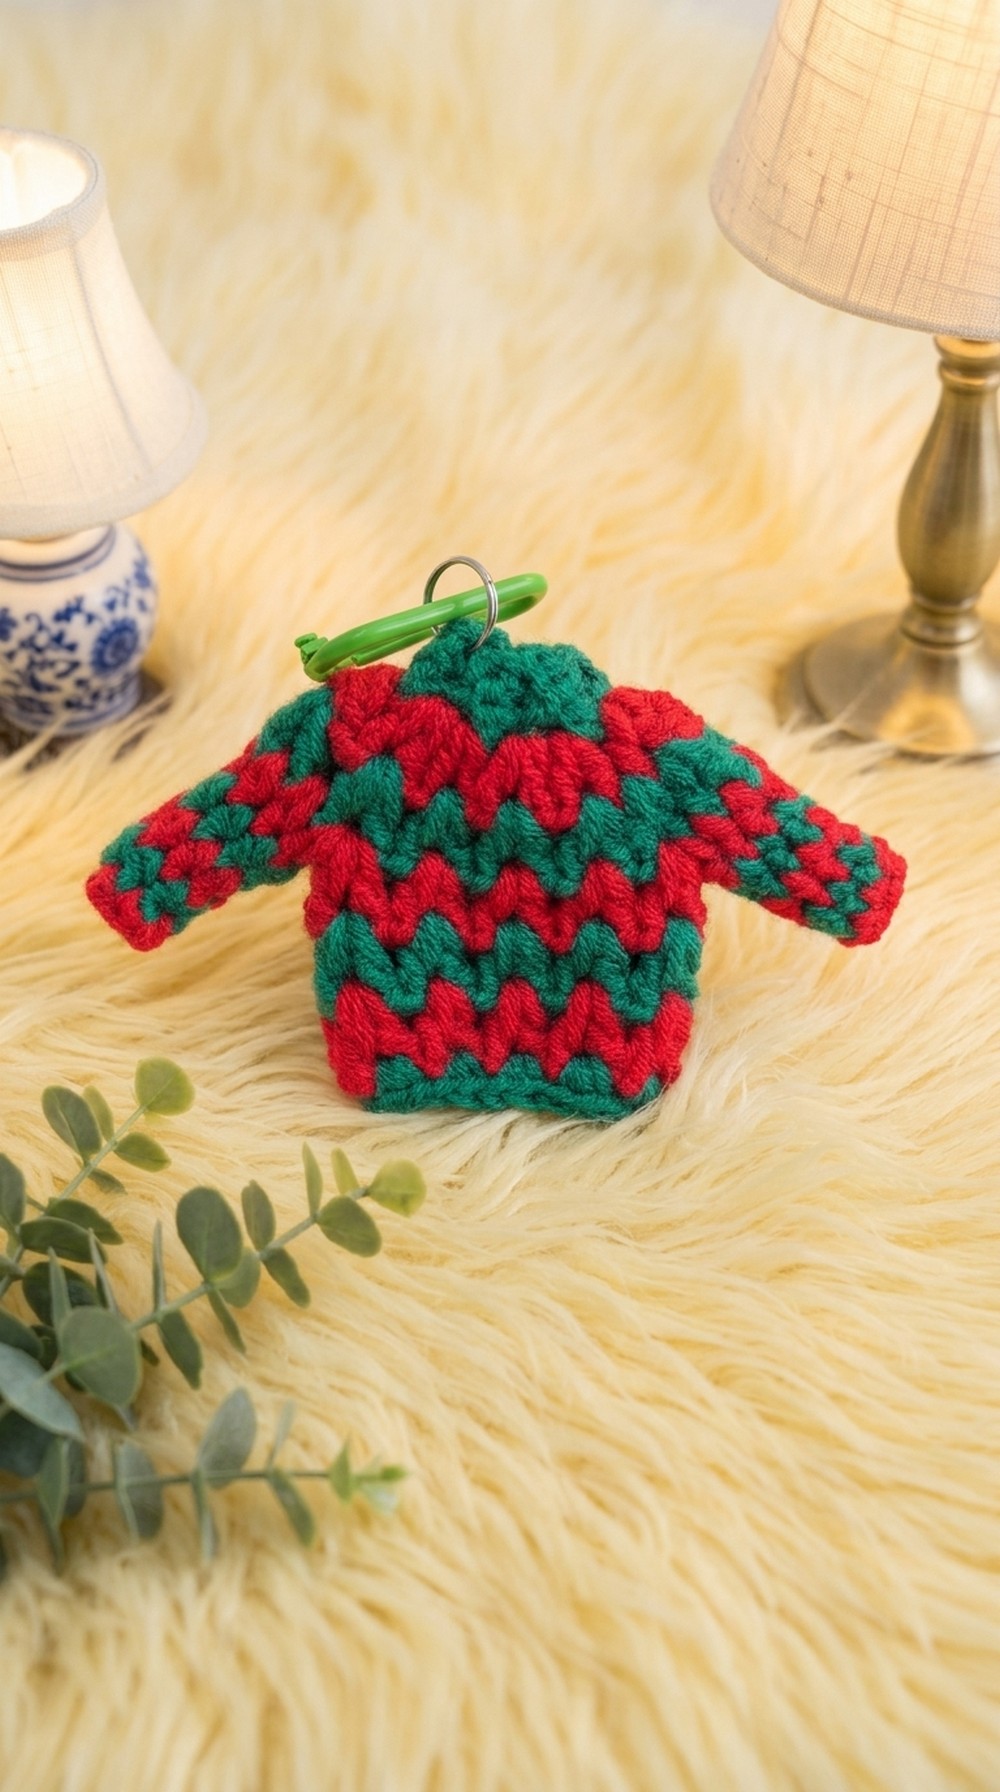
The texture of this keychain is inviting and detailed, achieved through delicate stitch work that creates subtle stripes and raised patterns reminiscent of traditional knitwear. Using soft milk cotton yarn and a small 2.0 mm hook ensures a sturdy yet smooth finish, giving the piece both durability and a tactile quality that feels wonderful to handle.
Standout features include the layered collar and the intricate patterning that provide depth and visual interest, making it more than just an ordinary keychain but a mini holiday statement. The use of alternating stitches creates charming V-shaped motifs that enhance its festive appeal.
Crochet Christmas Sweater Ornament Pattern
This pattern provides instructions for crocheting a festive miniature Christmas sweater ornament. Designed to be hung on Christmas trees or used as decorative embellishments for gifts, this charming DIY project adds a cozy, cheerful touch to the holiday season. The sweater consists of four parts—the collar, body, sleeves, and final assembly.
Skill Level
This pattern is suitable for intermediate crocheters, as it involves basic crochet techniques, color changes, medium-long stitches, creating texture, and seamless assembly. While the steps are broken down into easy-to-follow instructions, basic knowledge of crochet terminology and techniques is recommended.
Materials
- Yarn:
- Four strands of milk cotton yarn. Two different colors for the main sections of the sweater (e.g., red and green for the body) and one for accents, depending on your color scheme.
- Hook:
- 2.0 mm crochet hook.
- Additional Tools:
- Open ring and keychain (used for attaching the ornament).
- Scissors (to trim yarn ends).
- Sewing/Darning needle (to hide thread ends).
Special Stitches Used
- Short Stitch (SS):
- Insert the hook into the stitch, yarn over, pull up a loop (two loops on hook), yarn over, and pull through both loops.
- This is akin to a single crochet but referred to as a short stitch.
- Medium-Long Stitch (MLS):
- Yarn over, insert the hook into the stitch, yarn over again, and pull up a loop (three loops on hook). Yarn over once more, pull through all three loops together.
- Seamless Long Stitch:
- A long stitch finished with a seamless join, where the loop is pulled through cleanly for a smooth, unbroken appearance.
Stitch Abbreviations
- CH: Chain
- SS: Short Stitch
- MLS: Medium-Long Stitch
- SL ST: Slip Stitch
Useful Tips
- Color Changes: To transition between yarns smoothly, adjust the loop accordingly and pull new colors behind the fabric. It’s essential to keep the joint clean for a neat finish.
- Thread Ends: Ensure thread ends are securely hidden within the fabric during assembly. Use a sewing needle to weave them in seamlessly.
- Seamless Finish: For decorative projects like this ornament, focus on the clean finish of edges and seams. Utilize traceless techniques whenever possible to achieve polished results.
- Consistency in Stitches: Pay close attention to tension when creating the patterns and stitches to ensure an even result throughout the entire ornament.
Pattern Instructions
1. The Collar
Round 1:
- Hold the yarn in your left hand and make a slip knot.
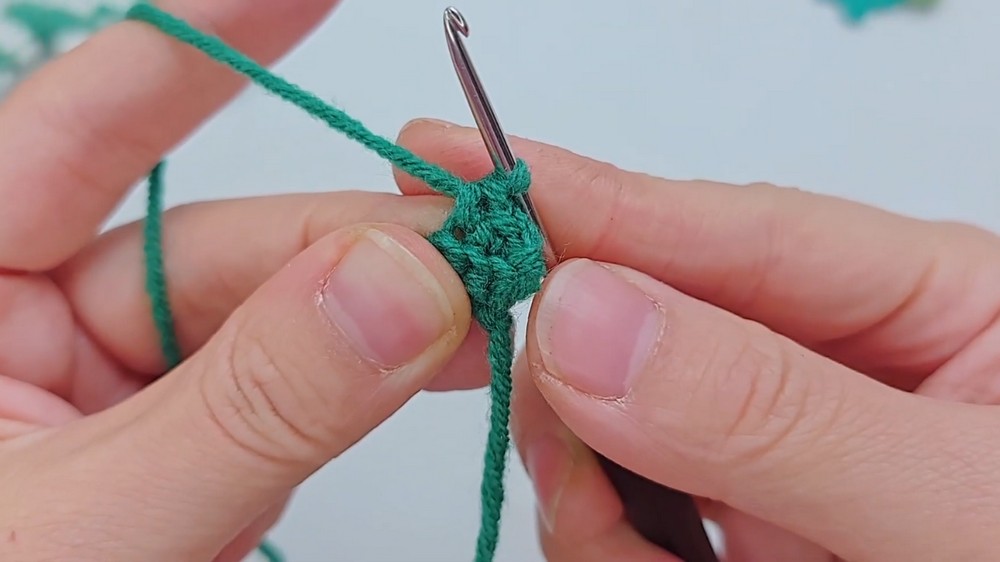
- Chain 4 CH, then turn and begin working into the second to last stitch.
Round 2:
- Work SS into the back bump of each chain for a total of 3 SS stitches. This completes the first row.
Row 2:
- Chain 1 CH as the turning stitch.
- Work half stitches into the fabric strip. Continue working 3 SS stitches in sequence.
Rows 3–11:
- Repeat the second row to create 9 additional rows. Each row should consist of 3 SS stitches.
Finish Collar:
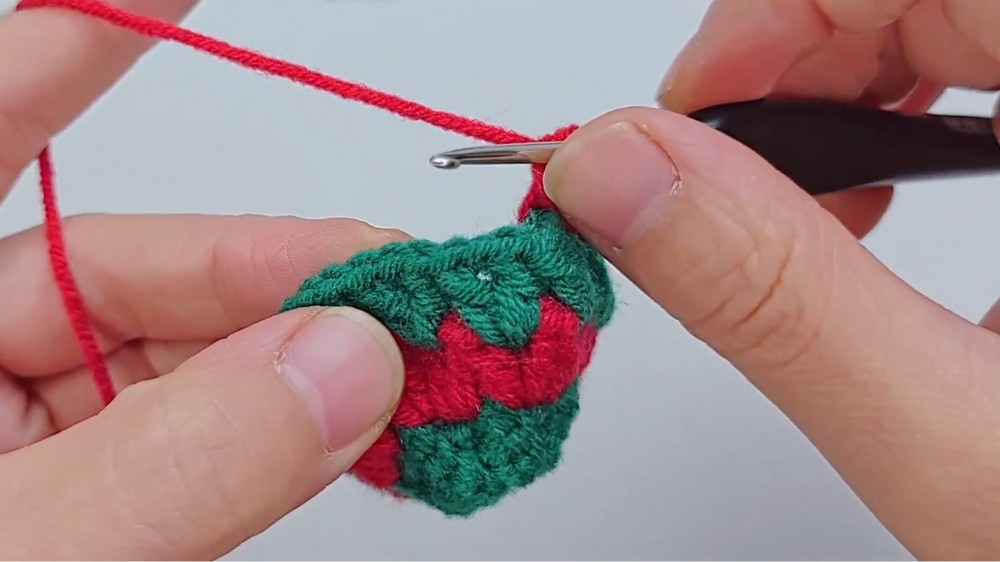
- Once all rows are completed, pull up the yarn to enlarge the loop.
- Cut the yarn, leaving a longer tail, then use a needle to sew the two ends of the fabric strip together to form the circular collar. Hide the leftover thread ends and flip the collar inside out to conceal the seams.
2. The Body of the Sweater
Attaching the Collar:
- Place the completed collar on your work surface and locate the stitches from the seamed ends.
Round 1:
- Insert the needle at the seam and begin with a seamless long stitch.
- Start the body pattern:
- Work 1 MLS, 1 CH, skip 2 stitches, then work a flower cluster (3 MLS, 1 CH, 3 MLS into the 3rd stitch).
- Repeat this sequence across the round a total of 11 groups.
Round 2:
- Take the second color yarn (e.g., green) and place it behind the fabric.
- Insert the needle at the last stitch of the previous round and begin with a seamless long stitch.
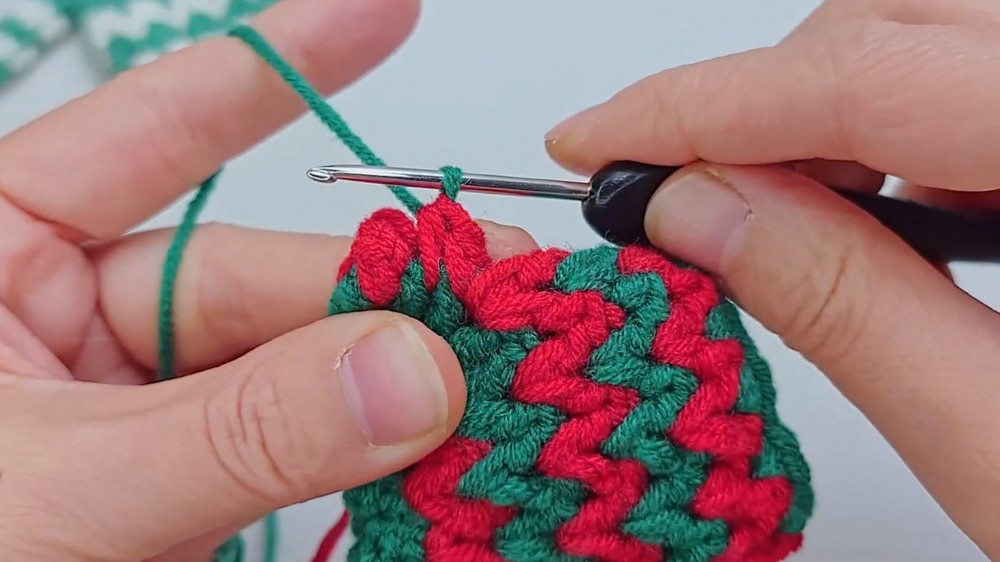
- Work 1 MLS, 1 CH, 1 MLS in the middle of the flower clusters from Round 1 to form the bottom halves of the flowers. Repeat for 6 groups total.
Rounds 3–19:
- Alternate between Round 1 and Round 2 to create the floral texture. Repeat this two-round sequence until the body of the sweater consists of 19 rounds total.
3. Sleeves
Round 1:
- Locate the position for the first sleeve on the back of the fabric.
- Insert a needle, make 1 CH as the starting stitch, and work 7 MLS stitches across.
Rounds 2–4:
- Repeat 7 MLS stitches for the next three rounds. Trim off excess thread for clean edges.
Round 5:
- Work 1 SS in each stitch for a total of 7 SS stitches.
Finishing:
- Pull out the loop, break the thread, and use the needle for weaving in the ends. Hide loose threads within the sleeve fabric.
- Repeat the same process for the second sleeve.
4. Assembly and Completion
Final Assembly:
- Attach a keychain or open ring at the top of the sweater using the sewing needle or slip stitch for secure placement.
Decorative Touch:
- Add any desired embellishments (optional), such as a ribbon bow or beads for the sweater accents.
Conclusion
This small Christmas sweater ornament is a charming addition to holiday decorations with its detailed knit-like texture and customizable elements. Whether hung on a tree or attached to a gift, its festive design brings warmth and creativity to holiday celebrations.


Leave a Reply