

Lovely decorations and joyful spirit come together with a charming Crochet Santa that brings warmth and handmade magic to your holiday celebrations.
Christmas time is fun with decorations all around. A cute Crochet Santa is a small, soft toy made with yarn and a crochet hook. It looks like Santa Claus with his red clothes, white beard, and black boots, but you can hold and play with it.
Fun Crochet Santa Free Pattern That Adds Festive Cheer to Your Home
This little Santa is very pretty because it uses bright red, white, and black colors. Sometimes, people make it in other colors too, like green or blue. The tiny details, like Santa’s hat and belt, make it look nice and happy.
You can use the cute Crochet Santa in many ways. You can hang it on the Christmas tree, put it on a table, or give it as a gift. It can also be used as a keychain, a fun ornament, or a small toy for kids. Because it is soft and light, kids can play with it safely, and it makes any room feel cozy and festive.
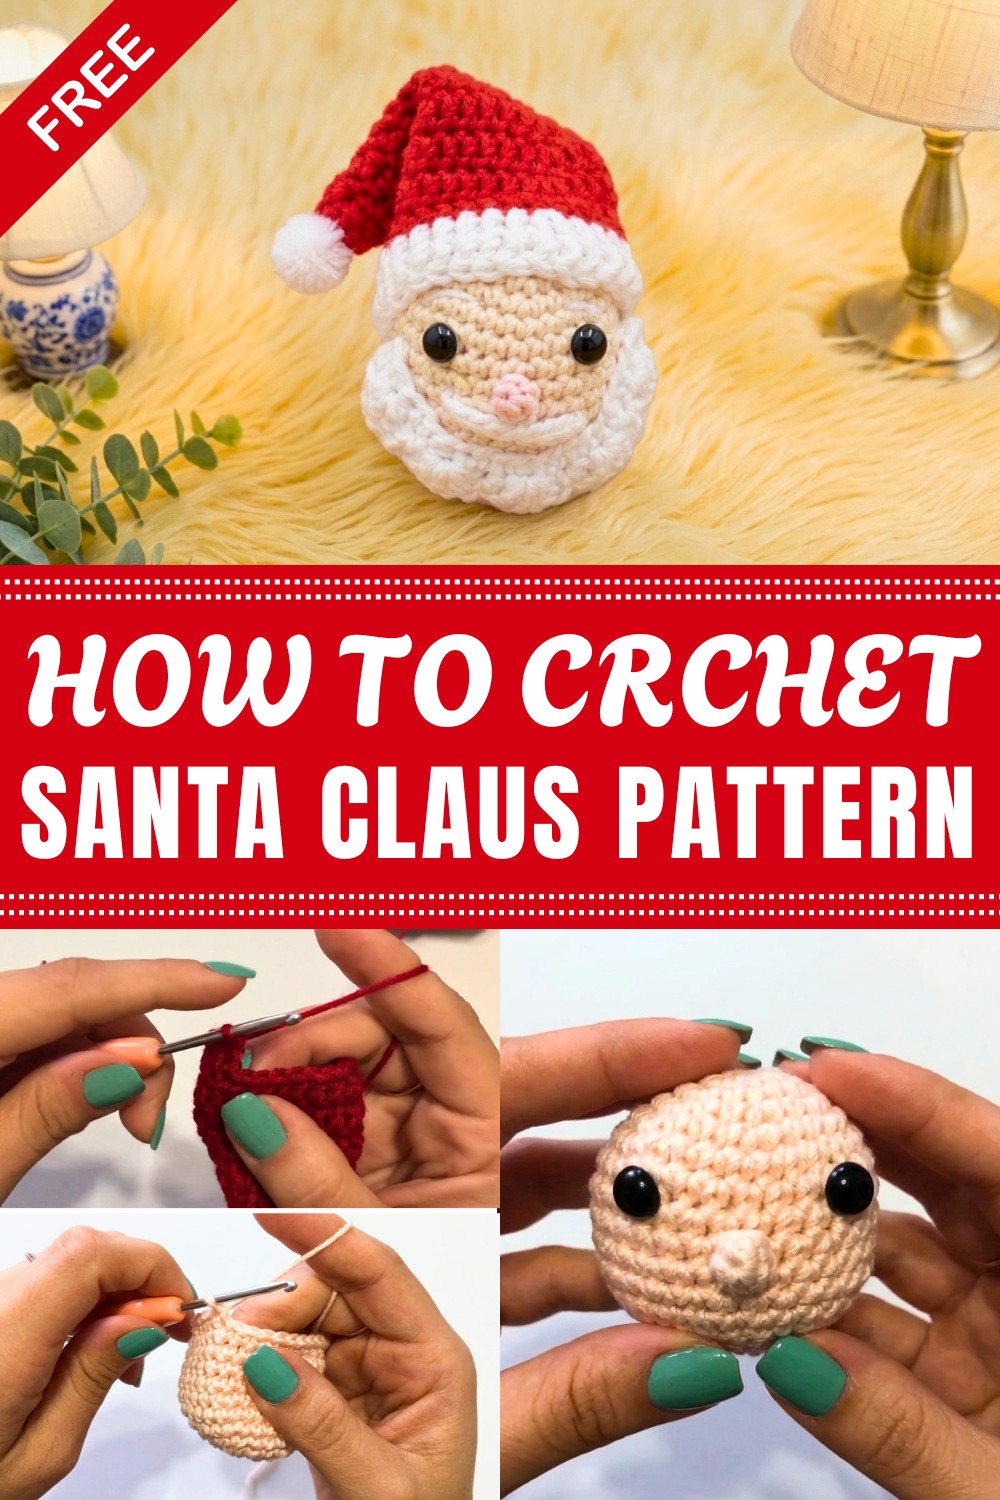
You can make this Santa in many sizes and colors. You might want a small one for your key or a bigger one to sit on a shelf. You can choose the colors to match your house or your favorite colors.
The most important stitch to make a cute Crochet Santa is the single crochet stitch. This stitch is easy and makes the Santa hold its shape well. With a little practice, anyone can learn to crochet and make this fun Santa.
In short, a cute Crochet Santa is a colorful and happy decoration. It’s easy to make, fun to have, and brings smiles to everyone during Christmas. It has many uses and can brighten up any holiday place.
Santa Claus Crochet Ornament Pattern
This pattern presents a charming and beginner-friendly Santa Claus ornament, perfect for festive holiday decorating. The design focuses on clear step-by-step construction, ensuring a seamless crochet experience as you build up Santa’s head, nose, beard, mustache, and hat. You’ll find each section easy to follow, making it suitable for crafters of all levels—enabling you to create a joyful Christmas keepsake for yourself or as a personalized gift.
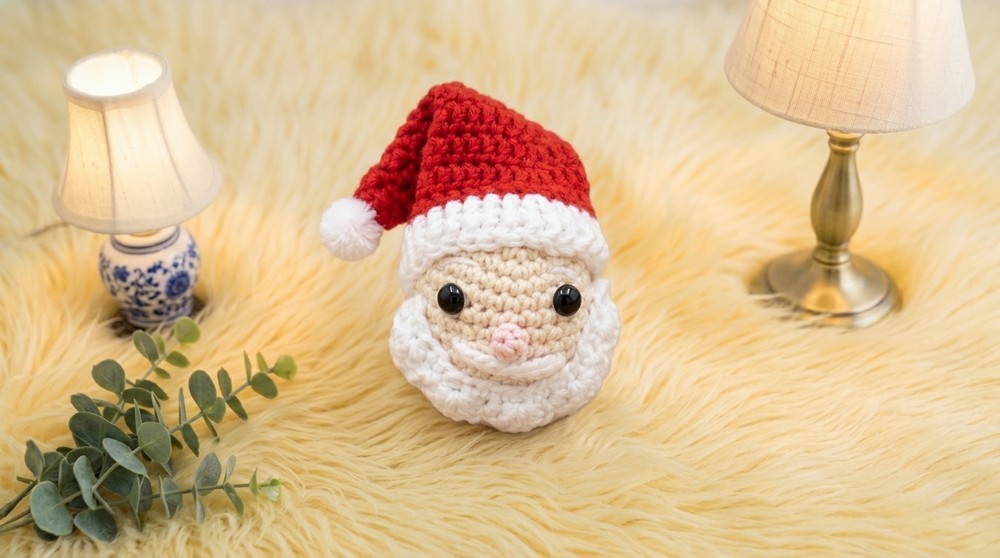
Pattern Highlights
Key Features:
- Fully Detailed Construction: Each step, stitch, and attachment is addressed in sequence for Santa’s classic look.
- Layered Facial Detailing: The beard, mustache, and nose are separate for a three-dimensional, realistic effect.
- Simple, Gradual Shaping: Both head and hat utilize gradual increases and decreases for smooth curves.
- Festive Finishing: Pom-pom topping and bright red hat add quintessential Christmas charm.
- Ornamental Scale: Designed to suit tree hanging, mantle displays, or festive garlands.
Notes
- Pattern uses US crochet terminology.
- Rounds are worked in a continuous spiral unless otherwise directed (use a stitch marker for best results).
- Eyes are positioned between rounds for a balanced facial expression.
- Attach mustache and nose after embroidering or sewing the beard for correct layering.
- Pom-pom can be made by hand or purchased for convenience.
- Good filling is key—stuff firmly for shape, but not so tight as to deform the ornament.
- Fasten off and securely weave in all yarn ends to prevent unraveling.
Skill Level
Confident Beginner
Skills Required:
- Magic ring
- Single crochet (sc), increase (inc), decrease (dec)
- Double crochet (dc), back post double crochet (bpdc)
- Chain stitch (ch)
- Sewing/embroidering facial pieces
- Changing yarn colors
Materials
- Yarn: Skin tone (nude), white, red (medium weight recommended)
- Crochet hook: 2.5 mm
- Stuffing: Polyester fiberfill
- Safety eyes: 8 mm (black)
- Pom-pom: White, for hat tip (store-bought or handmade)
- Yarn needle: For sewing/assembly
- Scissors
- Stitch marker (optional)
Measurements / Sizing
- Finished ornament: approximately 7–10 cm tall, 5–6 cm wide (adjusts with yarn weight and tension)
- Safety eye spacing: 6 stitches apart
- Hat: Tapered, fits snugly atop the head
Gauge
Gauge is not essential for this small amigurumi. If you use tight stitches, stuffing will not show and the ornament will look smooth.
Stitch Abbreviations
| Abbreviation | Stitch |
|---|---|
| MR | Magic ring |
| ch | Chain |
| sc | Single crochet |
| inc | Increase (2 sc/dc in same st) |
| dec | Decrease (sc2tog) |
| dc | Double crochet |
| bpdc | Back post double crochet |
| sl st | Slip stitch |
Special Stitches
- Magic Ring (MR): Form a loop, insert hook, yarn over, pull up loop, ch 1, work stated sts into ring, tighten.
- Invisible Decrease: Insert hook in front loops of next two stitches, yarn over, pull loop through both, finish sc as usual.
- Back Post Double Crochet (bpdc): Yarn over, insert hook behind post of stitch, yarn over and draw up loop, finish dc as usual.
Step-by-Step Pattern
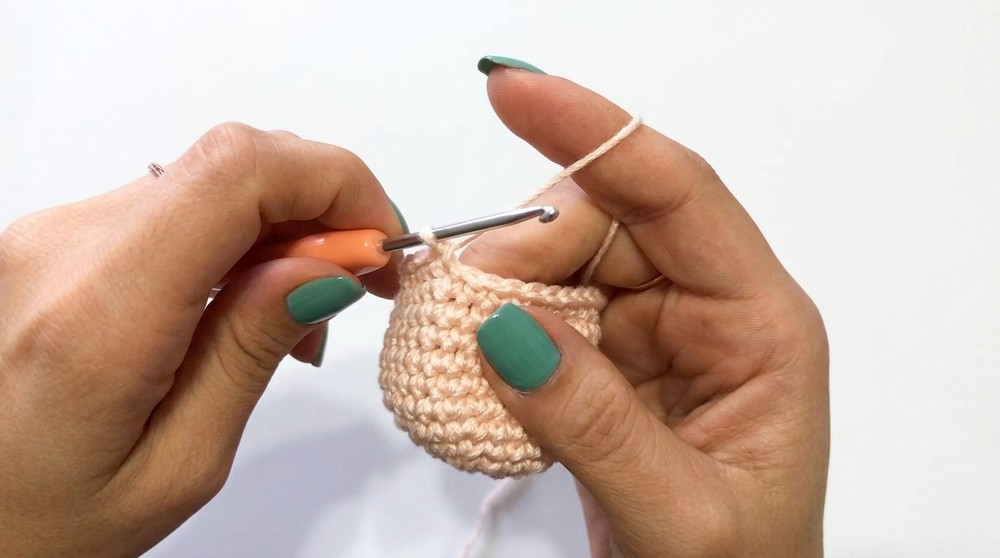
1. Santa Claus Head
(Skin tone yarn; all rounds worked in continuous spiral unless noted)
- Round 1: MR, 6 sc in ring (6 sts)
- Round 2: inc in each st around (12 sts)
- Round 3: 1 sc, 1 inc repeat around (18 sts)
- Round 4: 2 sc, 1 inc repeat around (24 sts)
- Round 5: 3 sc, 1 inc repeat around (30 sts)
- Rounds 6–12: 1 sc in each st around (30 sts for 7 rounds)
- Round 13: 3 sc, 1 dec repeat around (24 sts)
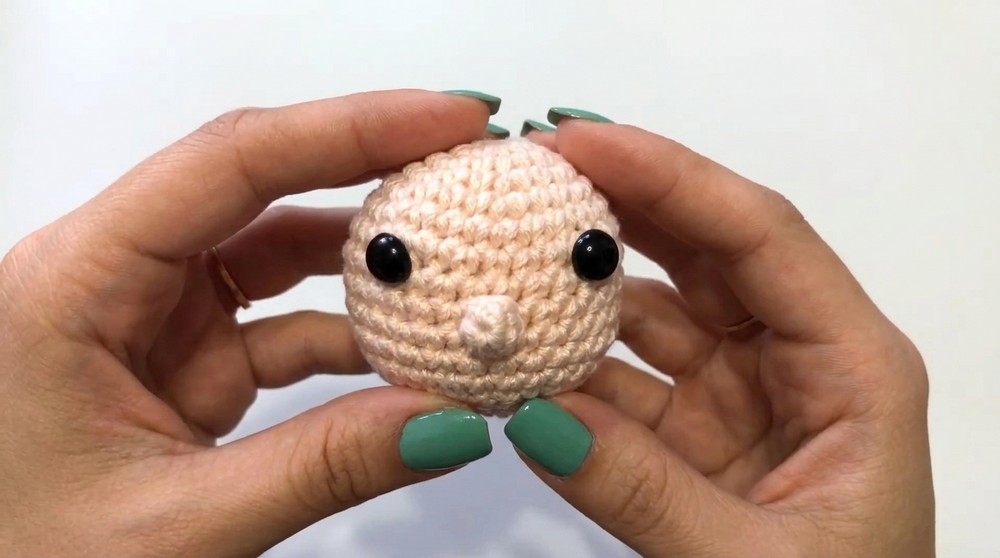
- Eye Placement: Insert 8 mm safety eyes between rounds 7 and 8, spaced 6 stitches apart.
- Round 14: 2 sc, 1 dec repeat around (18 sts)
- Begin Stuffing the head.
- Round 15: 1 sc, 1 dec repeat around (12 sts)
- Round 16: 6 decreases (sc2tog) to close (6 sts)
- Finish off, weave tail through remaining stitches, pull tight to close, and secure end.
2. Nose
(Skin tone yarn)
- MR, 4 sc into ring (4 sts)
- 1 sc in each st around (4 sts)
- Fasten off, leaving a long tail.
- Sew nose to face between the safety eyes.
3. Beard
(White yarn)
- Foundation: Ch 22.
- Row 1: sc in second ch from hook and in each ch across (21 sc)
- Row 2: ch 1, turn.
- Pattern: 1 sc, skip next st, 3 dc in next st, skip next st
- Repeat this pattern across the row, ending with a 1 sc at the edge.
- Fasten off and leave tail for sewing.
4. Mustache
(White yarn)
- Ch 12, fasten off.
- Sew mustache over upper beard, below nose, across the face.
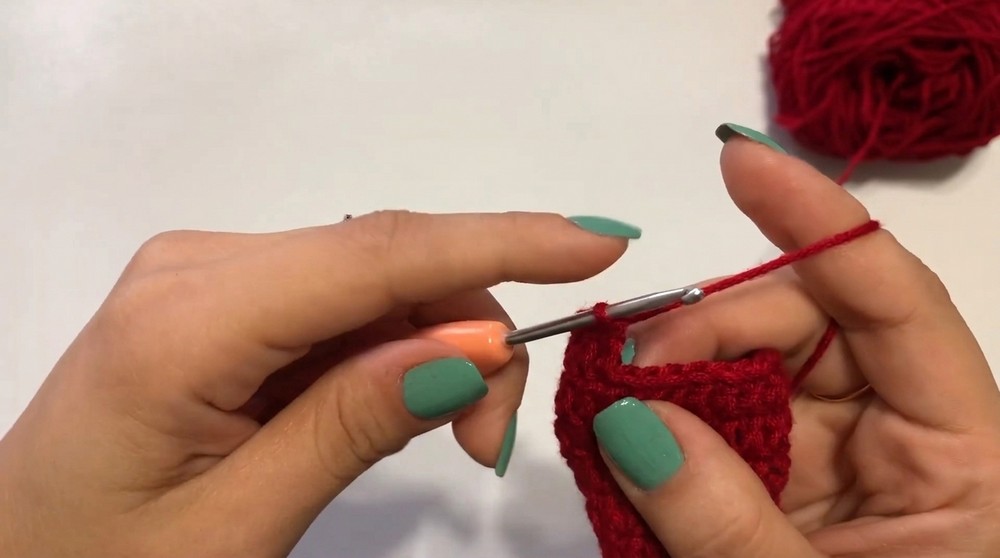
5. Hat
(Red yarn; change to white at brim)
- Round 1: MR, ch 3 (counts as starting dc), 6 dc into ring (7 dc)
- Round 2: Inc dc into each st (8 dc)
- Round 3: (1 dc, 1 inc dc) repeat (10 dc)
- Round 4: (2 dc, 1 inc dc) repeat (12 dc)
- Round 5: (3 dc, 1 inc dc) repeat (14 dc)
- Round 6: (4 dc, 1 inc dc) repeat (16 dc)
- Round 7: (5 dc, 1 inc dc) repeat (18 dc)
- Round 8: (6 dc, 1 inc dc) repeat (20 dc)
- Round 9: (7 dc, 1 inc dc) repeat (22 dc)
- Round 10: (8 dc, 1 inc dc) repeat (24 dc)
- Round 11: Change to white yarn.
- (12 dc, 1 inc dc) repeat round (increase evenly around)
- Round 12: bpdc in each st around for hat brim detail.
- Fasten off, weave in ends.
- Attach white pom-pom to hat tip.
Assembly & Finished Size
Face Assembly:
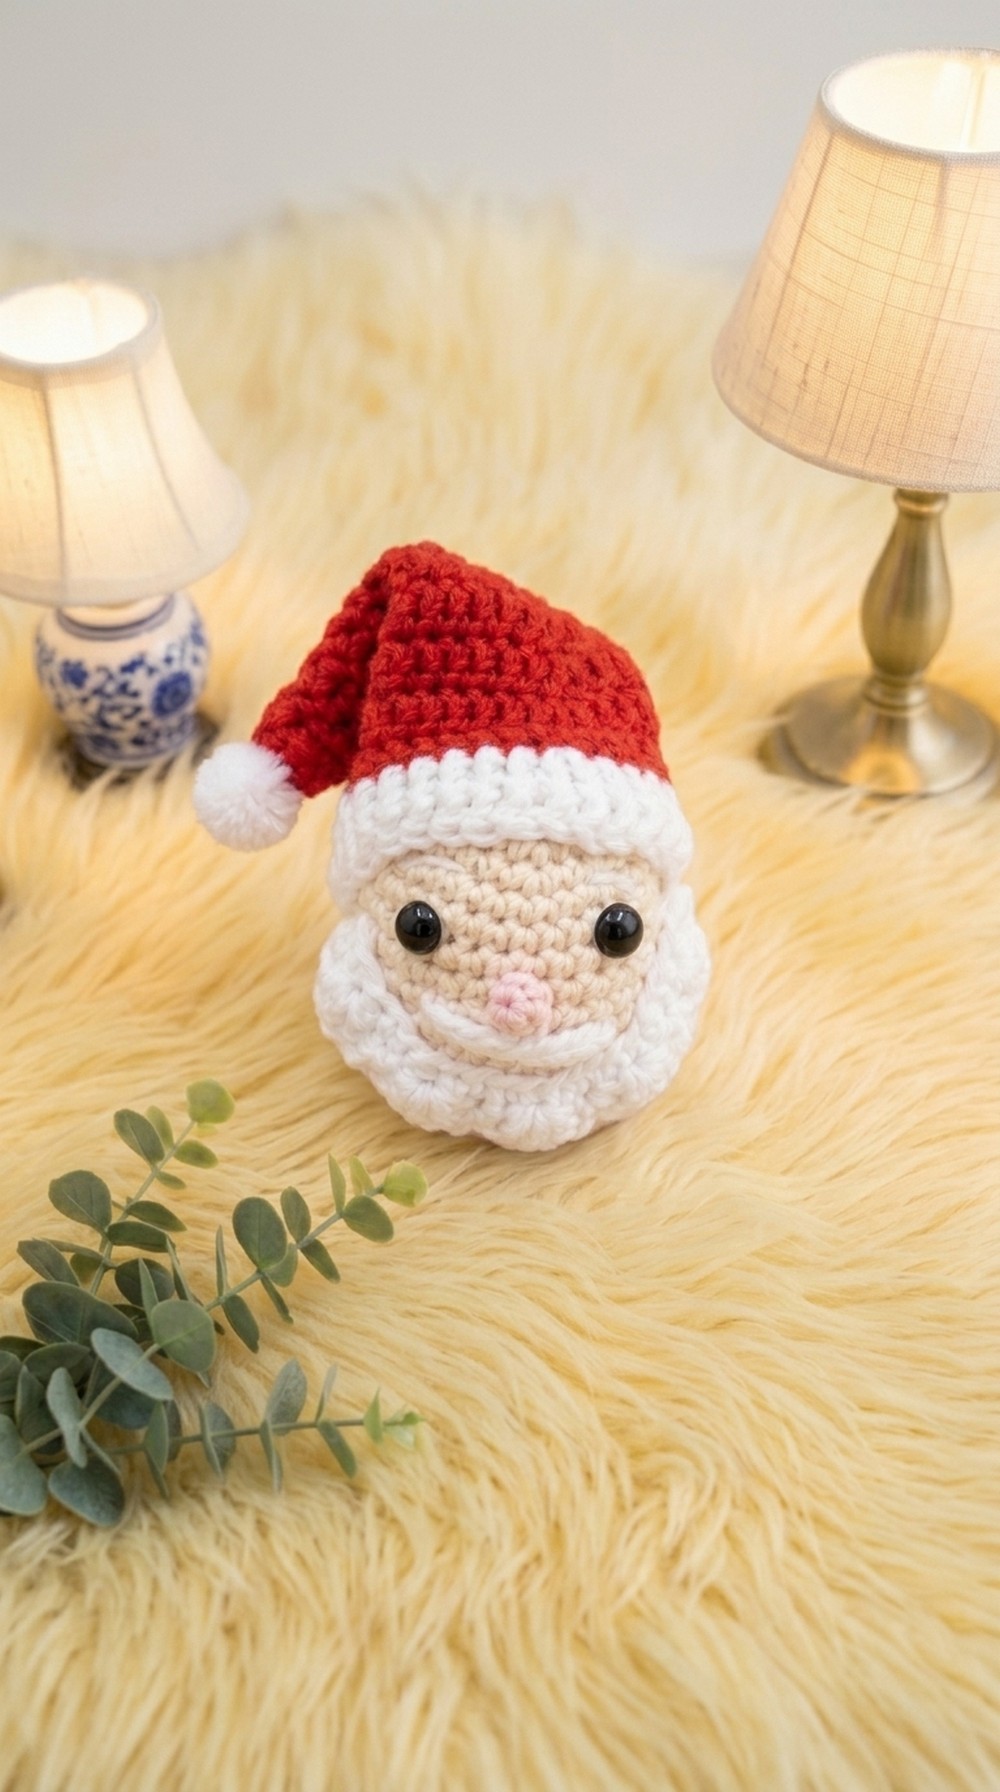
- Sew beard beneath nose, spanning lower face.
- Attach mustache, just below nose, above beard.
- Embroider or sew additional features if desired (smile, cheeks).
Hat:
- Place hat atop head and sew or glue in place.
- Attach pom-pom to the hat tip for finishing detail.
Stuffing & Closure:
- Make sure the head is firmly stuffed, but not over-filled.
- Weave in all yarn ends securely.
Final Touch:
- Add a loop to the hat for hanging on the Christmas tree, or attach an ornament hook.
- Finished Santa measures 7–10 cm tall, depending on tension and yarn weight.
Conclusion
Your Santa Claus crochet ornament is complete and ready to spread holiday cheer! With clear step-by-step instructions and simple shaping techniques, you’ve crafted a beloved classic with character and charm. Perfect for tree decorating, gifting, or adding to festive displays, this Santa is certain to delight. Thank you for following along; may your handmade holidays be merry and bright. For more festive patterns and tips, stay creative and inspired!
Leave a Reply