

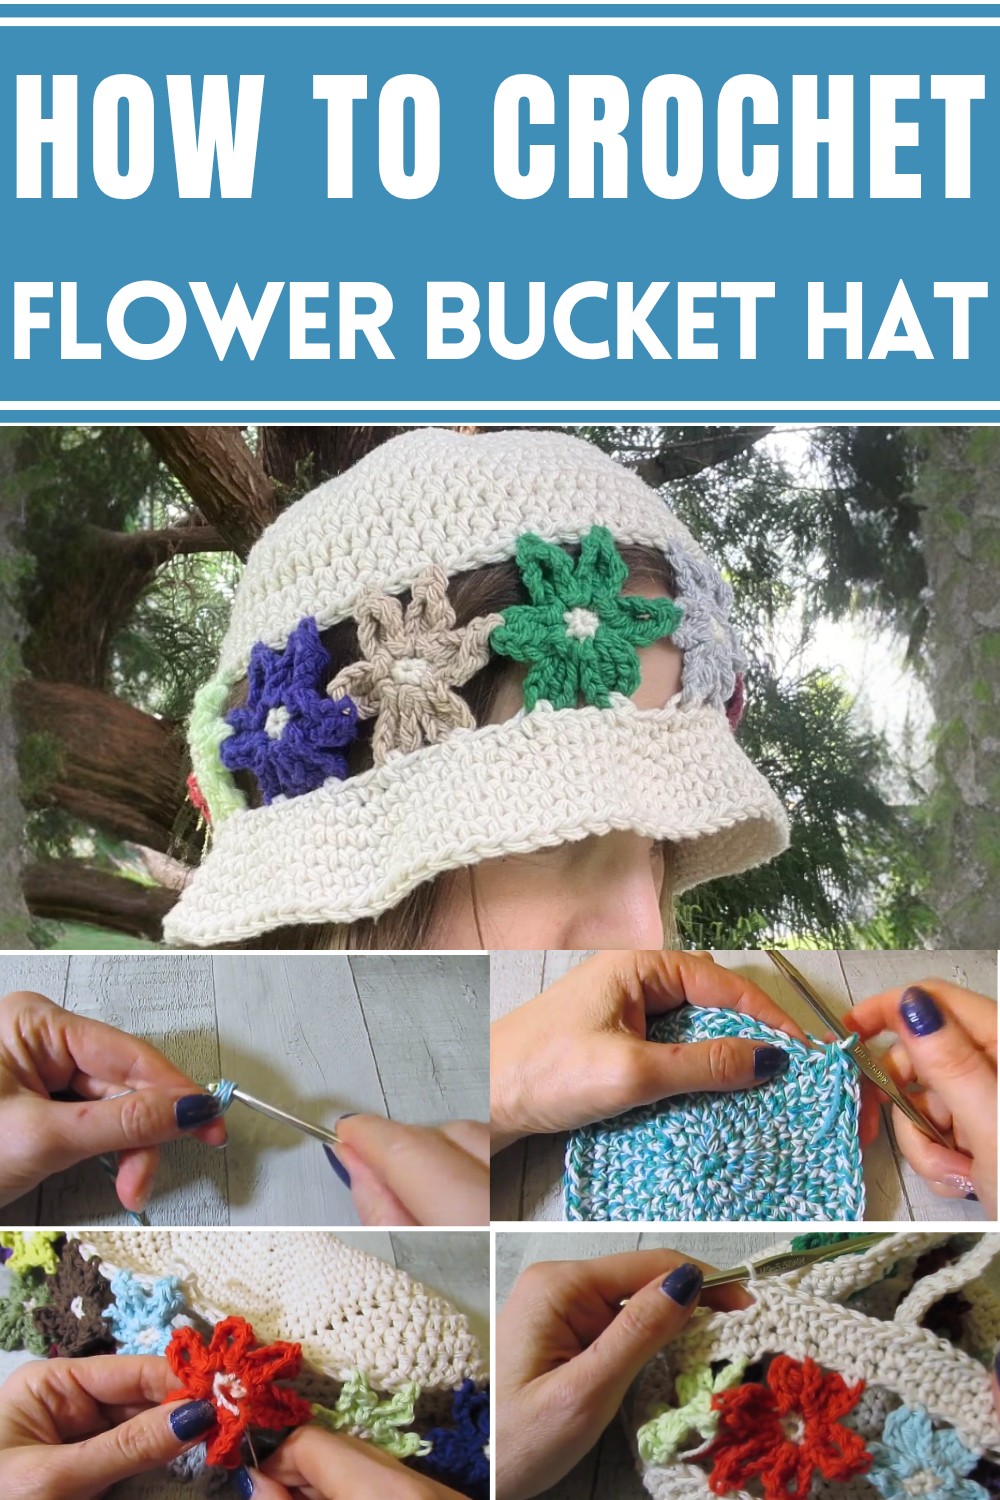
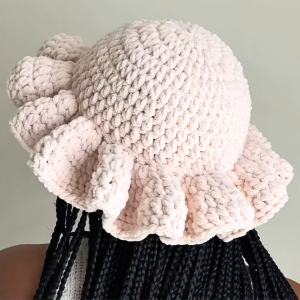
Bring cozy elegance and playful flair to your look with a crochet flower bucket hat, a unique, handcrafted accessory perfect for any season.
Sun protection meets charm with the delicate artistry of crochet flower bucket hat, evolving from practical wear into a beloved style staple. Their intricate pattern and bright floral details make them a standout choice for adding personality to your attire, whether dressing for a casual outing or a more refined occasion. Lightweight and breathable, this hat provide comfort while protecting your skin from the sun, offering a perfect blend of fashion and function.
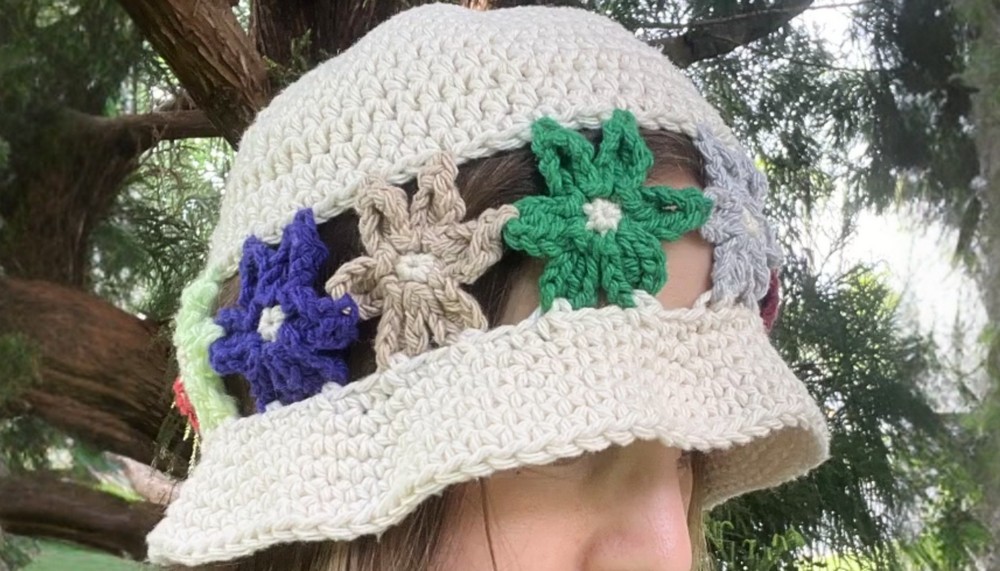
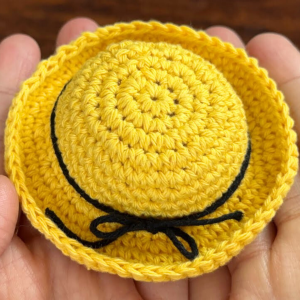
Prettiest Crochet Flower Bucket Hat and Flaunt Your Style
The soft materials used make them easy to pack and store, a convenient feature for travelers and those on the move. Many of these hats are meticulously handmade using sustainable methods, highlighting an eco-conscious approach to fashion without compromising on style. Beyond the aesthetics, their versatility allows them to pair effortlessly with a variety of outfits, making them a go-to accessory for seasonal transitions and sunny adventures.
Wear it for a picnic, a garden gathering, or a relaxing beach day, and experience its benefits firsthand. Balancing practicality with artistic flair, the crochet flower bucket hat is a vibrant addition to any wardrobe, encouraging personality and comfort with every wear. With its unique design and practical advantages, this timeless accessory ensures both protection and unmatched versatility for any fashionable ensemble.
Materials Needed
- Crochet Hook: I hook (5.5 mm) for a standard size. Use a J hook (6 mm) for a slightly larger hat.
- Yarn: Cotton yarn for primary color (appropriate for breathable texture). A small quantity of contrasting colors for floral embellishments.
- Other Supplies: Stitch marker (or scraps of yarn), scissors, yarn needle for sewing ends.
Part 1: Crochet the Hat Base
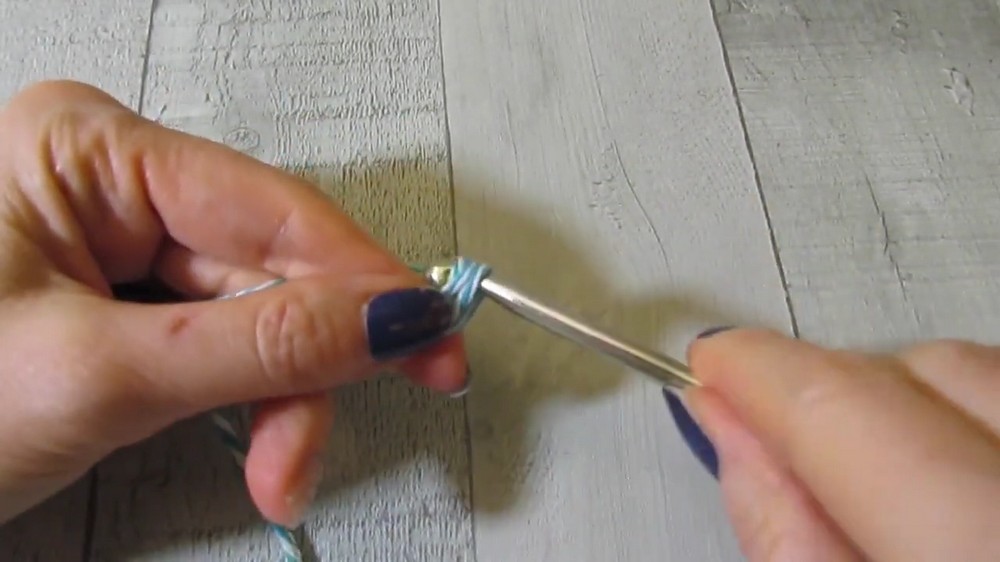
Step 1: Begin the Crown
- Create a Slip Knot and start with Chain 2 (or Magic Circle for an alternative method).
- Work 6 single crochets (SC) into the second chain from the hook or into the Magic Circle.
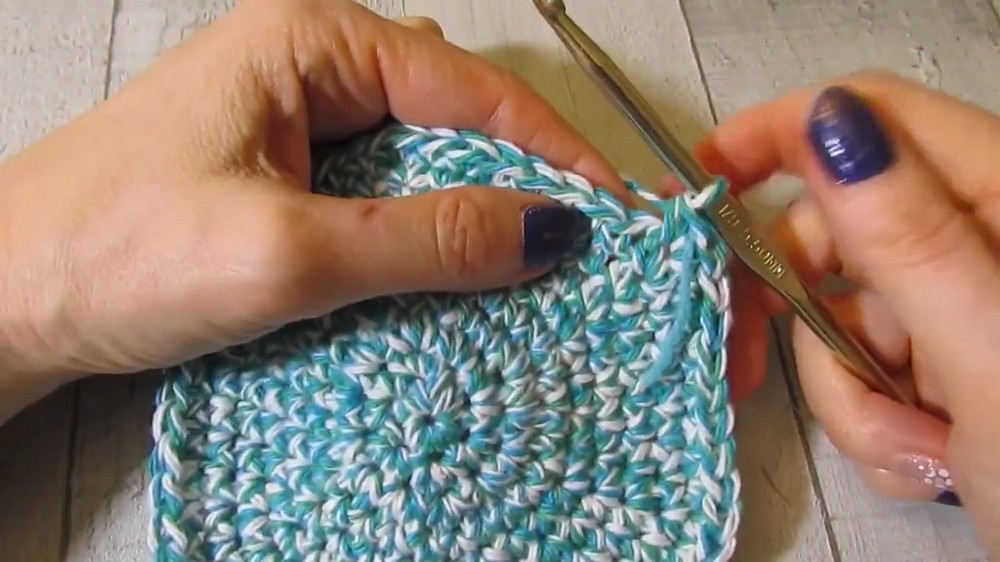
Step 2: Start Increasing Rounds
Work in continuous rounds without joining. Place a stitch marker into the last stitch of each round.
- Round 2: Work 2 SC into each stitch. End with 12 SC.
- Round 3: Work 2 SC in each stitch. End with 24 SC.
- Round 4: Work 1 SC in each stitch all the way around. Maintain 24 SC.
Step 3: Shape the Crown
Continue following the sequence of increasing rounds below:
- Round 5: Single crochet into the first 3 stitches. In the 4th stitch, work 2 SC. Repeat around for a total of 30 stitches.
- Round 6: Crochet into the first 4 stitches, in the 5th stitch, work 2 SC. End with 36 stitches.
- Round 7: Crochet into the first 5 stitches, in the 6th stitch, work 2 SC. End with 42 stitches.
- Round 8: Work 1 SC in each of the first 6 stitches, and 2 SC in the 7th stitch. End with 48 stitches.
- Round 9: Crochet into the first 7 stitches, in the 8th stitch, work 2 SC. End with 54 stitches.
- Round 10: Crochet into the first 8 stitches, in the 9th stitch, work 2 SC. End with 60 stitches.
- Round 11: Work 1 SC into each of the first 9 stitches, and 2 SC in the 10th stitch. Repeat around for 66 stitches.
- Round 12: Crochet into the first 10 stitches, in the 11th stitch, work 2 SC. This will give you 72 stitches. Stop increasing here.
Step 4: Work the Hat Body
- From Round 13, switch to Half Double Crochet (HDC) stitches.
- Continue evenly with 72 stitches in each round. Work 17 rounds of HDC.
- Finish the body by completing Round 18 with Single Crochet (SC) all the way around.
Part 2: Make and Attach Flowers
Step 5: Create Flower Centers
- With your desired center color, Chain 2.
- Work 6 SC into the second chain from your hook (or use a Magic Circle).
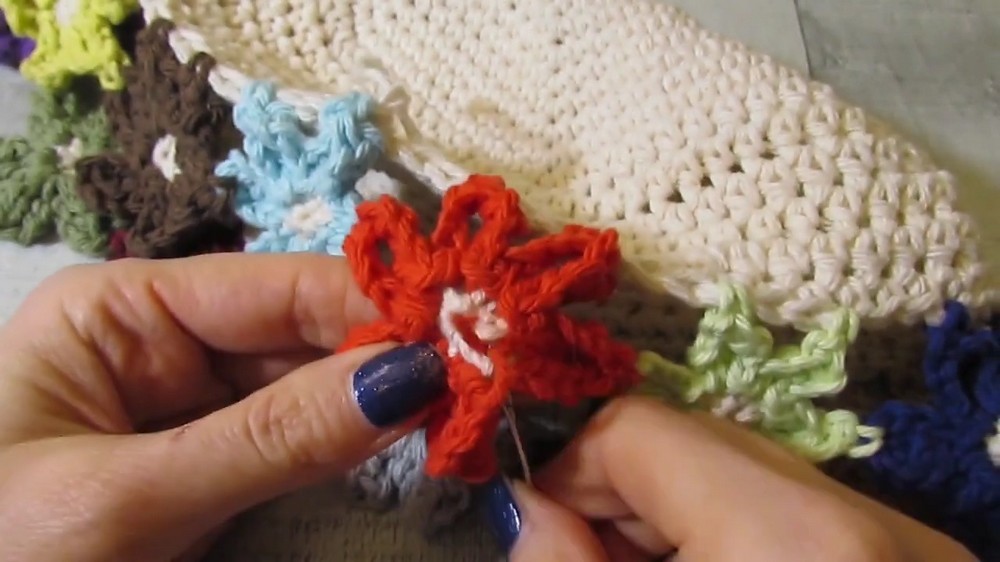
Step 6: Add Flower Petals
Use your next color for the petals.
- Slip Stitch into the next stitch of the center circle to join the petal color.
- Chain 3 and work 1 Triple Crochet (TR) into the same stitch.
- Attach the petal onto the hat by locating the correct position and Single Crochet onto one of the brim stitches.
- Chain 3 again and finish the petal by slip stitching back into the first stitch.
- Repeat the process to create 6 petals per flower.
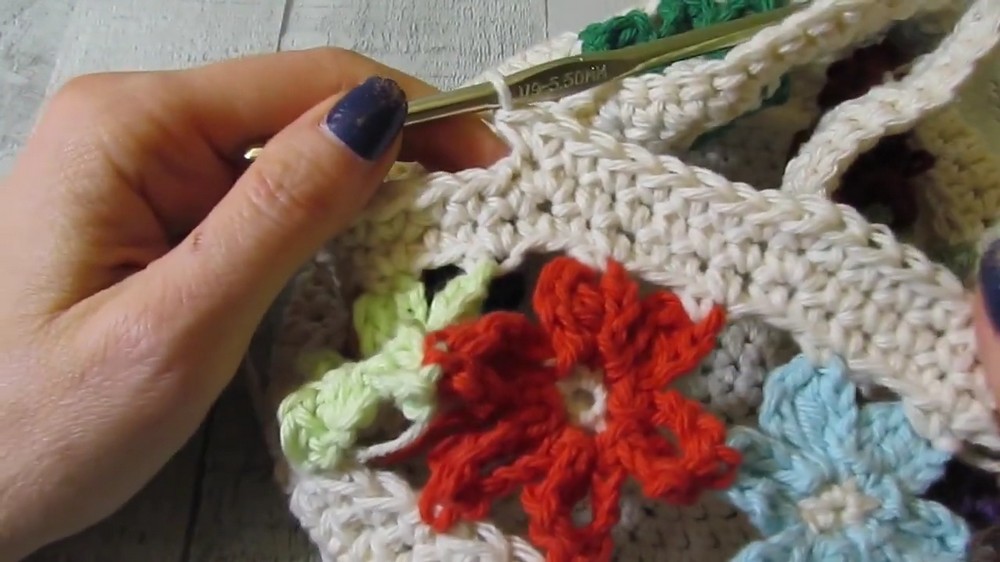
Step 7: Attach and Repeat Flowers
- Create 11 flowers, attaching them in 3 places: once to the previous flower, and twice to the hat brim.
- For flower 12, attach in 4 spots (including the space between the first and last flower for seamless joining).
- Adjust the alignment of flowers to ensure even spacing.
Part 3: Finish the Hat Band
To make the hat brim:
- Attach your yarn at the triple crochets of the last row of flower petals.
- Work Single Crochet (SC) into each petal’s triple crochet stitch, alternating with Chain 2. Repeat around (24 SC stitches).
Part 4: Expand Hat Band
- Start Round 2 with a stitch marker to transition back into the continuous rounds.
- Work into chains and SC stitches for 72 stitches overall.
- Round 3: To make the brim larger, increase in a sequence of 6 SC + increase (2 SC) in 7th stitch. End with 84 stitches.
- Round 4: Increase at every 7th stitch (6 SC + 2 SC). End with 96 stitches.
- Work 3 additional rounds evenly. Finish the band once desired width is achieved. Slip stitch and weave in all ends.
Blocking and Final Touch
- Block the hat to shape the brim and flowers.
- Weave in all loose ends to tidy up the design.
- Optionally, freshen the cotton yarn with washing and shaping.
Conclusion
This stunning crochet beach hat combines creativity and practicality. The floral accents add flair while the cotton yarn ensures a breathable summer accessory. Following creator steps, you can create a personalized hat with custom colors and sizes.


Leave a Reply