

Christmas Hat Free Crochet Pattern for Gift Giving
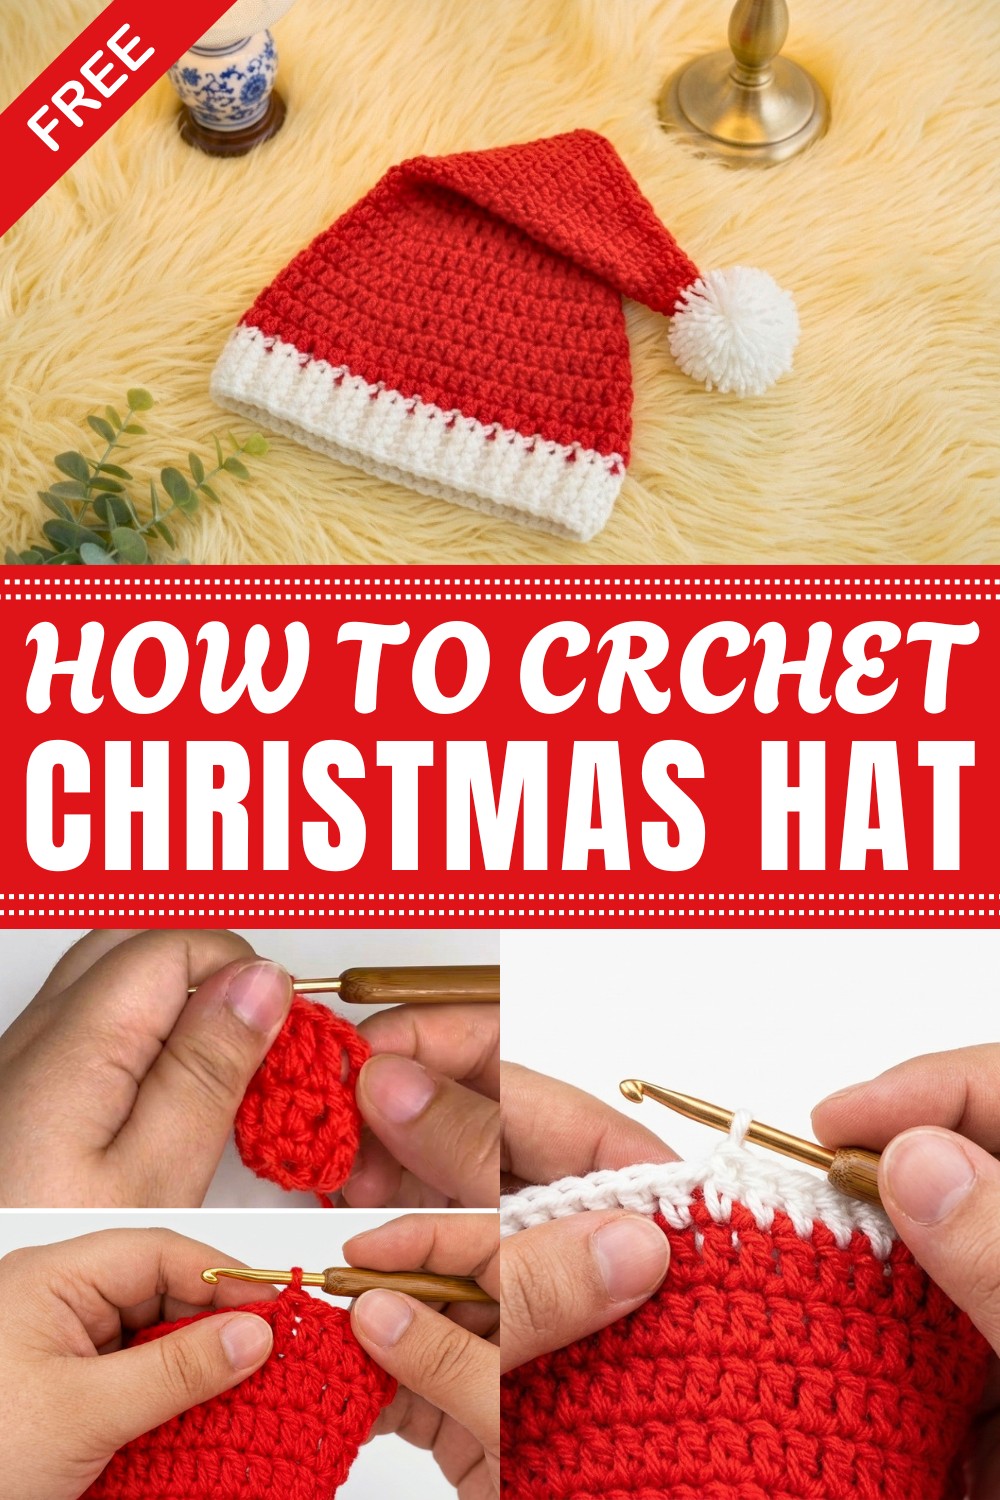
This project is suitable for beginners who want to make a wearable crochet item without feeling overwhelmed. Crocheters with more experience can enjoy trying different color combinations or adding personal touches for a unique finish. As the hat takes shape, you will build useful crochet skills while creating something you can wear, share, and enjoy every holiday season.
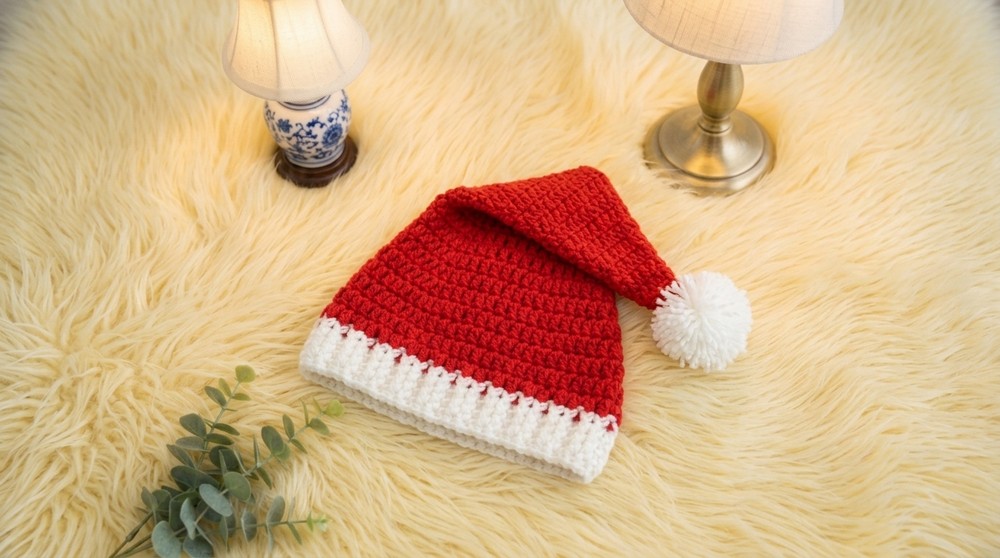
A handmade Christmas hat is also a thoughtful gift for children, parents, grandparents, friends, or anyone who loves festive handmade accessories. It becomes more than a winter hat because it carries happy memories each time it is worn. If you enjoy crochet projects that are practical, comfortable, and full of holiday joy, the Free Crochet Christmas Hat Pattern is a wonderful addition to your seasonal crochet collection.
Crochet Santa Hat Pattern: Detailed Step-by-Step Guide
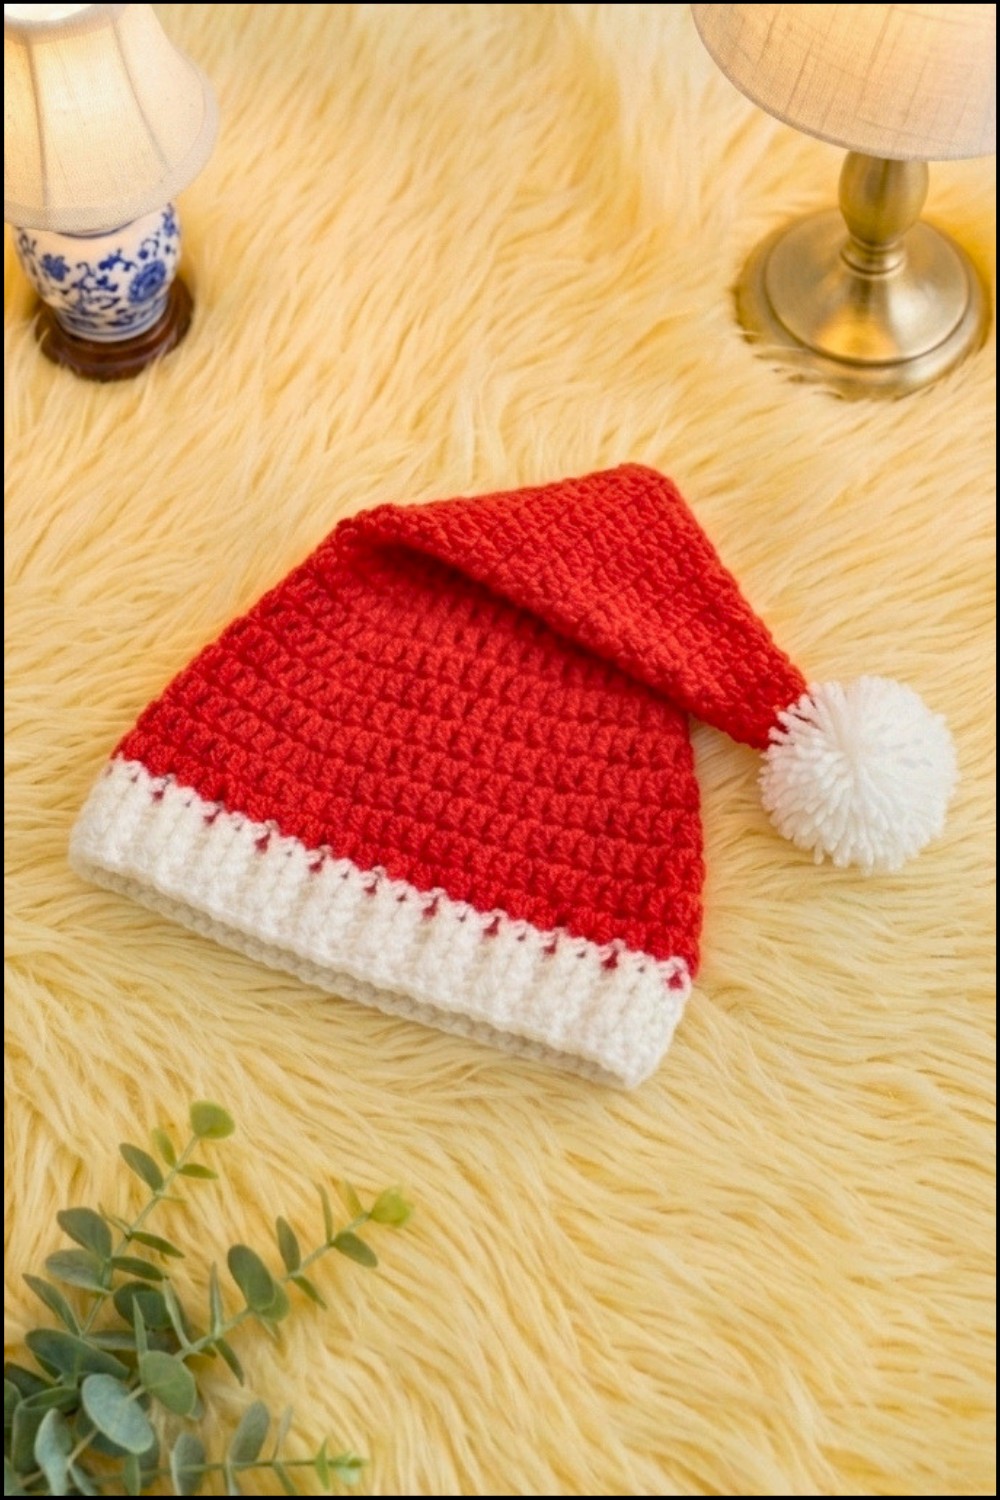
Celebrate the holiday season by crafting this charming crochet Santa hat. Using classic red and white yarns, the hat features a textured brim with relief stitches and a fluffy pompom, making it the perfect festive accessory for all ages. The pattern is worked in rounds starting with a magic ring base and increases evenly to shape the cone of the hat. The white brim incorporates front post and back post double crochet stitches to give a raised, ribbed effect. Finally, the traditional pompom crowns the piece with volume and softness. This guide provides a detailed round-by-round explanation following the clear steps from the video tutorial, ensuring a smooth and enjoyable crocheting experience.
Pattern Highlights
- Magic ring foundation: Secure and neat circular start with 6 single crochet stitches.
- Even increases: Each round increases by 3 double crochet stitches to gradually shape the hat.
- Textured brim: 4 rounds of repeat relief stitch pattern using front post and back post double crochets.
- Fluffy pompom: Handmade pompom with adjustable volume secured at the top of the hat.
- Size adaptability: Pattern repeats allow easy adjustment for baby to adult sizes.
Notes
- The pattern is worked in the round continuously for the hat body, transitioning to the brim after switching to white yarn.
- Ensure consistent tension to maintain smooth increases and uniform shaping.
- When working relief stitches on the brim, be familiar with front post and back post double crochet techniques to achieve the ribbed texture.
- Pompom making instructions include wrapping yarn around cardboard for volume—customizable by adjusting the number of wraps.
- The video tutorial’s stepwise timing is fully transcribed with all essential instructions in this guide.
Skill Level
Intermediate
- Requires understanding of magic ring, double crochet (dc), slip stitch (sl st), and relief stitches (front post and back post dc).
- Familiarity with making and attaching pompoms is a bonus but not mandatory.
Materials
- Red worsted weight yarn (or similar, enough for hat body)
- White worsted weight yarn (for brim and pompom)
- Crochet hook (size appropriate for yarn, typically 5 mm or H/8)
- Yarn needle for weaving ends
- Scissors
- Cardboard piece approx. 3 inches wide for pompom wrapping
Measurements / Sizing (Optional)
- To adjust for various head sizes (baby, child, adult), control the number of increases in the body rounds.
- Example: An 18 stitches per increase round count equals approximately 60 stitches for baby size.
- Brim length can be extended by adding more rounds of relief stitches.
Gauge and Stitch Pattern
- Gauge is flexible; with typical worsted weight yarn, expect about 12–14 stitches in 4 inches.
- Stitch Pattern:
- Hat Body: Classic double crochet rounds with systematic increases.
- Brim: Alternating front post and back post double crochets for raised, cozy texture.
Stitch Abbreviations
| Abbreviation | Term |
|---|---|
| ch | Chain |
| sc | Single crochet |
| dc | Double crochet |
| fpdc | Front post double crochet |
| bpdc | Back post double crochet |
| sl st | Slip stitch |
| inc | Increase (2 stitches in one) |
Special Stitches
Magic Ring (MR)
- Form a loop with yarn around your fingers.
- Insert hook into loop, yarn over, pull up a loop.
- Chain 1 (or as required), then crochet stitches into the loop.
- Pull the tail to close the loop tightly.
Front Post Double Crochet (fpdc)
- Yarn over hook.
- Insert hook from front to back around the post of the stitch on the previous row.
- Yarn over and pull through around post.
- Complete as a regular dc.
Back Post Double Crochet (bpdc)
- Yarn over hook.
- Insert hook from back to front around the post of the stitch below.
- Yarn over and pull through around post.
- Finish as a regular dc.
Crochet Pattern – Step-by-Step
1. Base (Magic Ring)
- Create a magic ring (MR).
- Chain 1 (counts as the first sc).
- Work 6 single crochet (sc) stitches into the ring.
- Pull the ring closed tight.
- Join with a slip stitch to the first sc to close the round.
2. Crochet Body (Red Yarn)
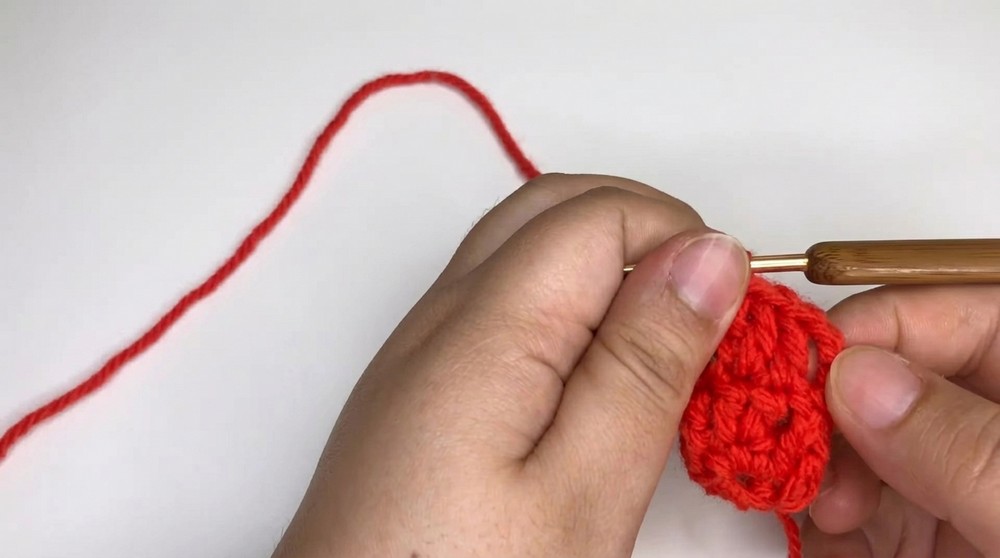
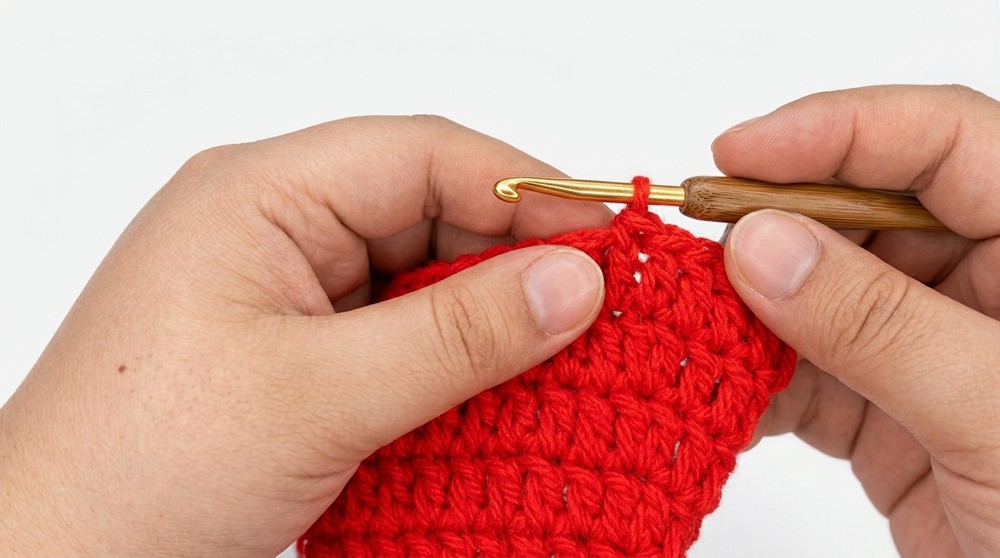
- The body rounds increase by 3 stitches each round to shape the cone.
General Instructions:
- For each round, begin with 3 chains to count as the first dc.
- Follow the increasing pattern: work a set number of double crochet stitches, followed by an increase (2 dc in one stitch), then repeat.
Rounds:
- Round 1: (1 dc, 1 inc) around.
- Each repeat is 1 double crochet then an increase.
- Total stitches increase from 6 to 9 increments × 3 = 27 sts approx.
- Join with slip stitch.
- Round 2: (2 dc, 1 inc) repeat.
- Increase occurs after 2 solo dc stitches.
- Join with slip stitch.
- Round 3: (3 dc, 1 inc) repeat.
- Round 4: (4 dc, 1 inc) repeat.
- Round 5: (5 dc, 1 inc) repeat.
- General Rule: Continue increasing by placing one more solo dc before each increase in subsequent rounds until the hat reaches desired size. For baby size, aim for around 18 solo dc stitches before the increase (approximately 60 stitches in total).
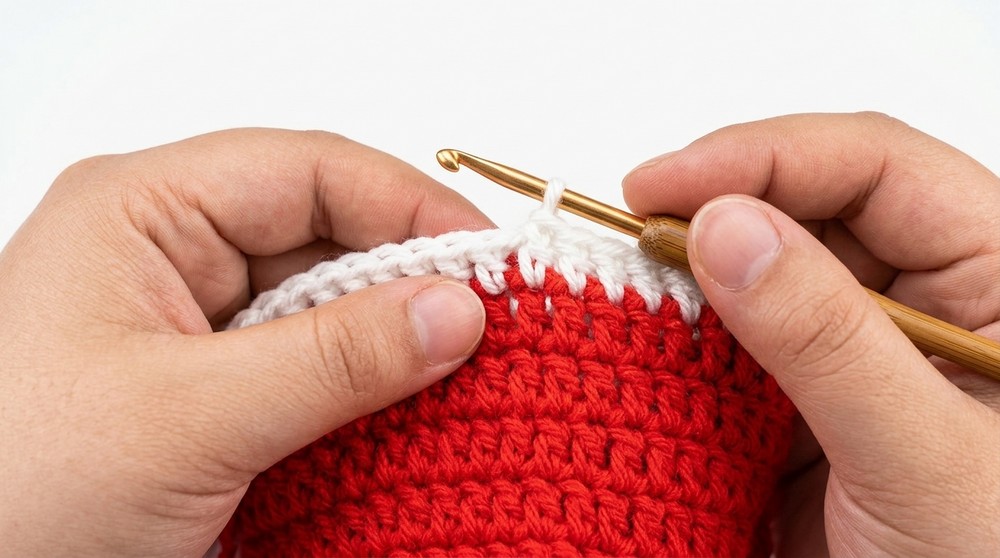
3. The Brim (White Yarn)
- Change to white yarn.
- Chain 3 for starting the first stitch of the brim.
- Work in relief stitches following this pattern for each round:
- 2 front post double crochets (fpdc), 1 back post double crochet (bpdc), repeat around.
- Repeat this 3-stitch sequence for 4 rounds (or more rounds for adult sizes to create a wider brim).
- End with a slip stitch to join each round neatly.
4. The Pompom
- Take a piece of cardboard approximately 3 inches in width.
- Wrap the white yarn around the cardboard about 70 times (adjust the number of wraps to your pompom size preference).
- Carefully slide the wrapped yarn off the cardboard.
- Tie a piece of yarn tightly around the middle of the bundle to secure.
- Cut the loops on both ends of the bundle.
- Trim the pompom evenly into a round shape to your liking.
- Sew the completed pompom securely to the top point of the hat.
Assembly & Finished Size
- Weave in all loose ends neatly.
- Attach the pompom firmly to ensure durability.
- Depending on yarn thickness, hook size, and number of rounds, the finished hat will typically fit:
- Baby head: approximately 14 inches circumference.
- Adult head: approximately 20+ inches (increase body rounds and brim rounds accordingly).
- The brim adds warmth and a classic knitted look via the relief stitches technique.
Conclusion
This crochet Santa hat offers a full holiday vibe with classic colorwork and delightful texture. The increasing double crochet body rounds create a smooth conical shape, while the relief stitch brim adds dimension reminiscent of knitting stitch patterns. The fluffy pompom caps the project with festive fun.
By following the carefully detailed rounds of increasing solo stitches before increases, you can customize the size for any wearer. The thoughtfully explained relief stitches bring beautiful ribbed texture into the white brim segment, elevating the overall design.
Moreover, creating a handmade pompom ensures this adorable hat has a soft, full finish that can be tailored to your aesthetic preferences. This project suits intermediate crocheters ready to stretch their skills in increases, texture, and finishing techniques—or adventurous beginners guided by clear instructions.
Celebrate winter with a stylish, hand-crafted Santa hat that’s sure to delight recipients or brighten your holiday wardrobe.


Leave a Reply