

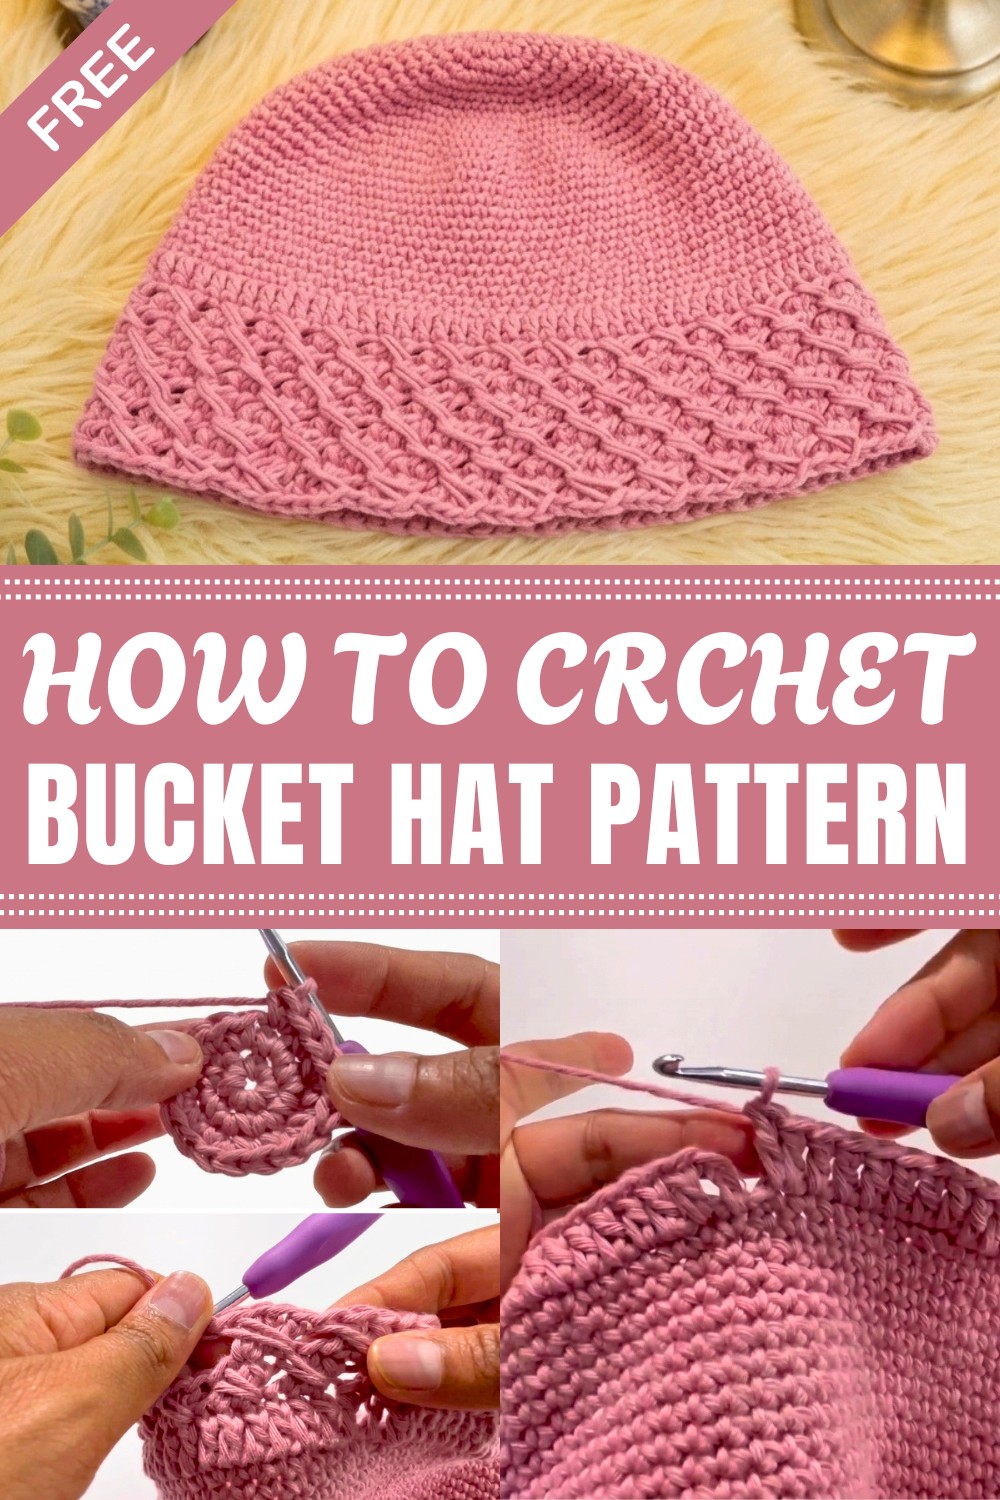
Create a crochet bucket hat with this simple pattern, perfect for sunny days and adding a unique touch to your summer wardrobe.
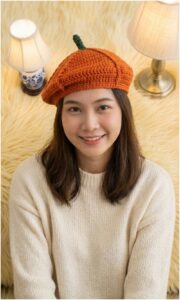
This winter, I decided to make a warm hat, and a crochet bucket hat felt just right. It is soft and cozy, perfect for keeping my head warm when it’s cold outside. The hat has a simple shape with a round top and a small edge all around, which helps protect from the wind.
Quick Crochet Bucket Hat Free Pattern That Makes a Thoughtful Gift
What I like about crochet bucket hats is how they feel on my head. The yarn makes a soft and bumpy texture that is nice to touch. The little holes in the crochet let some air in, so the hat does not feel too tight or hot.
These hats come in lots of colors. You can pick bright colors like red or blue, or calm ones like white or brown. This way, you can easily match the hat with your winter clothes.
The hat also stretches a bit, so it fits most head sizes comfortably. It is light, so you can wear it without feeling heavy.
The crochet bucket hat is useful in many ways. You can wear it when going for walks, running errands, or meeting friends. It works well for outdoor activities like hiking or visiting a park. Also, it makes a nice gift for family or friends during the cold season.
Taking care of the hat is easy too. Just wash it gently by hand, and it stays soft and nice.
Making this crochet bucket hat is a fun way to stay warm and look good this winter. It’s simple, warm, and perfect for cold days.
All-Season Crochet Bucket Hat
I’ll guide you step by step through making a classic crochet bucket hat. This stylish accessory is perfect for any season—choose your favorite colors to create a hat for summer, winter, or year-round wear. The written pattern below is complete, clear, and formatted for easy following.
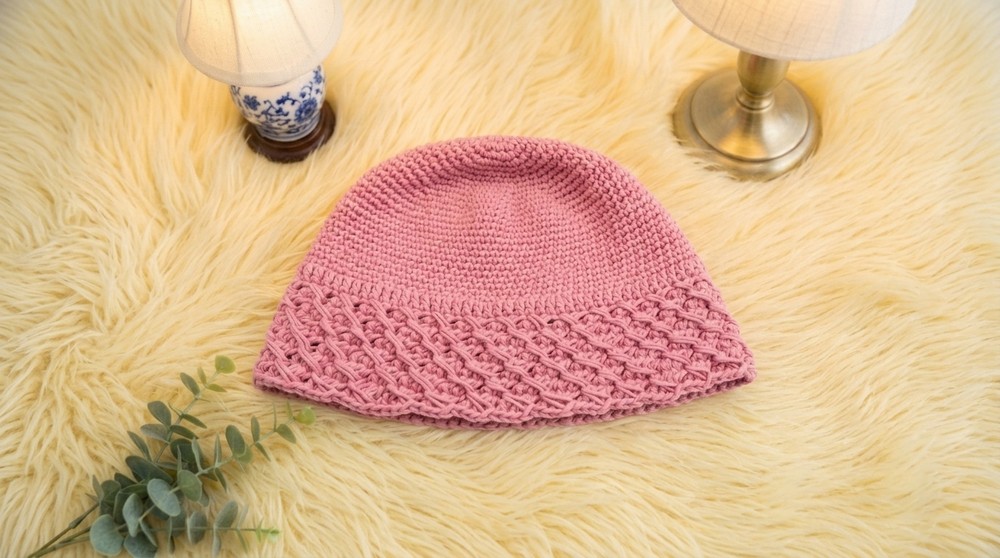
Quick Overview Of Pattern
- Starts with a magic circle, building out the crown with single crochet increases
- The hat body is worked in the round with no joins for a seamless finish
- Brim is formed by changing increases and introducing double crochet with special elongated stitches for added texture
- Optional: adjust length for your preferred fit and style
Notes
- Work in a spiral for the hat to avoid seam lines; keep track using a stitch marker
- The chain one at the beginning of rounds is NOT counted as a stitch except where stated
- All increases are “2 single crochets in the same stitch”
- The brim alternates between regular and elongated stitches for a slight wave and structure
- Pattern is written for an adult size; instructions for adjusting size are included
- Tension/gauge is important for a good fit—please check before starting
Skill Level
Adventurous Beginner/Intermediate:
Requires comfortable use of magic rings, working in the round, increasing, using stitch markers, and learning a few specialty stitches for the brim.
Materials
- 100% cotton yarn (worsted weight, e.g., Drops Paris Unicolor 100% Cotton Yarn)
- Approx. 100g/164 yards (150m)
- 4.0 mm crochet hook (use a size smaller than recommended for a denser fabric)
- Yarn needle (for weaving ends)
- Scissors
- Stitch marker
Measurements / Sizing
- Height (crown to brim): 8.5 inches / 22 cm
- Hat crown diameter: ~6.5 inches / 17 cm
- Hat circumference: ~23 inches / 58 cm
- Brim: ~3.5 inches / 9 cm
- Fits: Adult (average head); to adjust, change the number of single crochet rounds before body
Gauge
- 17 single crochets x 18 rows = 4” x 4” (10cm x 10cm) (SC with 4mm hook)
Stitch Abbreviations
- ch – chain
- sc – single crochet
- dc – double crochet
- st(s) – stitch(es)
- inc – increase (2 sc in one stitch)
- sl st – slip stitch
- MR – magic ring (adjustable ring)
- FSC – foundation single crochet
Special Stitches
- Magic Ring (MR): Wrap yarn around your fingers, create loop, insert hook, yarn over and pull up loop, ch 1 to secure; work stitches into the loop, close by pulling tail.
- Elongated (Long) Single Crochet: Insert hook into indicated st, yarn over, pull up a loop to the height of working row, yarn over, pull through both loops.
Directions
CROWN (Rounds 1–14)
Work in a spiral throughout, moving the stitch marker up each new round’s first stitch.
Round 1: MR, 6 sc into ring. Tighten ring. [6]
Round 2: 2 sc in each st. [12]
Round 3: sc in next st, 2 sc in next st, repeat around. [18]
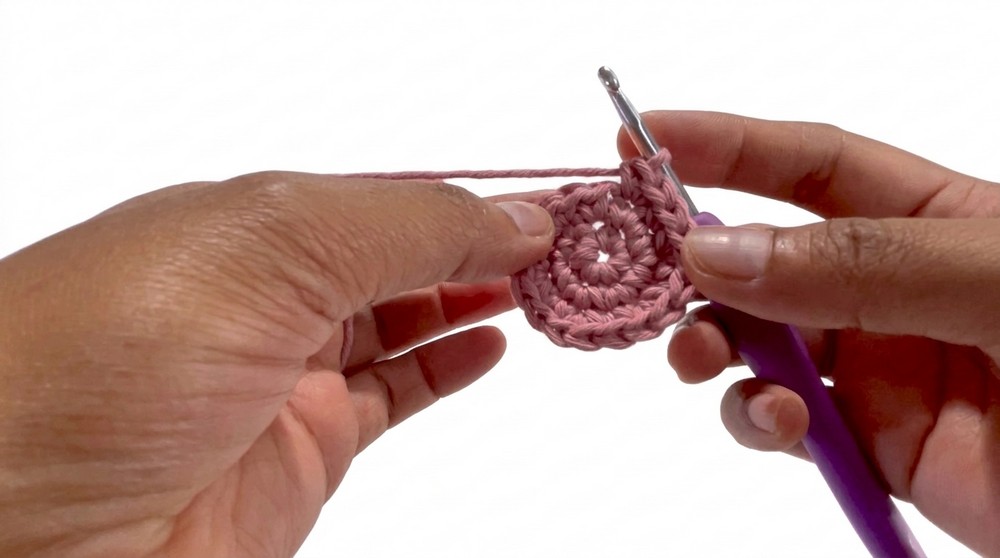
Round 4: sc in next st, 2 sc in next st, sc in next st, repeat around. [24]
Round 5: sc in next 3 sts, 2 sc in next st, repeat around. [30]
Round 6: sc in next 2 sts, 2 sc in next st, repeat. [36]
Round 7: sc in next 5 sts, 2 sc in next st, repeat. [42]
Round 8: sc in next 3 sts, 2 sc in next st, repeat. [48]
Round 9: sc in next 7 sts, 2 sc in next st, repeat. [54]
Round 10: sc in next 4 sts, 2 sc in next st, repeat. [60]
Round 11: sc in next 9 sts, 2 sc in next st, repeat. [66]
Round 12: sc in next 5 sts, 2 sc in next st, repeat. [72]
Round 13: sc in next 11 sts, 2 sc in next st, repeat. [78]
Round 14: sc in next 6 sts, 2 sc in next st, repeat. [84]
HAT BODY (Rounds 15–28)
Rounds 15–28: sc in each st around. [84 sts/round]
(Note: Place stitch marker at the start of each round to help keep count.)
BRIM SETUP / FIRST INCREASE ROUND (Round 29)
Round 29:
Work as follows for brim flare:
- Insert hook (from back to front) into the 1st st; pull yarn through for a long single crochet, ch 1 (counts as 1st dc).
- dc in next 12 sts, 2 dc in next st (i.e., 13 dc, inc), repeat around.
- End with 90 dc at the end of the round.
BRIM TEXTURE ROUNDS (Rounds 30–35)
Round 30:
Pattern repeat:
- dc in next 2 sts, long sc (see special stitches above) in skipped st behind most recent stitches, repeat to end.
- For every 13 dc, work 2 dc in next st as previous round—continue increases as established; your stitch count may rise slightly.
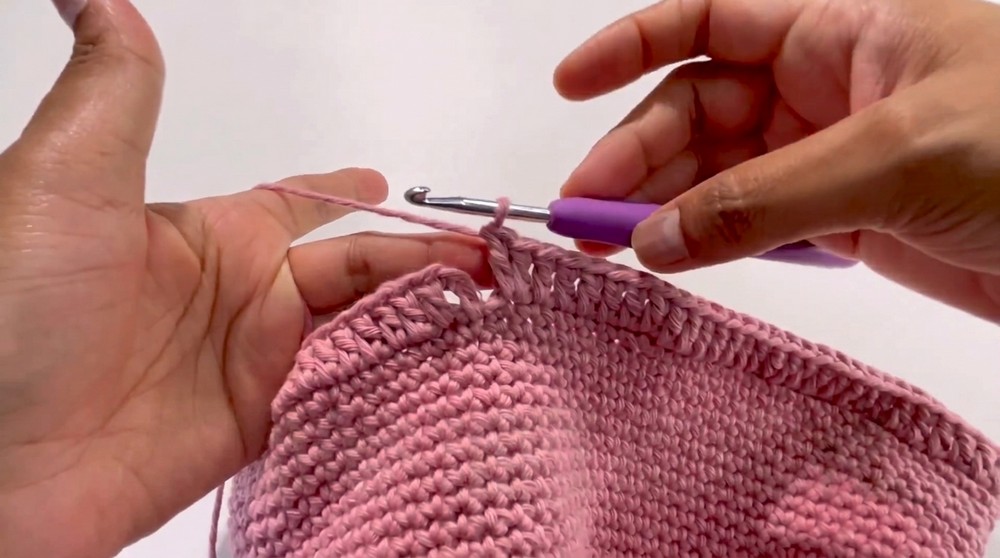
Round 31:
Pattern repeat:
- dc in next 2 sts, (sometimes 3 – follow increases), long sc in skipped st behind, repeat; after every two patterns with 2 dc, third pattern with 3 dc in set (to maintain the flare and wave in brim).
Rounds 32–35:
Continue as established, always keeping third repeat as 3 dc, then long sc, then two repeats of 2 dc, long sc, to keep brim wavy.
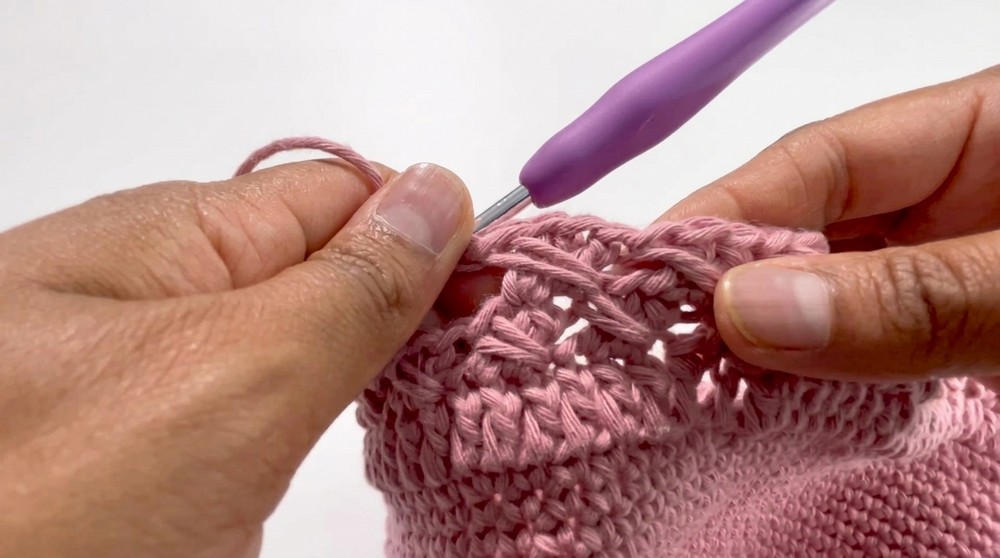
- Each round, your brim will get a little wider and develop its wavy style.
After Round 35, finish off the yarn and weave all ends in with the yarn needle.
Assembly & Finished Size
- Check fit: Try on or measure to ensure length and circumference are as desired.
- Finishing: Use the yarn needle to invisibly weave in any loose ends at the crown and brim.
- Shape the brim: Lightly steam (if cotton) or gently press with hands to help set the curve.
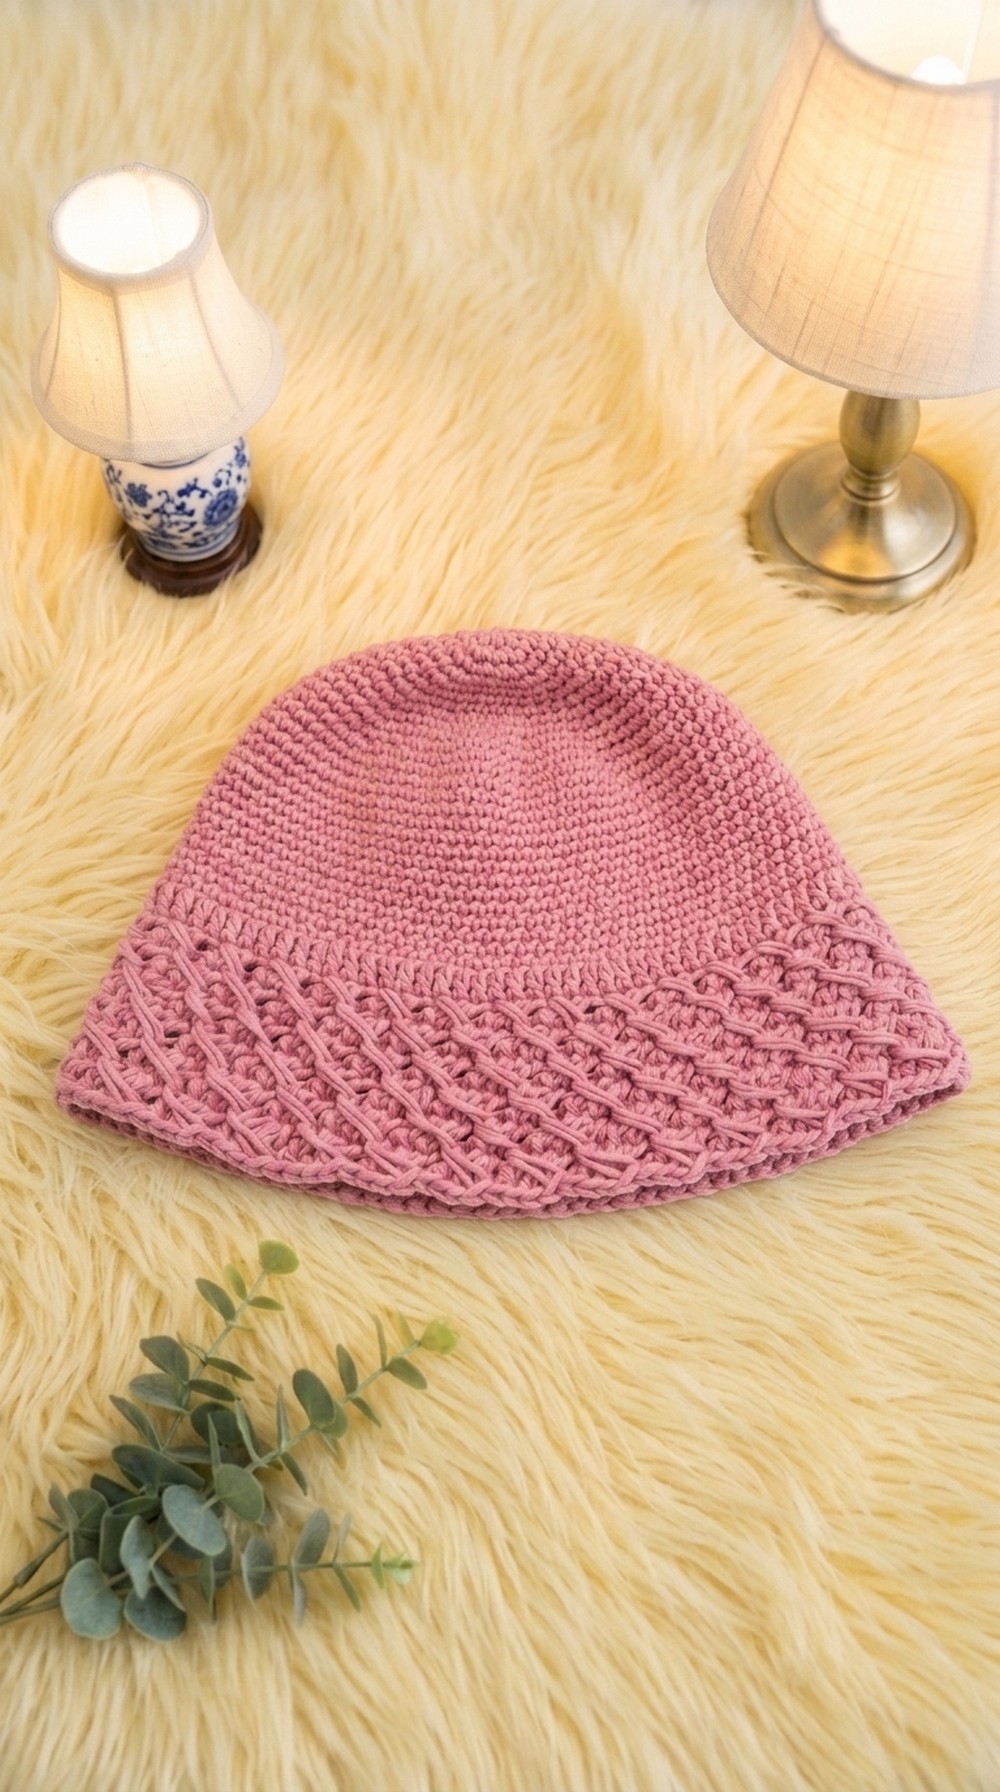
- Finished dimensions: Approximately 8.5 inches tall, 11.5 inches wide at the brim, fitting an adult head (23" circumference).
Conclusion and Ending Words
Congratulations! You have just completed a stylish, comfortable, all-season bucket hat—a versatile piece perfect for sun or chill. This accessory is ideal for gifting, markets, or personal use, and its easy-care cotton is both durable and soft. Adjust colors and length for your unique flair, and enjoy your fashionable, handmade bucket hat! Please share your creations, subscribe, and stay creative.

Leave a Reply