

Pack your earbuds for school with this Crochet Granny Square Mini Pouch Free Pattern so they stay easy to find when you reach into your backpack.
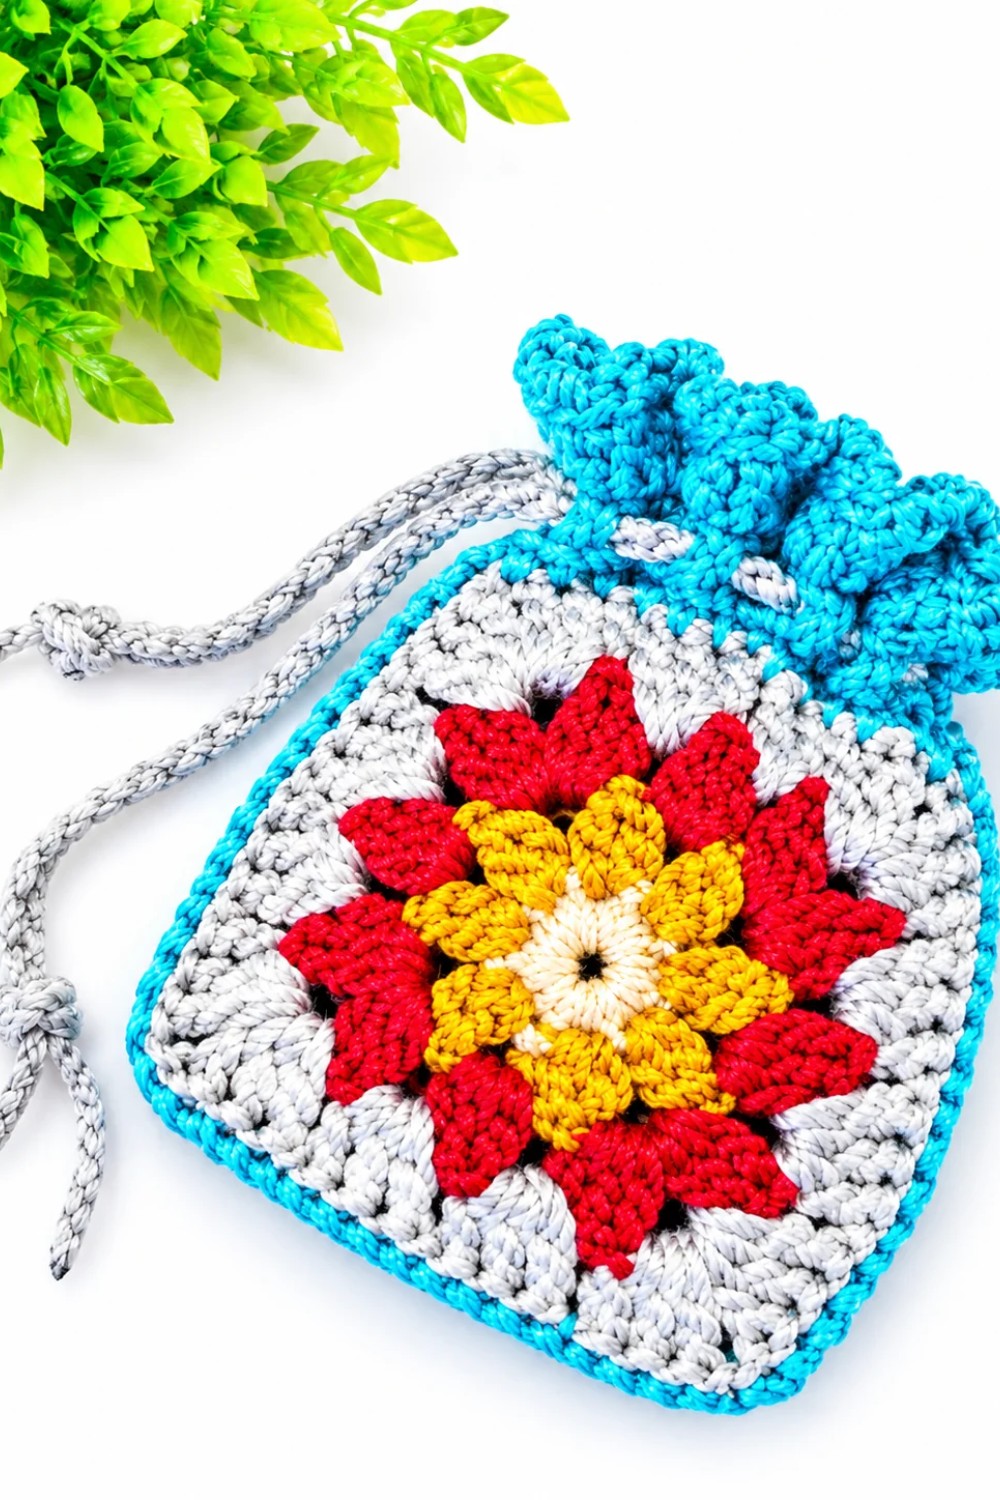
Loose earbuds can tangle with everything in your bag, and Hobihobiku has a little project that gives them their own spot. The Crochet Granny Square Mini Pouch has rows of stitches that frame the center like a border around a photo. Each row follows the same square outline, so even a thin band of color can change the whole look. Try a plum center with a pale gray edge, or use one shade throughout to show the texture of the stitches.
Simple Crochet Granny Square Mini Pouch Free Pattern Step By Step
What goes inside depends on how you spend your day. Keep it by the front door so there’s a place to drop your earbuds when you come home. Slip it into an overnight bag to keep a folded pair of socks separate from your shoes. On a desk, it can hold a clean cloth for wiping your glasses. The soft sides can fold flat when it’s empty.
The square is worked from the middle out. As it grows, the spaces at the corners help turn each round. Once the square is done, the edges are joined to form the pocket. Check the width before joining so the item you plan to carry can slide through the opening easily.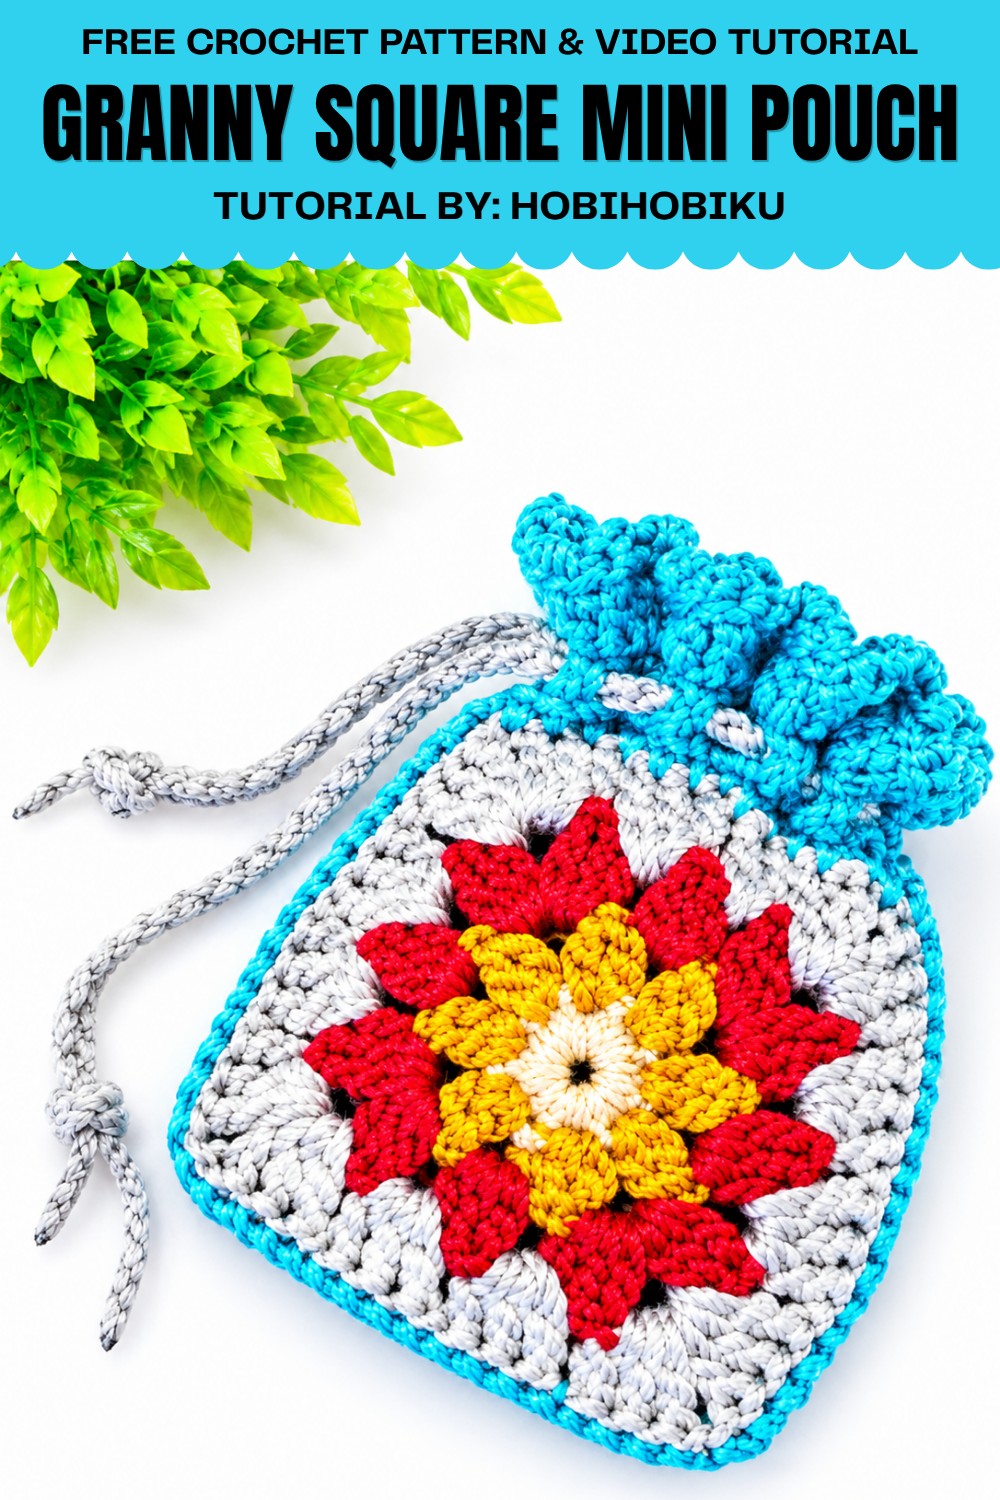
For a birthday gift, you could tuck a few wrapped sweets inside. Use a color the person wears often so the pouch feels like something they’d pick for themselves. Once the sweets are gone, they can use it wherever they tend to leave small things behind.
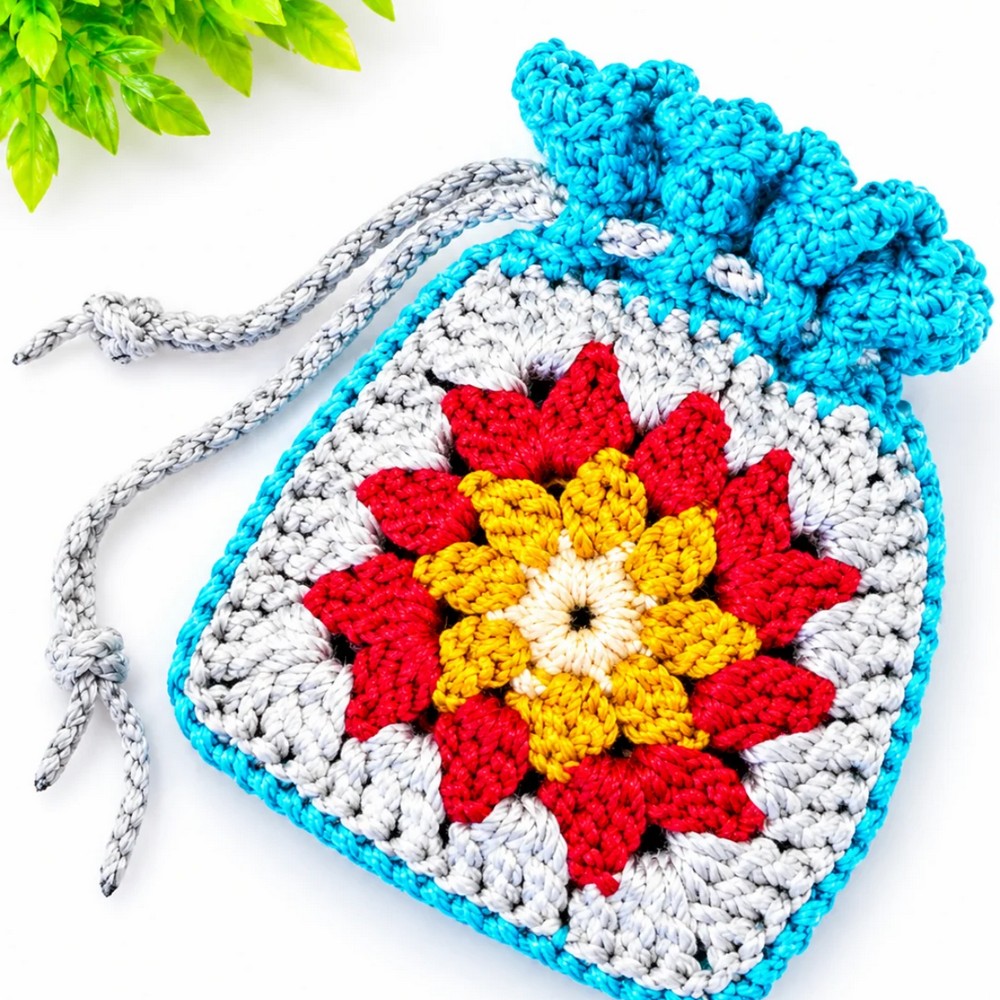
Mini Crochet Pouch from Two Granny Squares
Pattern Overview
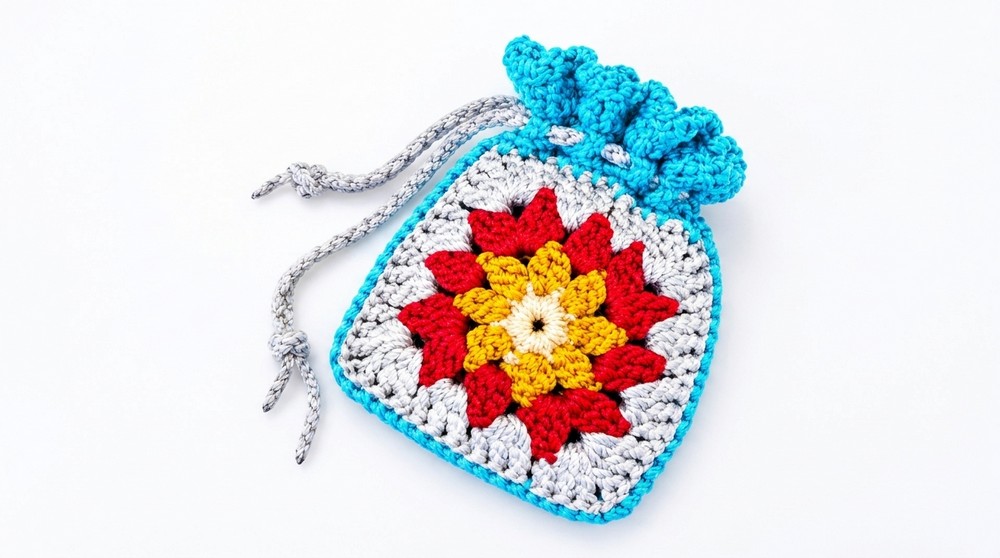
This mini crochet pouch is made by joining two identical granny squares together, creating a compact, drawstring-closure pouch. The granny squares are worked from a magic ring using cluster stitches, expanded in rounds to a defined square shape. After making both squares, they are seamed along three sides, and the top edge is finished with decorative rounds to form a sturdy and pretty opening for your drawstring. The final addition is a crochet chain drawstring, threaded through for secure closure.
Quick Details
- Type: Mini drawstring pouch using classic granny square motifs
- Number of granny squares: 2
- Closure: Crochet chain drawstring
- Seam: Joined with back loop slip stitches
- Edging: Decorative, includes areas for weaving in the drawstring
Important Tips
- Pay close attention to stitch placement, especially in the corners, for uniform squares.
- Keep tension consistent across both squares for a clean join.
- Use the back loop slip stitch when joining for a flexible but tidy edge.
- When weaving the drawstring, make sure it moves smoothly for easy opening and closing.
Skill Level
Beginner to Easy Intermediate
Techniques include magic ring, basic clusters, chains, simple joining, single and double crochet, back loop slip stitch, and making a simple drawstring.
Materials
- Yarn in desired color(s), light or medium weight recommended
- Appropriate crochet hook for yarn used
- Scissors
- Yarn needle for weaving in ends
Measurements
- Each square: approximately 6–8 cm across, depending on yarn and hook
- Finished pouch: about 7–9 cm wide and 8–10 cm tall, not including drawstring
Gauge
- Gauge is not critical, but both granny squares must be the same size.
Abbreviations
- mr – magic ring
- sc – single crochet
- sl st – slip stitch
- ch – chain
- dc – double crochet
- dc2tog – double crochet two together (cluster)
- rep – repeat
- st – stitch
- sp – space
- BLslst – back loop slip stitch
Special Stitches
- dc2tog cluster:
(Yarn over, insert hook in stitch/ring, yarn over, pull up loop, yarn over, pull through 2 loops) twice, yarn over, pull through all 3 loops on hook.
Step-by-Step Instructions
1. Creating the Granny Square (Make 2)
Center
- Begin with a magic ring (mr).
- Work 8 single crochet (sc) into the ring.
- Pull to tighten and close the ring.
- Slip stitch (sl st) to the first sc to close the round.
Round 2: Setting Up the Clusters
- Chain 2 (ch 2) (counts as the start of your first cluster).
- Work (dc2tog cluster, ch 2) eight times into the ring, spacing them evenly around.
- [Each cluster: (Yarn over, insert hook into next st, yo, pull up loop, yo, pull through 2 loops) twice, yo, pull through all 3 loops.]
- After each cluster, ch 2.
- Join with a sl st to the top of first cluster.
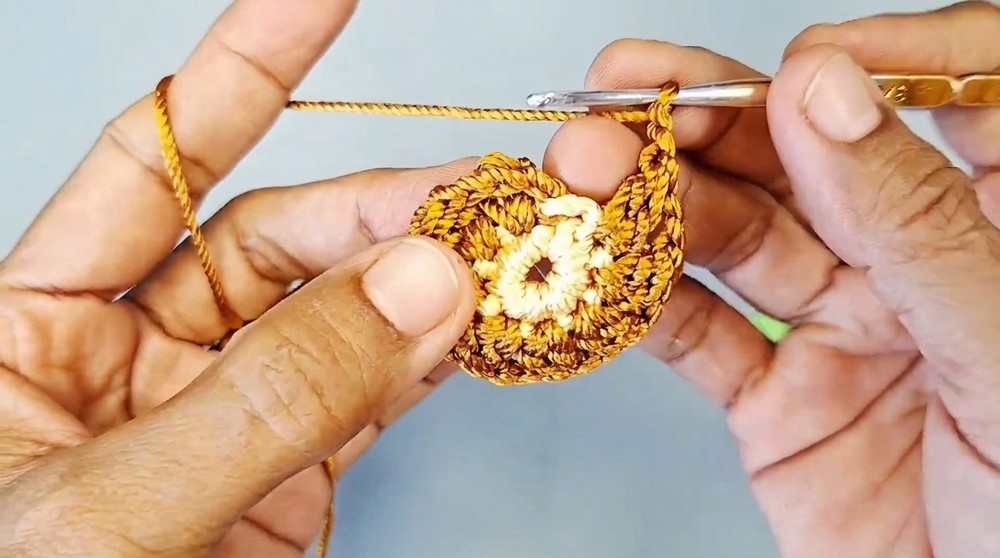
Round 3: Squaring the Circle
- Into each corner ch-2 space: Work 3 double crochet (dc), ch 2, 3 dc (corner).
- Between corners (the ch spaces): In the gap, work 3 dc, ch 1.
- Continue around: [3 dc, ch 2, 3 dc] in corners; 3 dc, ch 1 in sides (spaces between corners).
- Join with sl st to first stitch to finish the round.
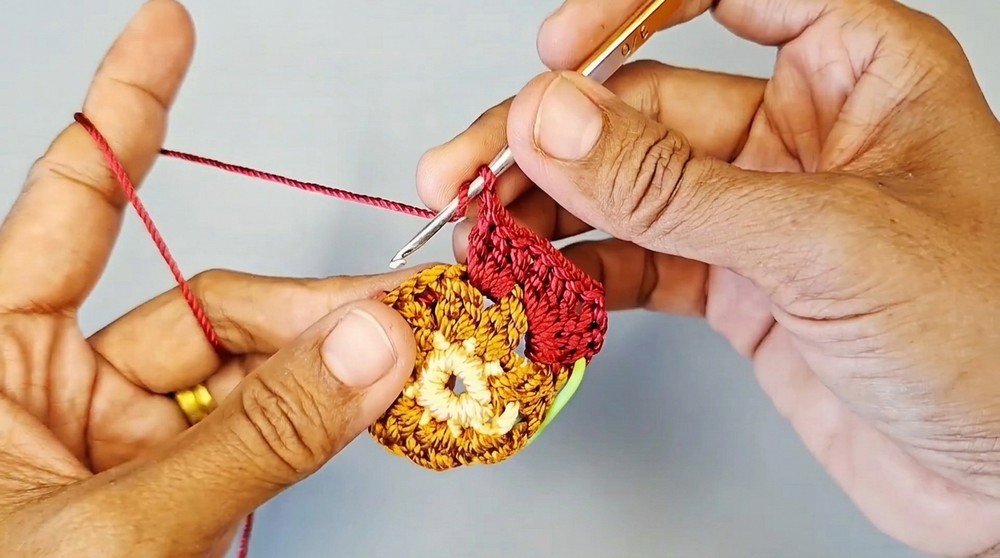
Round 4: Square Expansion
- In each corner ch-2 space: Work 3 dc, ch 2, 3 dc.
- Along each side, in each chain-1 space, work 3 dc.
- Continue this pattern around the square.
- Join with sl st to complete the square.
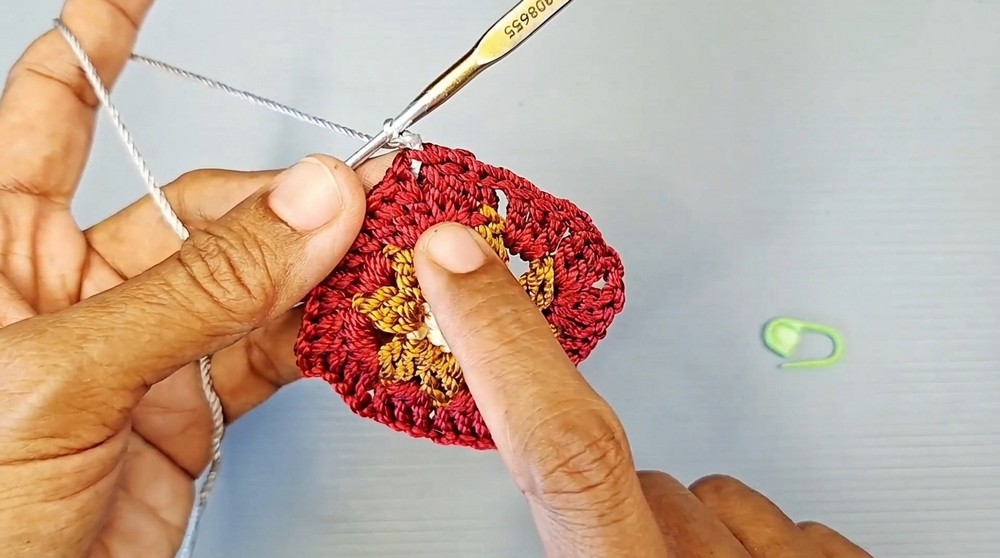
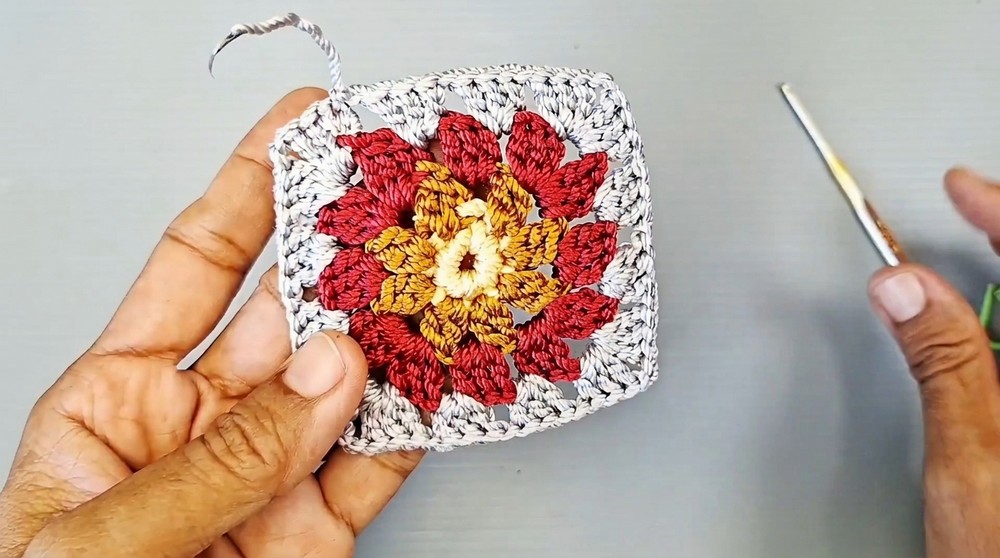
Repeat these steps to make two identical granny squares.
2. Assembly
Joining the Squares
- Place the two granny squares back-to-back with the right sides facing out.
- Starting at one corner, join yarn through the back loops of both squares.
- Working through these loops only, slip stitch (BLslst) evenly along three sides, leaving one side open (this will be the opening of the pouch).
- Fasten off. Weave in all ends.
Border – Top Opening
- Attach yarn to the open side at the seam.
- Work one round of single crochet (sc) around the entire top edge, spacing stitches evenly and inserting the hook through both thicknesses at each edge stitch.
- Join with a sl st to the first sc. Fasten off if changing color.
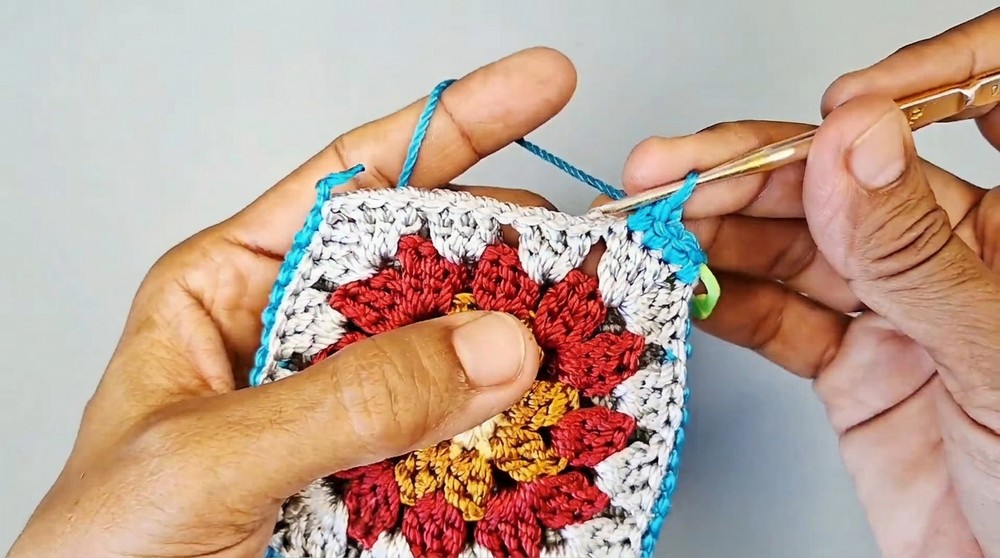
Upper Edging – Drawstring Section
- Attach new yarn at the side seam.
- Work one round of double crochet (dc) evenly around the top opening. Join with sl st.
- Next, in every stitch: work 2 dc and 1 chain (2 dc, ch 1) in the same st, creating a decorative, open shell edging that gives extra room for the drawstring to pass through.
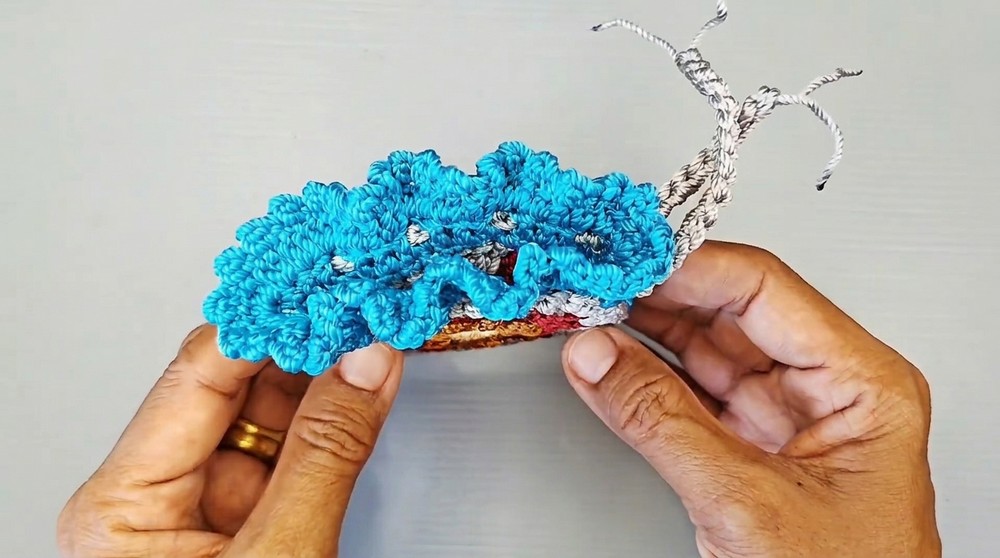
3. Final Touch: The Drawstring
- Take two strands of yarn together (for strength and a pop of color, if desired).
- Crochet a long chain (ch), long enough to wrap comfortably around the pouch’s opening, plus extra for tying (usually about 30–35 cm).
- Fasten off and trim ends.
- With a yarn needle or your hook, weave the chain through the double crochet (dc) row completed previously, threading in and out around the pouch.
- Adjust so the ends are even. Tie a knot or add decorative beads if desired.
Final Notes
Your mini granny square pouch is now complete:
- The body is constructed from two classic granny squares, joined with neat slip stitches in the back loop for flat seams and a gentle, flexible finish.
- The upper single crochet round provides a smooth edge, while the final decorative shell round creates openings and a pretty top for the drawstring closure.
- The long, chain-stitched drawstring keeps your pouch securely closed and adds a handmade finishing touch.
- This project is ideal for beginners learning modular crochet, as well as for using up scrap yarn in creative color combinations.
- Use your pouch for coins, jewelry, keepsakes, or as a special handmade gift.
Leave a Reply