

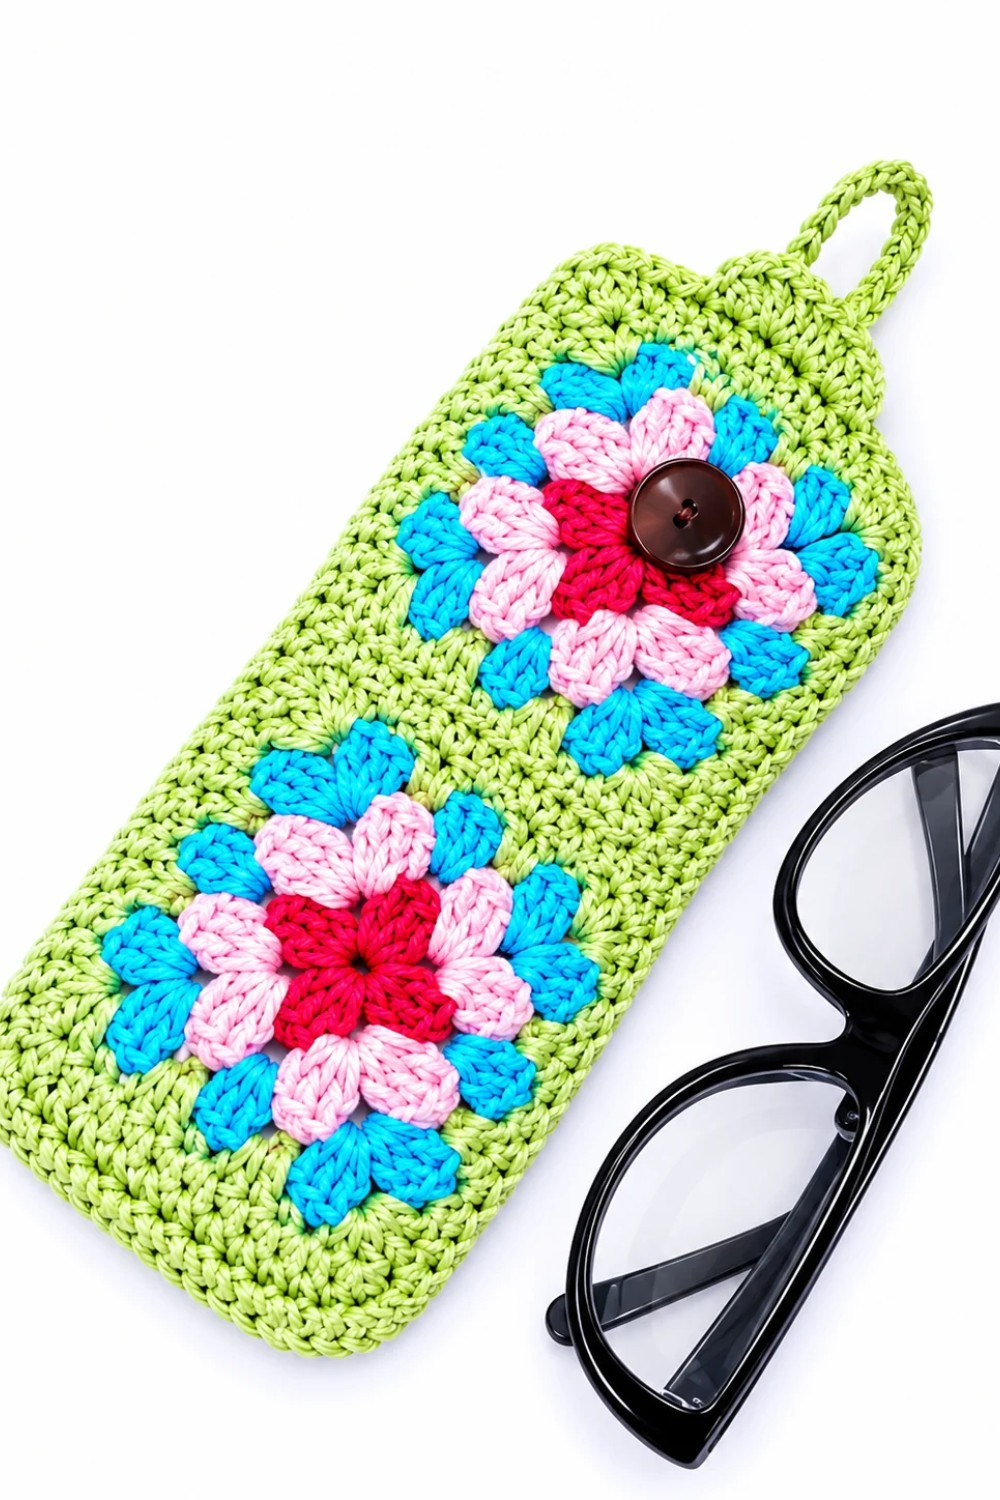
Keep your lenses away from loose keys in your tote with the Crochet Glasses Pouch Free Pattern and work it in a color that's easy to spot.
Where do you put your glasses when you take them off? The Crochet Glasses Pouch gives them a spot of their own, whether you leave them beside your bed or carry them in your bag.
Design by Hobihobiku.
Soft Crochet Glasses Pouch Free Pattern To Keep By Your Bed
The soft yarn and visible stitches give this pouch a textured finish. Its shape follows the length of a folded pair of glasses, so it can slip into a tote or sit beside a book on your nightstand. When crocheting your own, keep the folded frames nearby so you can check the fit as you work. Leave enough room at the opening for the widest part of the frames to slide in easily.
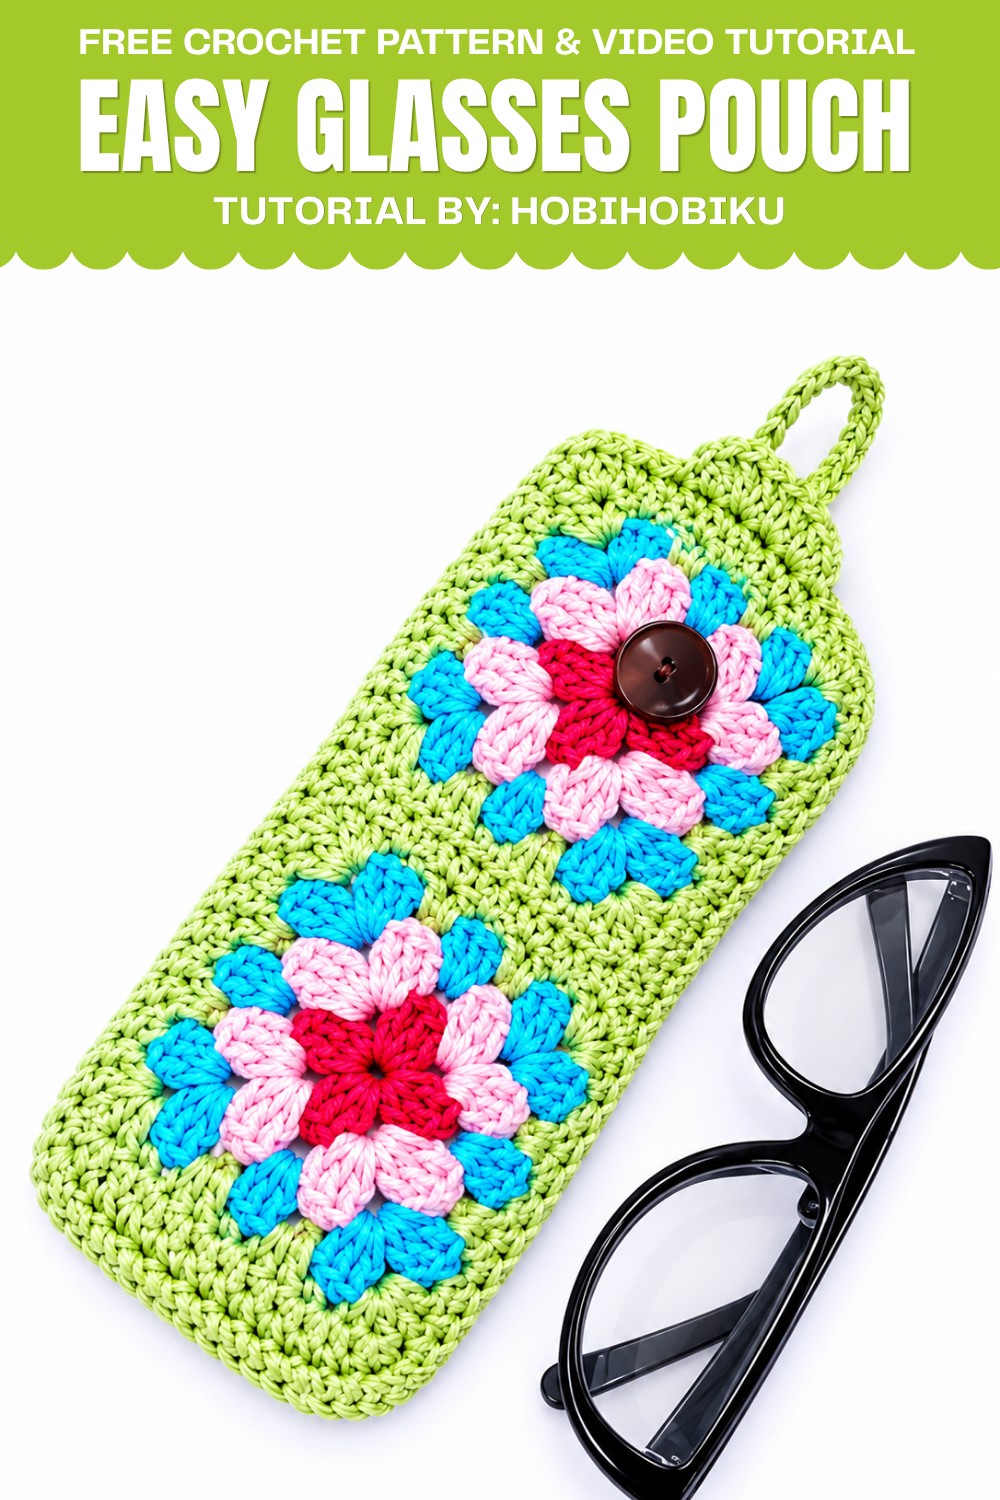
Think about where you reach for your glasses most often. For reading glasses, the pouch can stay next to your book or on the table by your favorite chair. For sunglasses, tuck it into an inside pocket of your pouch so you know where to find them before heading out. A yarn color that stands out against the inside of your bag can help you spot it at a glance.
The pouch also works as a small gift for someone who keeps a spare pair of glasses at their desk. Pick a shade they wear often or one that goes with their favorite bag. For a friend who reads every night, pair it with a bookmark and a book you think they’ll like.
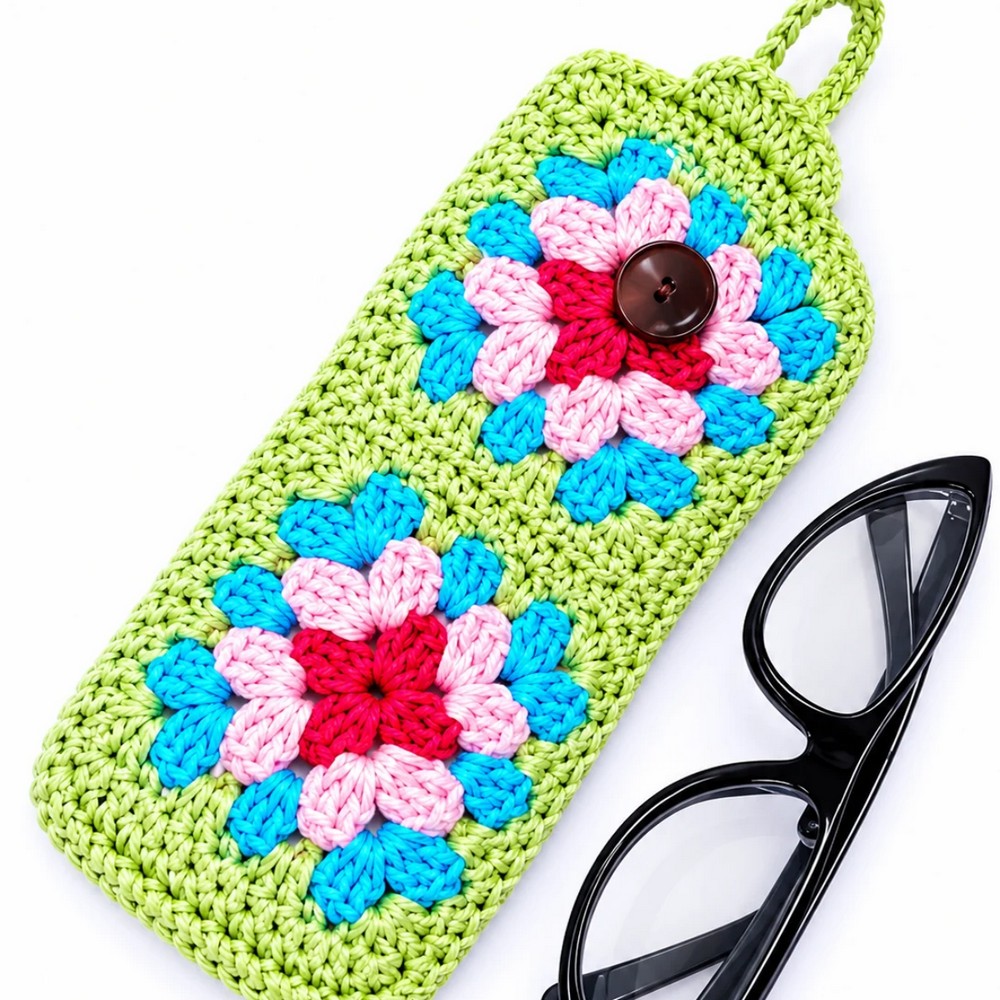
Crochet Glasses Pouch Pattern Using Four Granny Squares
Pattern Overview
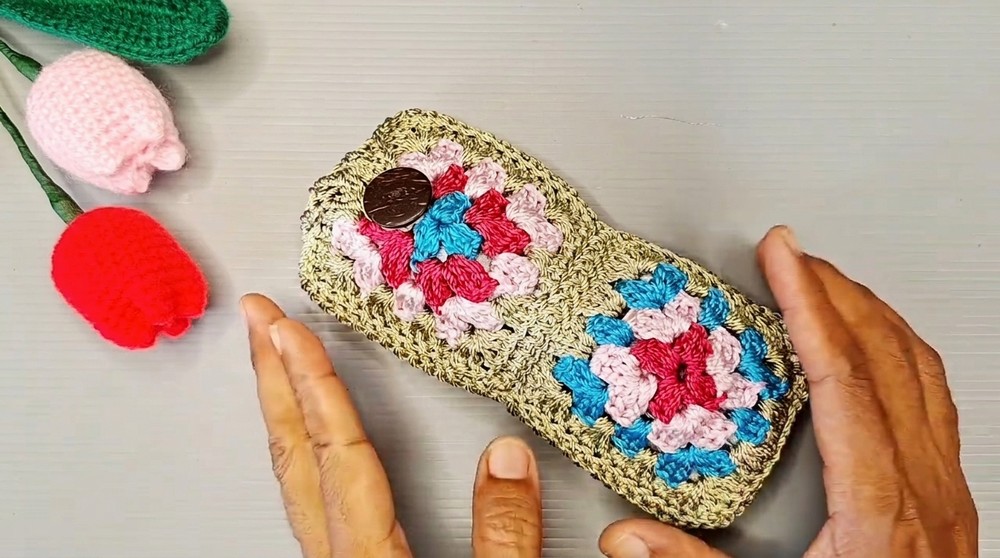
This pattern guides you to create a stylish and protective glasses pouch by crocheting four granny squares and joining them. The pouch is fully lined with fabric, ensuring your glasses are protected from scratches. It closes securely with a flap and button. The construction uses classic granny square techniques, basic joining, and simple finishing for a functional and attractive accessory.
Quick Details
- Project type: Glasses pouch/case
- Construction: Four granny squares, fabric lining, button flap closure
- Joins: Slip stitch join through back loops
- Closure: Flap with button
Important Tips
- Use a tight tension for the granny squares to give the pouch structure.
- Block your squares if needed to help with even assembly.
- When joining squares, keep right sides facing out for a neat seam.
- Choose a smooth liner fabric for easy sliding of glasses.
- Use a matching or contrasting thread and yarn for lining and flap as preferred.
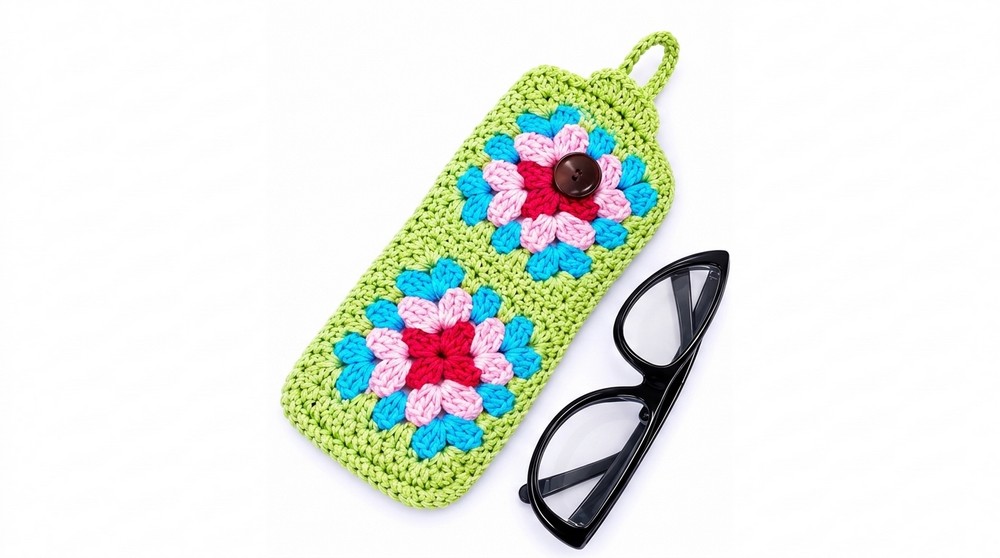
Skill Level
- Beginner to Confident Beginner
- You need to know magic ring, chain, double crochet, single crochet, slip stitch, increasing, decreasing, basic hand sewing for liner.
Materials
- Yarn: Worsted weight yarn, 2–3 colors (for squares and assembly)
- Hook: Size suitable for yarn (commonly 3.5mm–4.5mm)
- Fabric: Lining piece, approx. 10x17 cm
- Button: 1, to fit flap
- Sewing needle and thread (for liner and button)
- Yarn needle (for weaving, assembly)
- Scissors
Measurements
- Pouch size: Approx. 9 cm x 17 cm (final size depends on yarn and tension)
- Liner: 10 cm x 17 cm fabric, folded
Gauge
- Gauge is flexible but ensure that four squares joined together plus seam allowance matches or slightly exceeds the liner size (10 x 17 cm).
Abbreviations
- ch: chain
- sc: single crochet
- dc: double crochet
- sl st: slip stitch
- sp(s): space(s)
- st(s): stitch(es)
- rnd: round
Special Stitches
- Magic ring: Create an adjustable circle for beginning the square.
- Back loop slip stitch join: Insert hook in back loops of both pieces and slip stitch to join.
Step-by-Step Instructions
1. Making the Granny Squares
Foundation
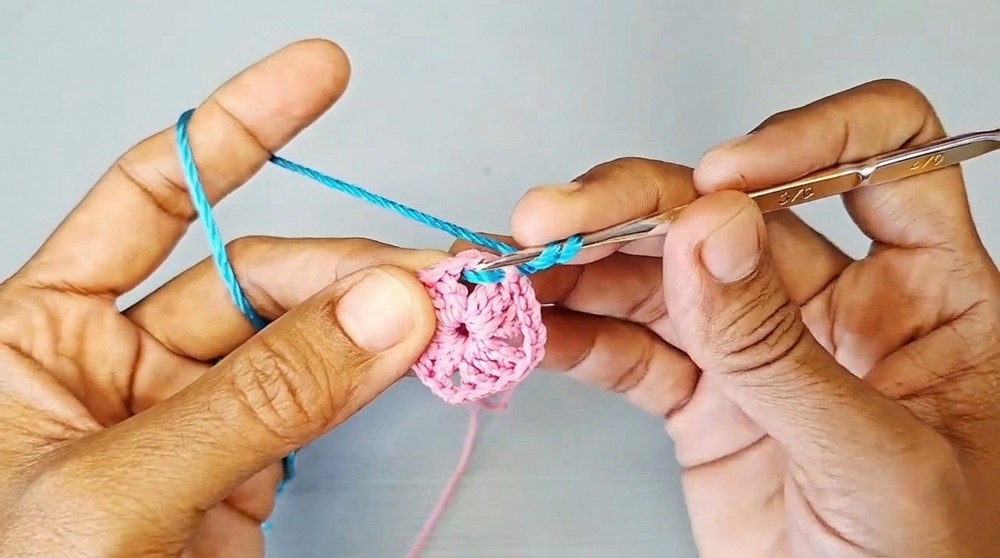
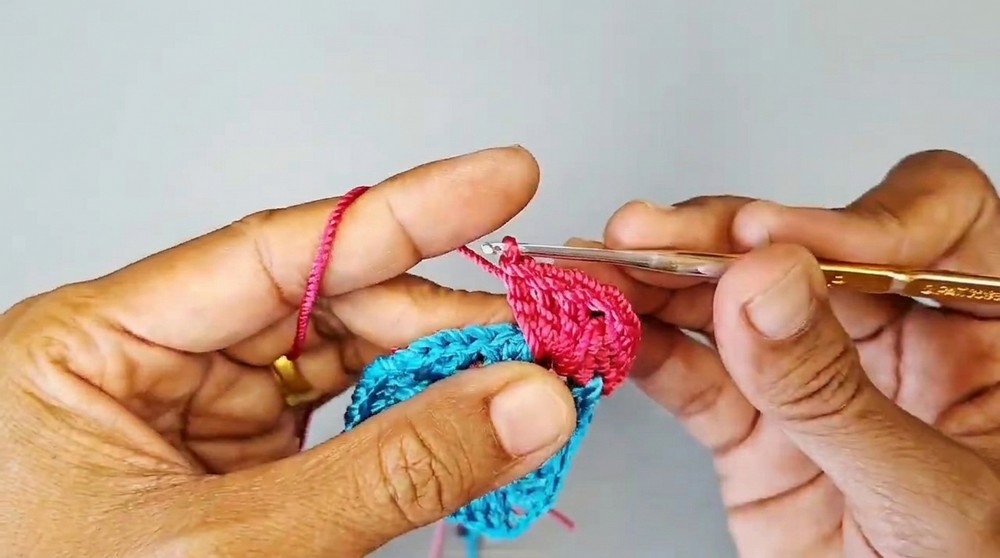
- Begin with a magic ring.
- Ch 2 (counts as the first part of the round or as a turning chain).
Round 1
- [Work 3 dc into ring, ch 2].
- Repeat the section in brackets 4 times; this creates the four corners.
- Sl st to the first dc to close the round.
- Pull magic ring tight.
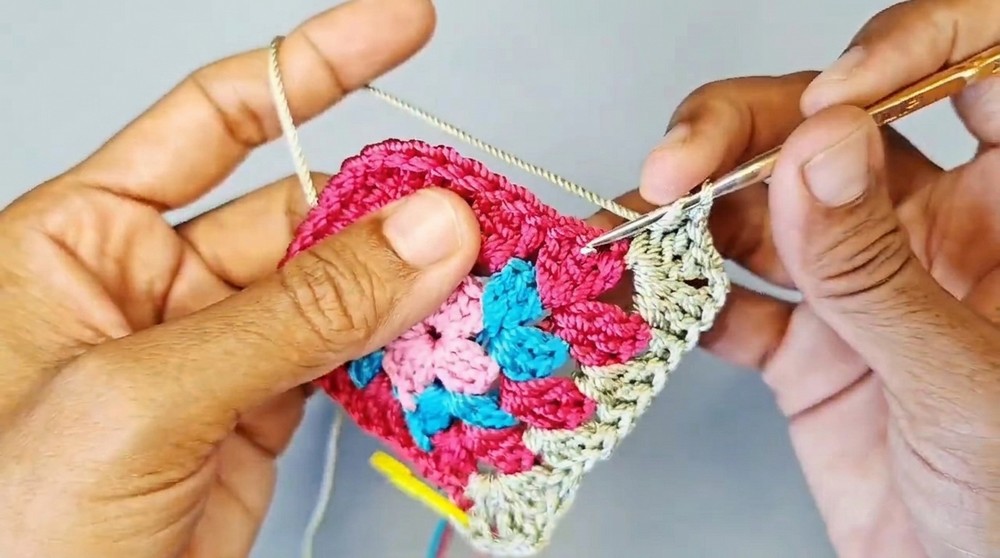
Round 2
- In each corner ch-2 sp, work (3 dc, ch 2, 3 dc).
- Skip 3 stitches between corners along the sides (do not work into these).
- Continue all the way around the square.
Round 3 & 4
- For each side of the square:
- Into each gap (the space between 3 dc groups from previous rnd), work 3 dc.
- Into each corner ch-2 sp, work (3 dc, ch 2, 3 dc).
- Repeat for round 3 and again for round 4, building up the size.
- Fasten off. Weave in ends.
- Repeat instructions for a total of 4 granny squares.
2. Assembly and Lining
Joining
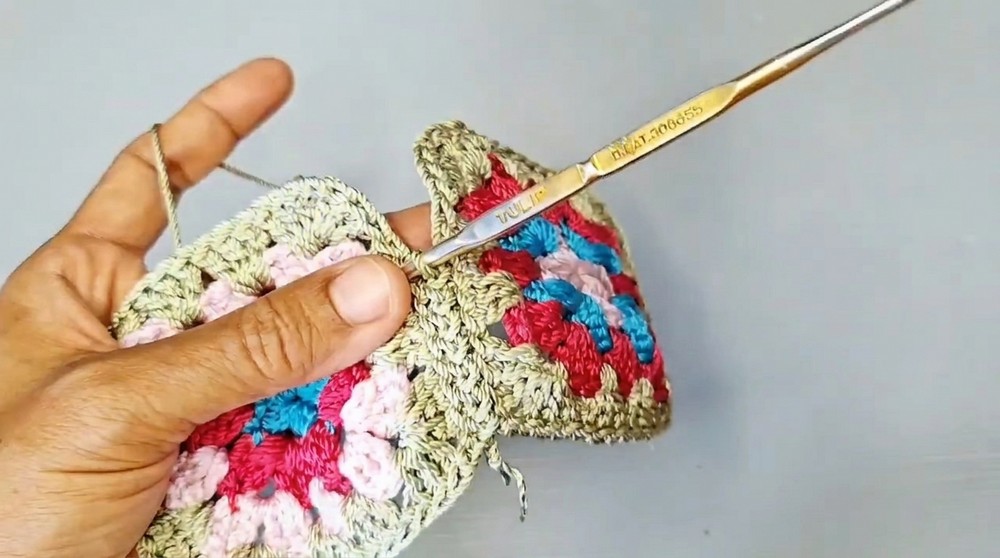
- Place 2 squares together, right sides out.
- Join using a slip stitch through the back loops only:
- Insert hook through back loop of each stitch in both squares.
- Yarn over and pull through all loops.
- Continue to join squares along sides to form a rectangle (two squares high by two squares wide).
- Ensure all pieces are aligned before fastening off.
Lining
- Cut liner fabric 10 cm x 17 cm.
- Fold in half to match the shape of the pouch.
- With sewing needle and thread, hand stitch the sides of the liner together, leaving the top edge open.
- Place liner inside the crocheted rectangle, aligning edges.
- Hand stitch the liner along the top edge of the crochet assembly, ensuring a secure fit.
3. Final Pouch Construction
Closing the Pouch
- With the liner inside, fold the assembly to create a pouch, matching up three sides, leaving one narrow end open for glasses.
- Use slip stitch to join the sides through the back loops, encasing the liner’s seams as you go.
- Make sure stitches are even and secure. Leave the top open.
Button Flap
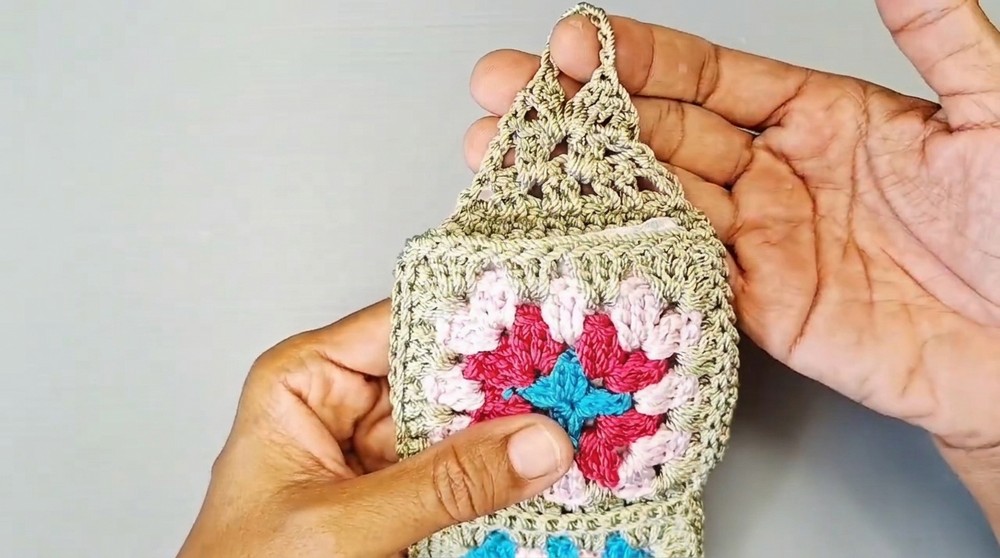
- On the open top edge, work 12 single crochets across to start the flap.
- Turn and work back and forth in rows, shaping the flap:
- For each row, you may decrease at both ends (single crochet two together) to taper and shape the flap.
- Alternatively, continue working in the established pattern if you prefer a straight flap.
- Continue these rows until flap covers the top of the pouch.
Finishing
- Determine button placement on the main pouch body, ensuring the flap will reach and lie flat.
- Sew button securely in place on pouch body using needle and thread.
- Create a buttonhole if needed at the tip of the flap by chaining and skipping a stitch during the final flap row.
- Weave in any remaining yarn ends.
Final Notes
- Always test fit your glasses in the pouch after assembling the first two joined squares to check size.
- The hand-stitched lining not only protects the glasses from yarn snags but also strengthens the pouch and helps it hold its shape.
- You may block (steam shape) your granny squares before assembly for the neatest finish.
- The button closure keeps glasses secure in the pouch; add a strong, decorative button for both style and function.
- The described method uses classic granny square techniques and very basic shaping, making this project friendly for new crocheters ready to try a practical, giftable accessory.
Leave a Reply