

Wrap up a special birthday treat using the Crochet Amigurumi Cupcake Free Pattern and tie it to your friend's gift so they have something handmade to keep.
Even a small party table can have a spot for a bit of color. A Crochet Amigurumi Cupcake fits beside the plates and gives the table a playful detail.
Original design by Hobihobiku.
Cute Crochet Amigurumi Cupcake Free Pattern For Birthday Gift
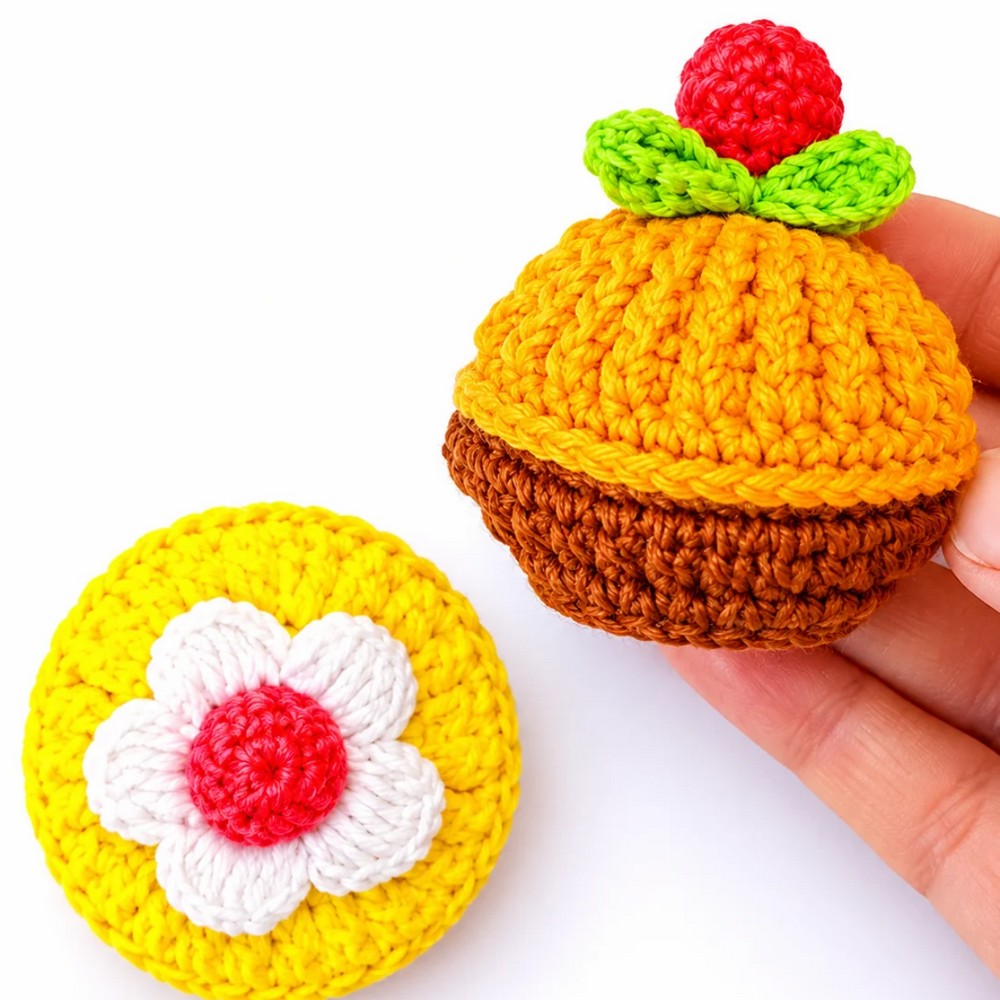
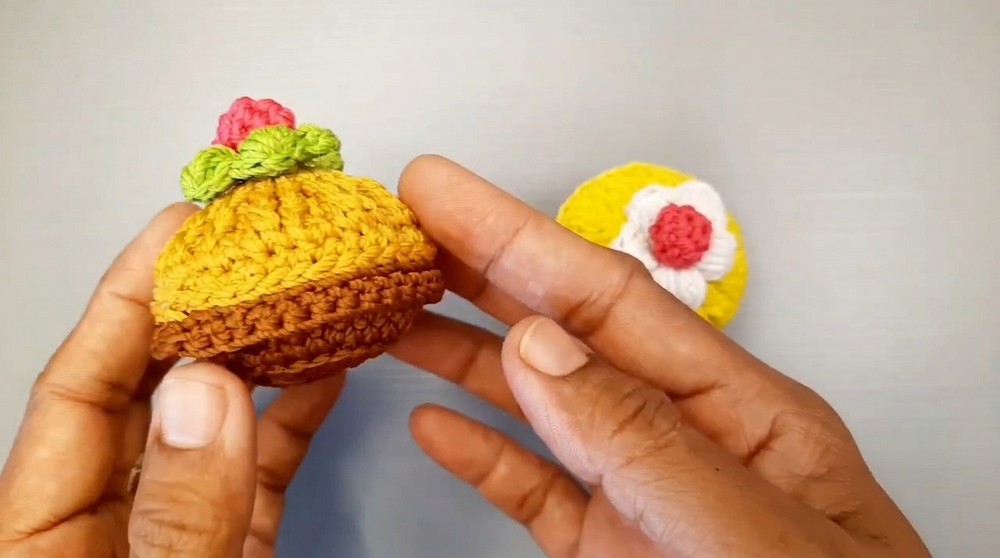
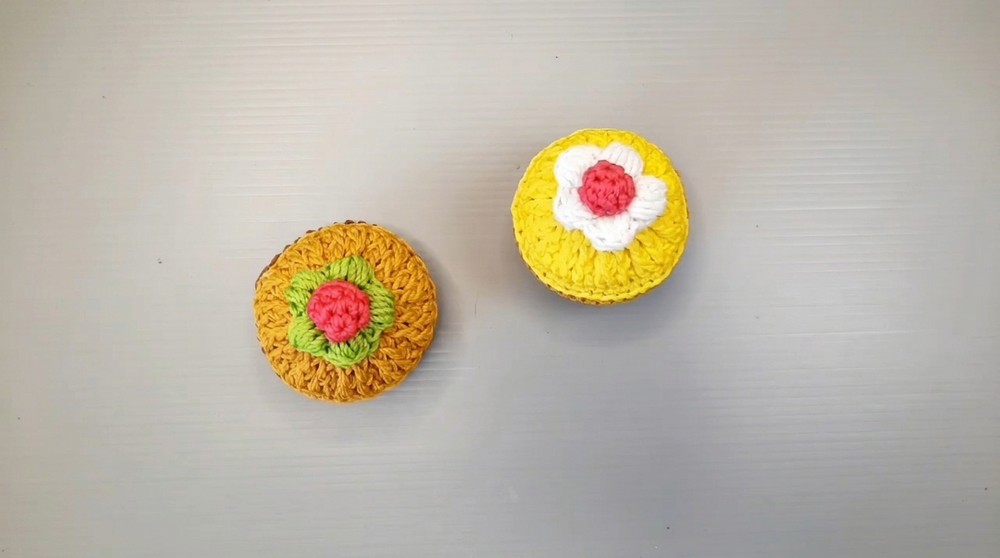
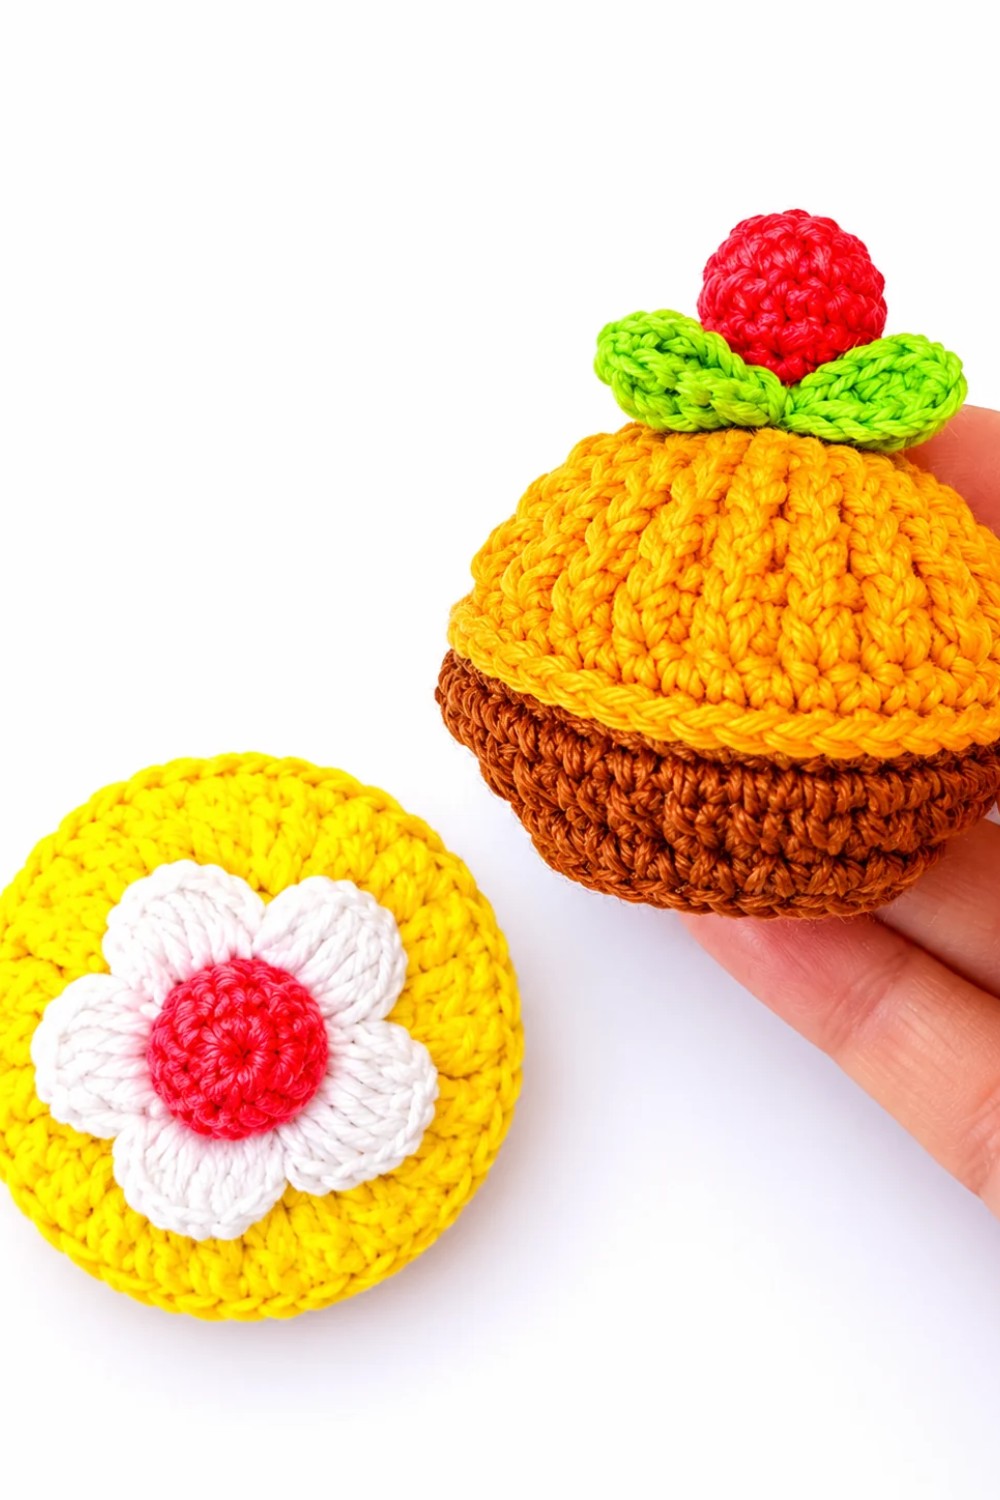
The shape is easy to recognize from the side. The bottom looks like a paper baking cup, and the round top has the soft look of frosting. On your own version, try a light base with a darker top so the two parts stand out. A few loose scraps in different colors are enough for tiny stitches that look like sprinkles. A red yarn cherry is another option. For a simpler finish, leave the top plain and use a line of stitches around the edge to show where the frosting meets the base.
One way to crochet this shape is to start with a small circle and work up the sides. Switch colors when you reach the top and narrow the rounds as you go. Put a little stuffing inside before closing the last opening. Keep the base flat so the finished cupcake can stand on its own.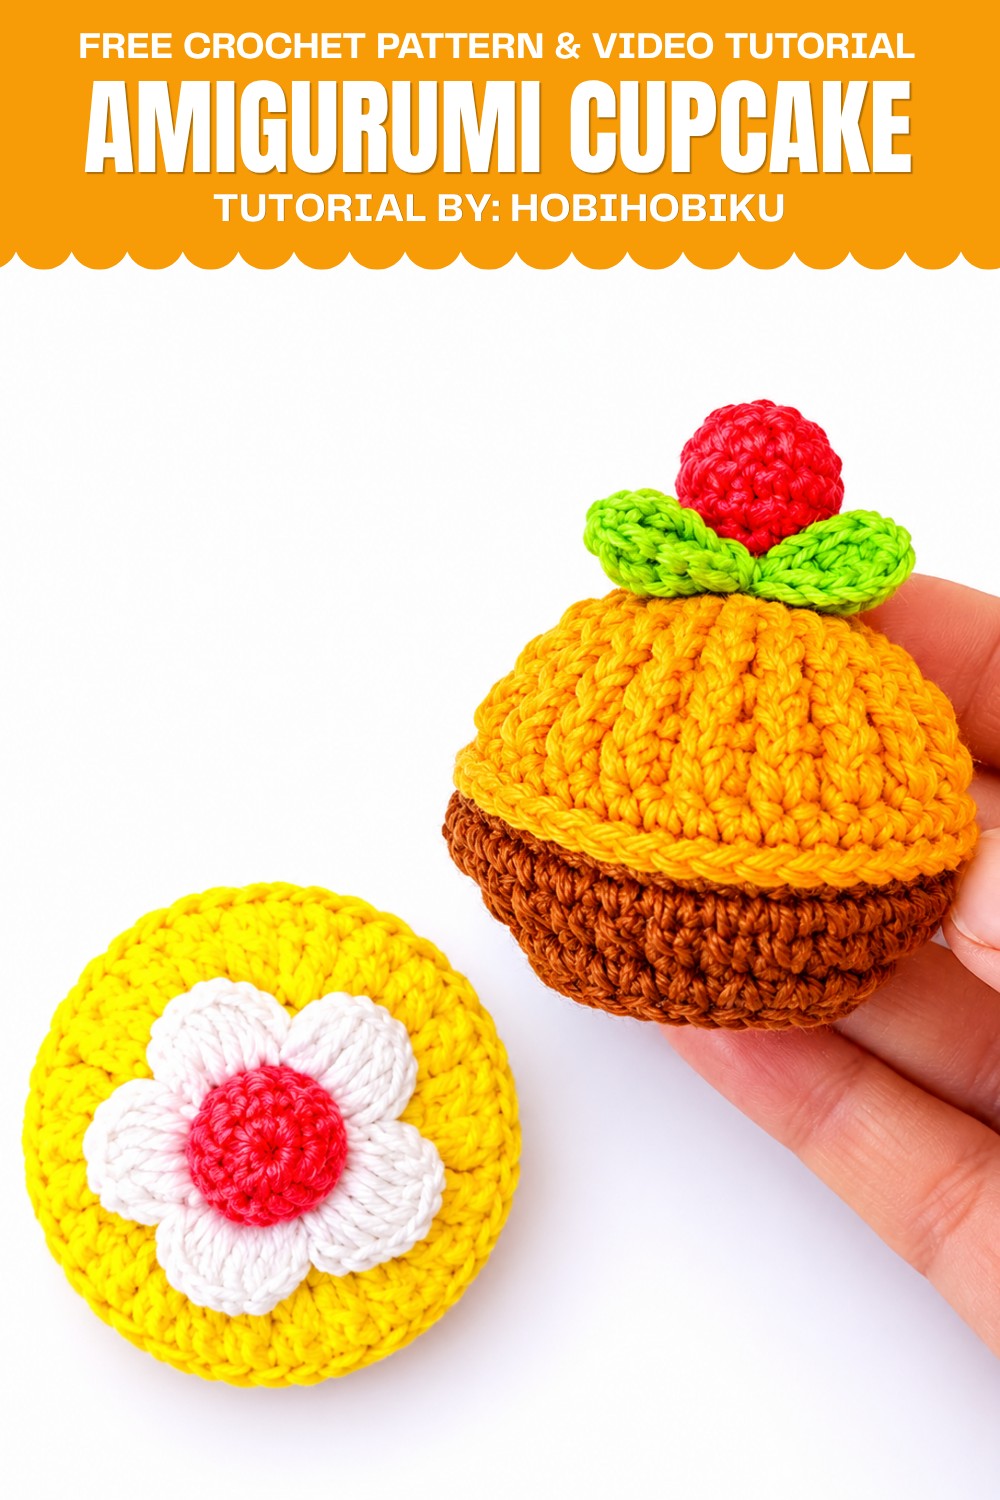
Set a few on a tray beside folded napkins, where guests can see them before dessert is served. After the party, place one next to your cookbooks as a small kitchen decoration. It can also be a thank you gift for a friend who often shares their baking with you. Wrap it in tissue paper and tuck in a note about the batch of cupcakes you still think about.
Polycherry Cake Amigurumi Crochet Pattern
Pattern Overview
This crochet pattern guides you to make a charming polycherry cake amigurumi with realistic texture and whimsical details. The project is separated into four main sections: the base, cake top, icing cream, and cherry. Each section uses fundamental amigurumi stitches and simple assembly techniques. The finished cake is perfect as décor, a toy, or a gift.
Quick Details
- Components: Base, cake top, icing cream, cherry
- Yarns: Brown (base), yellow or colored (cake top), green (icing cream), pink (cherry)
- Hook: Size 3 Tulip crochet hook
- Stuffing: Dacron fiberfill or similar
- Construction: Worked in rounds, assembled with sewing
Important Tips
- Use tight, even stitches to ensure no stuffing shows and pieces hold their shape.
- Mark the start of each round with a stitch marker for accuracy.
- For clean color transitions, always finish the last stitch with the new color when changing yarns.
- Securely weave in all ends to prevent unraveling.
- Stuff pieces firmly but do not overstretch stitches for a neat, plump cake.
- When working in front or back loops only, pay attention to the instructions for the correct texture.
Skill Level
Experienced Beginner
- Techniques: Magic ring, single crochet, double crochet, front/back loop only, front post double crochet, special stitches (puff), decreases, basic assembly
Materials
- Size 3 Tulip crochet hook
- Polycherry yarn or any similar weight yarn in:
- Brown (base)
- Yellow or preferred color (cake top)
- Green (icing cream)
- Pink (cherry)
- Yarn needle for sewing
- Dacron fiberfill or similar stuffing
- Scissors
Measurements
- Finished amigurumi is approximately 2–2.5 inches (5–6.5 cm) in diameter and height.
Gauge
- Gauge is not critical. Use a hook size that produces a tight, solid fabric for stuffing.
Abbreviations
| Abbreviation | Meaning |
|---|---|
| MR | Magic ring |
| ch | Chain |
| sc | Single crochet |
| dc | Double crochet |
| FFDC | Front post double crochet |
| FLO | Front loops only |
| BLO | Back loops only |
| inc | Increase (2 sc in same stitch) |
| dec | Decrease (single crochet 2 together) |
| sl st | Slip stitch |
| st(s) | Stitch(es) |
| rep | Repeat |
Special Stitches
- Magic Ring (MR): Form adjustable ring, work stitches into the ring, pull tail to close.
- Front Post Double Crochet (FFDC): Yarn over, insert hook around post of indicated stitch from front, yarn over, pull up loop, complete dc as usual.
- Puff Stitch: Yarn over, insert hook in next st, yarn over and pull up loop. Repeat "yarn over, insert, pull up" a total of 3 times, then yarn over and pull through all loops on hook.
- INC (Increase): Make two single crochet in the same stitch.
- DEC (Decrease): Single crochet two stitches together.
Step-by-Step Instructions
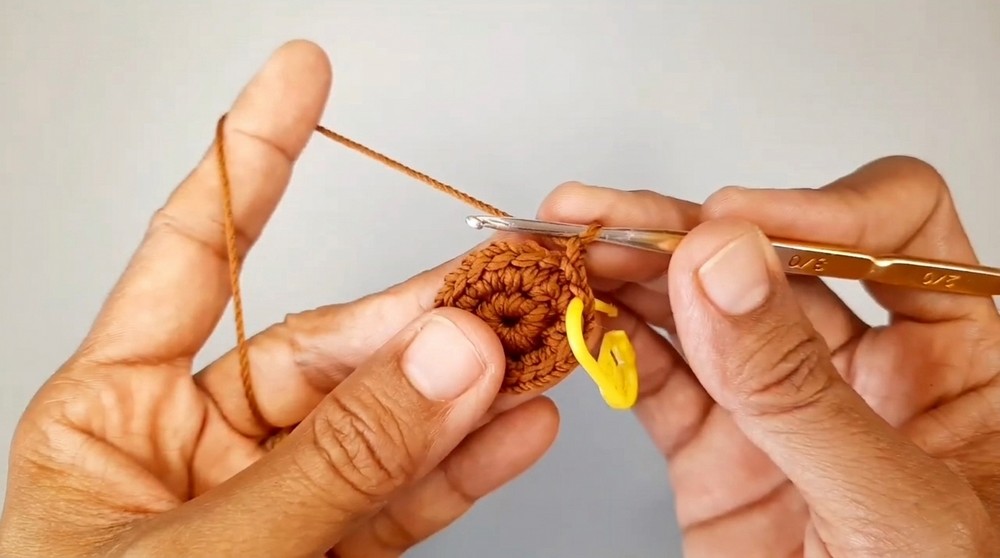
1. Base of the Cake (Brown Yarn)
- Round 1: MR, 8 sc into ring (8 sts)
- Round 2: Inc in every stitch around (16 sts)
- Round 3: (1 sc, 1 inc), rep 8 times (24 sts)
- Round 4: Work in BLO: (2 sc, 1 inc), rep 8 times (32 sts)
- Round 5: 1 sc in every st around (32 sts)
- Round 6: (3 sc, 1 inc), rep 8 times (40 sts)
- Round 7: Work in FLO: 1 sc in every st around (40 sts)
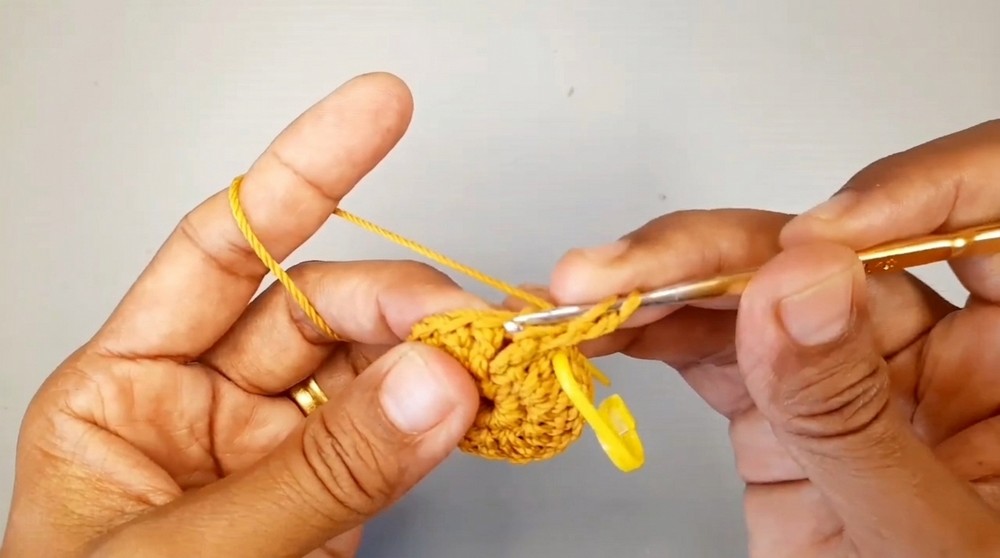
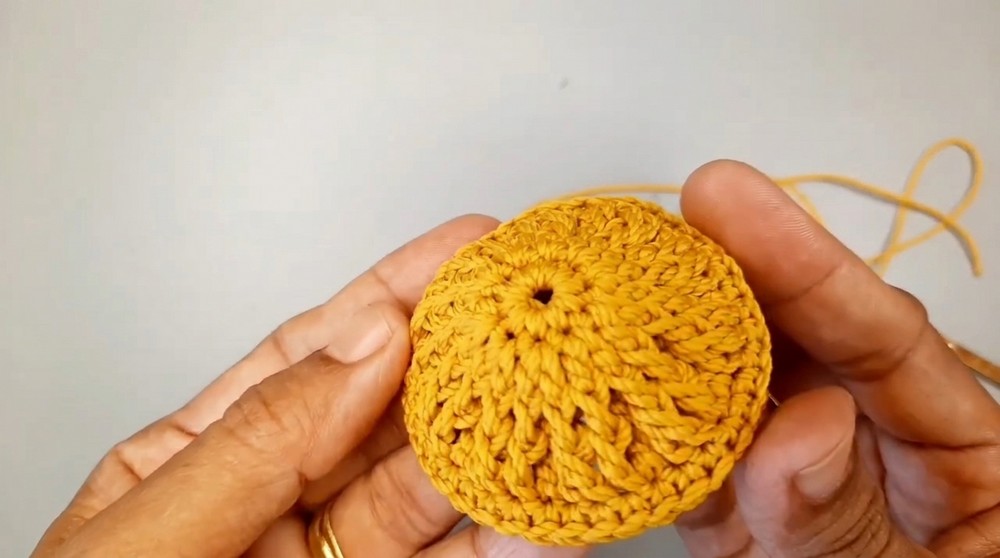
2. Cake Top (Yellow or Colored Yarn)
- Round 1: MR, 10 sc into ring (10 sts)
- Round 2: 2 dc in every st around (20 dc)
- Round 3: (1 FFDC, 1 dc in same st), rep 10 times (20 sts)
- Round 4: (1 FFDC, 1 dc, 2 FFDC in next st), rep 10 times (This expands the number of stitches and adds texture)
- Round 5: 1 sc in every st around (work into each st made in previous round)
3. Icing Cream (Green Yarn)
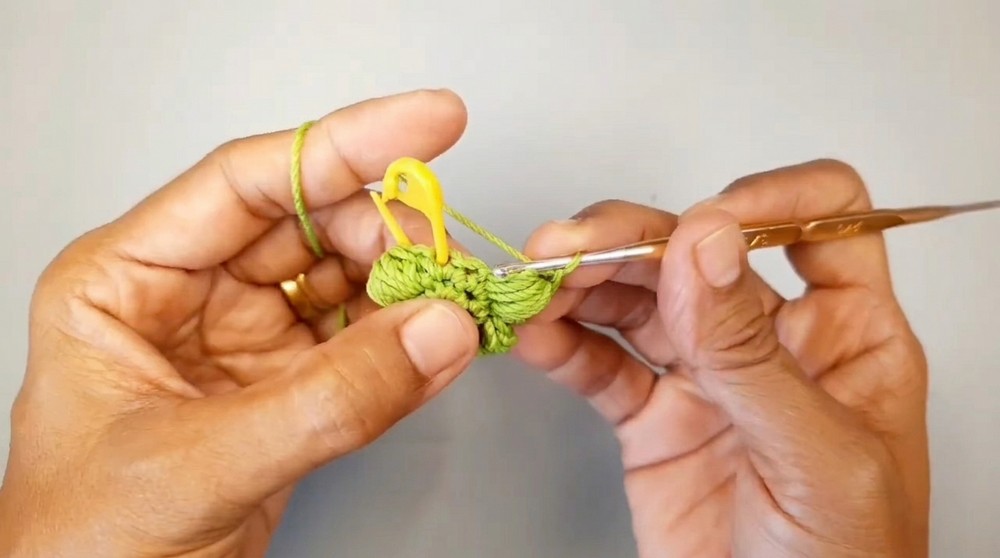
- Round 1: MR, 5 sc into ring (5 sts)
- Round 2: 2 sc in each st around (10 sts)
- Ruffled Pattern:
- Ch 1, [3 yarn-overs (puff stitch) in next st, 3 yarn-overs in following st, ch 1, sl st in same base], rep around
- This creates a series of puff stitches and chains, making a ruffled, icing-like effect around the circle. Repeat the sequence to form a full round of ruffles.
4. Cherry (Pink Yarn)
- Round 1: MR, 6 sc into ring (6 sts)
- Round 2: 2 sc in each st around (12 sts)
- Round 3: Decrease in every stitch around (6 sts total)
- Close, leaving a long tail for attaching.
Assembly
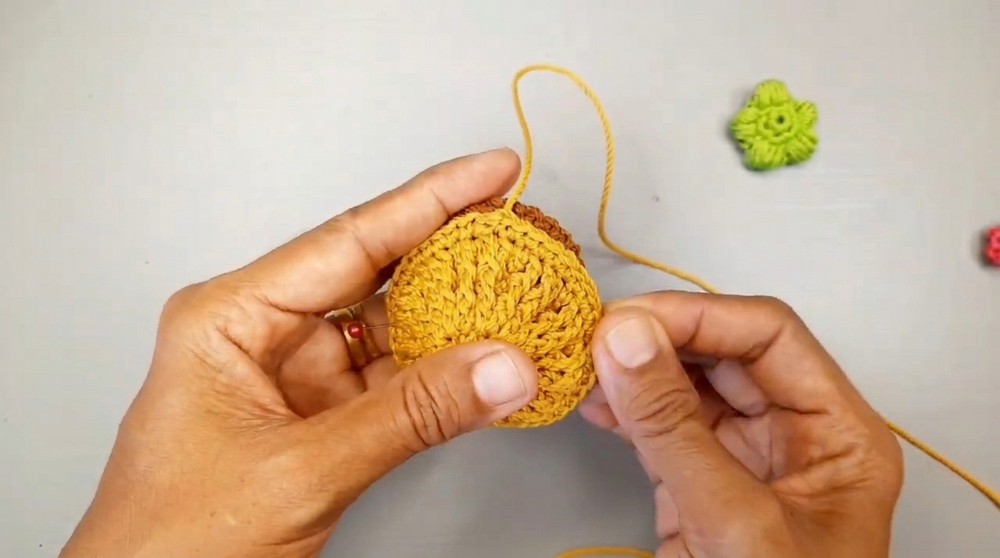
- Sew the Cake Top to the Base:
- Align the cake top (yellow/colored) to the cake base (brown).
- Use the back loops left from the base (created in Round 4 of the base and Round 7 of the top) for a neat, seamless join.
- Sew carefully around, leaving a small opening.
- Stuff the Cake:
- Before fully closing, gently stuff the cake with dacron fiberfill to achieve a firm yet plump shape.
- Continue sewing to complete the circle and securely fasten off.
- Attach the Icing Cream:
- Place the icing cream (green) on the center top of the cake.
- Sew or tack down, ensuring the ruffles are evenly spaced and secure.
- Add the Cherry:
- Sew the cherry (pink) to the center of the icing cream, anchoring it securely with the yarn tail and hiding all ends on the inside.
Final Notes
- Use a tapestry or yarn needle to sew each component as closely and invisibly as possible for a polished look.
- Try not to overstuff the cake; just enough for a plump, structured shape.
- Make sure all pieces are firmly attached, especially if the amigurumi will be gifted to a child.
- The front and back loop stitches give natural separation for the cake and cream layers.
- Experiment with icing and cherry colors for personalized cakes.
- Attach a pin back or keychain ring for more usage options.
- Weave in all ends between layers or inside the cake for a neat finish.
- Work slowly and reference your stitch counts at the end of every round for symmetry.
- Enjoy your completed polycherry cake—perfect for gifts, keychains, or playful decorations!
Leave a Reply