

Organize your little items with the Crochet Mini Basket Free Pattern, a cute storage idea for jewelry, hair clips, and small household items.
Handy Crochet Mini Basket Free Pattern For Small Storage
This basket begins with a flat crochet base. The sides are then worked upward to form the container. Using even stitches helps the finished piece stand properly, while a neat border gives the top a clean edge. Cotton yarn is a good choice for a firmer shape.
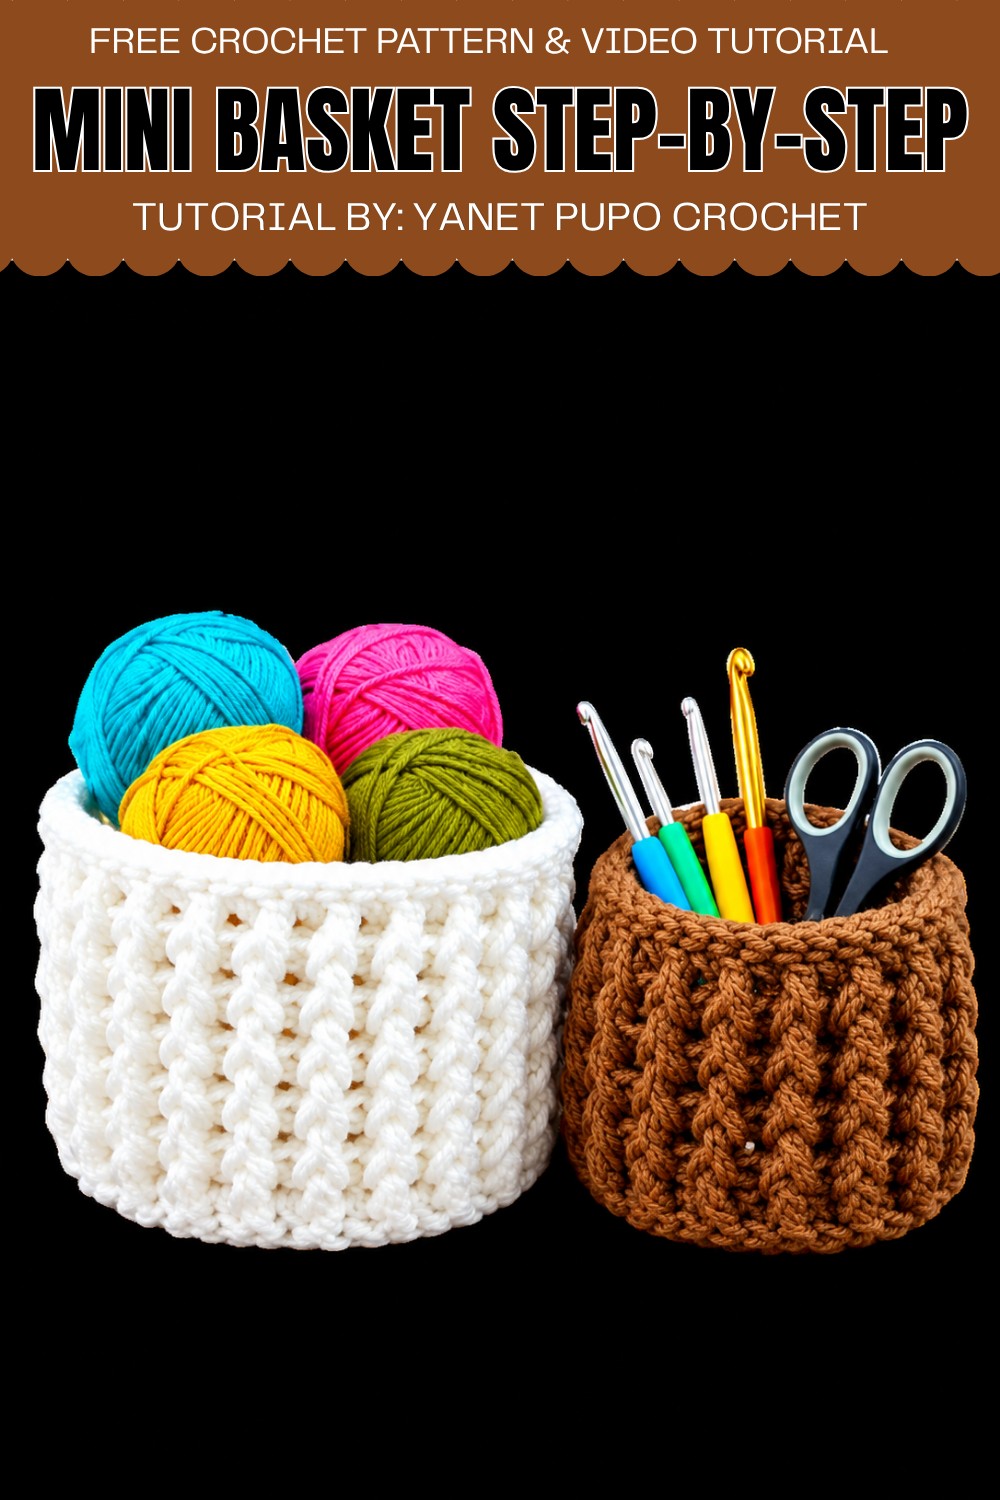
Its small size means it fits easily into limited spaces without taking over a table or shelf. With a simple color choice and careful stitching, this project becomes both a useful organizer and a sweet home decoration.
About the Pattern
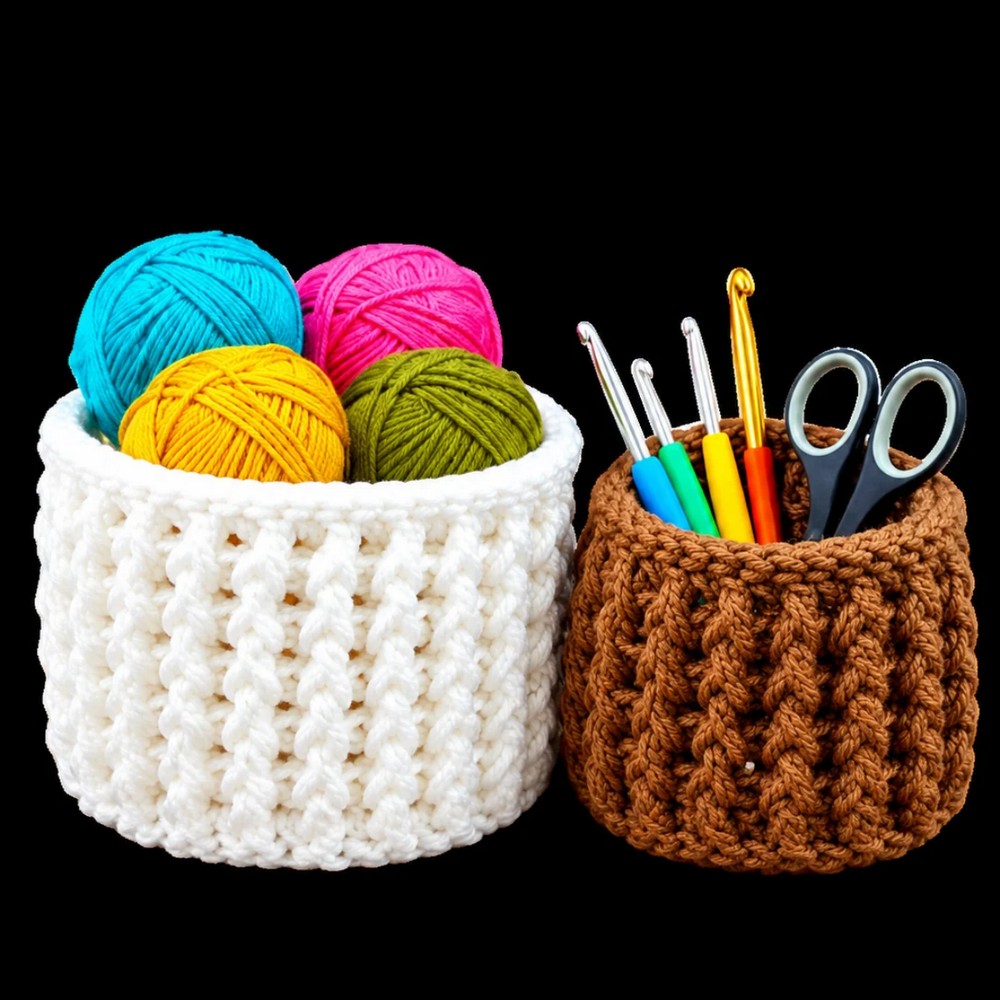
This crochet basket is a beautifully textured, sturdy project ideal for a variety of decorative and practical uses, such as holding flowers, party favors, or serving as a catch-all for small items. Constructed from the base upward using double crochet increases and relief (post) stitches for vertical texture, this pattern is a perfect introduction to working in the round and experimenting with surface dimension in your crochet. The instructions allow for easy resizing and adaptations as needed.
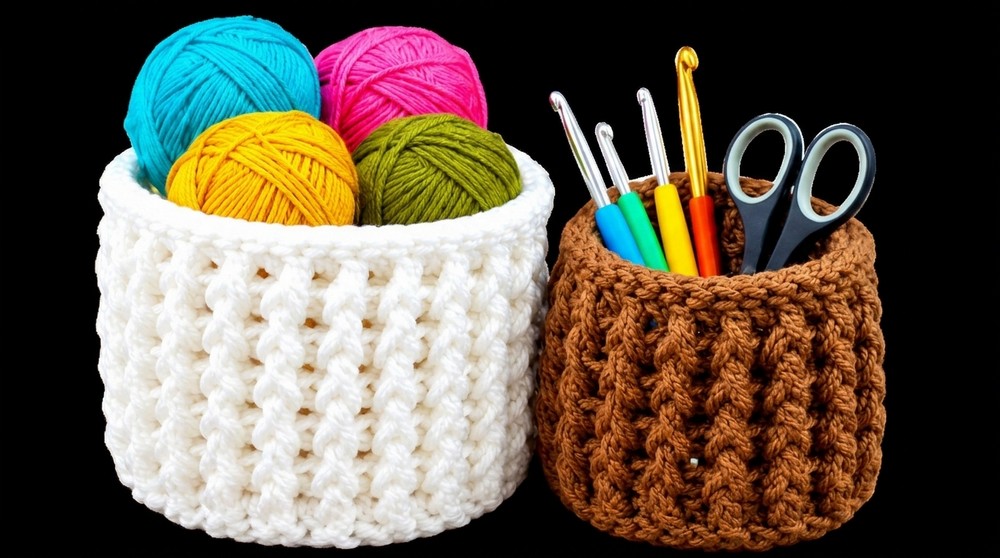
Pattern at a Glance
- Basket is crocheted from the base up in spiral rounds.
- Base features simple double crochet increases for a flat circle.
- Sides are built up with alternating front and back post stitches for a sturdy, decorative texture.
- A finishing round of slip stitches creates a bold and neat edge.
- Finished baskets are ideal for small decorative storage or gifts.
Important Notes
- Maintain a consistent stitch count in each round for smooth sides.
- Rounds begin with two chains; these do not count as stitches and simply help with height.
- Basket width and height are adjustable by changing the number of initial stitches or working more or fewer rounds.
- To avoid accidental increases or decreases, count your stitches at the end of each round.
- Use a tight, even tension so basket walls are sturdy and hold their shape.
Difficulty Level
Best suited for confident beginners and intermediate crocheters. The design uses basic stitches and introduces post-stitch techniques (front and back post double crochet) for added structure.
Supplies Needed
- Approximately 25g of size 4 (worsted weight) yarn
- 3.75mm aluminum crochet hook
- Yarn needle for weaving in ends
- Scissors
Size & Measurements
- Finished basket: approximately 11 cm diameter, 7 cm height.
- Easily customizable for smaller or larger baskets by altering rounds or stitch count.
Gauge & Stitch Details
- Gauge is not critical; ensure your fabric is firm and holds an upright shape.
- Main stitches: double crochet (dc), front post dc (fpdc), back post dc (bpdc), slip stitch (sl st), chain (ch) for turning height (not counted as stitches).
Crochet Abbreviations
- ch – chain
- dc – double crochet
- fpdc – front post double crochet
- bpdc – back post double crochet
- sl st – slip stitch
- MR – magic ring
Special Stitch Guide
- Front Post Double Crochet (fpdc): Yarn over, insert hook from front to back around the post of next stitch, yarn over, pull up a loop, yarn over, pull through two loops, yarn over, pull through two loops.
- Back Post Double Crochet (bpdc): Yarn over, insert hook from back to front around the post of next stitch, yarn over, pull up a loop, yarn over, pull through two loops, yarn over, pull through two loops.
Complete Crochet Pattern
Base
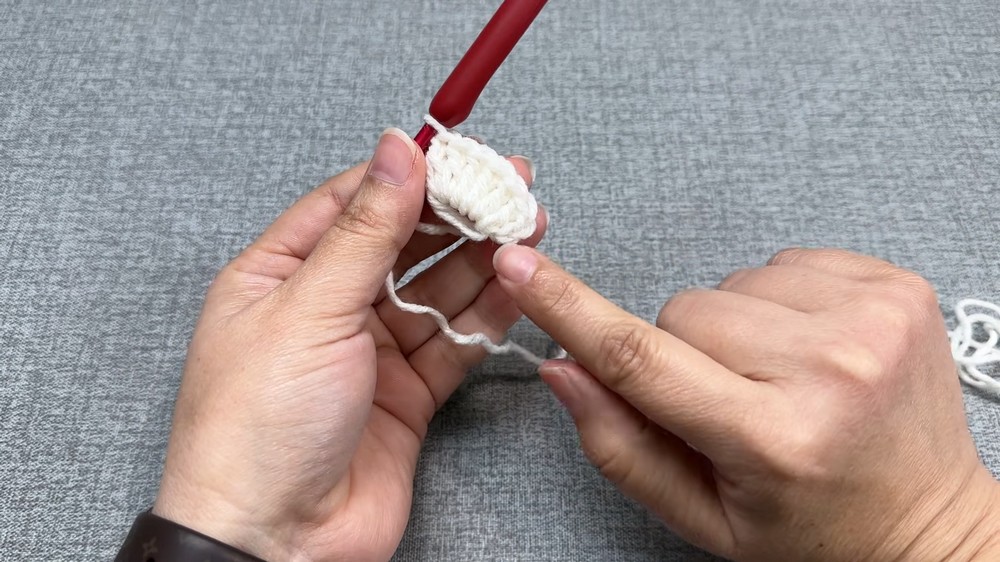
Round 1:
- Begin with a magic ring (MR).
- Ch 2 (does not count as a stitch).
- Work 12 dc into the MR.
- Join with a sl st to the first dc (ignore the ch-2).
- Pull the magic ring tight to close the center.
Round 2:
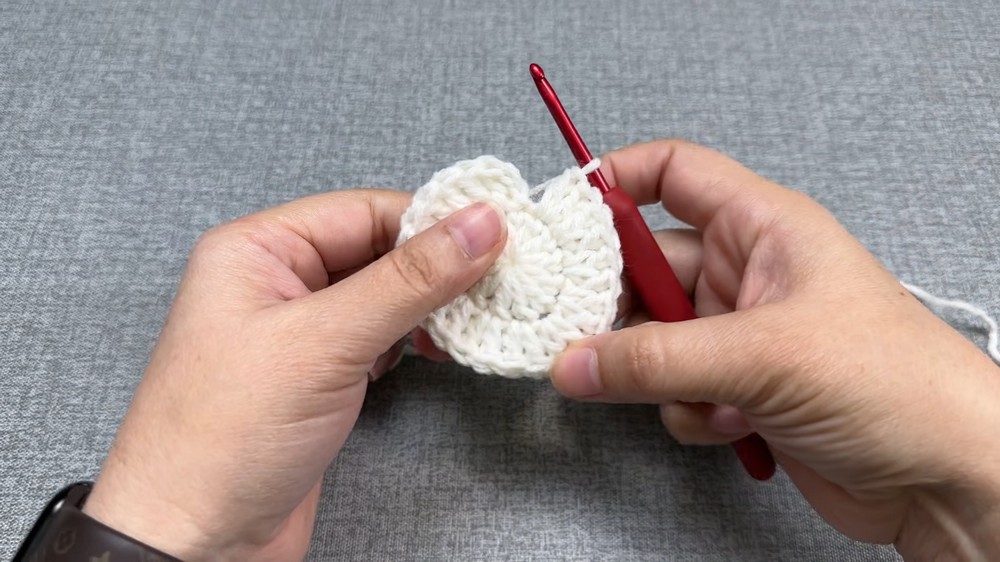
- Ch 2 (does not count as a stitch).
- In same stitch as join, work 2 dc (first increase).
- Work 2 dc in each stitch around (12 increases = 24 dc).
- Join with sl st to the first dc.
Round 3:
- Ch 2 (does not count as a stitch).
- In same stitch as join: 2 dc (increase).
- In next stitch: 1 dc.
- Continue all the way around: (2 dc in next st, 1 dc in next st) to end.
- Round should end on 1 dc.
- (Tip: If you start the round with an increase, end with a single dc. No two increases or singles should be side by side.)
- Join with sl st to first dc.
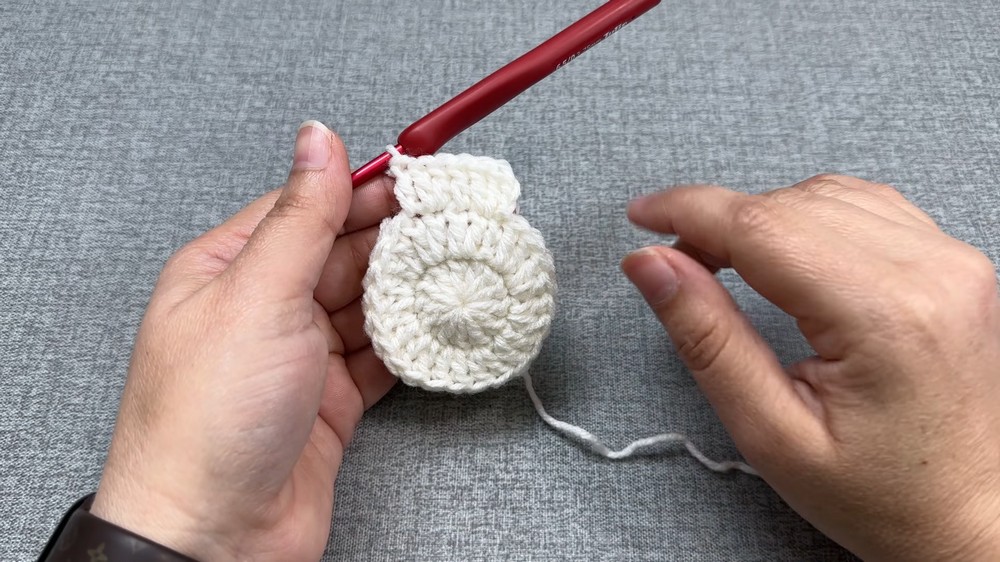
Round 4:
- Ch 2 (does not count as a stitch).
- In same stitch: 2 dc (increase).
- Next two stitches: 1 dc in each.
- Repeat: (2 dc in next st, 1 dc in each of next 2 sts) around.
- Join with sl st to first dc.
- Basket will now have a flat circular base with 48 dc.
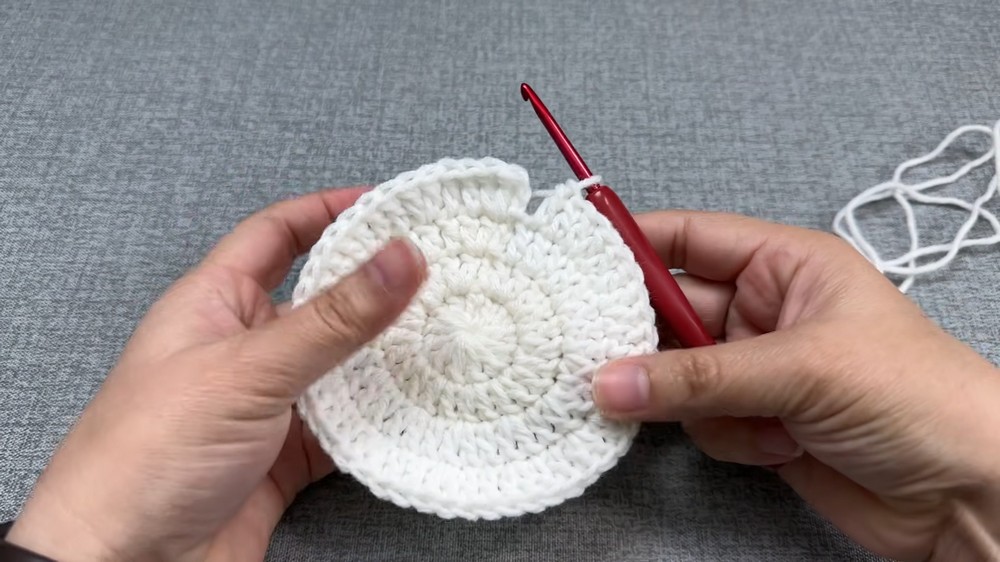
Basket Sides (Vertical Texture)
Round 5:
- Ch 1 and turn.
- Work 1 bpdc in each stitch around:
- Yarn over, insert hook from back to front around post of next dc, complete dc as usual.
- Join with sl st to the first stitch.
Round 6 and onward (for desired height):
- Ch 1.
- Alternately 1 fpdc, 1 bpdc around:
- Work fpdc by yarning over, inserting hook from front to back around post of next dc, yarning over and completing dc.
- Work bpdc in next stitch as before.
- Continue to alternate fpdc and bpdc for each remaining stitch around.
- Join with sl st at the end of each round.
- Repeat this round (alternating fpdc, bpdc) for a total of about 6 rounds or until you reach desired basket height.
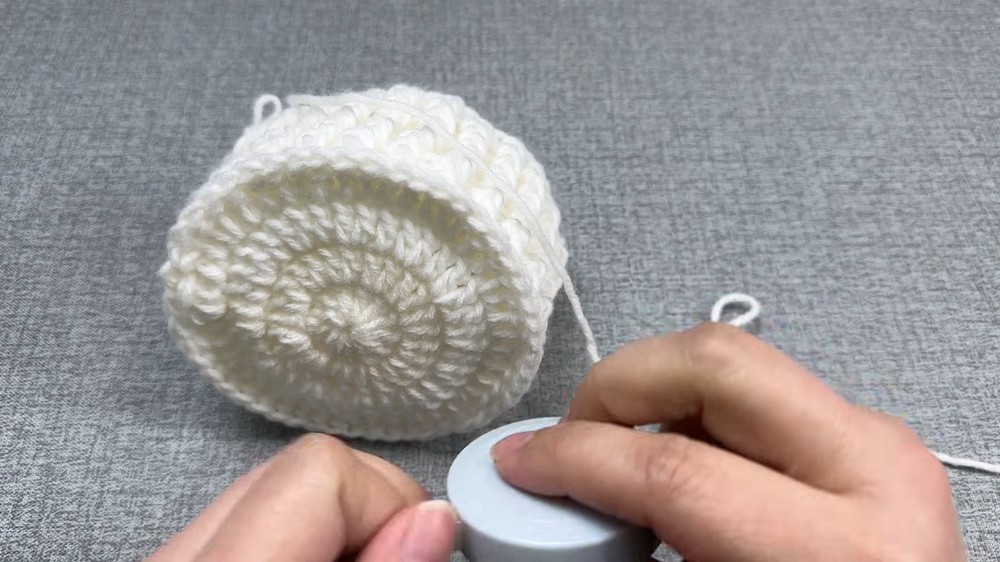
Finishing Edge
Final Round:
- Ch 1.
- Working into each stitch along the edge, sl st to the inside of the basket (aim to work into the inner loop for a thickened edge).
- Continue slip stitching all the way around.
- Join with a sl st when back to the beginning, pull up a loop, fasten off.
- Weave in any tails with a yarn needle.
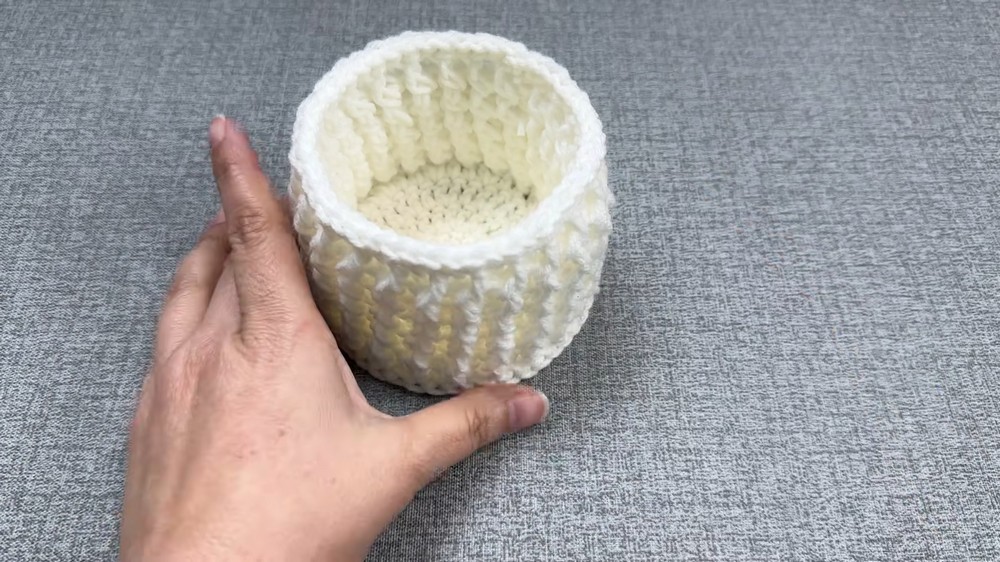
Assembly & Finished Size
The basket requires no additional assembly. After weaving in the starting and ending yarn tails, shape the basket with your hands if needed. Finished basket should measure approximately 11 cm wide by 7 cm high. Make a set with different heights or sizes by simply working more or fewer rounds at the base and sides.
Conclusion
This basket pattern features a solid, flat base paired with textured post-stitch sides for sturdiness and visual interest. The rounds are easy to customize, and the piece works up quickly with a small amount of yarn—perfect for home décor, gifts, or special occasions. By changing the height or the colors, you can create a versatile collection for any setting or purpose.
Leave a Reply